- Lower the folding top.
- Lower the left and right door windows.
- Open the hood.
Important: Before cutting out a stationary window, apply a double layer of masking tape around the perimeter of the painted surfaces and inner trim of the window.
- Remove the windshield wiper arms. Refer to
Windshield Wiper Arm Replacement
.
- Remove the air inlet screen panel. Refer to
Air Inlet Grille Panel Replacement
.
- Remove the rearview mirror. Refer to
Inside Rearview Mirror Replacement
.
- Remove the outside moisture sensor. Refer to
Windshield Outside Moisture Sensor Replacement
.
Important: The upper garnish molding must be lower in order to gain access to the screws along the edge of the upper windshield frame.
- Remove the upper garnish molding. Refer to
Windshield Garnish Molding Replacement
.
Caution: If broken glass falls into the defroster outlets, it can be blown into
the passenger compartment and cause personal injury.
- Cover the following parts to protect from broken glass:
| • | Defroster outlets and A/C outlets |
- Remove the windshield weatherstrip. Refer to
Windshield Frame Weatherstrip Replacement
.
Caution: When working with any type of glass or sheet metal with exposed or rough
edges, wear approved safety glasses and gloves in order to reduce
the chance of personal injury.
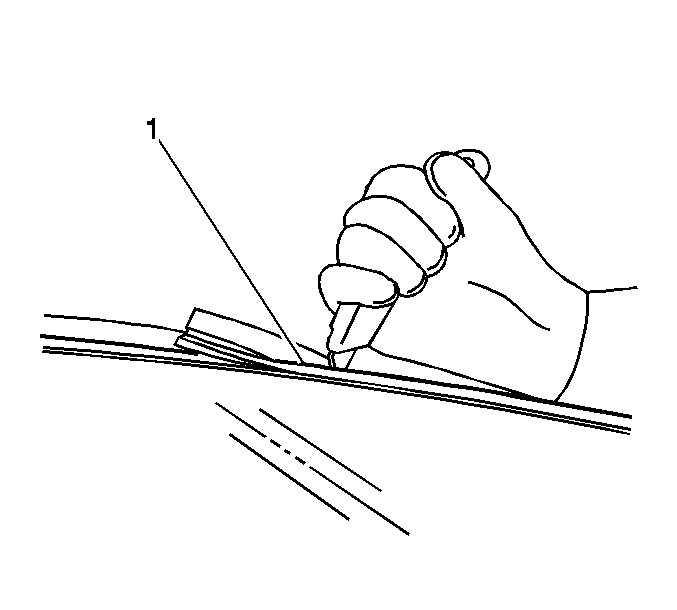
- Remove the upper windshield lace, located on the top edge of the windshield (1).
It may be necessary to use a utility knife to trim top
edge.
Important: Keep the cutting edge of the tool against the windshield. This will allow the urethane adhesive to be separated from the windshield. Leave a base of urethane on the pinchweld flange. The only suitable lubrication is clear
water.
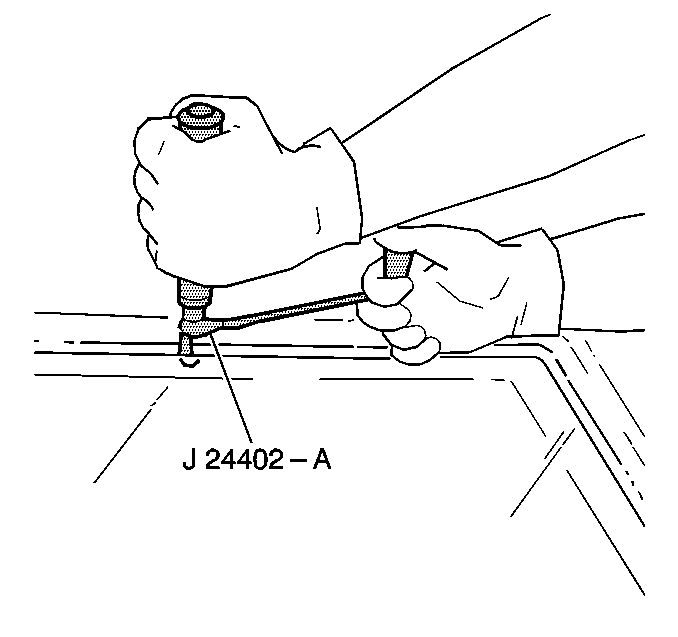
- Use
J 24402-A
or
J 39032
in order to cut the window from the pinchweld flange. Keep the cutting edge of the tool against the glass.
Important: Protect the lower edge of the instrument panel from the tool.
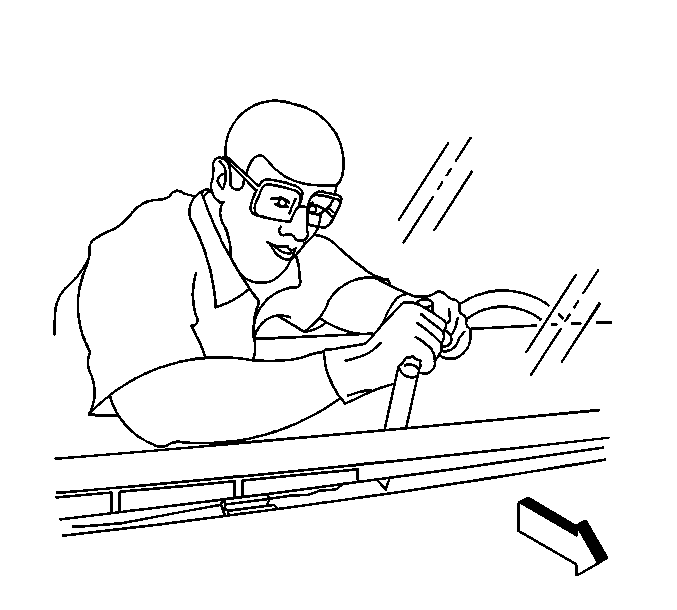
- From inside the vehicle, remove the bottom of the window from the urethane adhesive using a long utility knife or similar tool.
Keep the cutting edge of the tool against the glass.
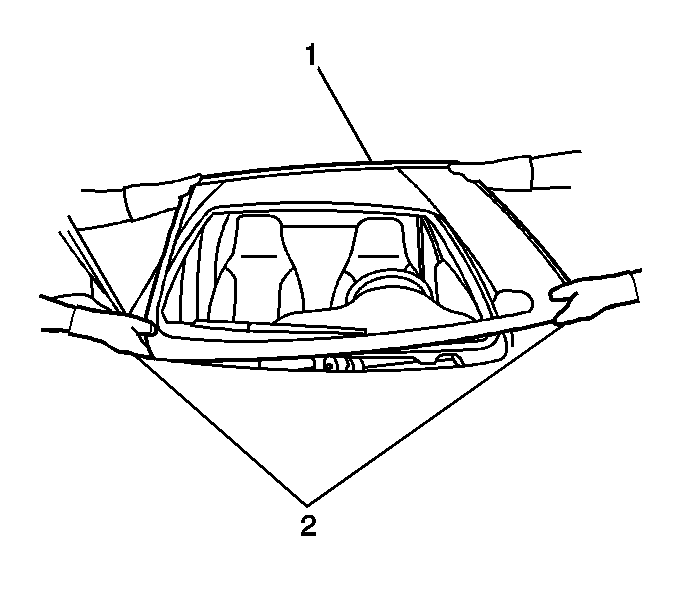
- With the aid of an assistant, remove the window (1) from the vehicle.
