For 1990-2009 cars only
Removal Procedure
- Disconnect the battery ground cable. Refer to Battery Negative Cable Disconnection and Connection .
- Remove the shifter knob. Refer to Transmission Control Lever Knob Replacement .
- Open the console door.
- Remove the hinge cover from the console bin. Pull at the rear of the cover to disengage the retainer.
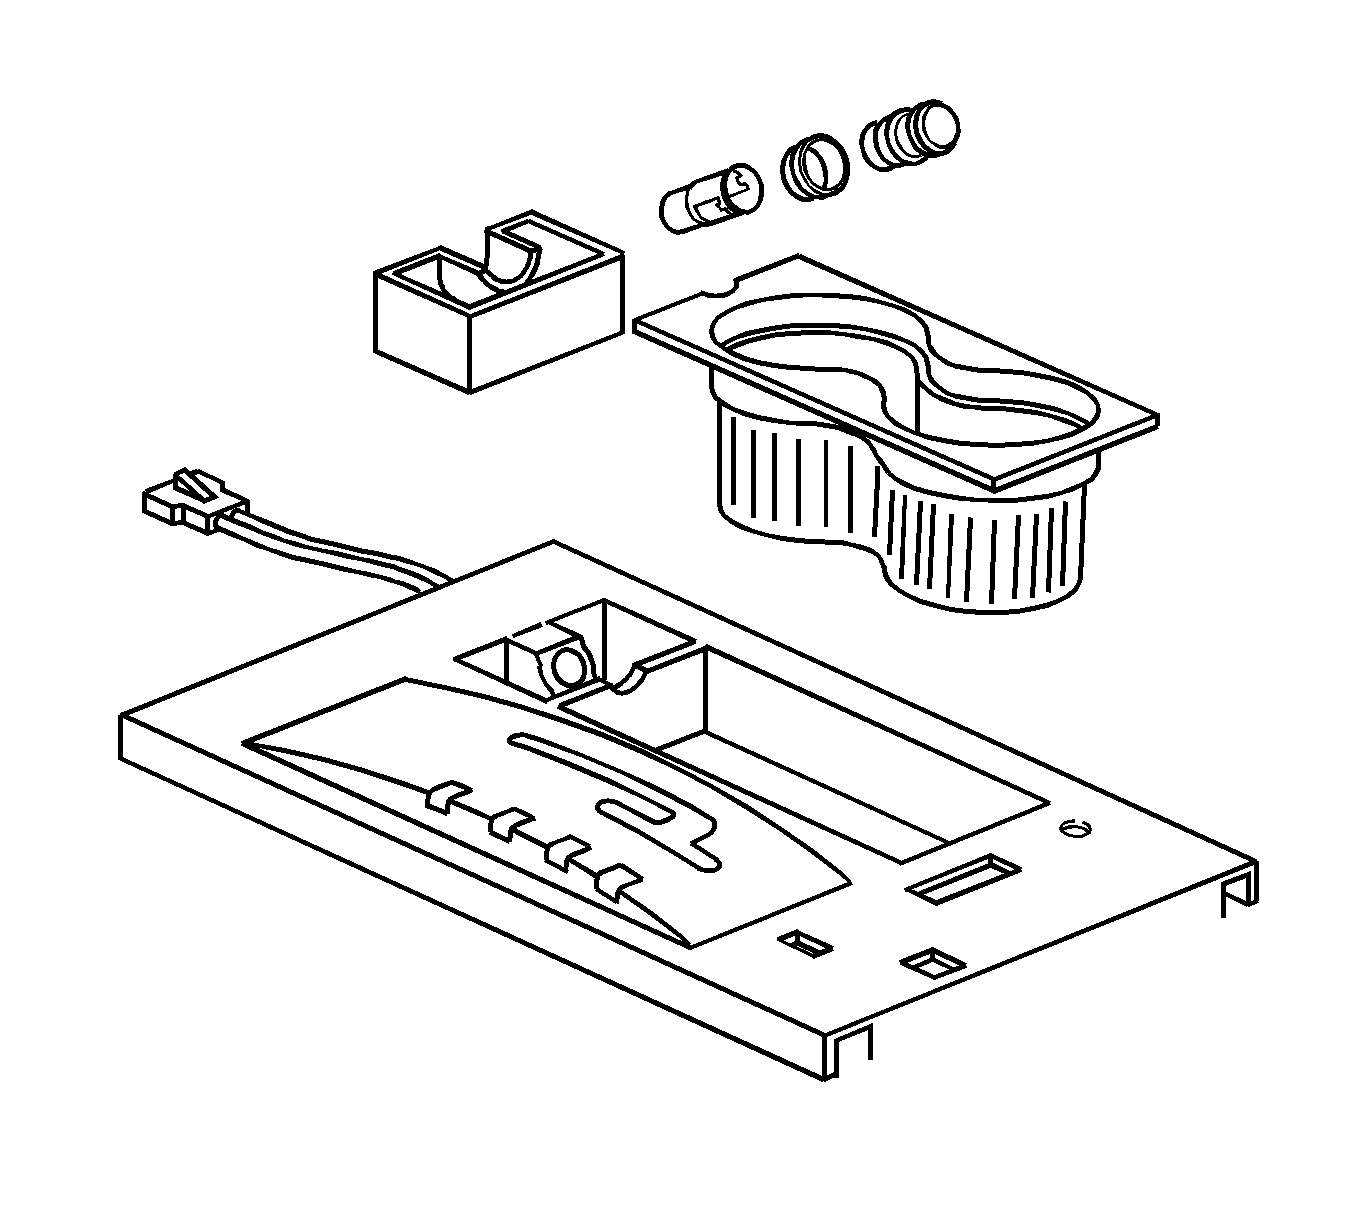
- Remove the console cupholder and the ashtray.
- Remove the console trim plate. Refer to Console Trim Plate Replacement .
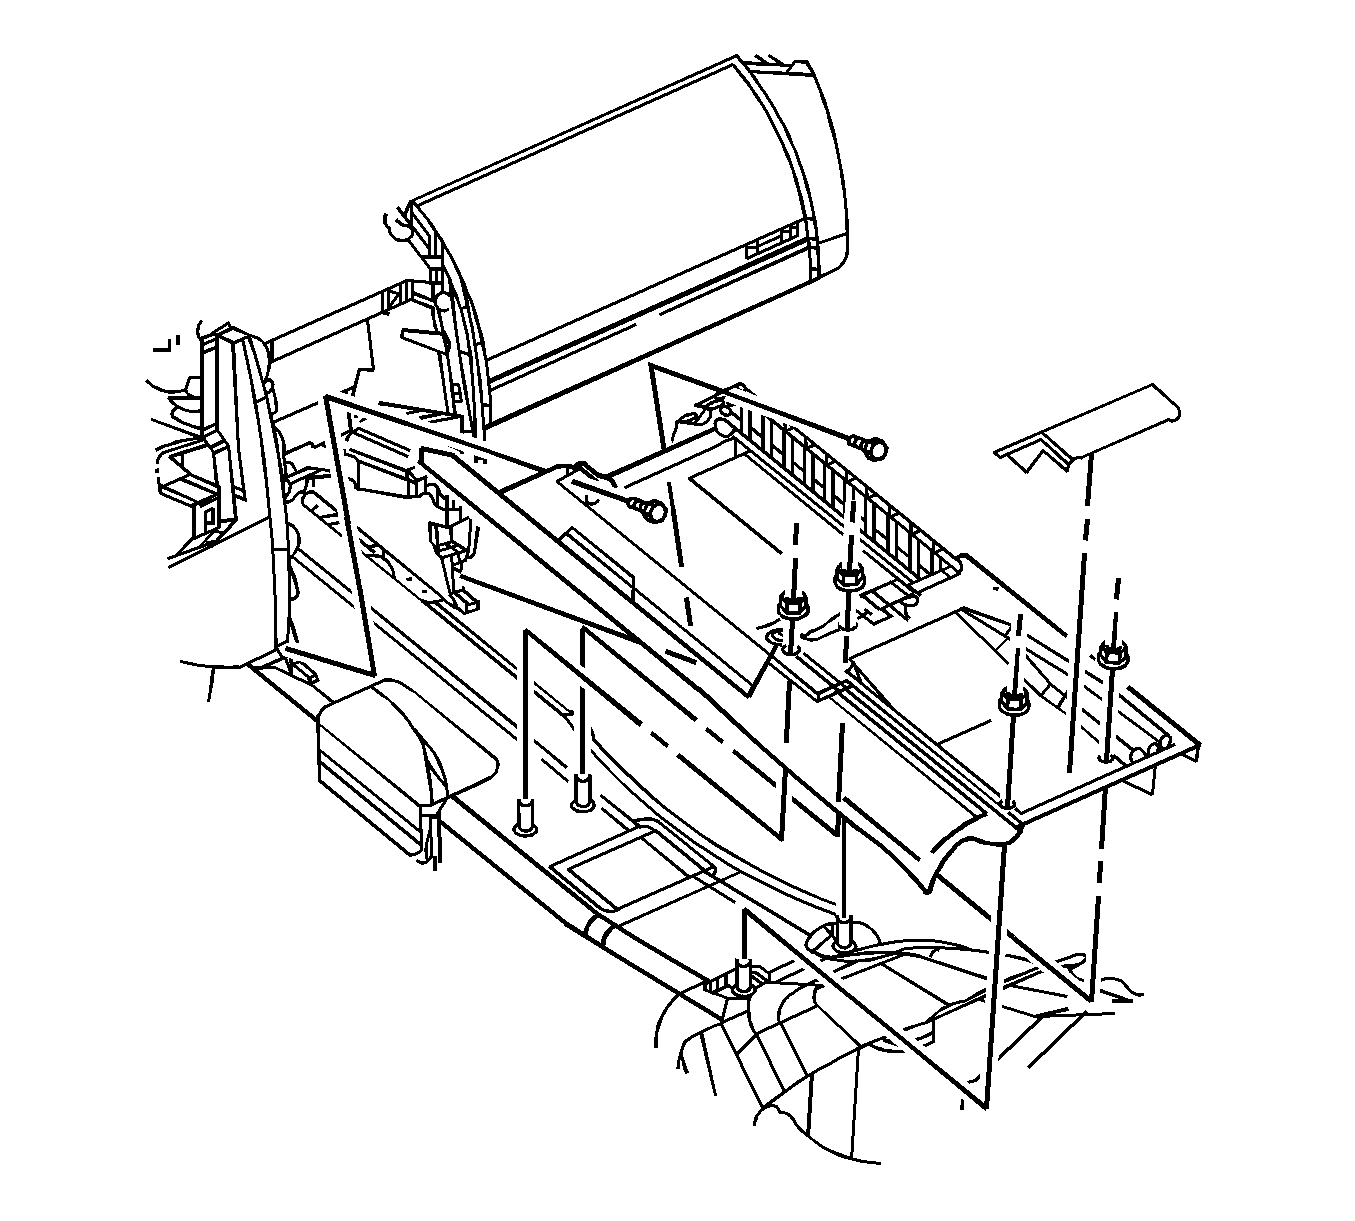
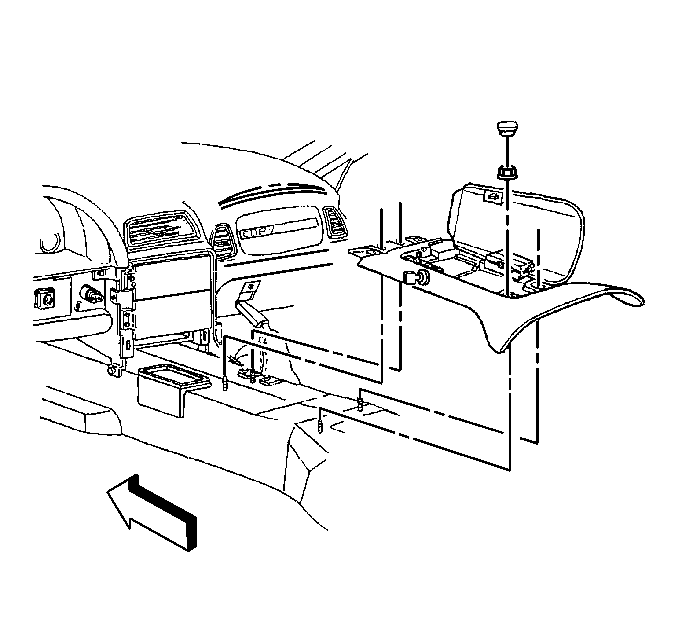
- Remove the console nuts.
- Remove the bolts retaining the front of the console to the instrument panel (I/P) carrier.
- Lift the rear of the console slightly and pull rearward to release the front of the console from under the I/P carrier.
- Disconnect the electrical connector from the electrical accessory plug.
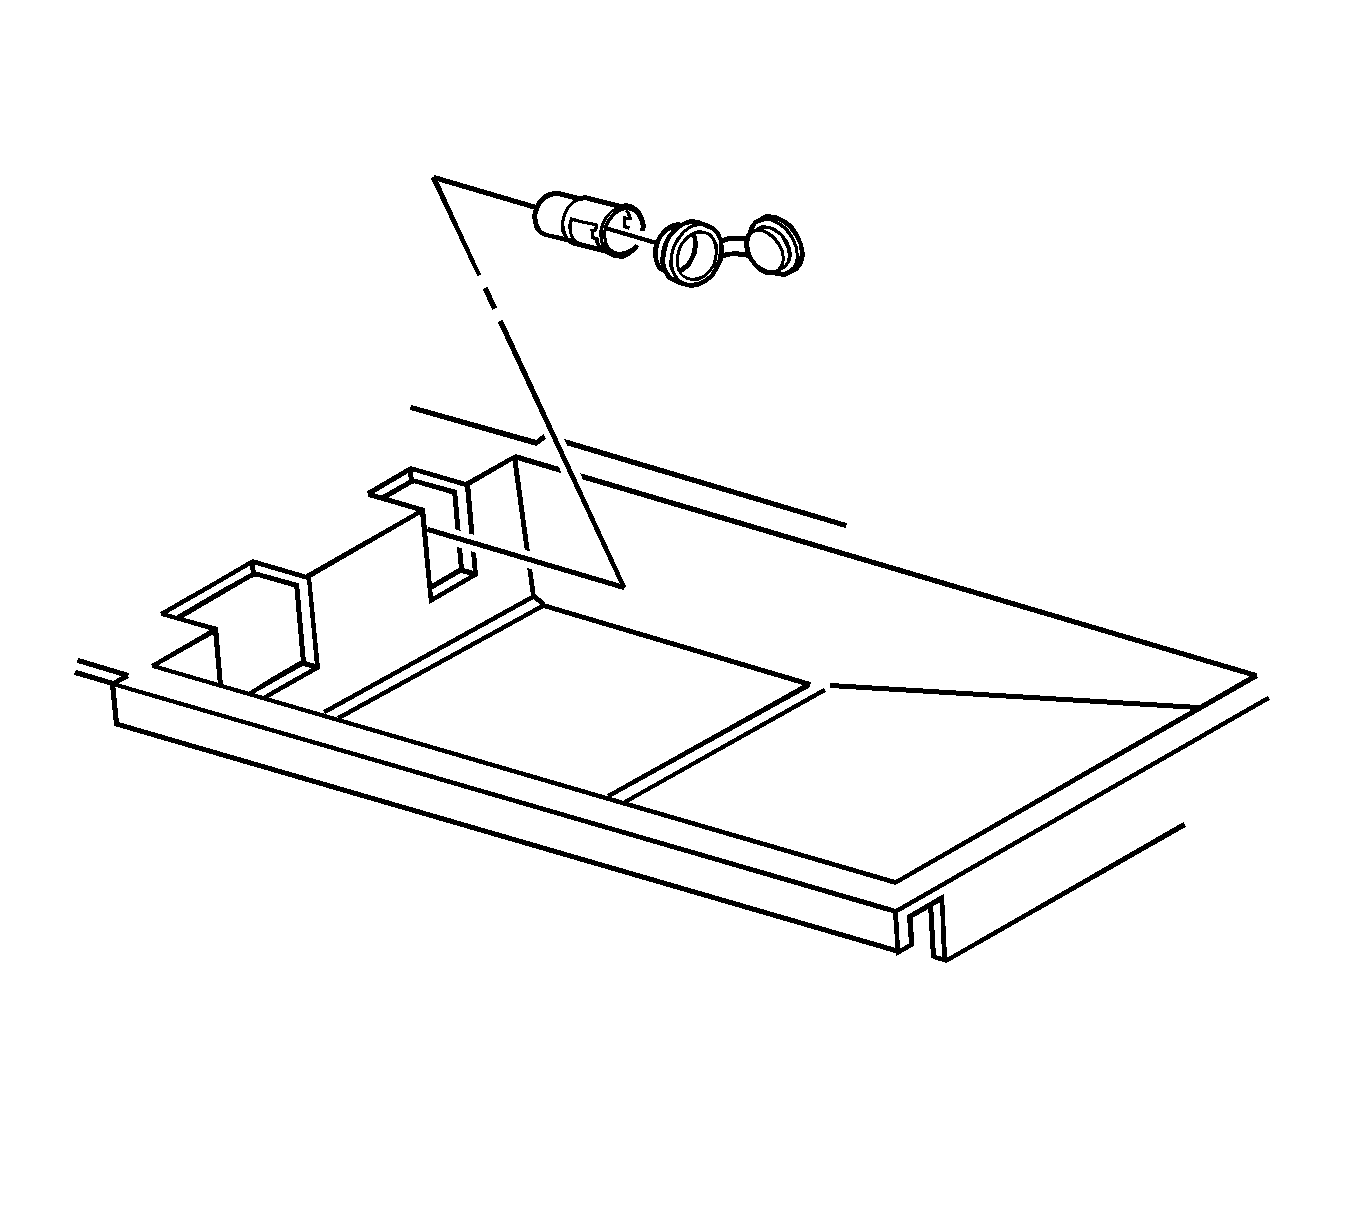
- Unscrew to remove the console electrical accessory plug retainer from the console electrical accessory plug housing.
- Remove the electrical accessory plug housing from the console.
- Using a flat-bladed tool, disengage the lamp from the retainer. Route the lamp through the hole in the console bin.
- Remove the console from the vehicle.
Caution: Refer to Battery Disconnect Caution in the Preface section.


Installation Procedure
- Install the console to the vehicle.
- Install the console lamp to the bin.
- Install the electrical accessory plug housing to the console.
- Install the electrical accessory plug retainer onto the accessory plug housing. Screw the retainer onto the housing until secure.
- Connect the electrical connector to the electrical accessory plug.
- Install the console into position. Insert the front of the console under the rear of the I/P carrier.
- Install the console retaining nuts and the retaining bolt to the I/P carrier.
- Install the console trim plate. Refer to Console Trim Plate Replacement .
- Install the console cupholder and the ashtray.
- Install the hinge cover to the console bin.
- Close the console door. Verify that the door fits and latches correctly.
- Install the shifter knob. Refer to Transmission Control Lever Knob Replacement .
- Connect the battery ground cable. Refer to Battery Negative Cable Disconnection and Connection .
Route the lamp through the hole in the bin and push to engage the retainer.
Verify that the cover plug is in place on the accessory plug housing.

Important: Install the front of the console under the rear of the I/P carrier.
Notice: Refer to Fastener Notice in the Preface section.
Tighten
Tighten the nuts to 10 N·m (89 lb in).


Push down on the cover to engage the retaining clips.
