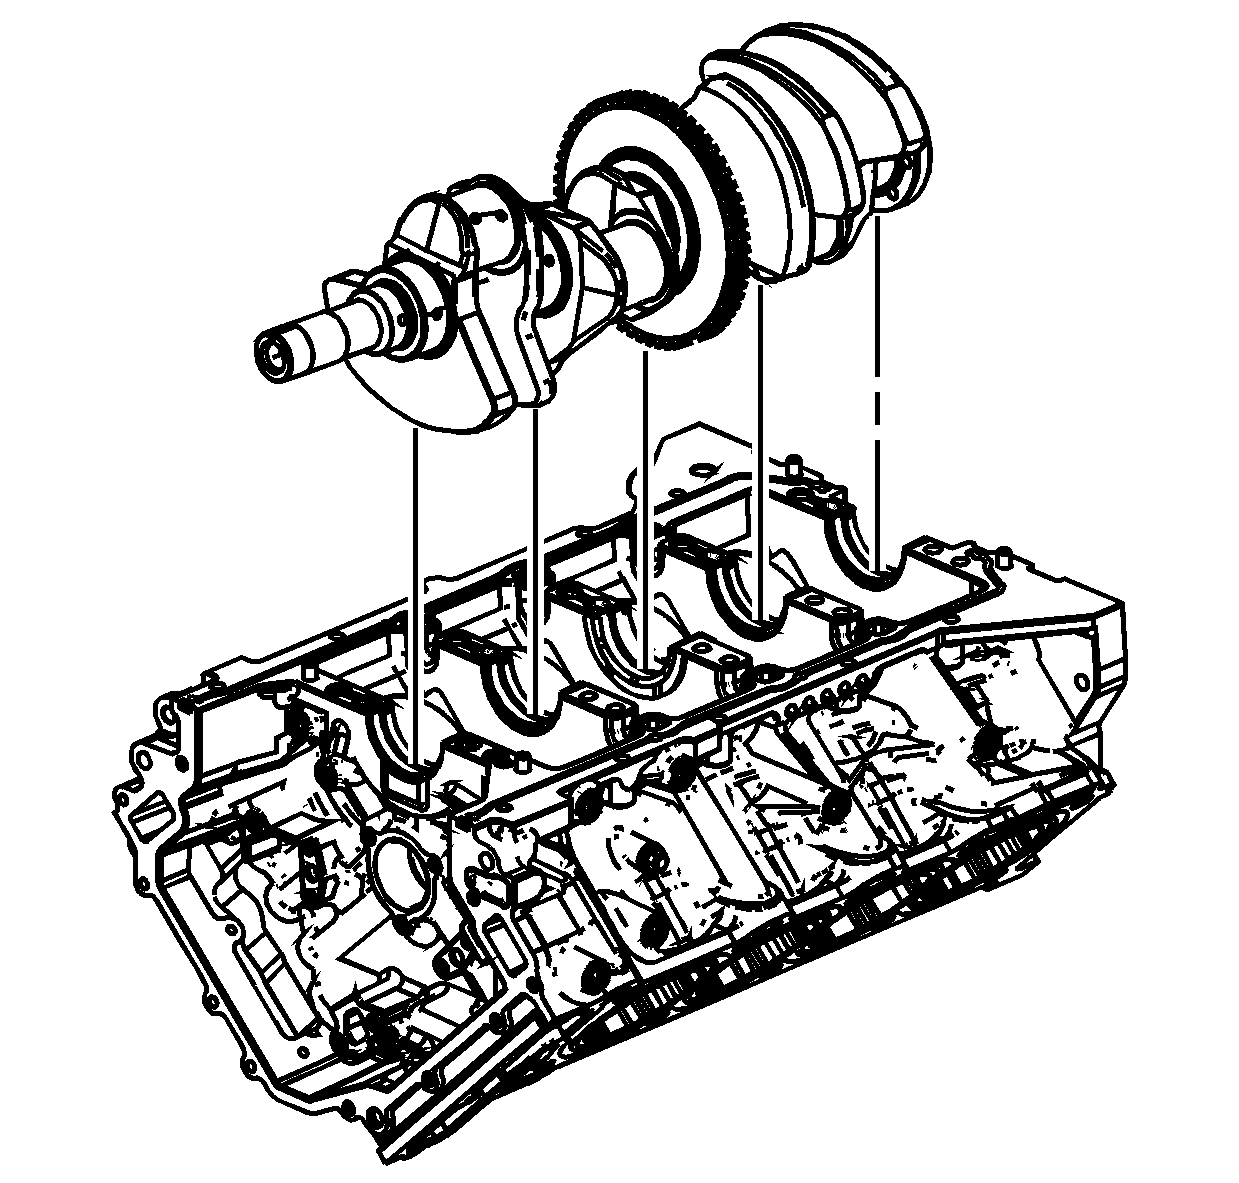
Crankshaft Removal Procedure
- Before removing the crankshaft, measure the crankshaft end play using the following procedure:
| 1.1. | Reinstall the lower crankcase. |
| 1.2. | Place a dial indicator at the crankshaft nose. |
| 1.3. | Gently force the crankshaft to the extreme front and rear positions with a pry tool while monitoring the movement of the dial indicator. |
| 1.4. | The crankshaft end play should not exceed 0.05-0.5 mm (0.002-0.020 in). |
| 1.5. | If the specifications are exceeded, replace the thrust bearing. |
| 1.6. | If a new thrust bearing does not bring the tolerances within specification, replace the crankshaft. |
| 1.7. | Remove the lower crankcase. |
- Locate or fabricate two V-blocks to support the crankshaft.

- Using two hands, lift the crankshaft straight up from the engine block.
- Place the crankshaft on the V-blocks in a secure place.

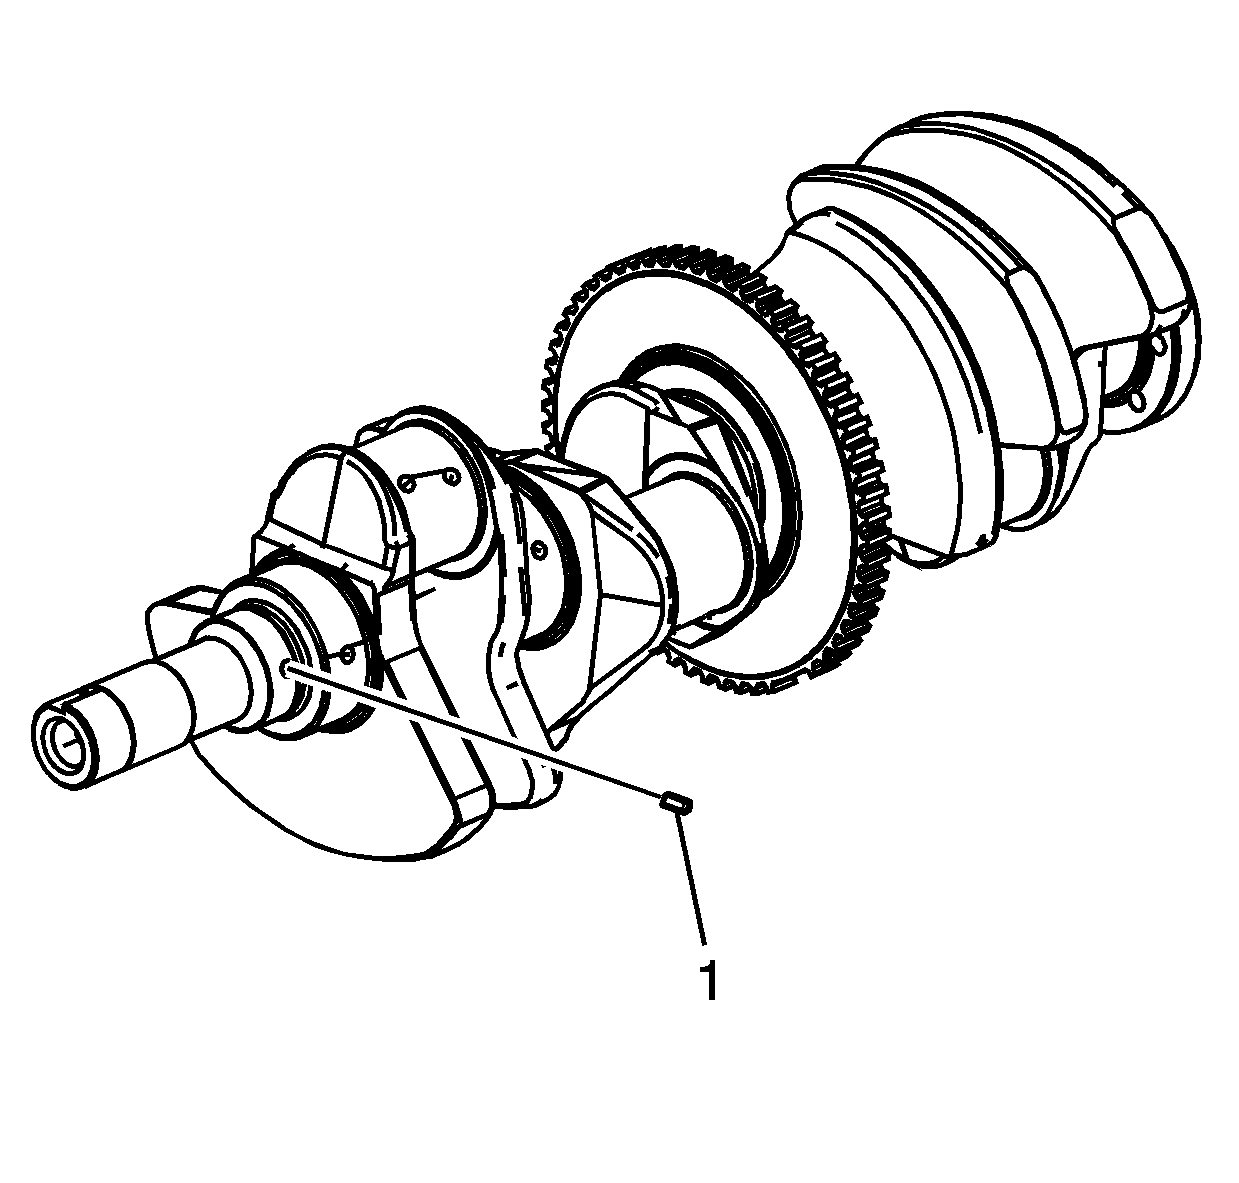
- If damaged, remove the crankshaft sprocket drive pin (1) from the nose of the crankshaft.
Crankshaft Bearing Removal Procedure
- Prepare a piece of cardboard, or equivalent, numbered one to five for bearing identification. Main bearing journals are numbered from the front of the engine.

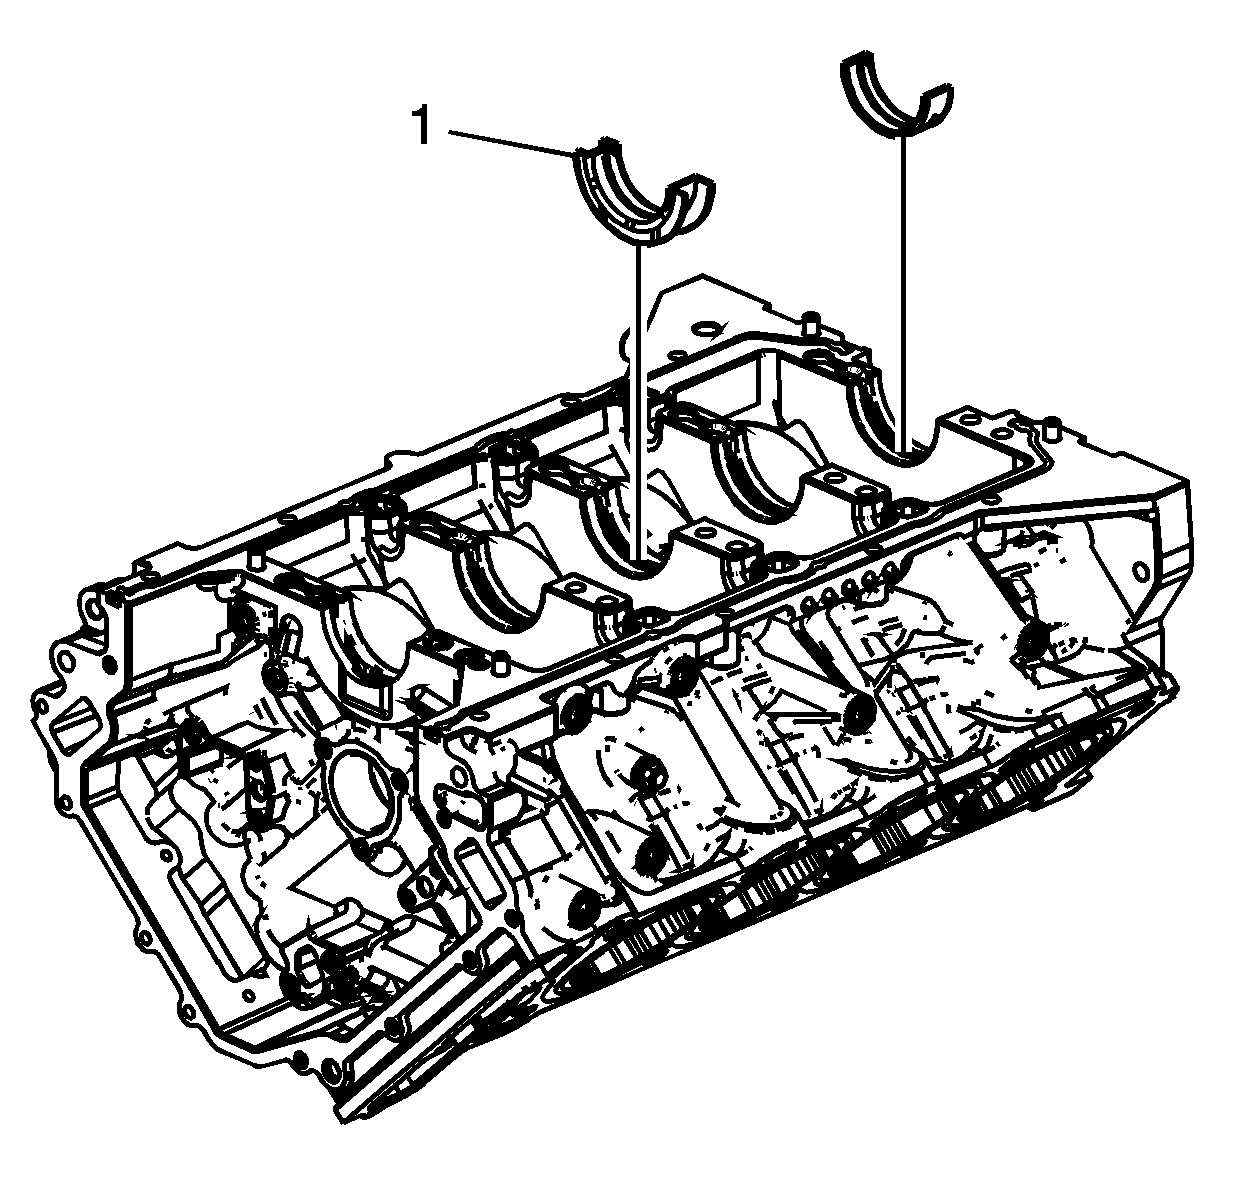
- Remove the upper crankshaft bearing halves from the cylinder block. Note the position of the thrust bearing (1)
at the number three journal.
- Place the upper main bearing halves on the cardboard in the correct positions. Note that the number three bearing is the thrust bearing.

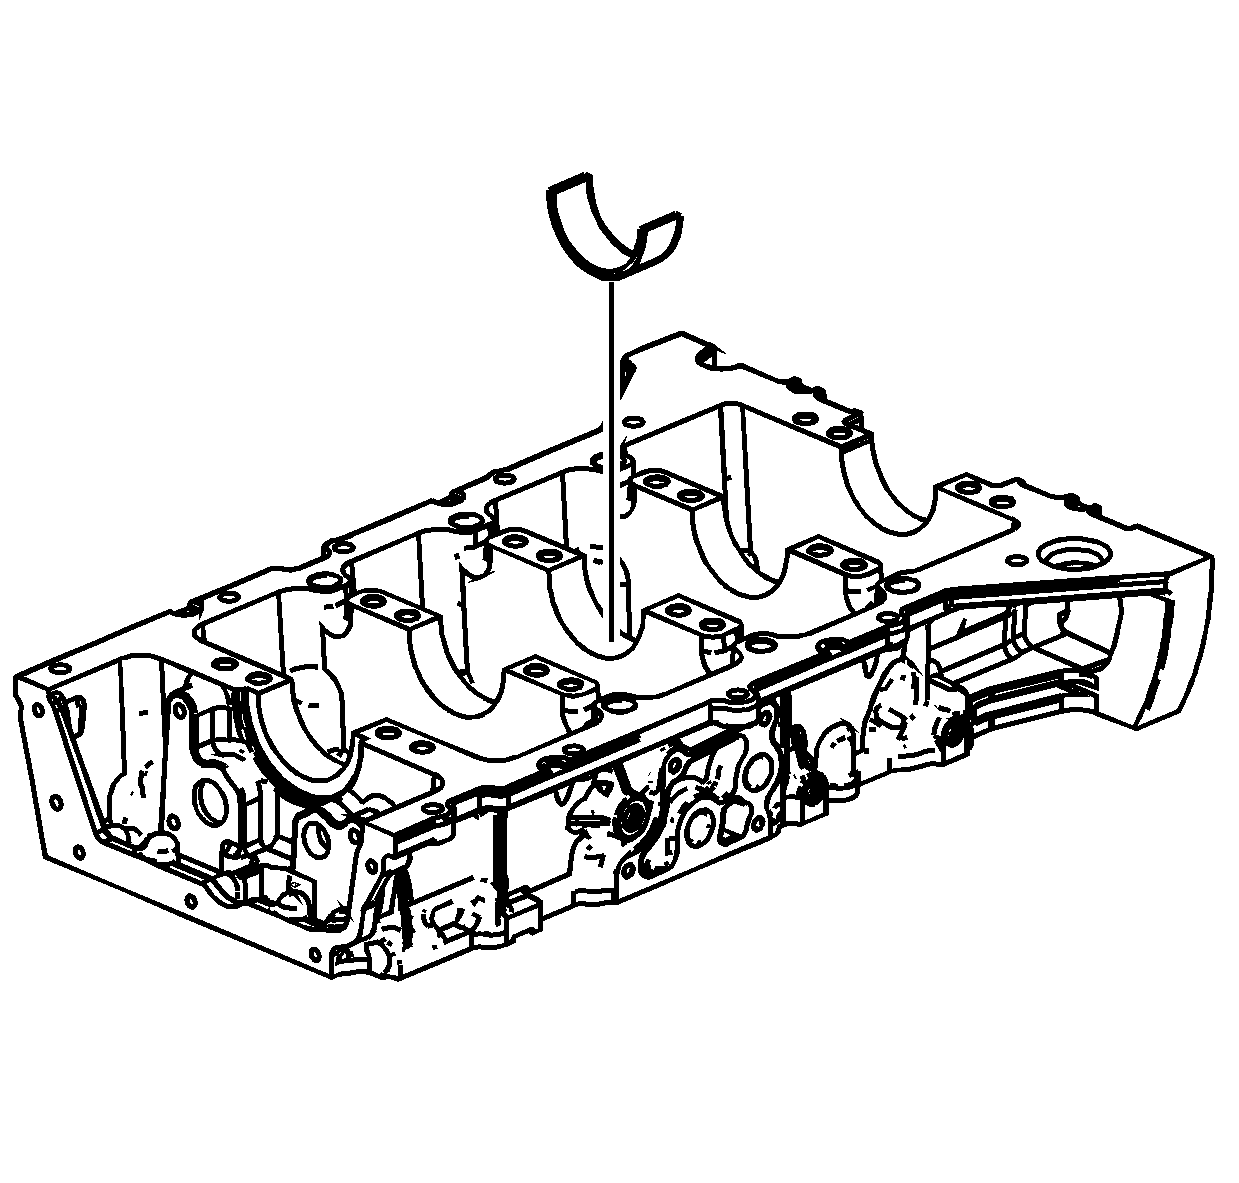
- Remove the lower main bearing halves from the lower crankcase.
- Place the lower main bearing halves in the correct positions on the cardboard.


