- Verify that the transmission
still is in the N (Neutral) position. If the position has moved, rotate the
shaft clockwise from Park (P) through Reverse (R) into Neutral (N). Be careful
not to damage the shaft flats, corners, or threads.
| • | New replacement park/neutral position switches already are pinned
in the N (Neutral) position. |
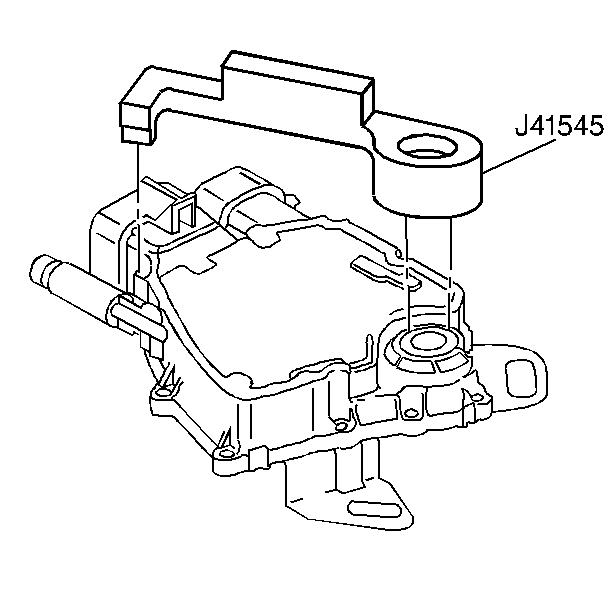
| • | When installing a park/neutral position switch with a sheared
pin, insert the alignment tool into the 2 slots on the switch in the area
of the transmission shaft. |
| • | Rotate the tool until the rear leg on the tool falls into the
slot on the switch near the hose. |
| • | Verify that the tool is seated properly in all 3 slots. |
| • | Check for a cracked carrier if either of the following conditions
exist: |
| - | You are installing the original switch |
Important: After the park/neutral switch installation, verify that the engine starts
only in Park (P) or Neutral (N). If the engine starts in any other position,
readjust the switch.
Important: Check the shifter for normal freedom of movement. Refer to Engine Controls
for diagnosis if DTC(s) are present.
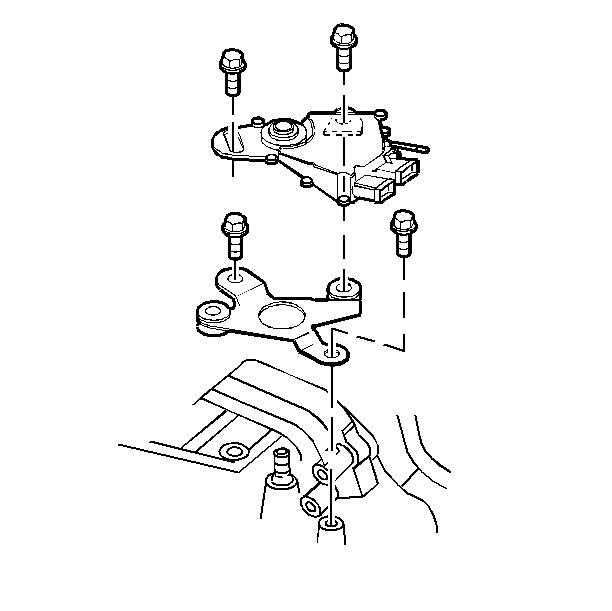
- Install the park/neutral
position switch.
| • | Align the flats in the park/neutral position switch with the transmission
manual shaft flats. |
| • | Press the park/neutral position switch onto the shaft. Fully seat
the switch against the transmission. |
- Install the bolts.
- With the alignment tool, verify the alignment of the switch before
tightening the bolts.
Tighten
Tighten the bolts to 25 N·m (18 lb ft).
Notice: Use the correct fastener in the correct location. Replacement fasteners
must be the correct part number for that application. Fasteners requiring
replacement or fasteners requiring the use of thread locking compound or sealant
are identified in the service procedure. Do not use paints, lubricants, or
corrosion inhibitors on fasteners or fastener joint surfaces unless specified.
These coatings affect fastener torque and joint clamping force and may damage
the fastener. Use the correct tightening sequence and specifications when
installing fasteners in order to avoid damage to parts and systems.
- Remove the alignment tool.
- Install the cable and the lever.
- Connect the electrical connectors.
- Install the shift linkage assembly.
