Front Disc Brake Mounting and Hardware Inspection JL9, JE5
Caution: Refer to Brake Dust Caution in the Preface section.
- Inspect the fluid level in the brake master cylinder reservoir.
- If the brake fluid level is midway between the maximum-full point and the minimum allowable level, no brake fluid needs to be removed from the reservoir before proceeding.
- If the brake fluid level is higher than midway between the maximum-full point and the minimum allowable level, remove brake fluid to the midway point before proceeding.
- Install a large C-clamp, over the body of the brake caliper with the C-clamp ends against the rear of the caliper body and against the outer brake pad.
- Tighten the C-clamp until the caliper piston is compressed into the caliper bore enough to allow the caliper to slide past the brake rotor.
- Remove the C-clamp from the caliper.
- Grasp the brake caliper and try to move the brake caliper up or down. The brake caliper should not have excessive looseness.
- Grasp the brake caliper and try to move the brake caliper in and out. The brake caliper should slide smoothly with minimal force.
- Inspect the brake caliper retainers.
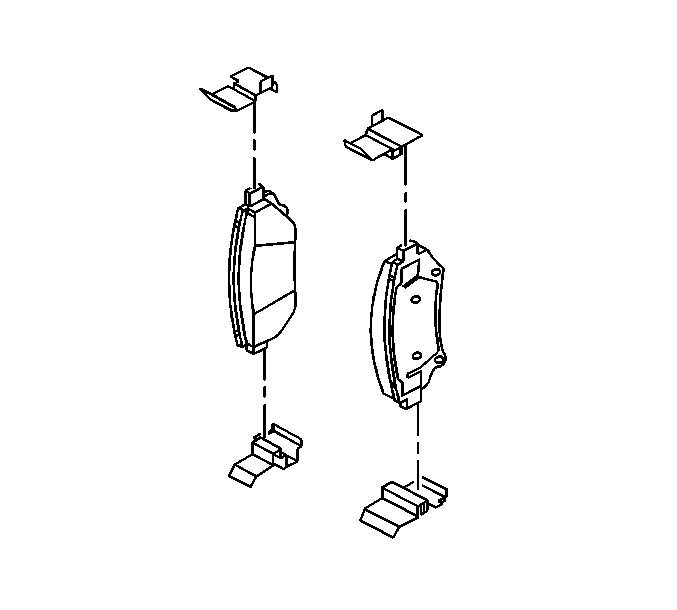
- Inspect the disc brake pad mounting hardware for the following:
| • | Looseness at the brake caliper mounting bracket |
| • | Looseness at the disc brake pads |
| • | Missing mounting hardware |
- If any of the conditions listed are found, the disc brake pad mounting hardware requires replacement.
- Ensure the disc brake pads are held firmly in place on the brake caliper mounting bracket, yet slide easily on the mounting hardware without binding.
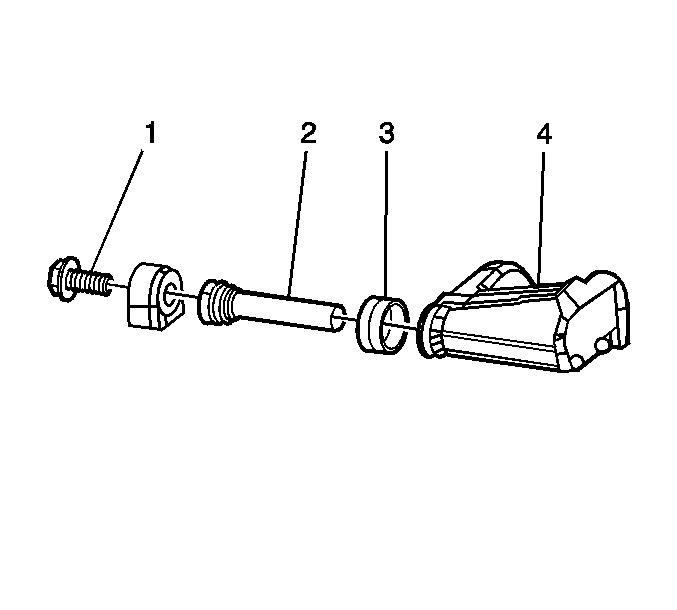
- Inspect the brake caliper bolts (1) for the following:
| • | Bent or damaged brake caliper bolts (1) |
| • | Bent or damaged brake caliper mounting bracket (4) |
| • | Looseness in the brake caliper mounting bracket (4) |
- If any of the conditions listed are found, the brake caliper mounting hardware requires replacement.
- Inspect the brake caliper slides pins (2) by gently pulling outward, without disengaging the slides from the boot, then push inward, and observe for the following:
| • | Bent or damaged brake caliper bolts (1) |
| • | Bent or damaged brake caliper mounting bracket (4) |
| • | Cracked or torn boots (3) |
| • | Looseness in the brake caliper mounting bracket (4) |
- If any of the conditions listed are found, the brake caliper mounting hardware requires replacement.
Front Disc Brake Mounting and Hardware Inspection J56
Caution: Refer to Brake Dust Caution in the Preface section.
- Inspect the fluid level in the brake master cylinder reservoir.
- If the brake fluid level is midway between the maximum-full point and the minimum allowable level, no brake fluid needs to be removed from the reservoir before proceeding.
- If the brake fluid level is higher than midway between the maximum-full point and the minimum allowable level, remove brake fluid to the midway point before proceeding.
Important: Use ONLY a plastic flat-bladed trim tool and/or another suitable soft tool when compressing the caliper pistons into the caliper piston bores. Never use any type of metal tool between the brake rotor and brake pads to
compress the caliper pistons into the bores.
- Carefully insert a plastic flat-bladed trim tool between the rotor and inboard brake pad.
- Carefully apply pressure to the inboard brake pad until both caliper inner pistons are fully compressed into the caliper piston bores.
- Carefully insert a plastic flat-bladed trim tool between the rotor and outboard brake pad.
- Carefully apply pressure to the outboard brake pad until both caliper outer pistons are fully compressed into the bores.
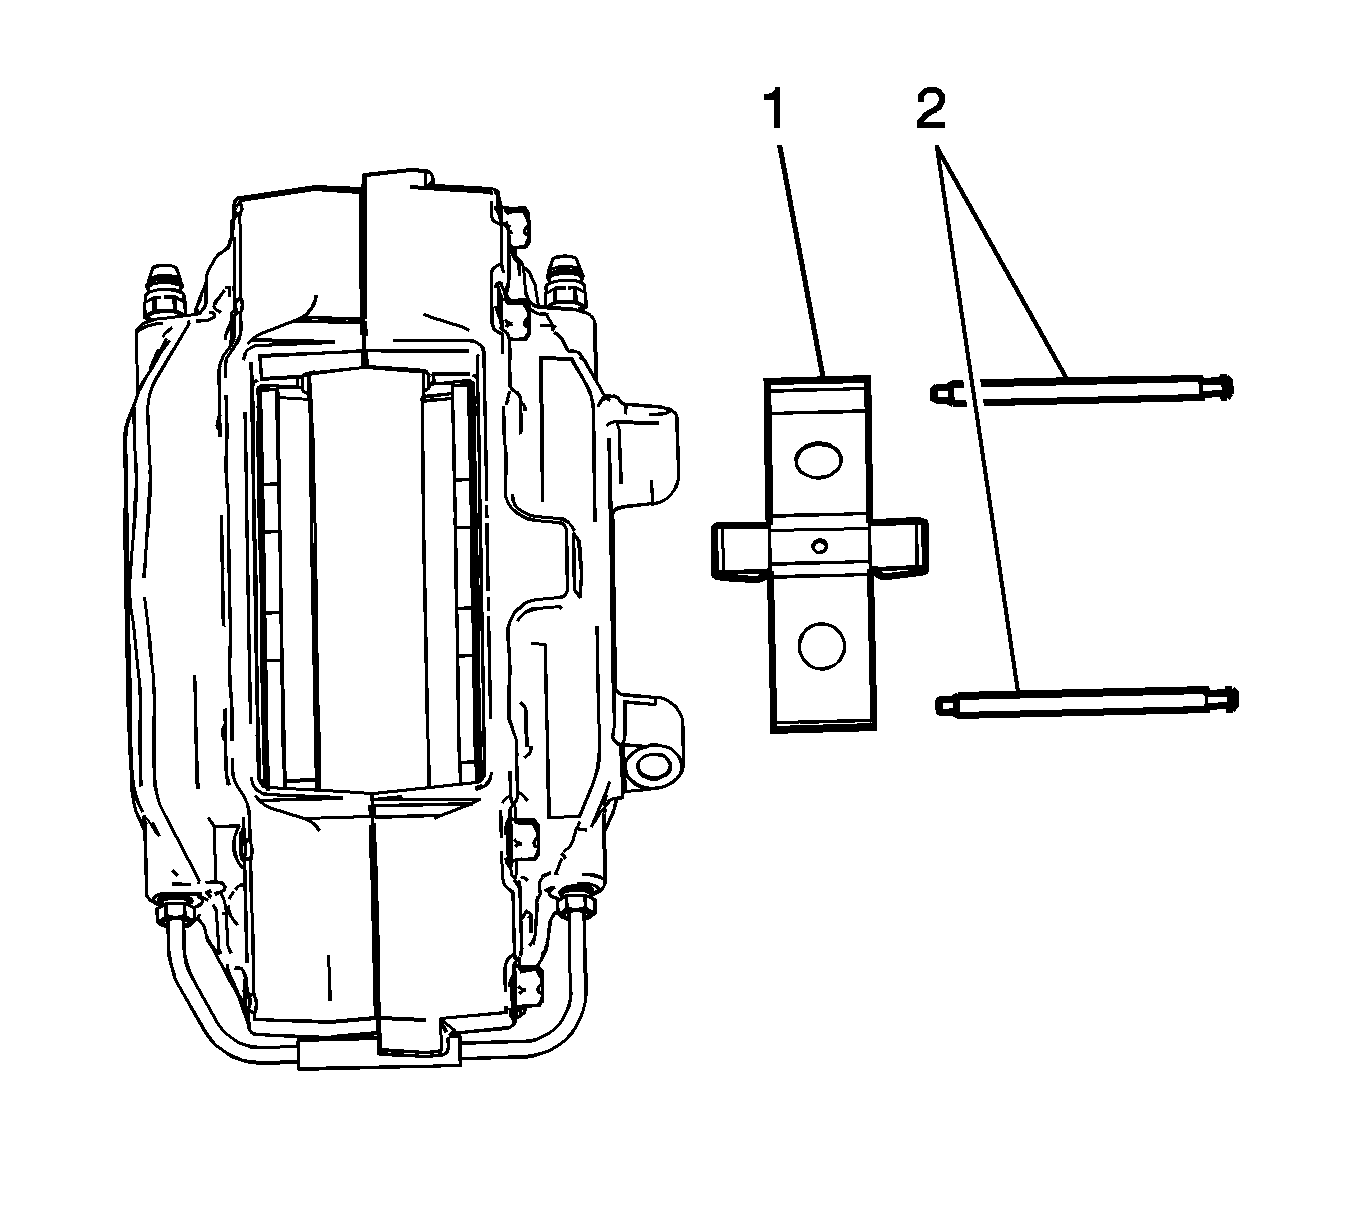
- Inspect the brake caliper retainer (1).
- Inspect the brake caliper guide pins (2).
- Inspect the disc brake pad mounting hardware for the following:
| • | Bent or damaged brake caliper guide pins |
| • | Looseness at the disc brake pads |
| • | Missing mounting hardware |
- If any of the conditions listed are found, the disc brake pad mounting hardware requires replacement.
