For 1990-2009 cars only
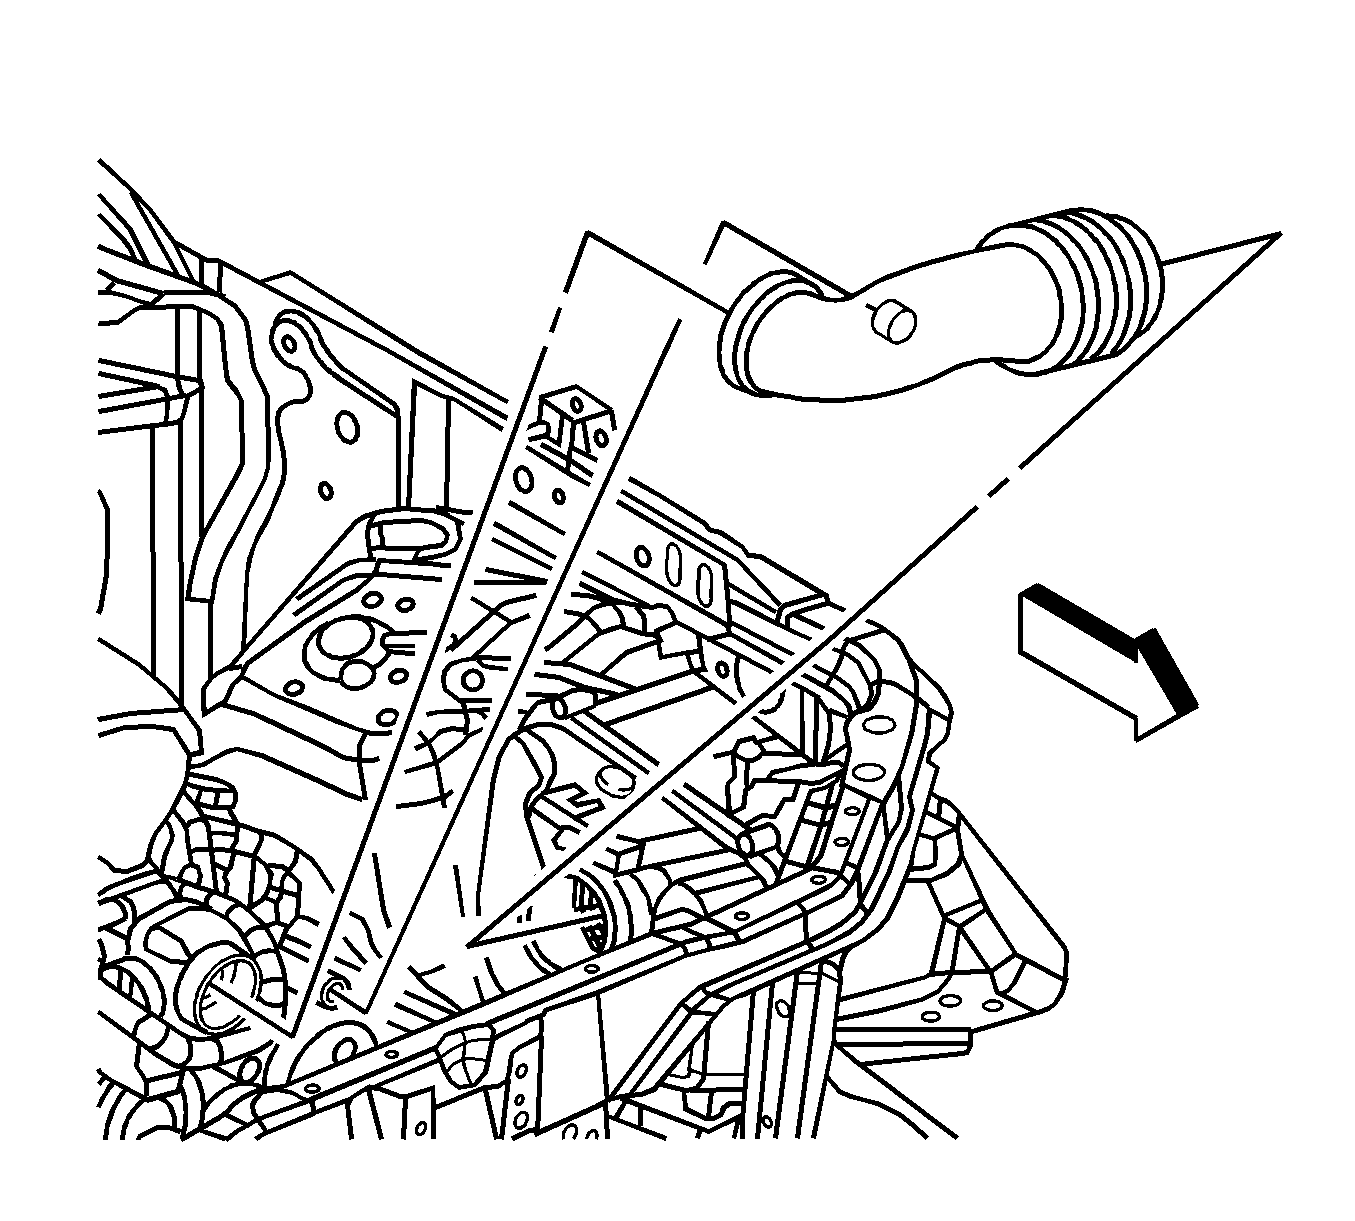
Removal Procedure
- Remove the air cleaner outlet duct from the vehicle. Refer to Air Cleaner Outlet Duct Replacement .
- Disconnect the mass air flow (MAF)/intake air temperature (IAT) sensor electrical connector.
- Remove the MAF/IAT sensor if necessary. Refer to Mass Airflow Sensor/Intake Air Temperature Sensor Replacement .
- Remove the coolant hose from the retaining feature on the top of the air cleaner assembly. Position the hose aside.
- Remove the screws securing the air cleaner assembly to the vehicle and remove the assembly.
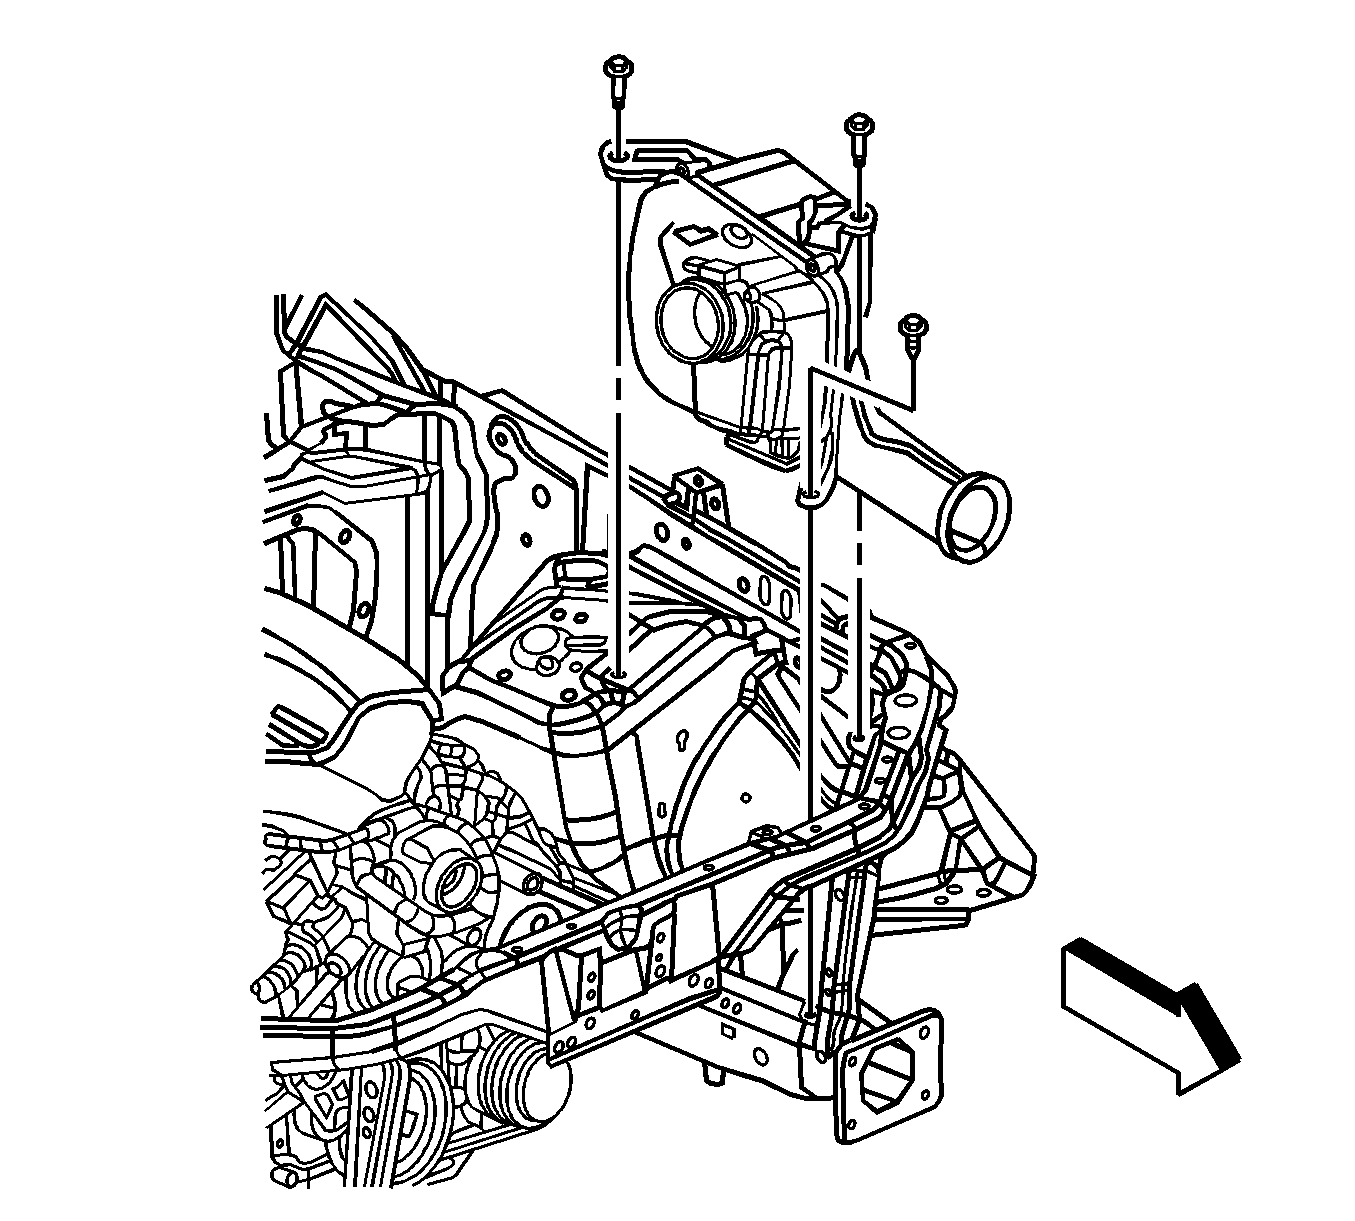
Installation Procedure
Important: An improperly installed air cleaner or a distorted or missing intake air duct may cause a diagnostic trouble code (DTC) to set. Ensure that the air cleaner assembly and intake air duct is installed correctly and that there are no kinks or folds in the intake air duct. Debris in the air cleaner assembly or MAF sensor inlet screen, that may distort air flow can set a DTC.
- Install the air cleaner assembly into the vehicle.
- Install the air cleaner assembly screws.
- Install the coolant hose into the retaining feature on the top of the air cleaner assembly.
- Install the MAF/IAT sensor if previously removed. Refer to Mass Airflow Sensor/Intake Air Temperature Sensor Replacement .
- Connect the MAF/IAT sensor electrical connector.
- Install the air cleaner outlet duct. Refer to Air Cleaner Outlet Duct Replacement .
Notice: Refer to Fastener Notice in the Preface section.
Tighten
Tighten the air cleaner assembly screws to 10 N·m (89 lb in).
