For 1990-2009 cars only
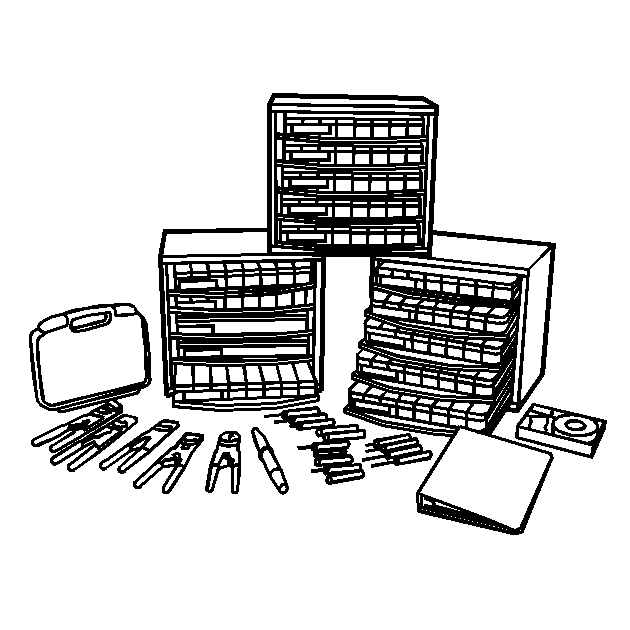
Special Tools
J-38125 Terminal Repair Kit
Removal Procedure
Follow the steps below in order to remove terminals from the connector.
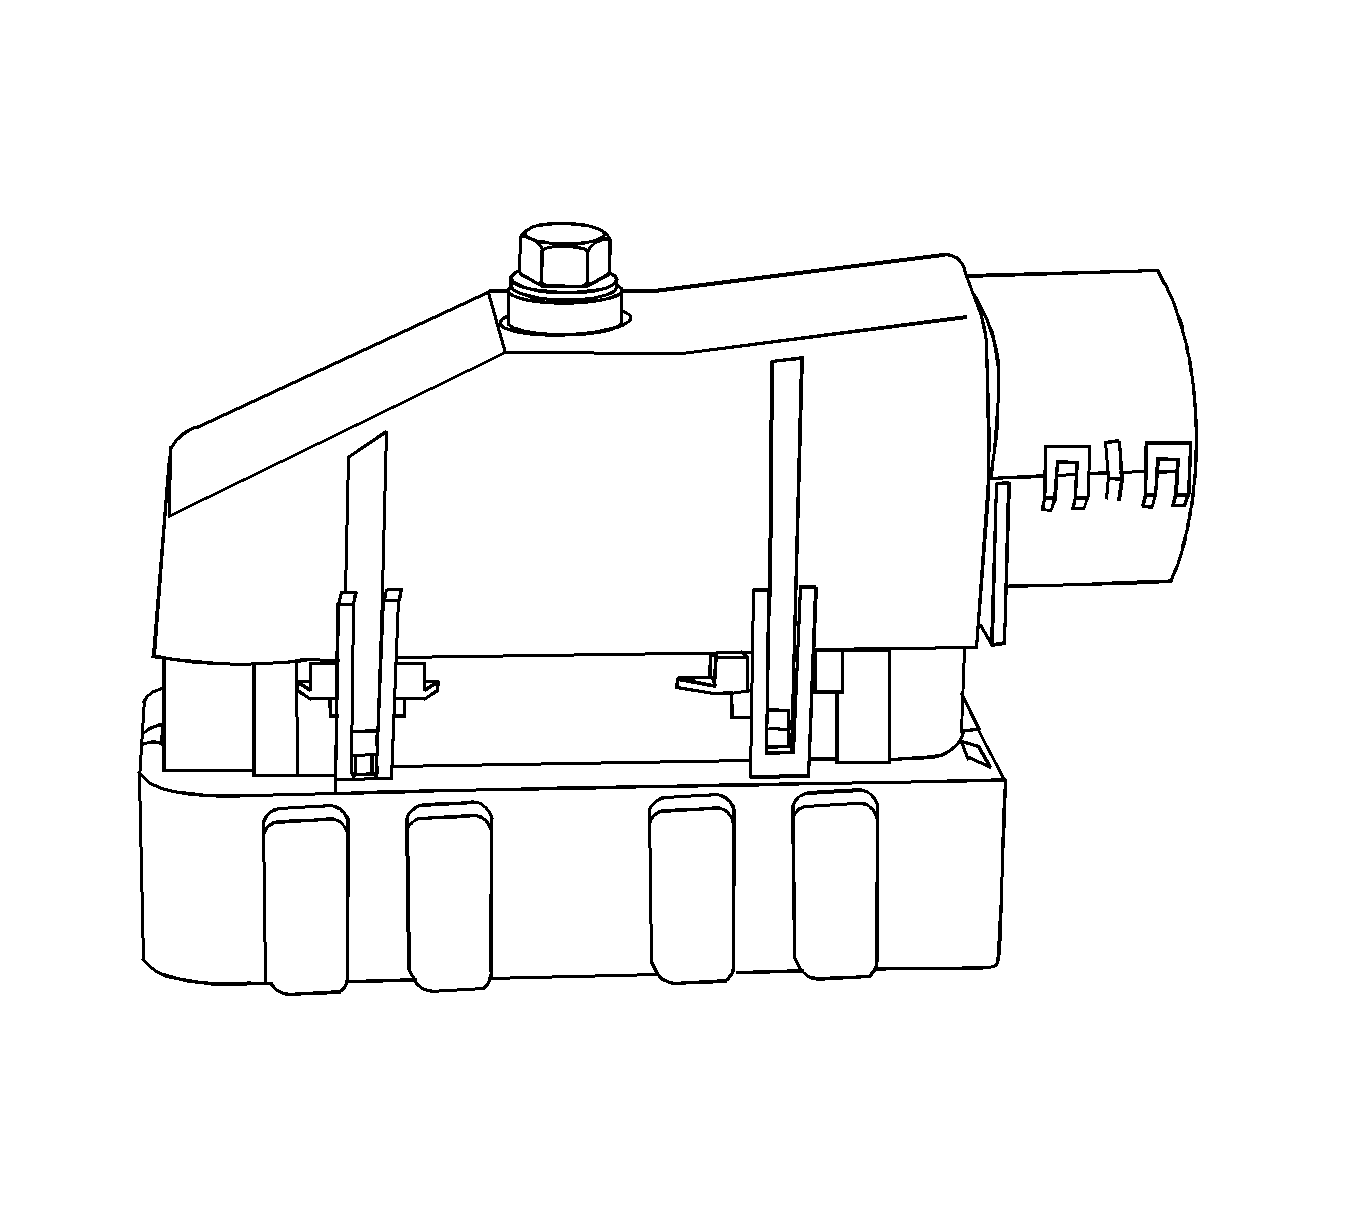
- For connectors with a bolt in the dress cover, turn the bolt counterclockwise to remove the connector from the component.
- Locate the connector position assurance (CPA) on the top of the wire dress cover. Slide the CPA forward.
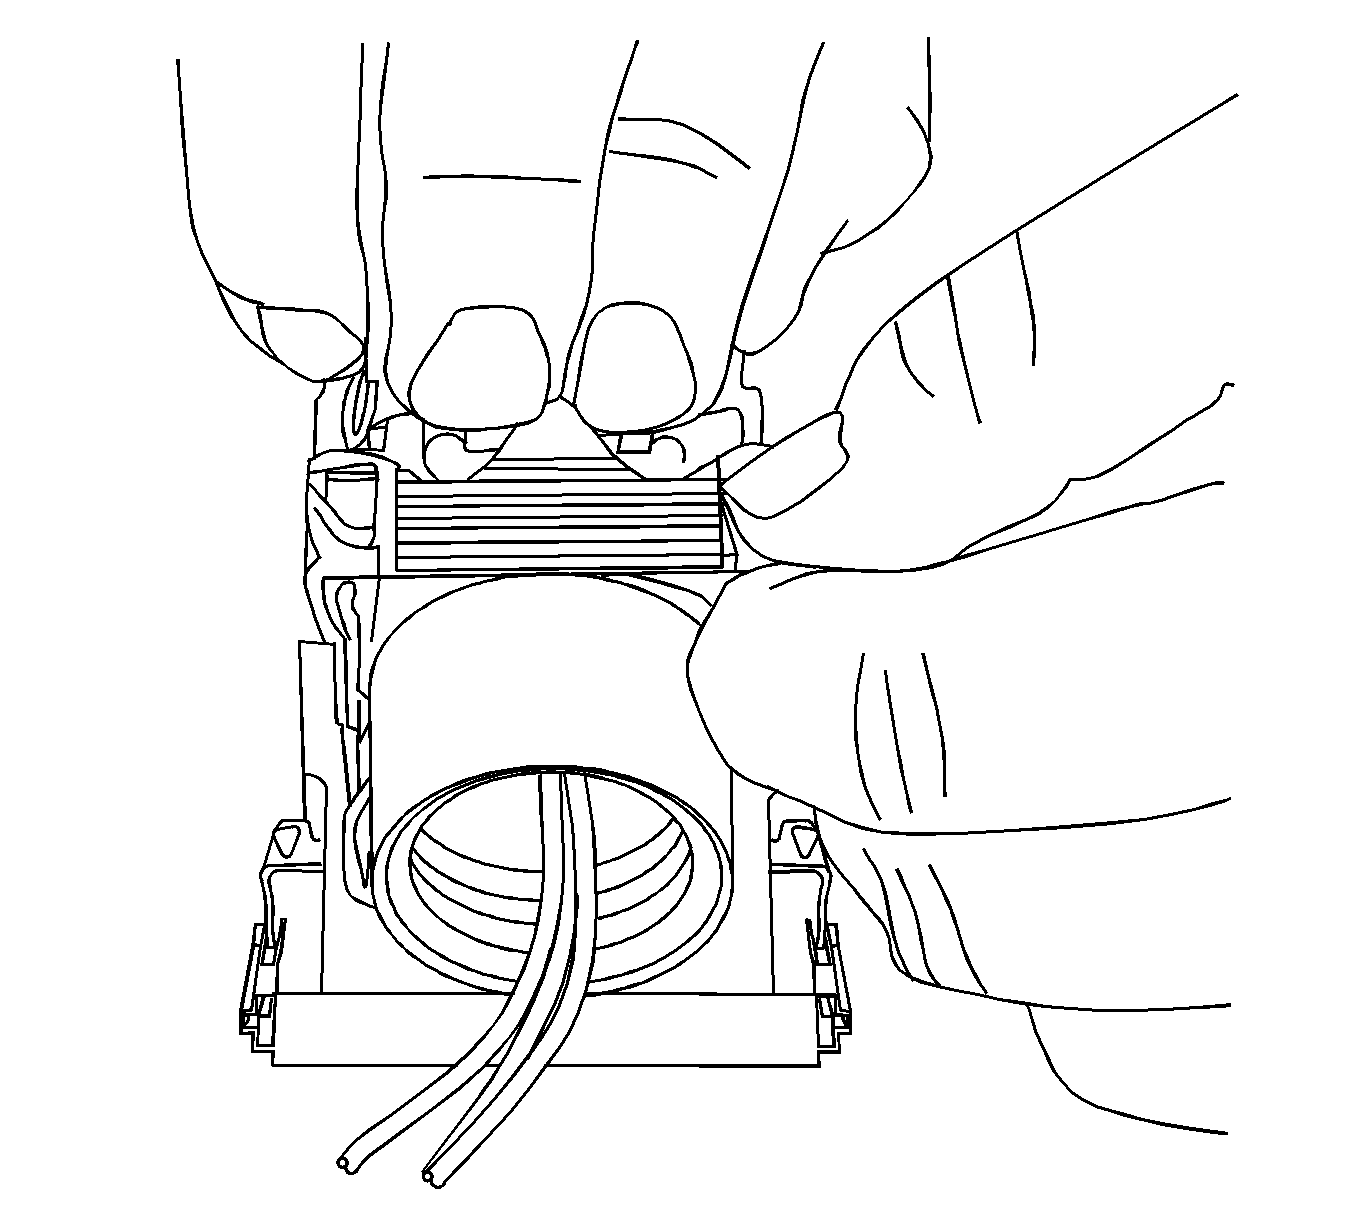
- Slide the lever lock forward while pressing down on the lever lock release tab.
- View showing depressing of the lever lock release tab.
- View of connector in released position.
- Disconnect the connector from the component.
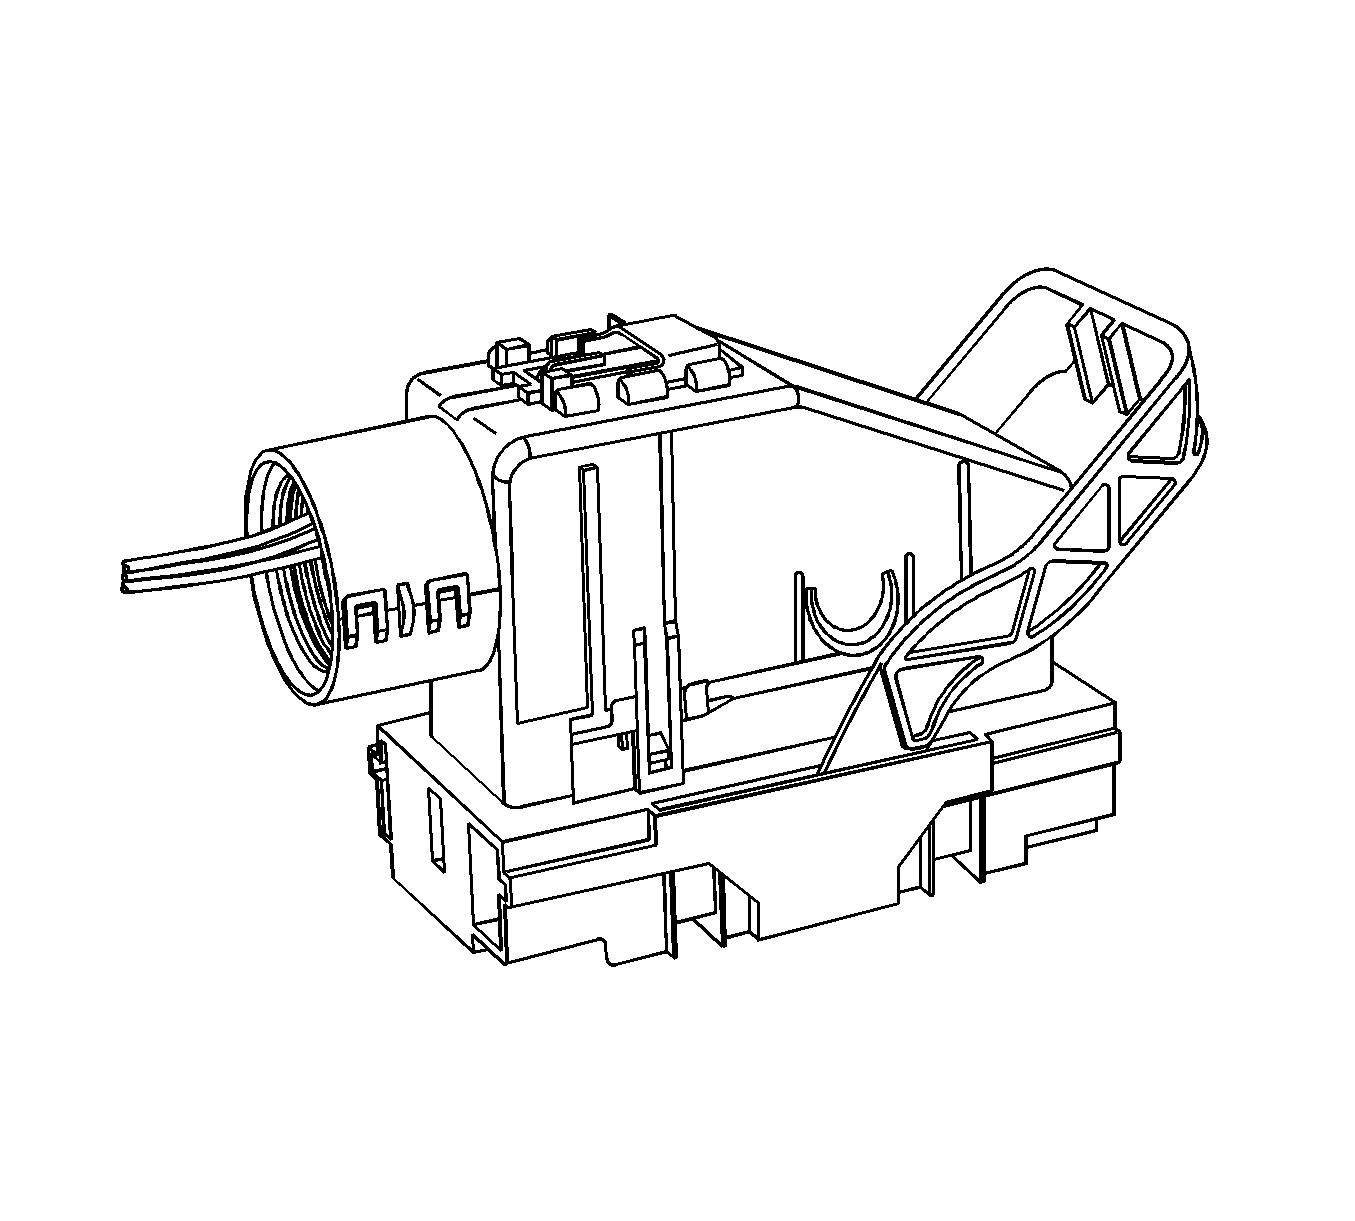
- Locate the dress cover locking tabs at the corners of the dress cover. Use a small flat-blade tool to release the locking tabs and remove the dress cover.
- Release the rear lower half of the wiredress cover.
- Release the tabs that are holding the wiredress cover to the connector body.
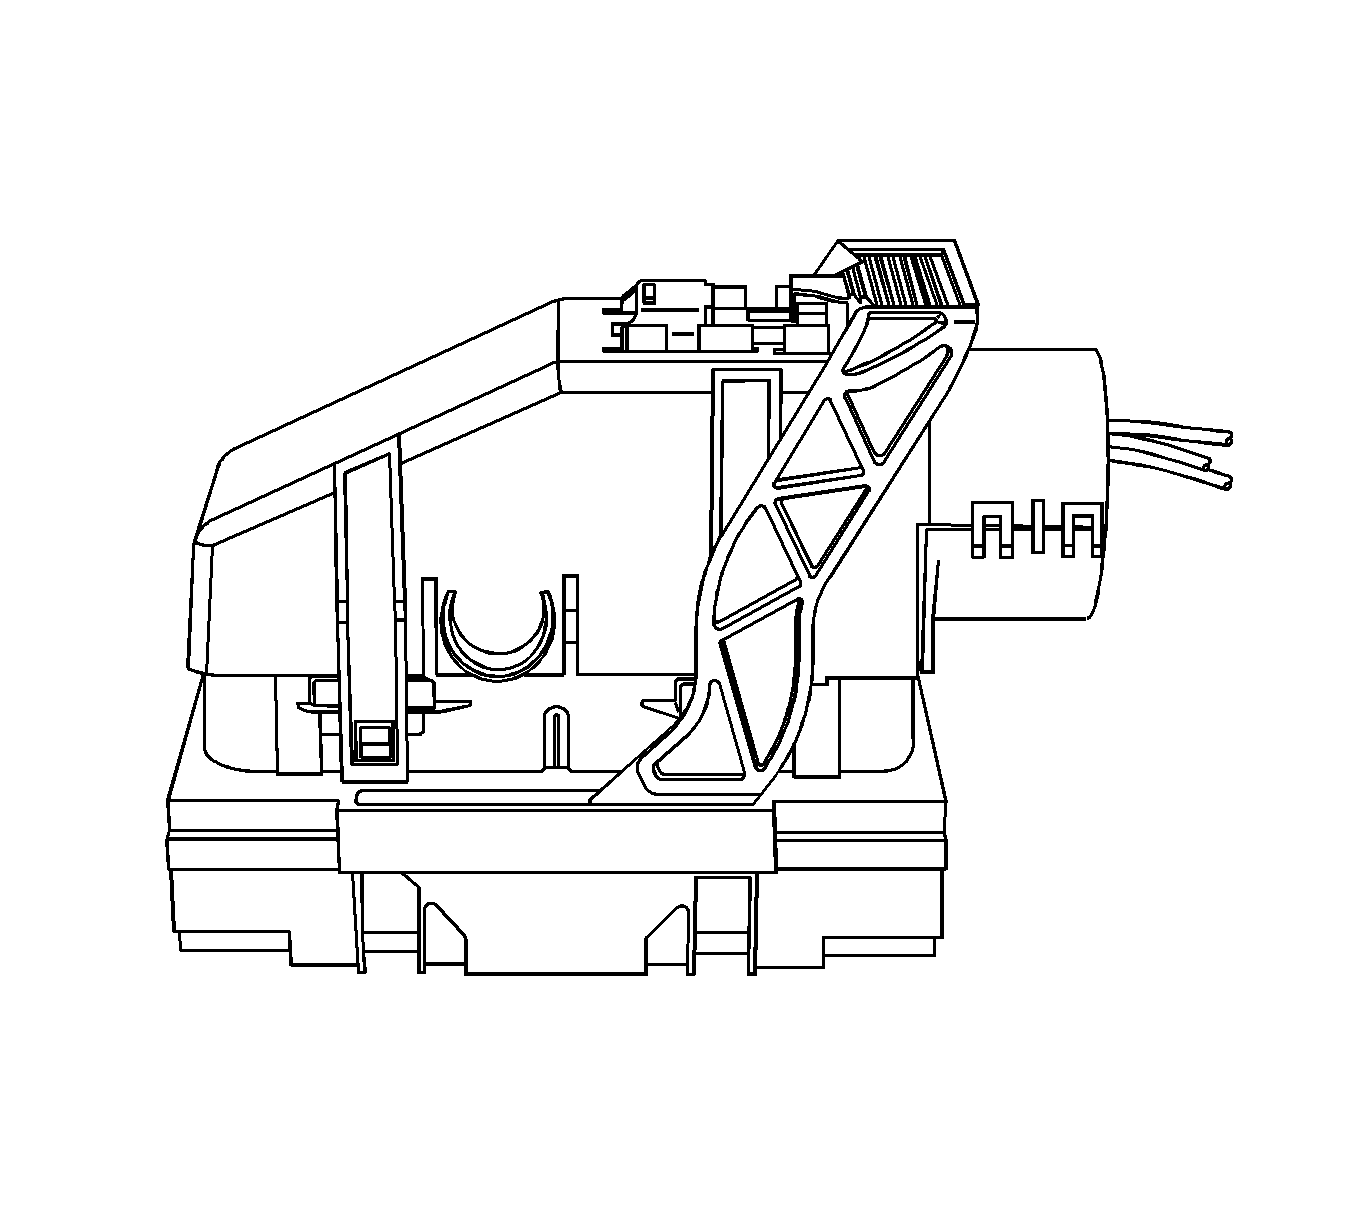
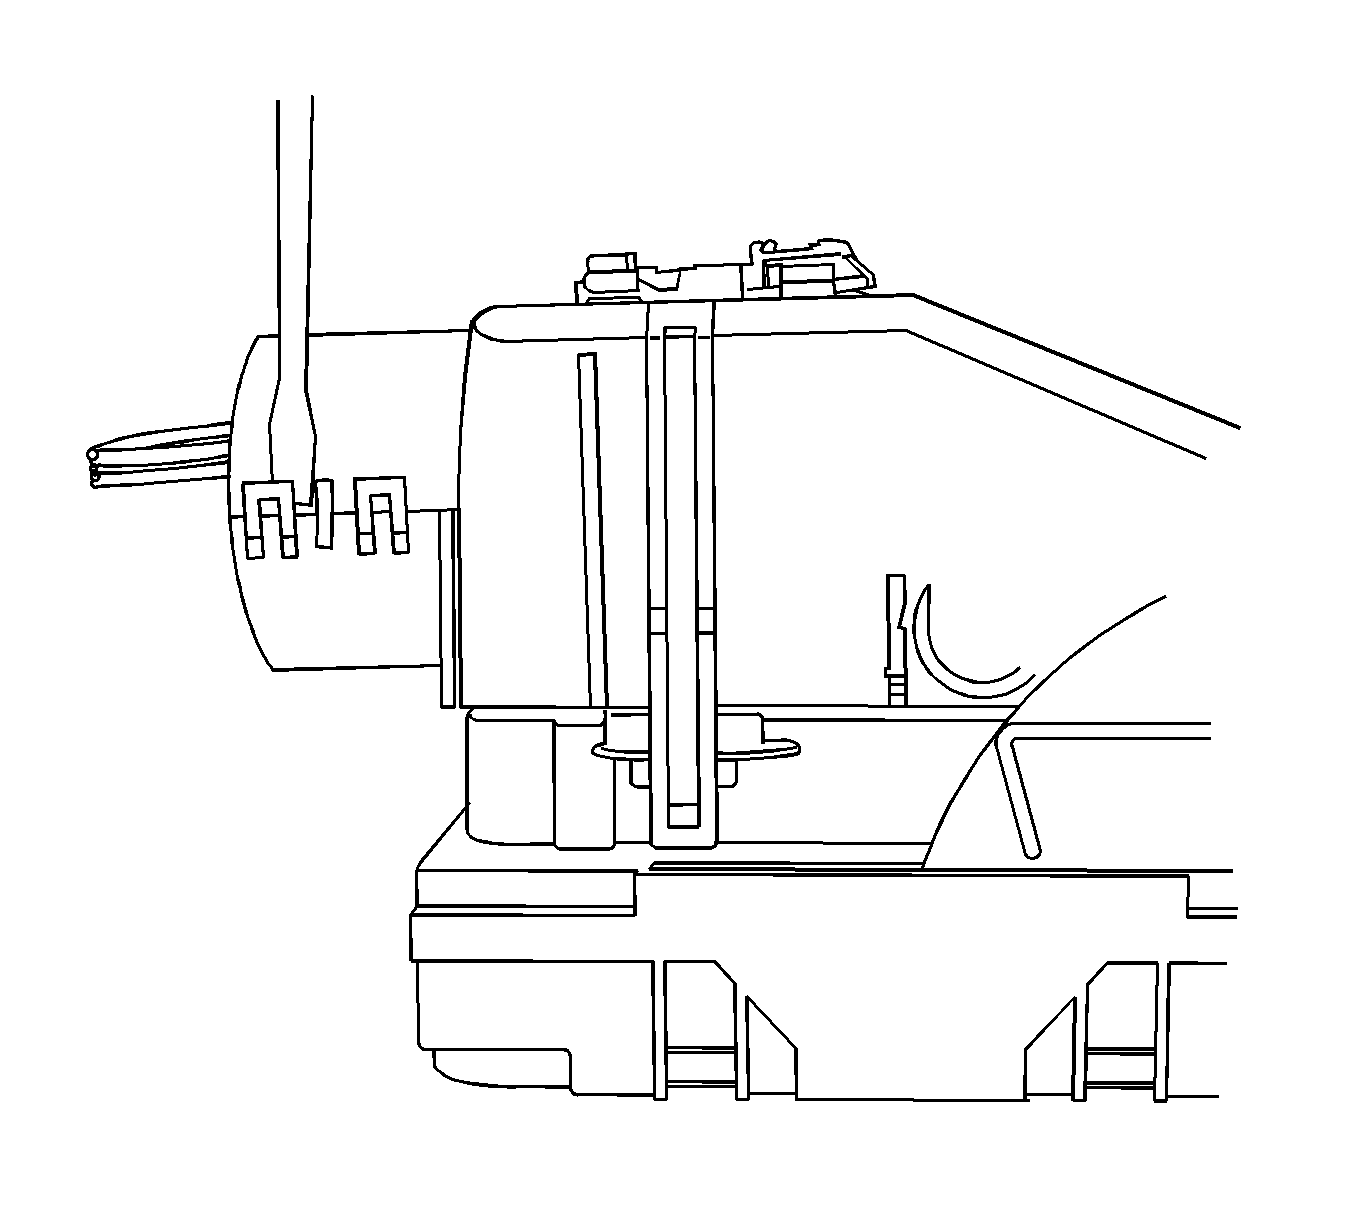
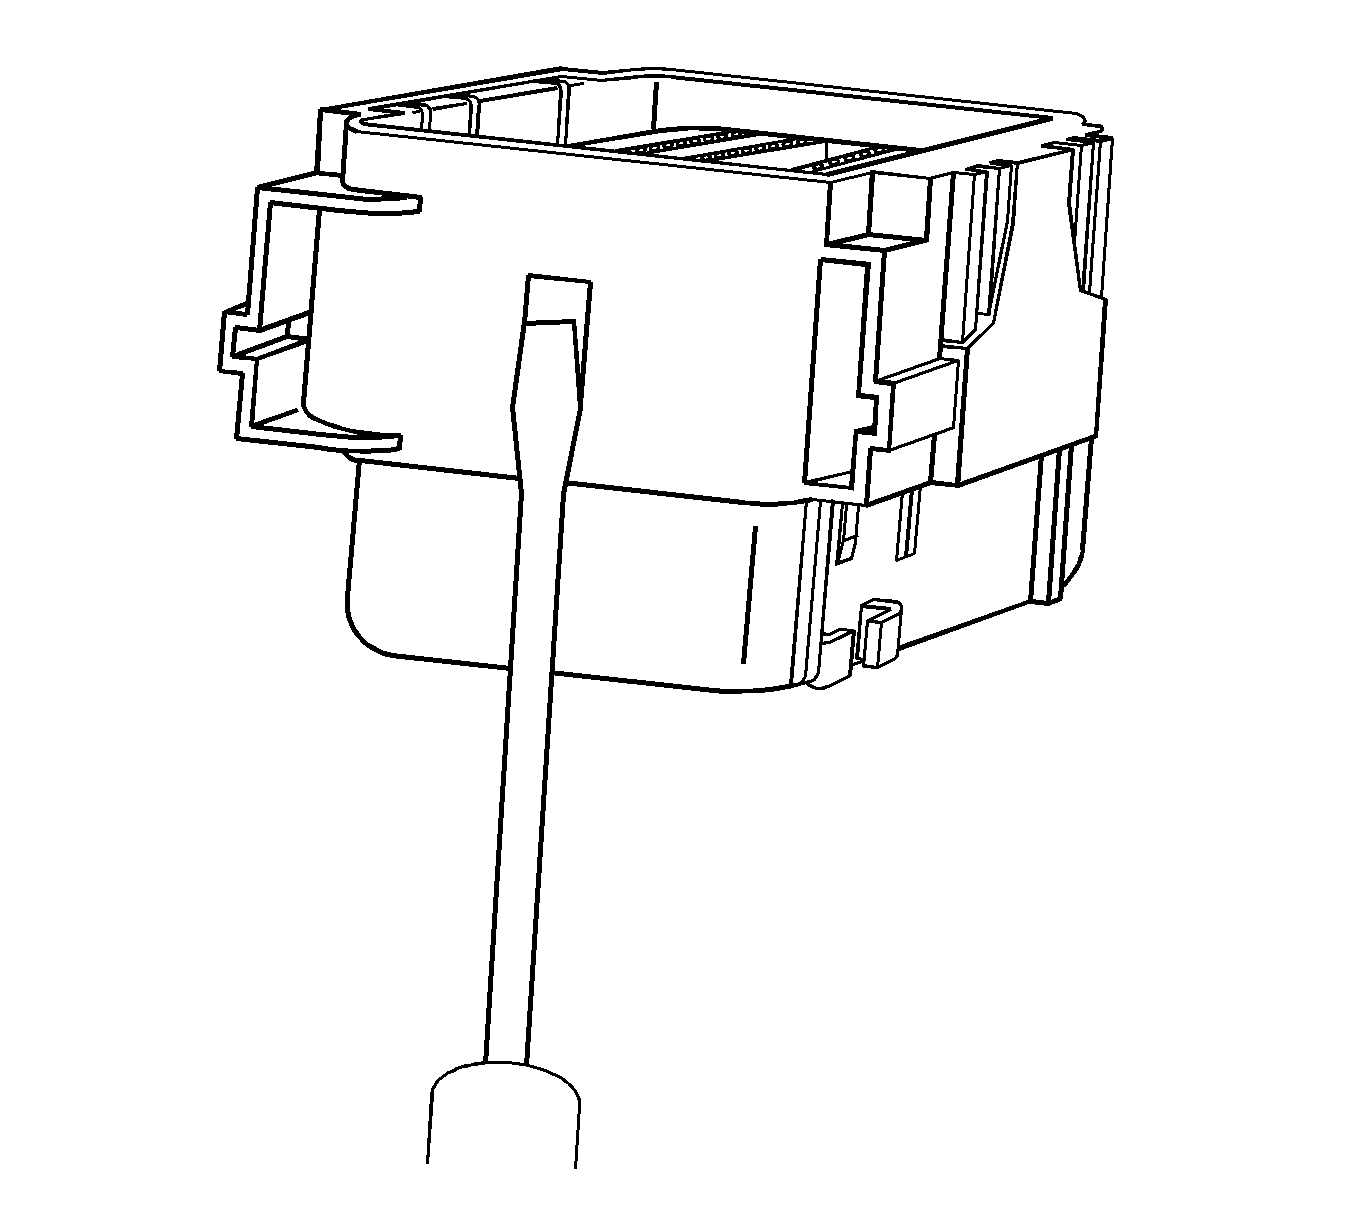
- Remove the nose piece by inserting a small flat-blade tool into the slots on both ends of the connector body. Gently pry the nose piece out of the connector. J 38125-216 can also be used to remove the nose piece.
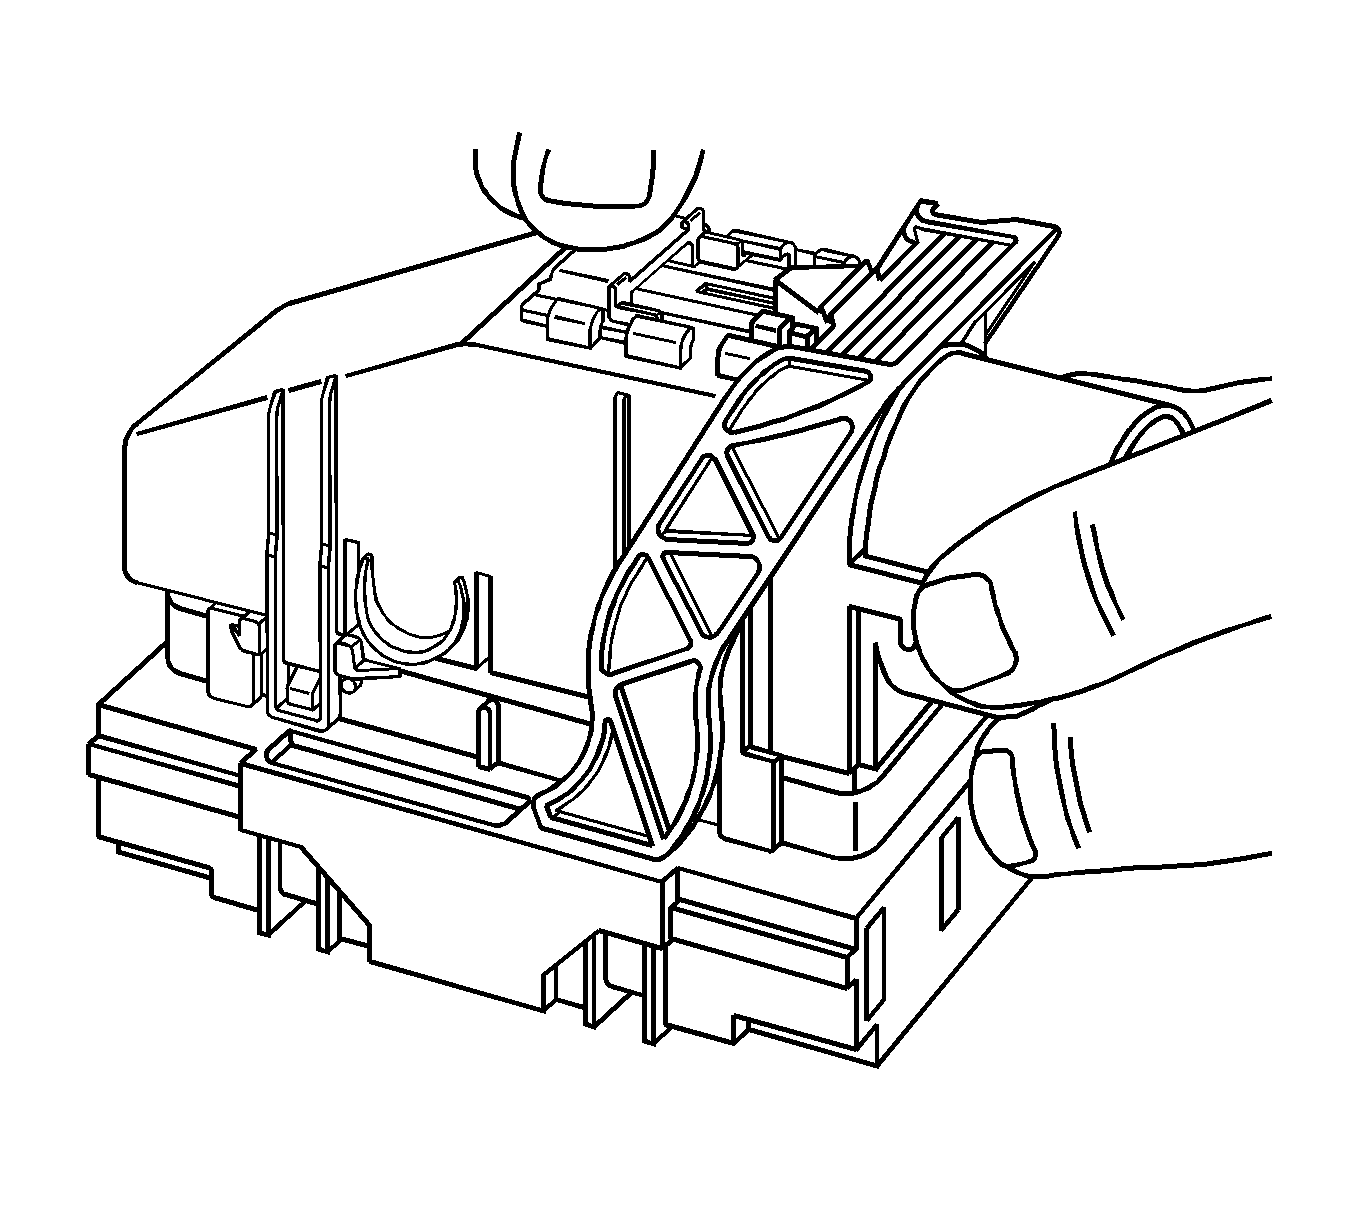
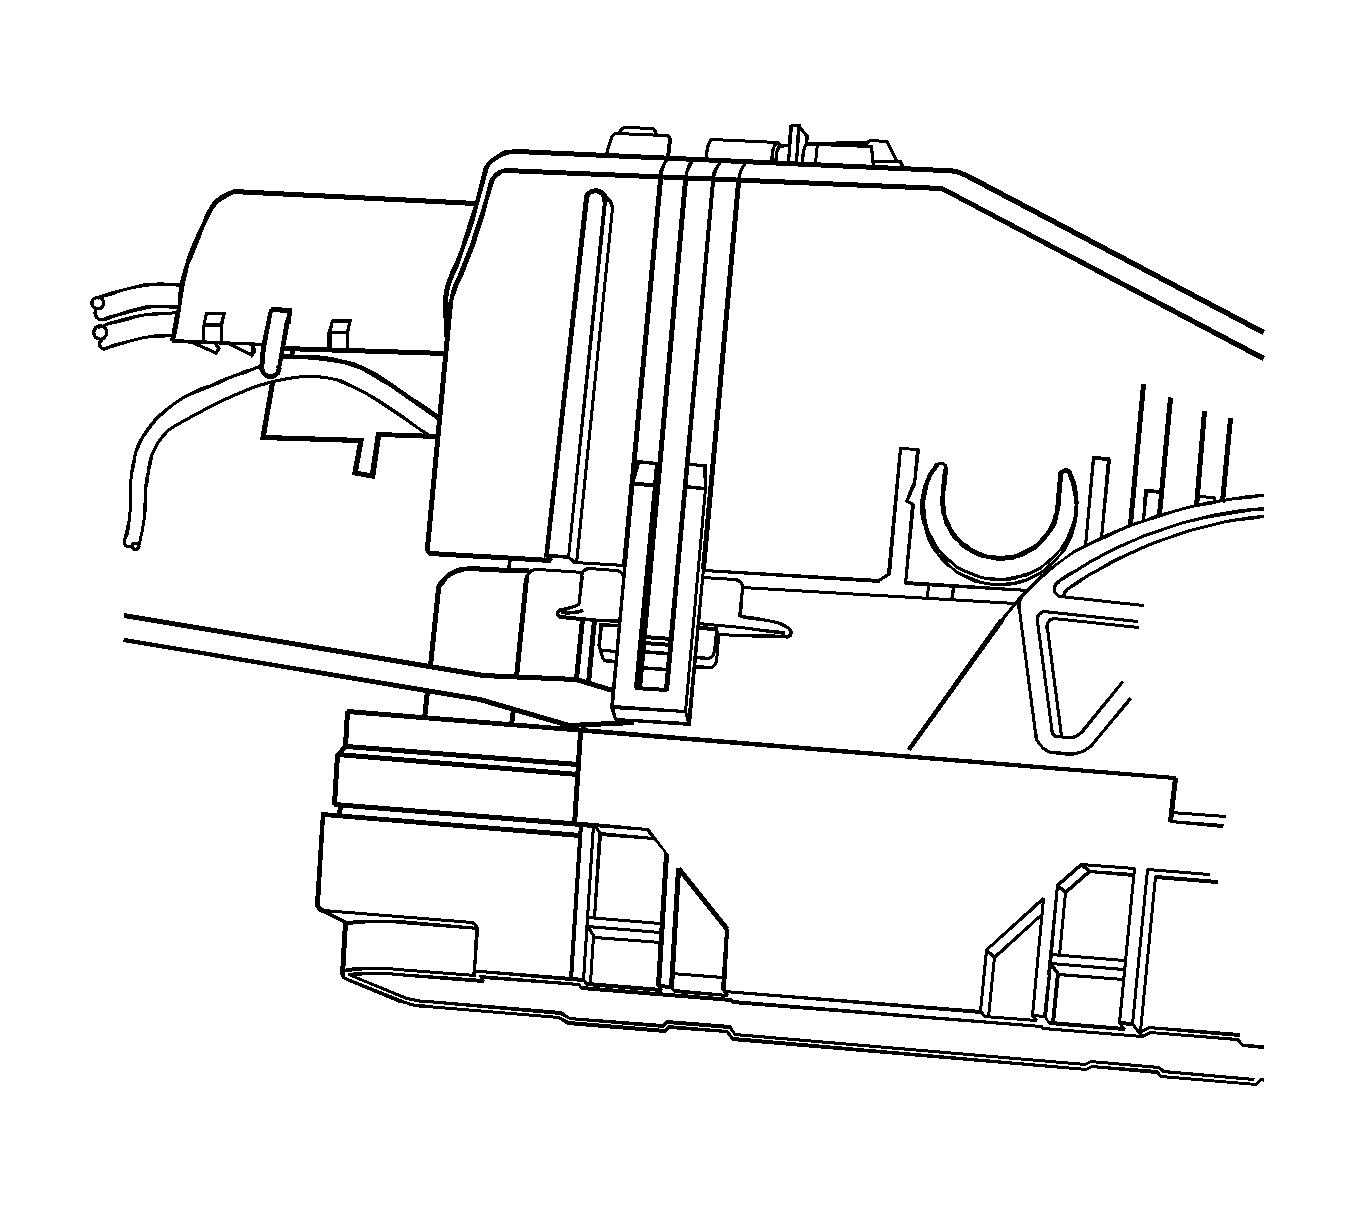
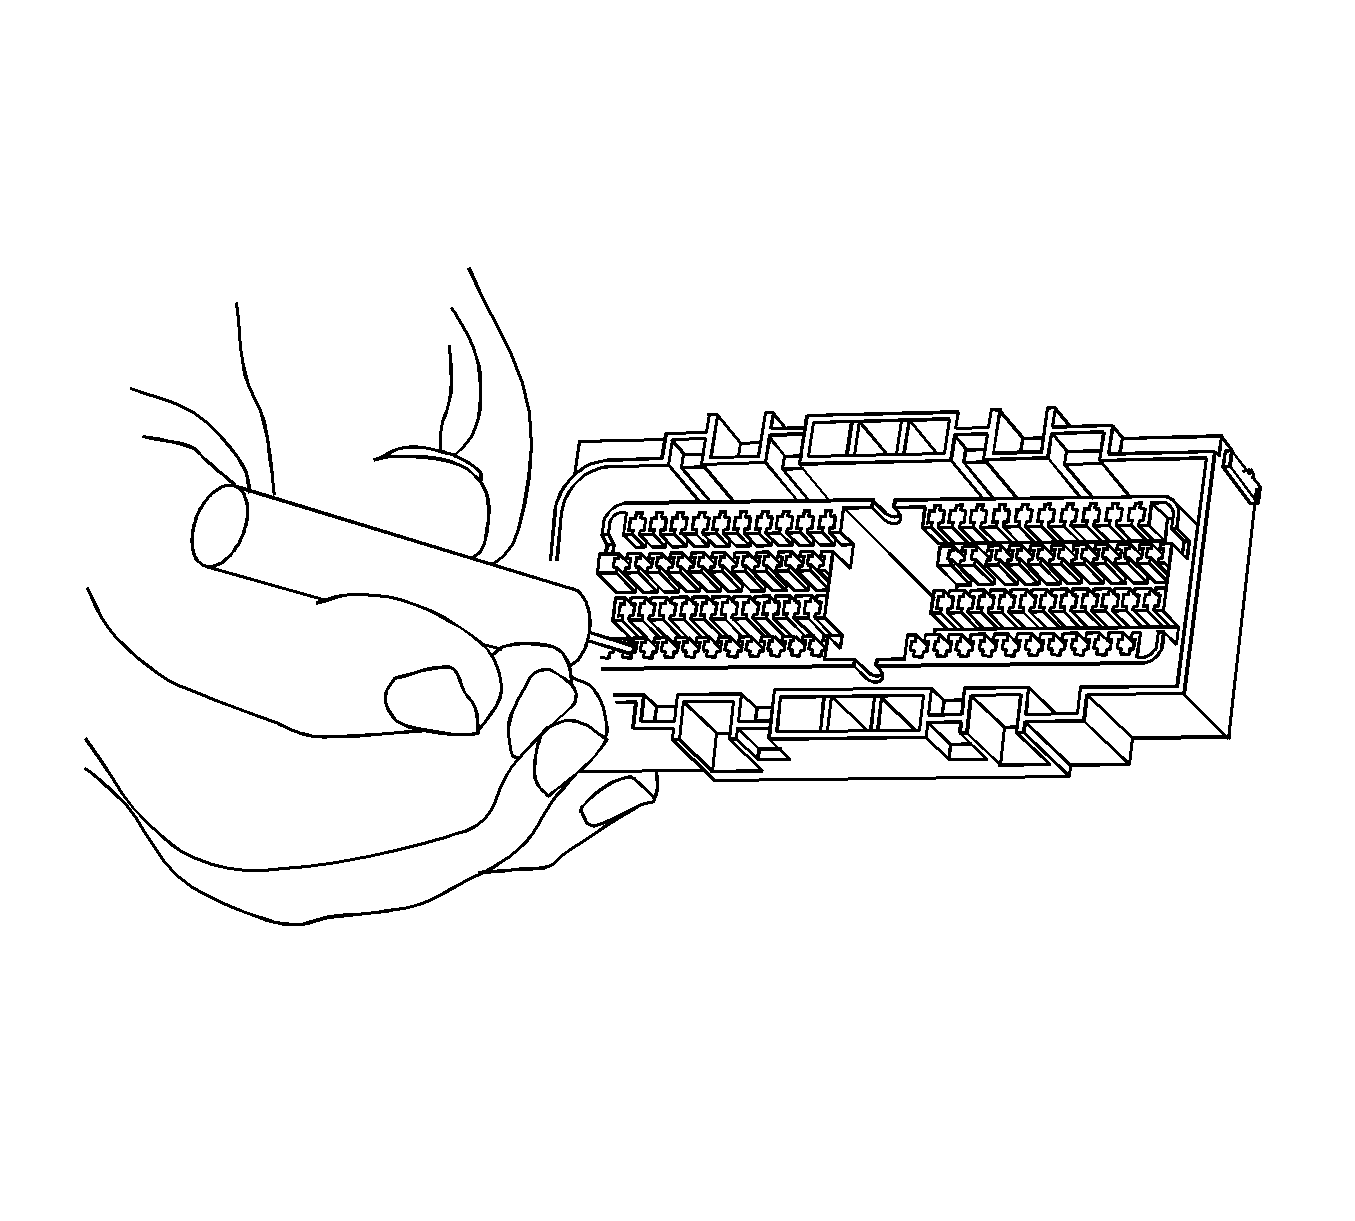
- Use the J 38125-12A tool to release the terminals by lifting the terminal retaining tabs on the inside of the connector. See the release tool cross reference in the Reference Guide of the J-38125 to ensure that the correct release tool is used.
- While holding the removal tool in place, gently pull the wire out of the back of the connector. Always remember never use force when pulling a terminal out of a connector.
Repair Procedure
Use the appropriate terminal and follow the instructions in the J-38125 .
Location of the terminal in the repair tray and the proper crimp tool can be found in the appropriate connector end view.
