For 1990-2009 cars only
Propeller Shaft Center Support Bearing Overhaul RWD Only
Tools Required
| • | J 22912-B Split-Plate Bearing Puller |
| • | J 25863 Pinion Cone and Side Bearing Installer |
Removal Procedure
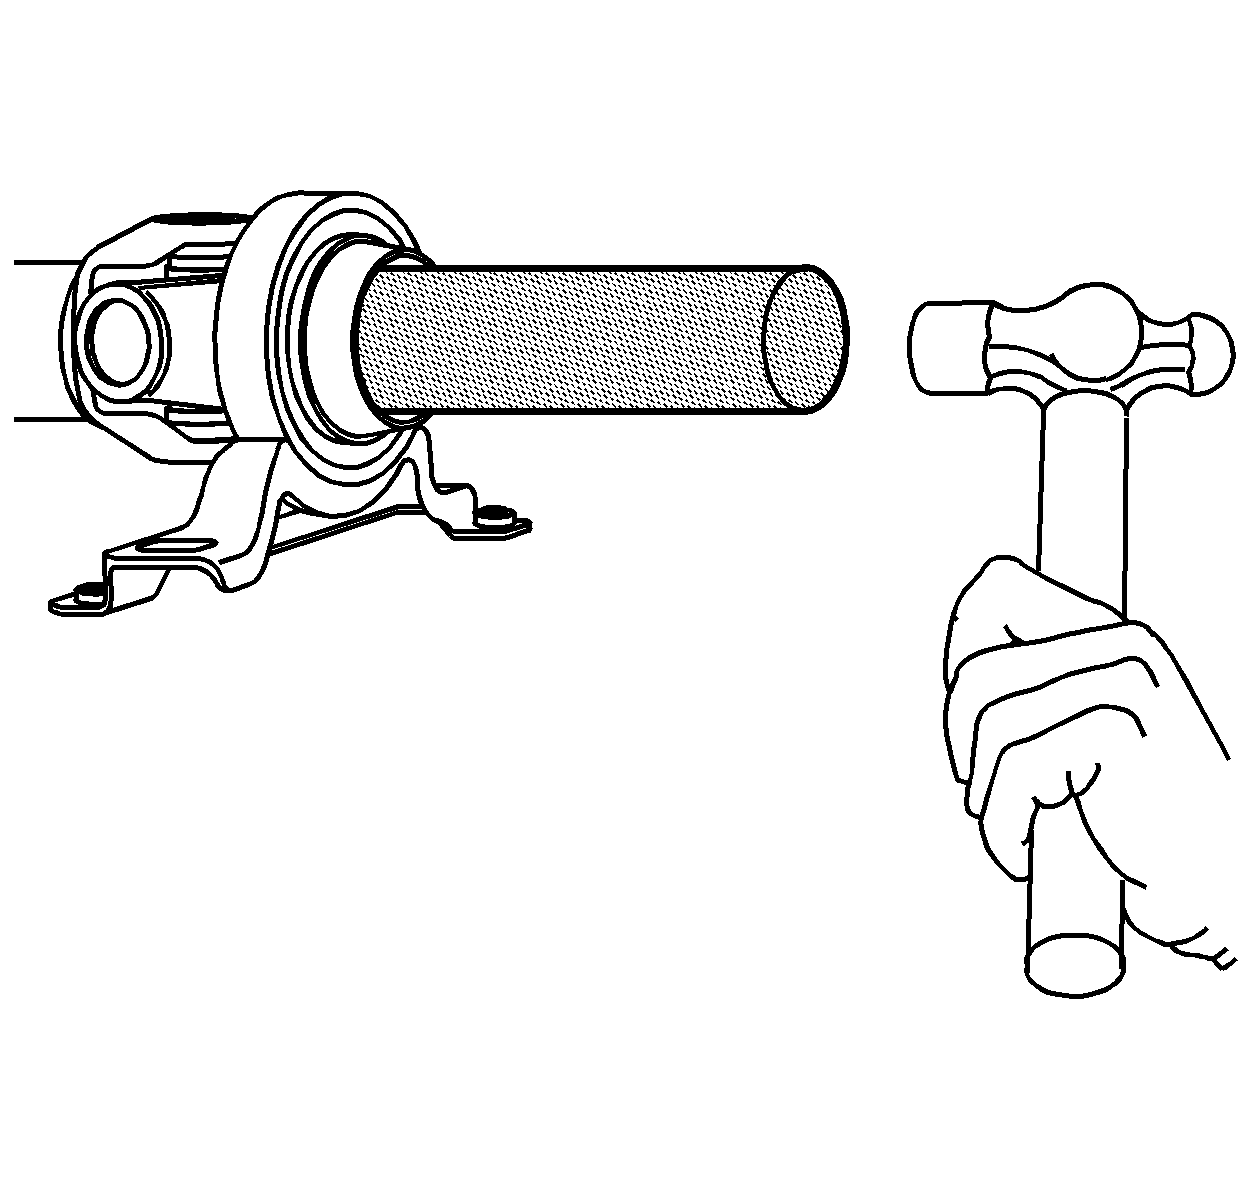
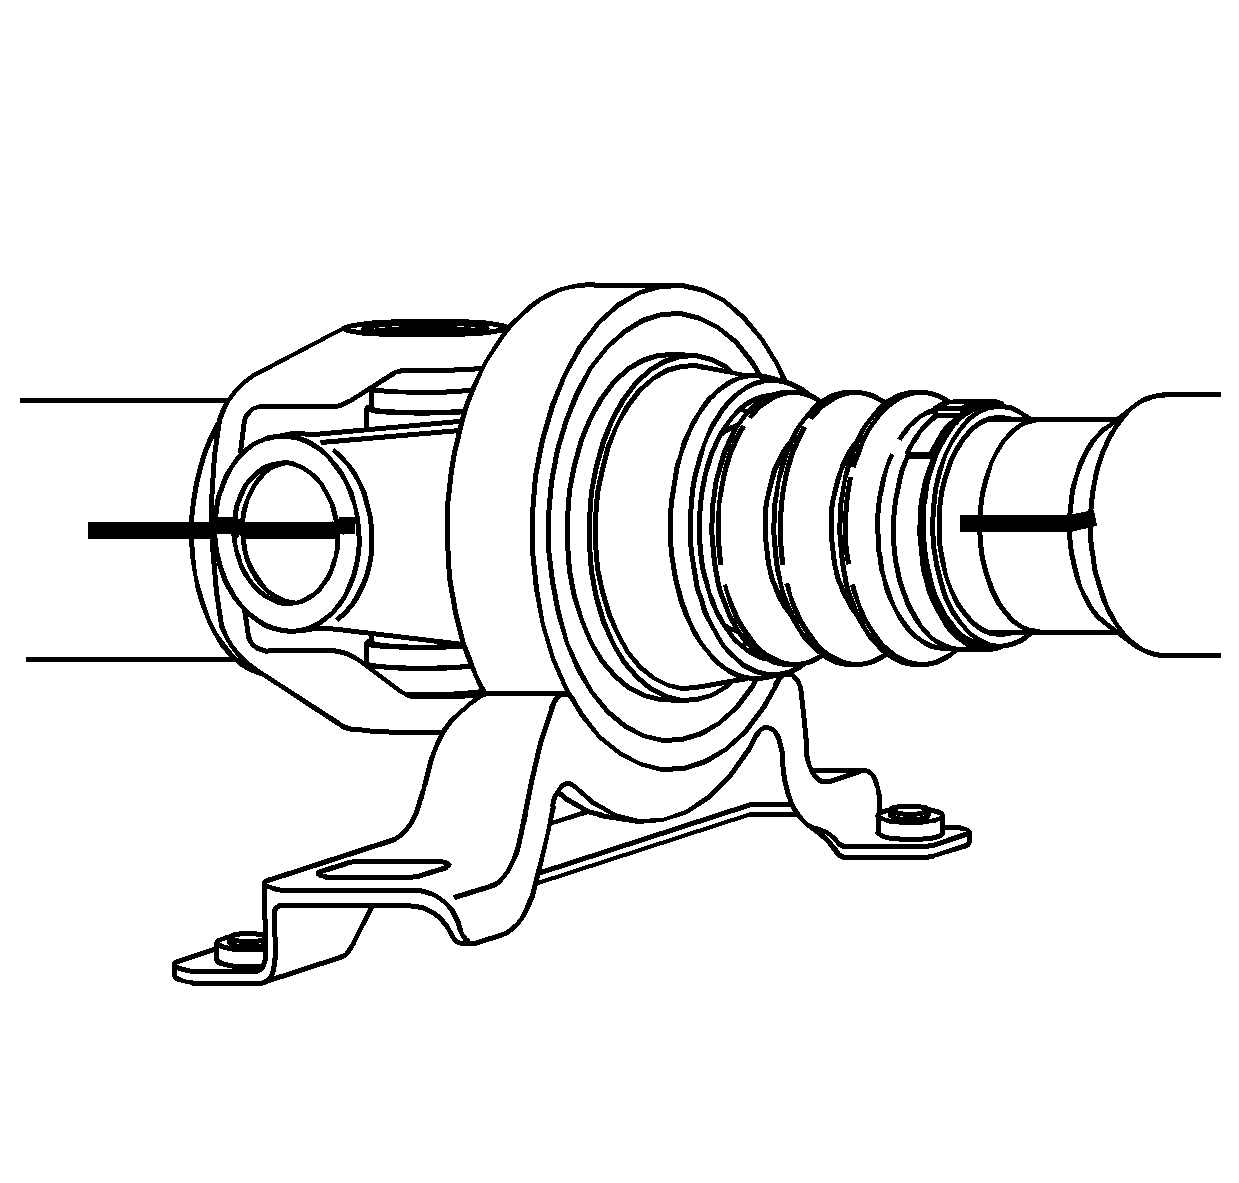
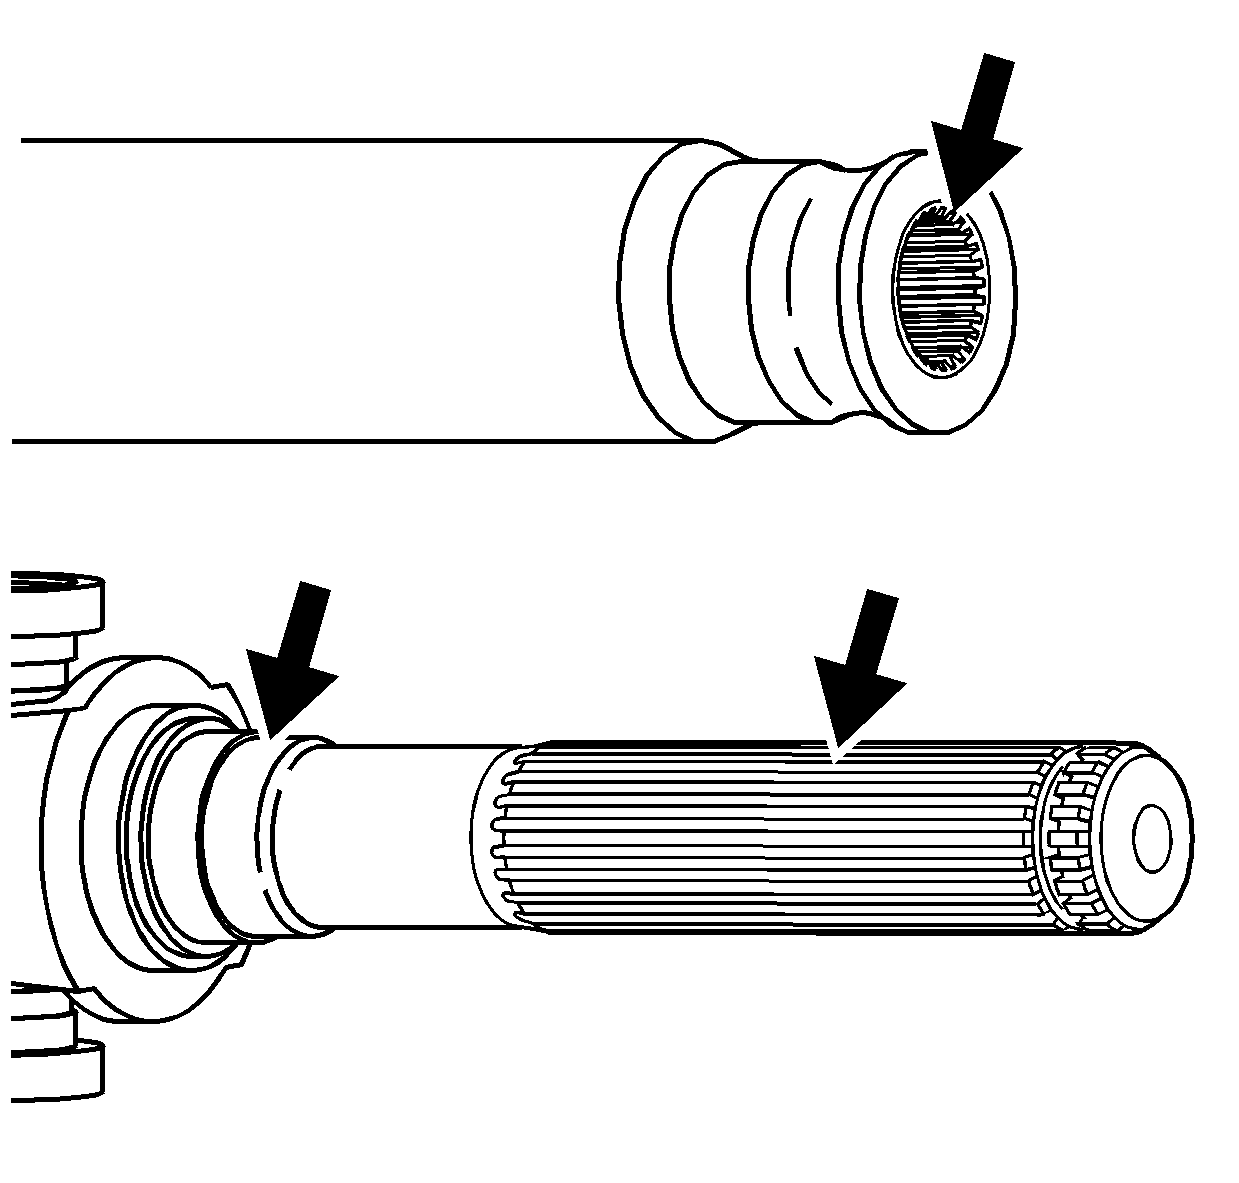
- Using a paint stick, mark the shaft on both sides. The splines are not keyed, therefore, alignment marks are necessary for assembly.
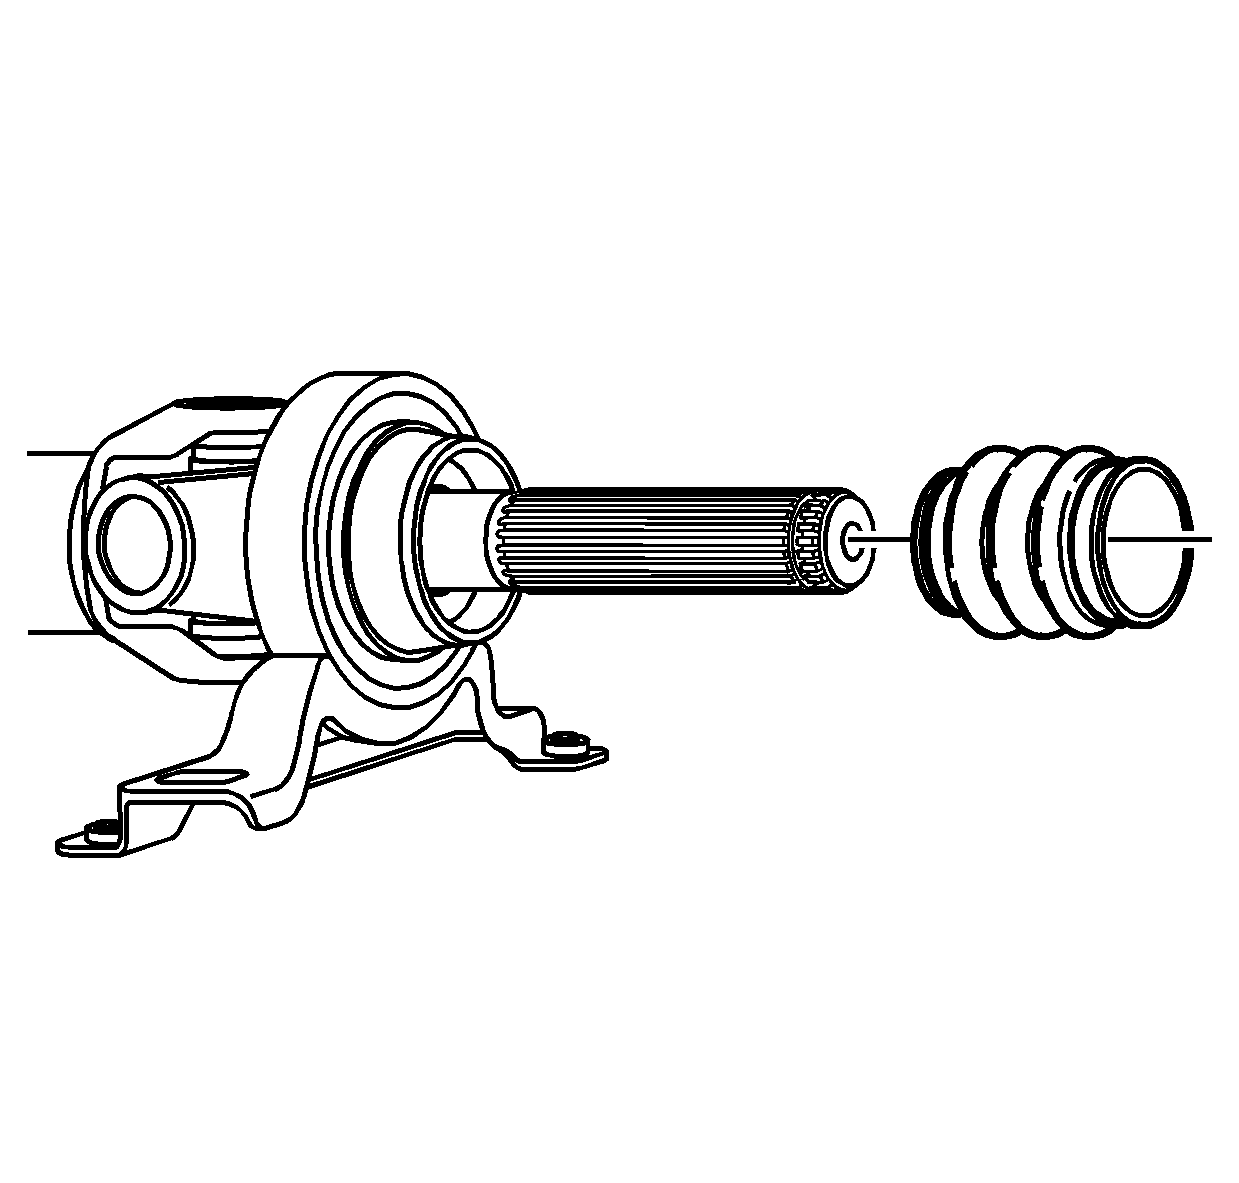
- Remove the clamp holding the dust boot to the shaft. Discard the clamp.
- Pry the dust boot off the shaft tube.
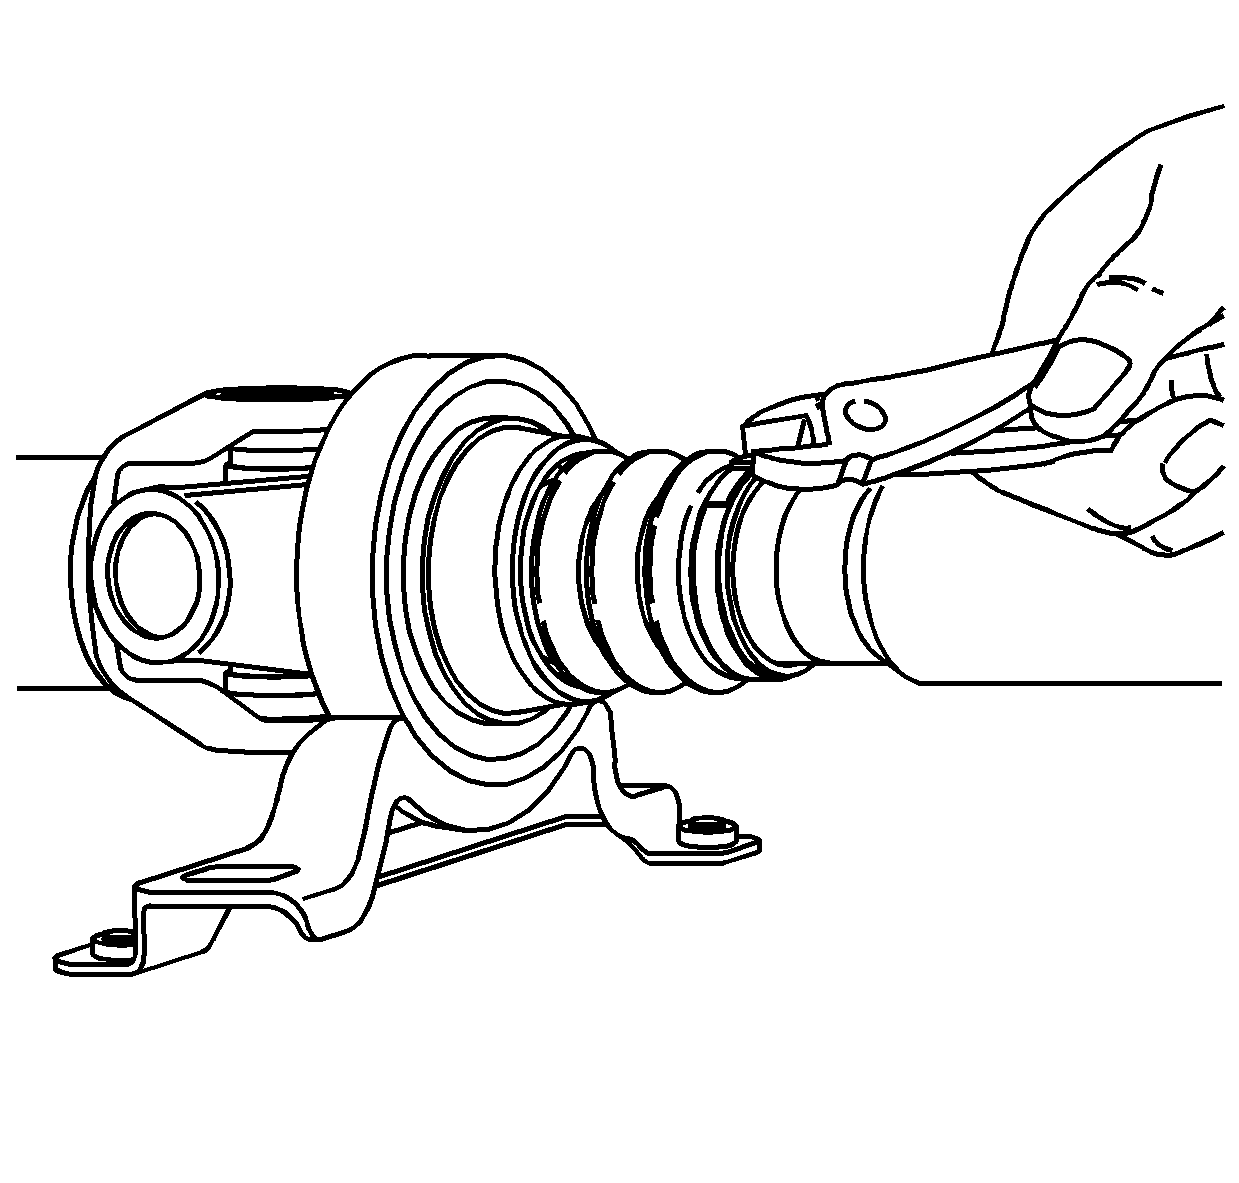
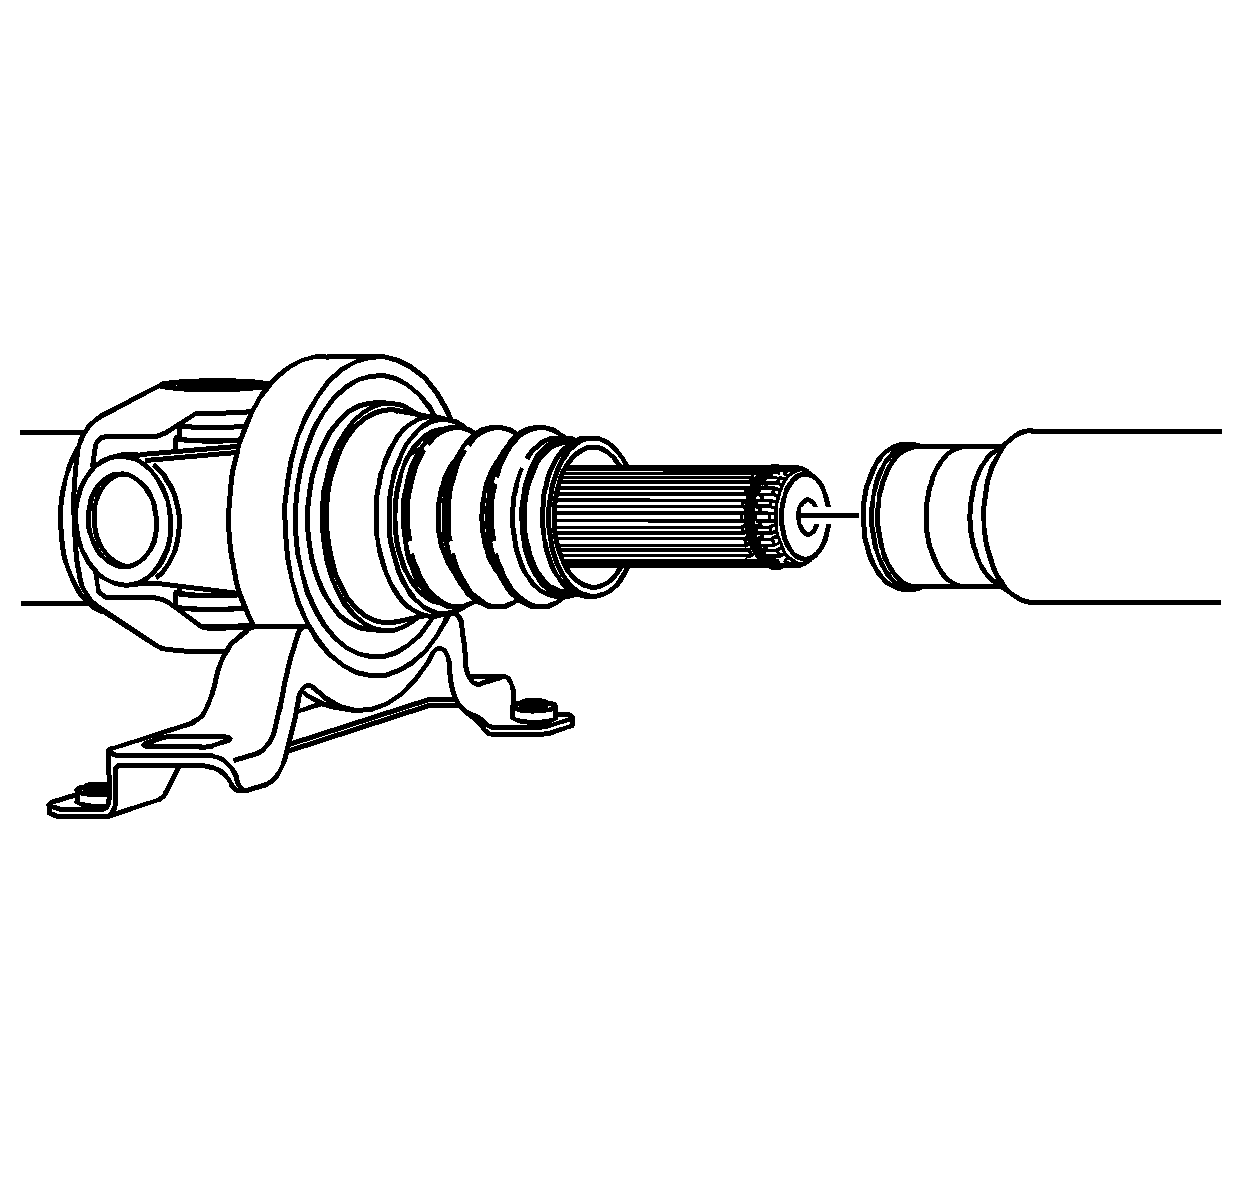
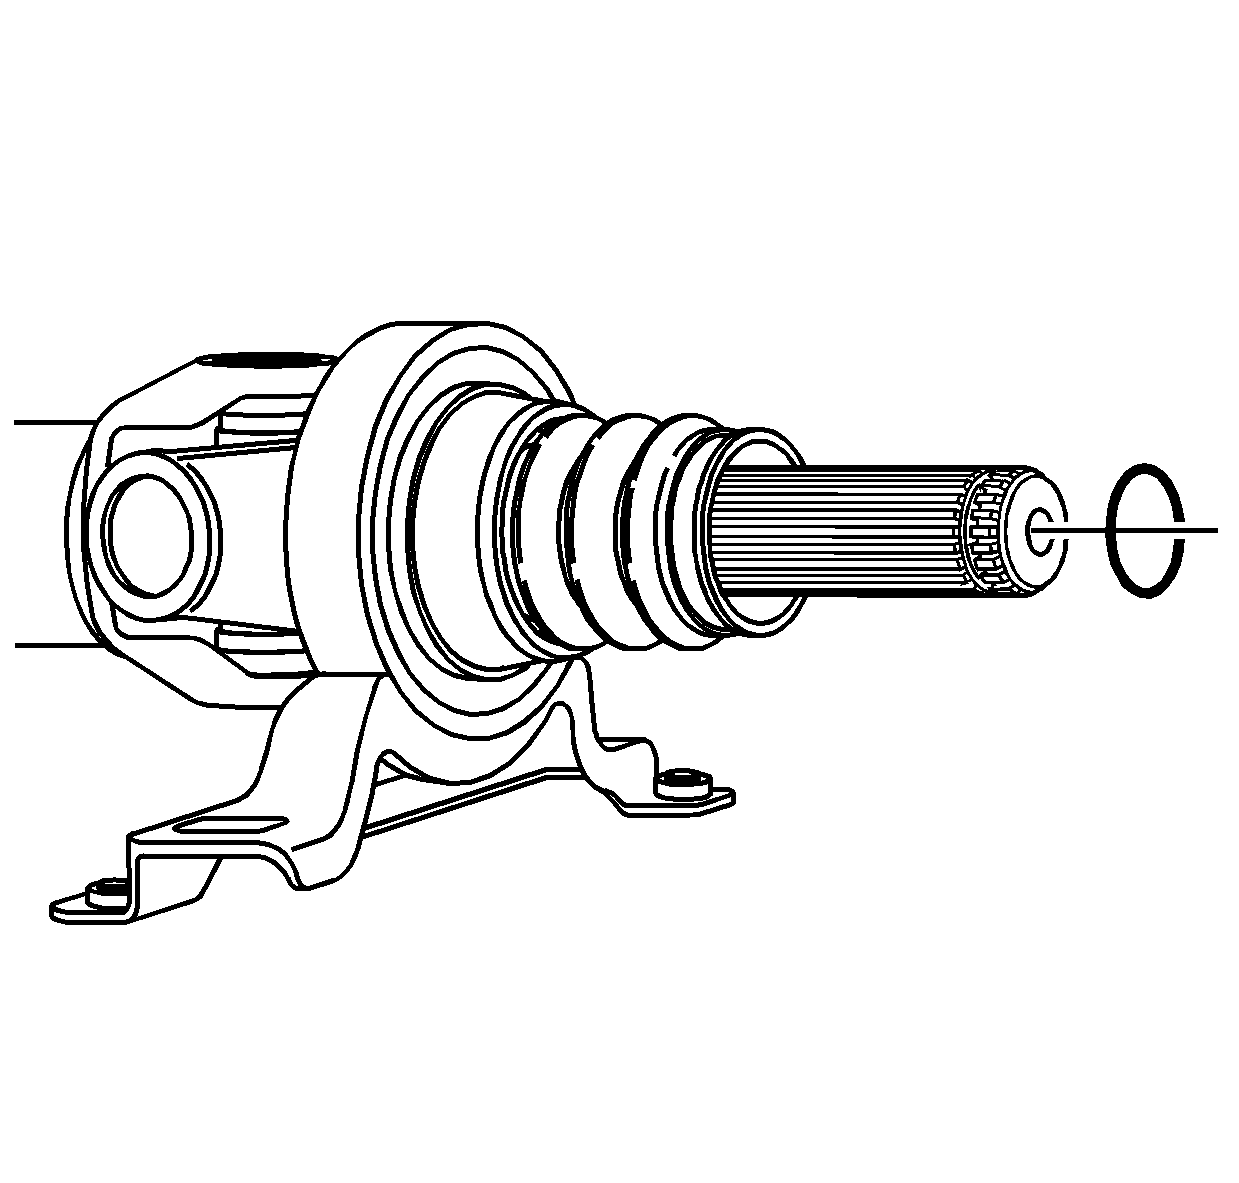
- Hold the shaft on both sides of the bearing and pull or separate the 2 halves.
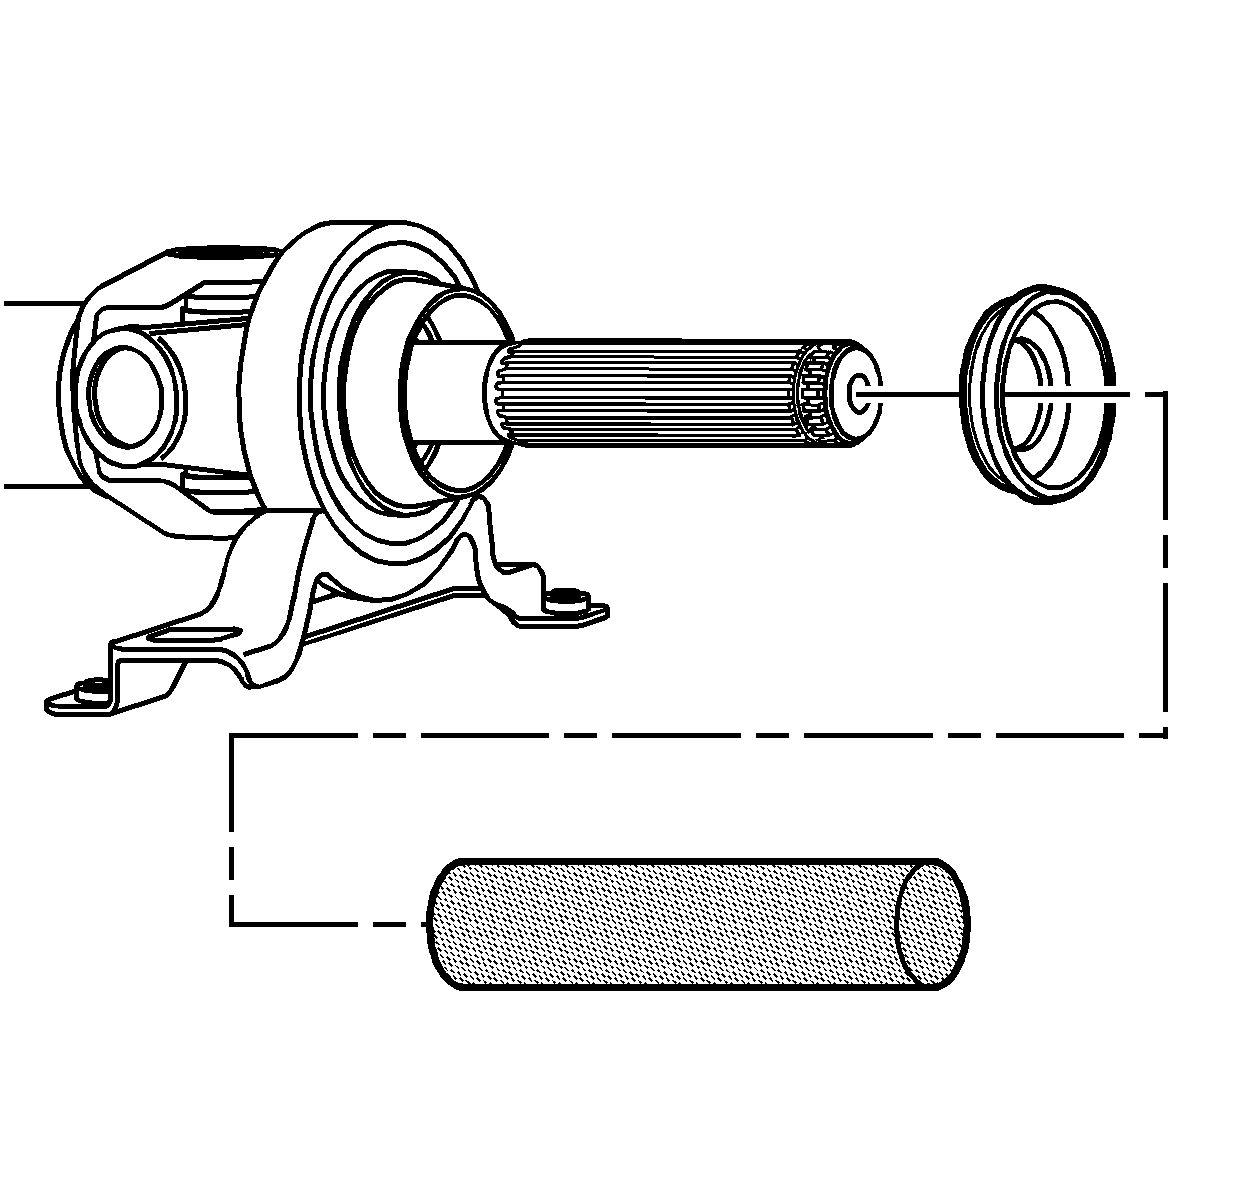
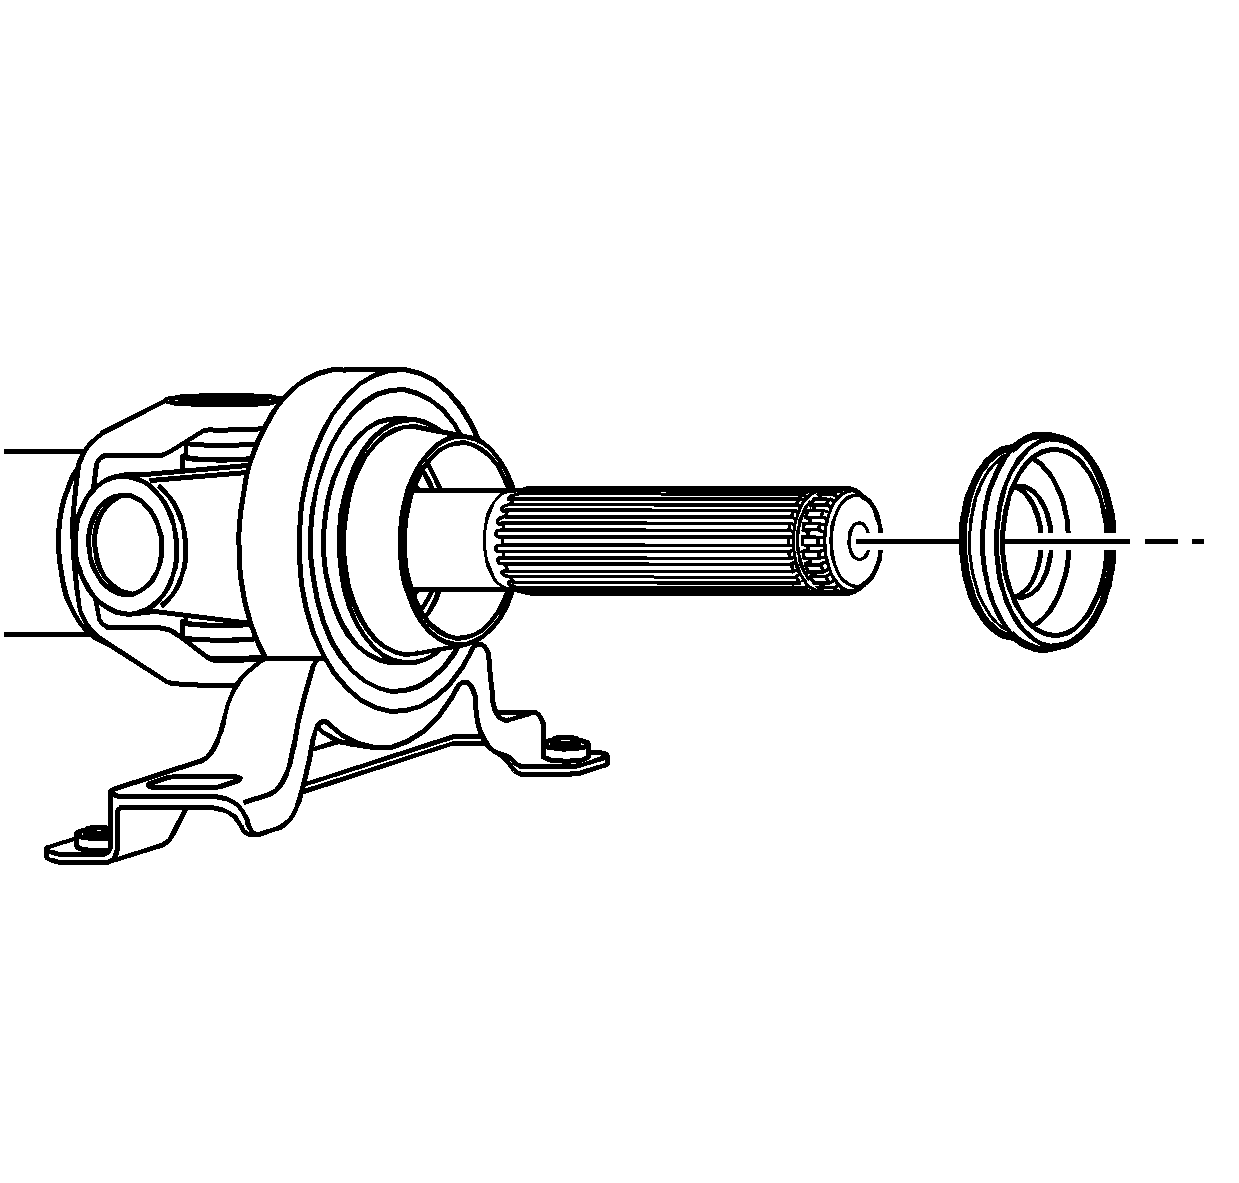
- Remove the O-ring from the end of the spline shaft.
- Remove the dust boot.
- Pry off the bearing slinger from the spline shaft. Discard the slinger.
- Remove the snap ring from the groove.
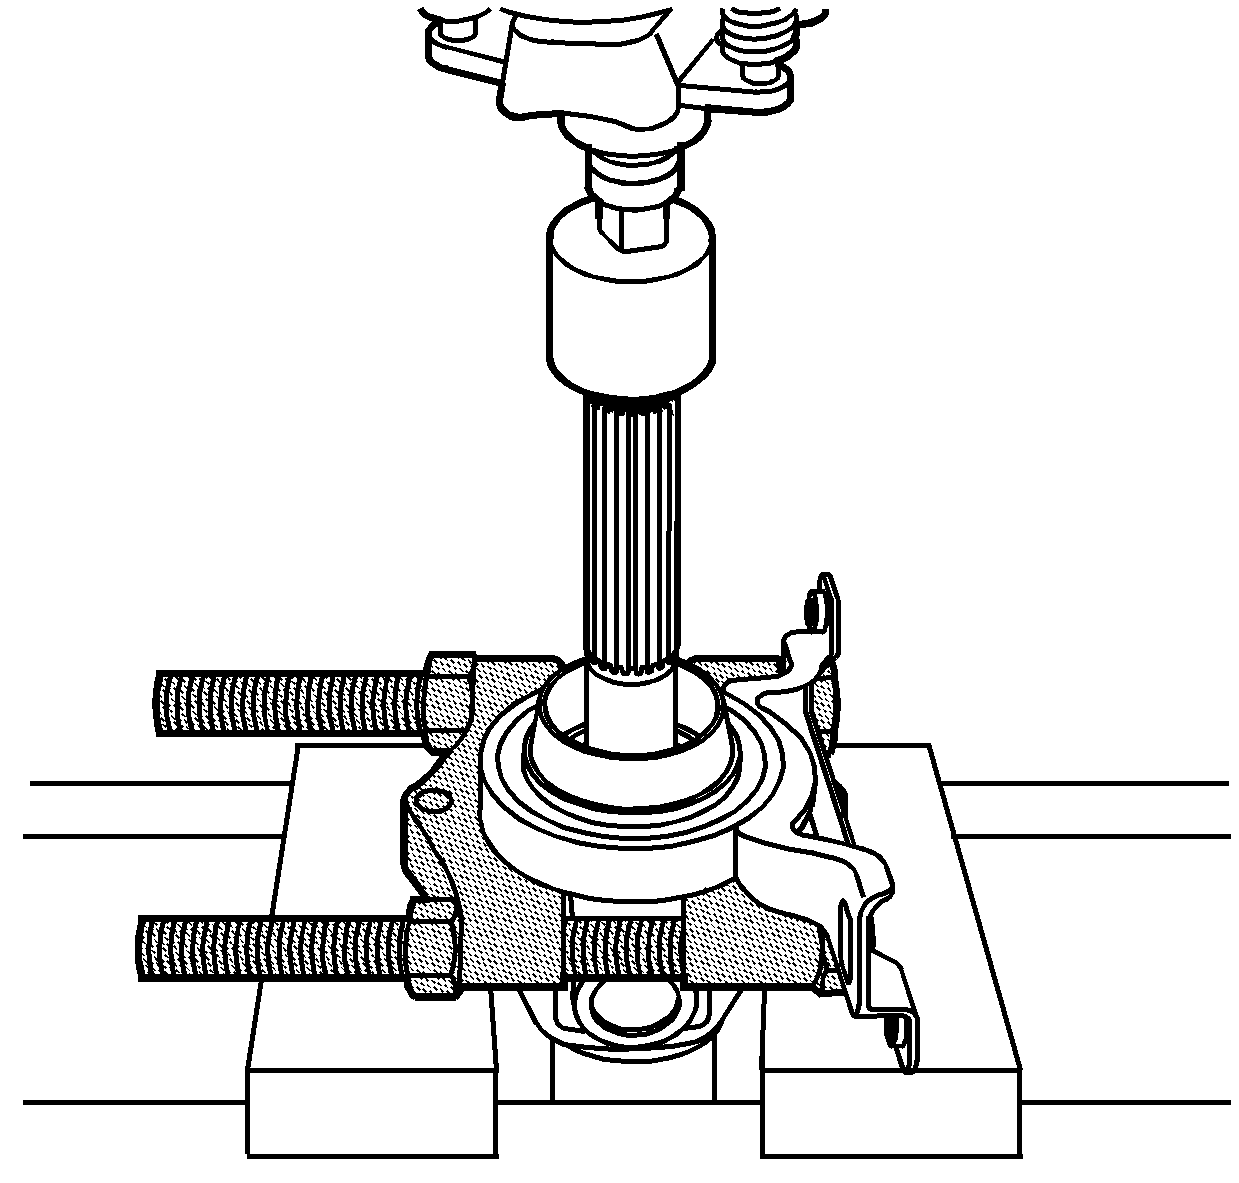
- Install the J 22912-B around the shaft behind the bearing. Place shaft in a press and remove the bearing.
Notice: Never clamp propeller shaft tubing in a vise. Clamping propeller shaft tubing in a vise could dent or deform the tube causing an imbalance or unsafe condition. Always clamp on one of the yokes and support the shaft horizontally.
Important: Proper alignment on assembly is critical in order to maintain correct balance.
Important: The clamp is not reusable.

Important: Do not reuse the slinger.

Important: Grease may have to be removed to see the snap ring.
Clean and Inspect
- Clean grease from the splines on both halves of the shaft.
- Remove any corrosion or debris from the bearing area.
Installation Procedure
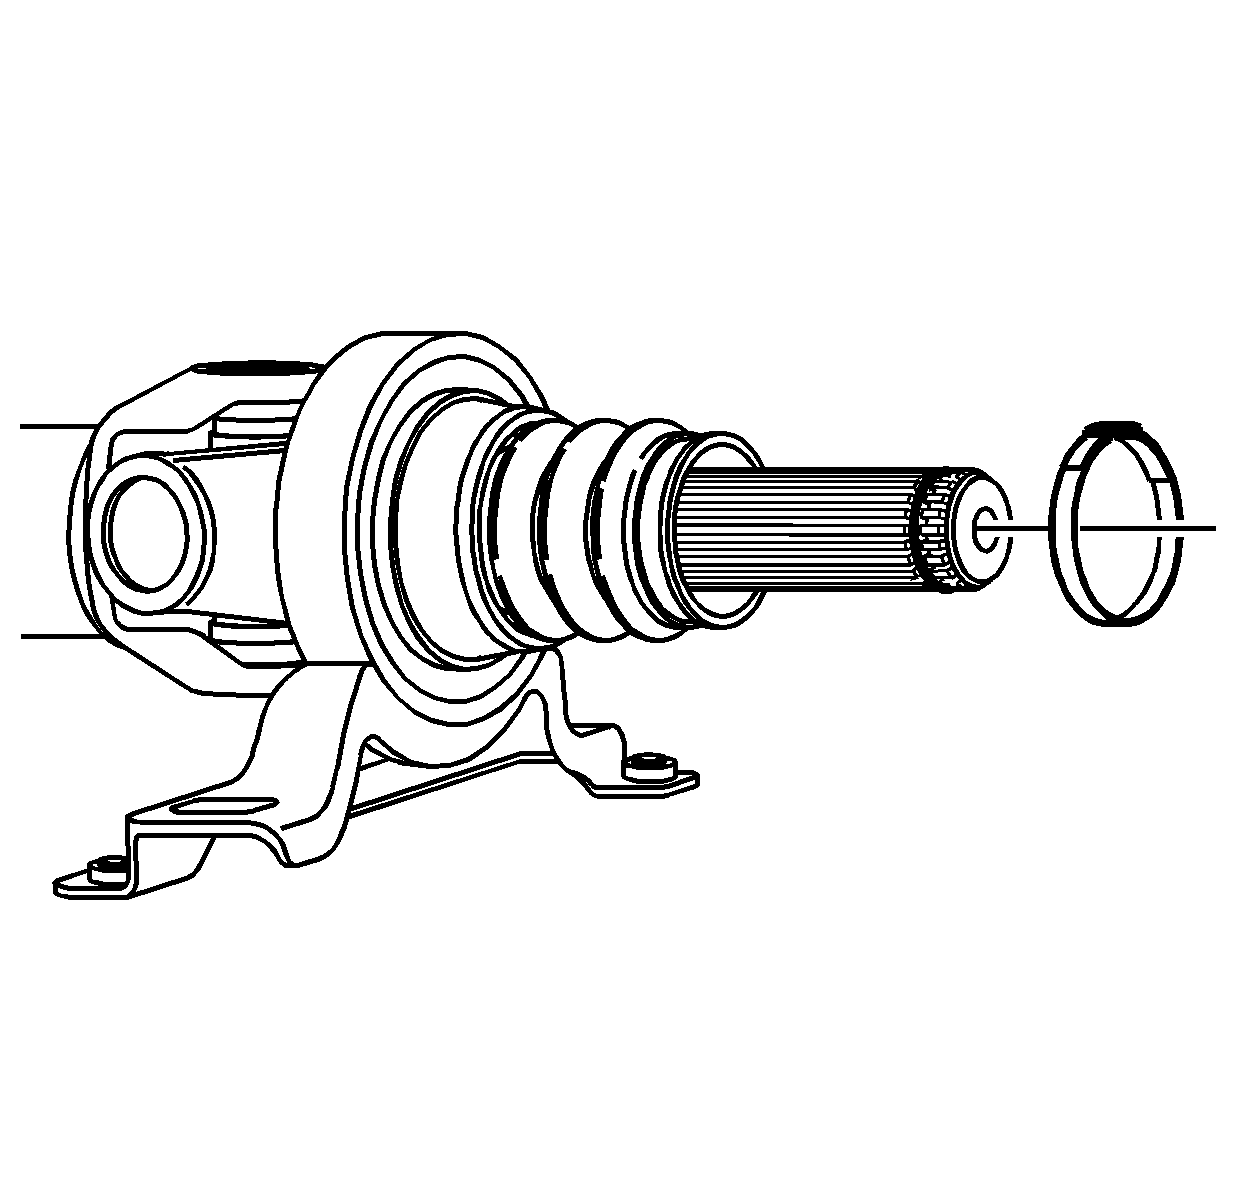
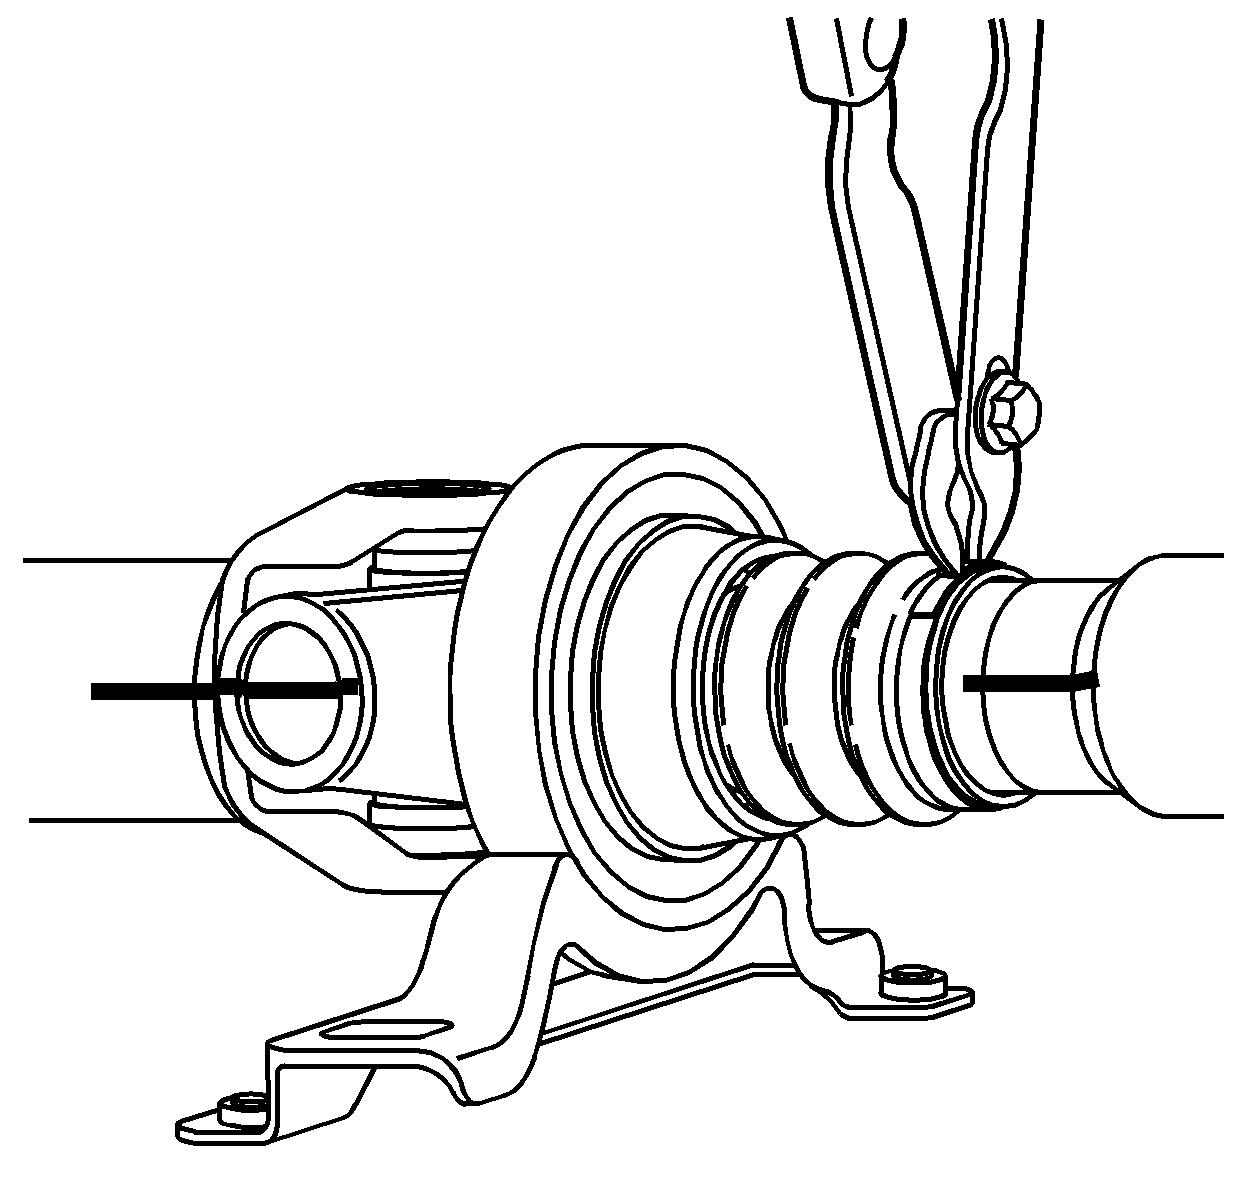
- Slide a NEW bearing over the spline shaft.
- Using the J 25863 , drive on the bearing until it seats and the snap ring groove is visible.
- Install a NEW snap ring in the groove.
- Apply 5-6 grams of grease from the kit in the snap ring area, ensuring surface of the bearing is covered.
- Install a NEW slinger from kit with the J 25863 until it seats on the shaft against the bearing.
- Apply 1 gram of grease to the inside of the dust boot.
- Slide the dust boot over the splines with the clamp end out.
- Install the NEW O-ring on the end of the spline shaft.
- Apply 1-2 grams of grease to the splines for assembly.
- Install the NEW dust boot clamp over the splines.
- Align the paint marks on the shaft to ensure proper assembly balance. Push the splines together.
- Push the dust boot and clamp over the shaft.
- Compress the dust boot retaining clamp.