For 1990-2009 cars only
Instrument Panel Air Outlet Ducts Replacement Upper Left
Removal Procedure
- Remove the instrument panel (I/P) retainer. Refer to Instrument Panel Carrier Replacement.
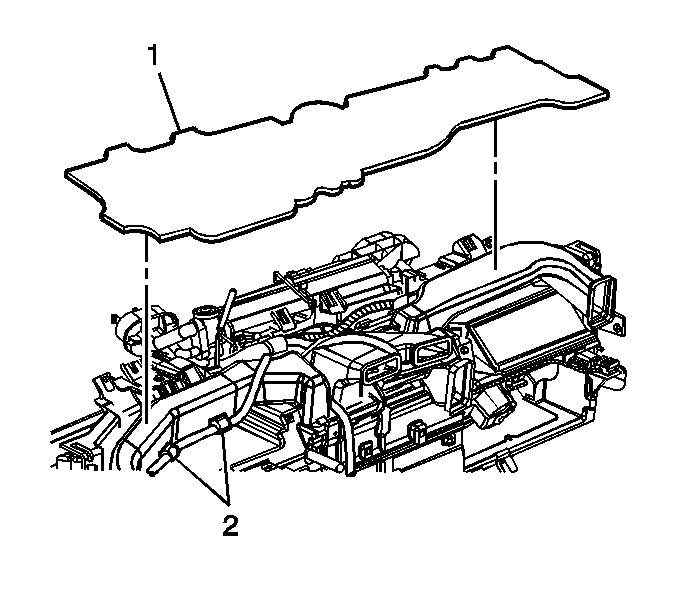
- Remove the foam dash pad (1).
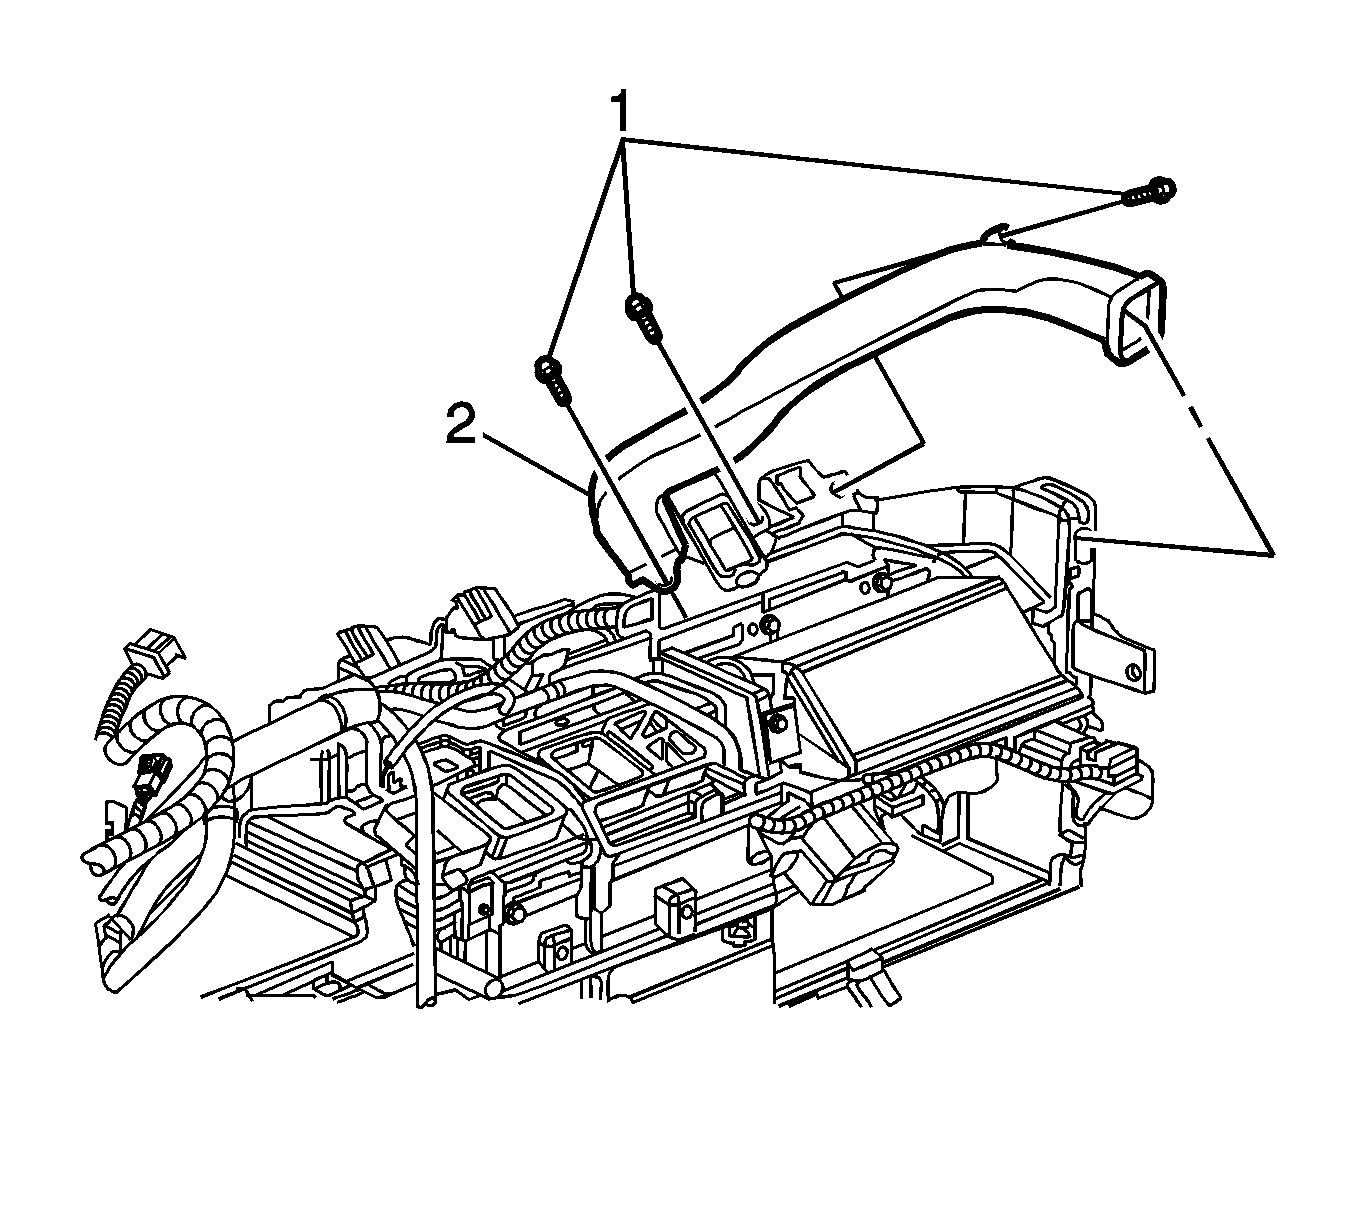
- Remove the screws (1) that retain the air duct.
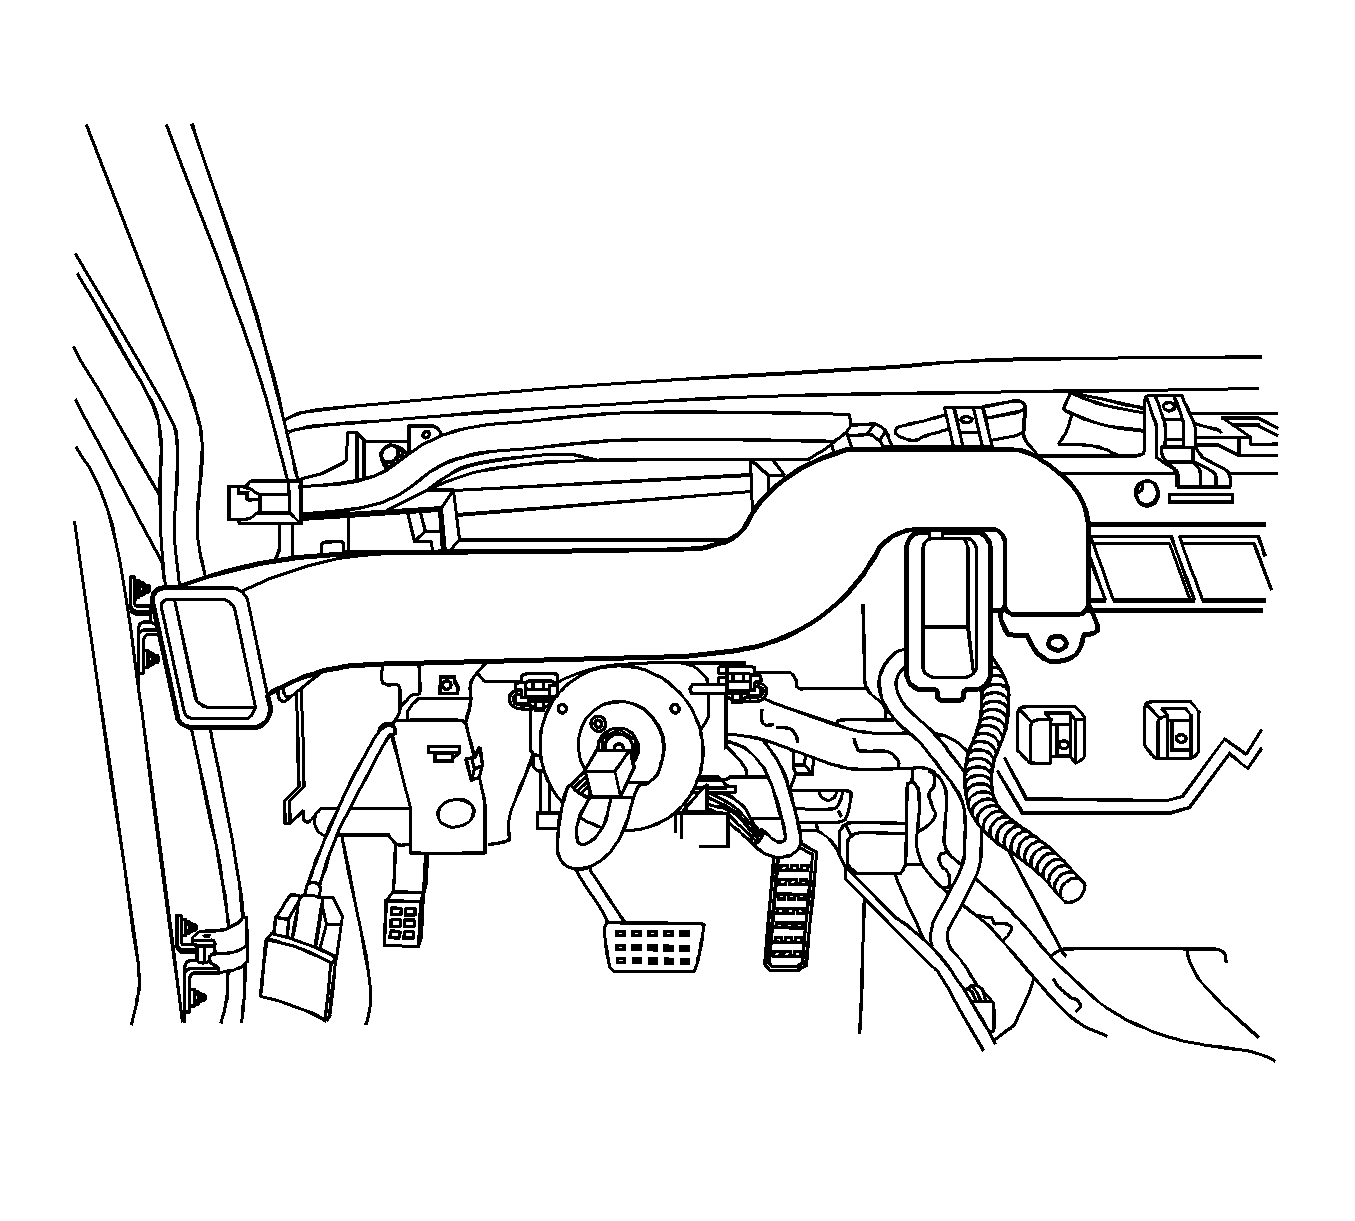
- Remove the left air duct (2) by unsnapping the air duct from the HVAC module.


Installation Procedure
- Install the left air duct (2) by pressing down until you hear the tabs engage on the HVAC module.
- Install the air outlet duct screws (1).
- Install the foam dash pad (1).
- Install the I/P retainer. Refer to Instrument Panel Carrier Replacement.

Caution: Refer to Fastener Caution in the Preface section.
Tighten
Tighten the screws to 2 N·m (18 lb in).

Instrument Panel Air Outlet Ducts Replacement Upper Right
Removal Procedure
- Remove the instrument panel (I/P) retainer. Refer to Instrument Panel Carrier Replacement.
- Remove the foam dash pad (1).
- Remove the screws (1) that retain the air duct (2).
- Remove the right air duct (2) by releasing the tabs from the module.


Installation Procedure
- Install the right air duct (2) by pressing down until you hear the tabs engage on the HVAC module.
- Install the right air duct screws (1).
- Install the foam dash pad (1).
- Install the I/P retainer. Refer to Instrument Panel Carrier Replacement.

Caution: Refer to Fastener Caution in the Preface section.
Tighten
Tighten the screws to 2 N·m (18 lb in).

