For 1990-2009 cars only
Removal Procedure
- Remove the door trim panel. Refer to Rear Side Door Trim Panel Replacement.
- Remove the door module. Refer to Door Control Module Replacement.
- Remove the water deflector.
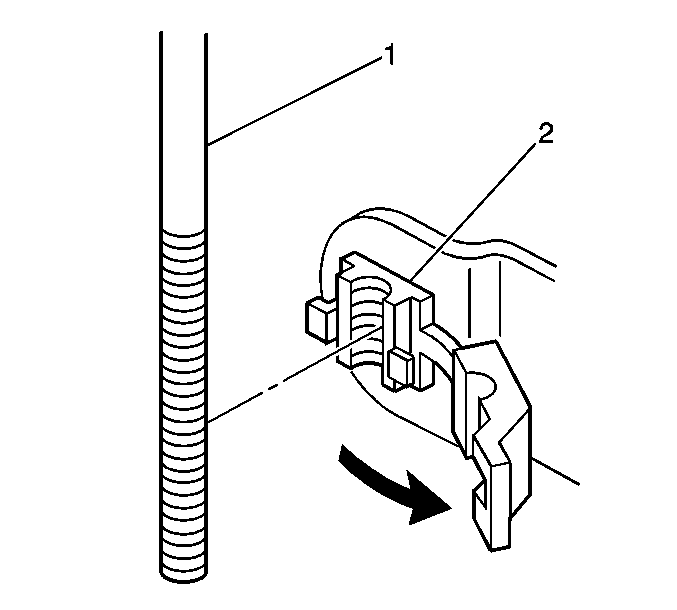
- Disconnect the outside door handle rod (1) from the door latch by opening the clip (2) on the door latch.
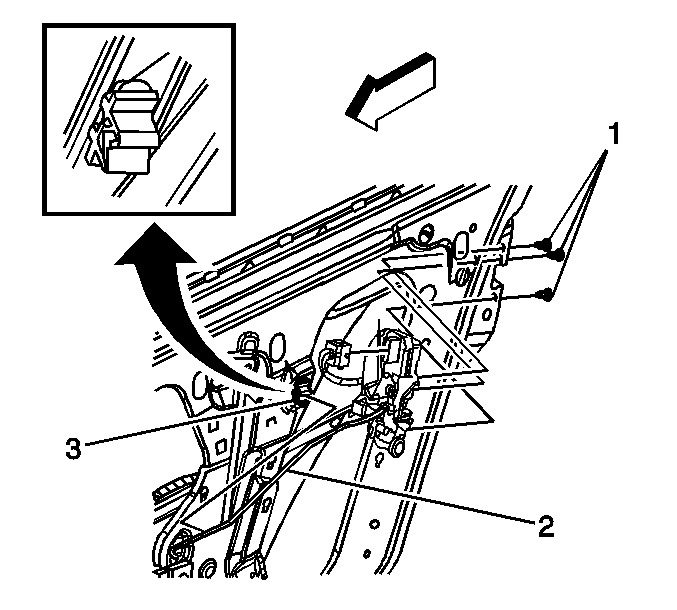
- Disengage the inside handle rod (2) from the rod guide (3).
- Push the inside lock rod grommet through the opening.
- Remove the door latch screws (1).
- Remove the door latch with the inside door handle rod and lock rod attached.
- Disconnect the electrical connector.
- Remove the handle rod and lock rod from the door latch.
Installation Procedure
- Install the inside door handle rod and lock rod to the door latch.
- Connect the electrical connector.
- Install the door latch into the door.
- Install the door latch screws (1).
- Connect the outside door handle rod to the door latch.
- Inspect for proper operation of the outside door handle.
- Install the inside handle rod (2) to the rod guide (3).
- Install the water deflector.
- Install the door module. Refer to Door Control Module Replacement.
- Install the door trim panel. Refer to Rear Side Door Trim Panel Replacement.
Caution: Refer to Fastener Caution in the Preface section.
Tighten
Tighten the screws to 10 N·m (89 lb in).
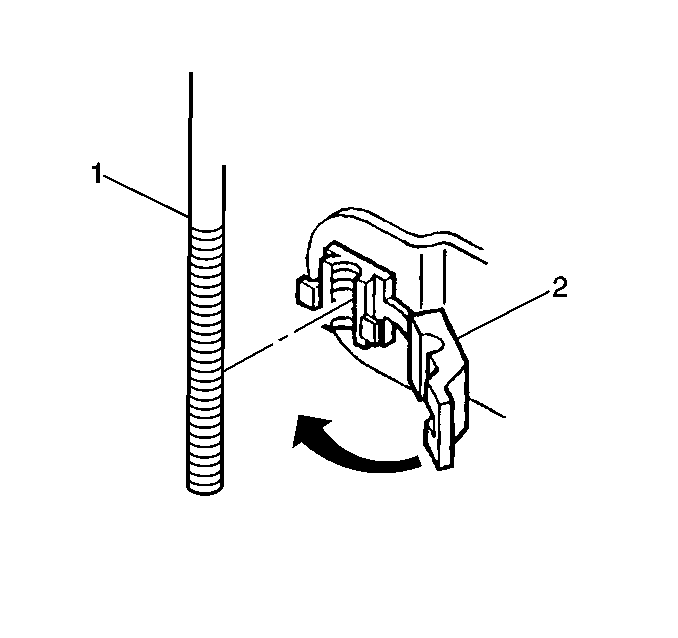
| 5.1. | Insert the rod (1) into the clip (2) on the door latch assembly. |
| 5.2. | Close the clip. |
