Removal Procedure
Caution: Handle the oxygen sensors carefully in order to prevent damage to the component. Keep the electrical connector and the exhaust inlet end free of contaminants. Do not use cleaning solvents on the sensor. Do not drop or mishandle the sensor.
Note:
• Bank 1 on the LH2 engine in this vehicle is the right side of the engine while sitting in the driver seat. • Sensor 2 is the second sensor down stream from the engine towards the rear of the vehicle. • A special anti-seize compound is used on the oxygen sensor threads. New service sensors should already have the compound applied to the threads. Coat the threads of a reused sensor with anti-seize compound P/N 5613695 or equivalent.
- Raise and support the vehicle. Refer to Lifting and Jacking the Vehicle.
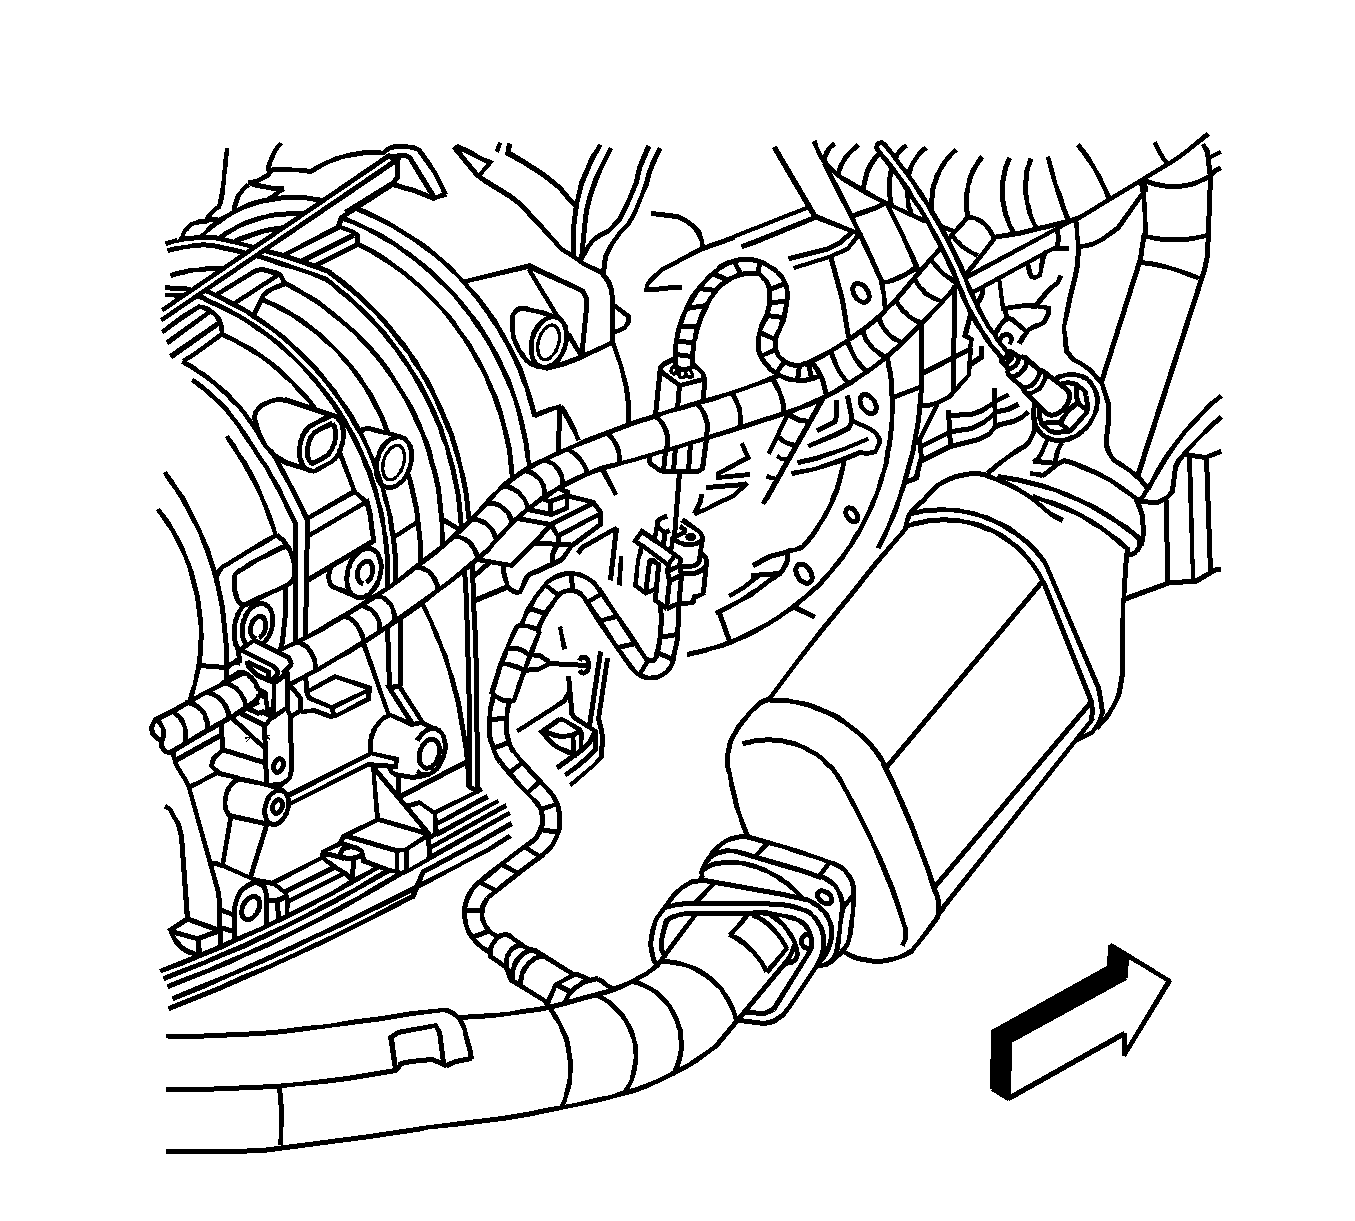
- Disconnect the oxygen sensor electrical connector.
- Record the wire routing and attachment points for reassembly.
- Remove the oxygen sensor from the exhaust pipe.
Installation Procedure
- Install the oxygen sensor to the exhaust pipe and tighten to 43 N·m (32 lb ft).
- Route and attach the wiring as noted during disassembly.
- Connect the oxygen sensor electrical connector.
- Lower the vehicle.
Caution: Refer to Fastener Caution in the Preface section.
