For 1990-2009 cars only
Tools Required
J 41187 Banding Tool
Disassembly Procedure
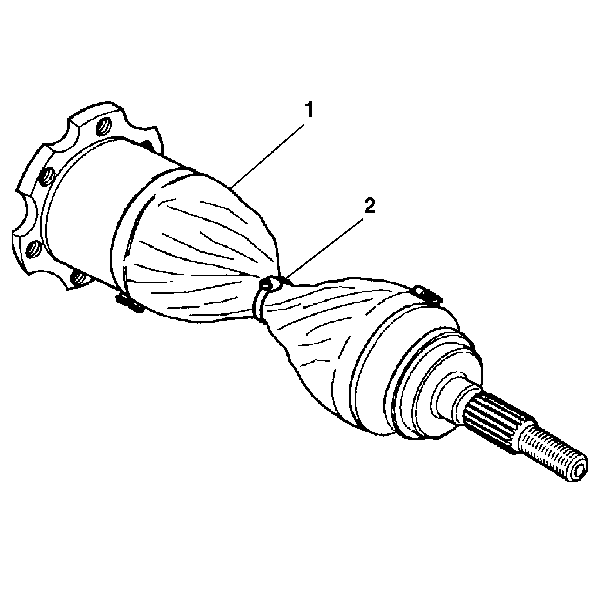
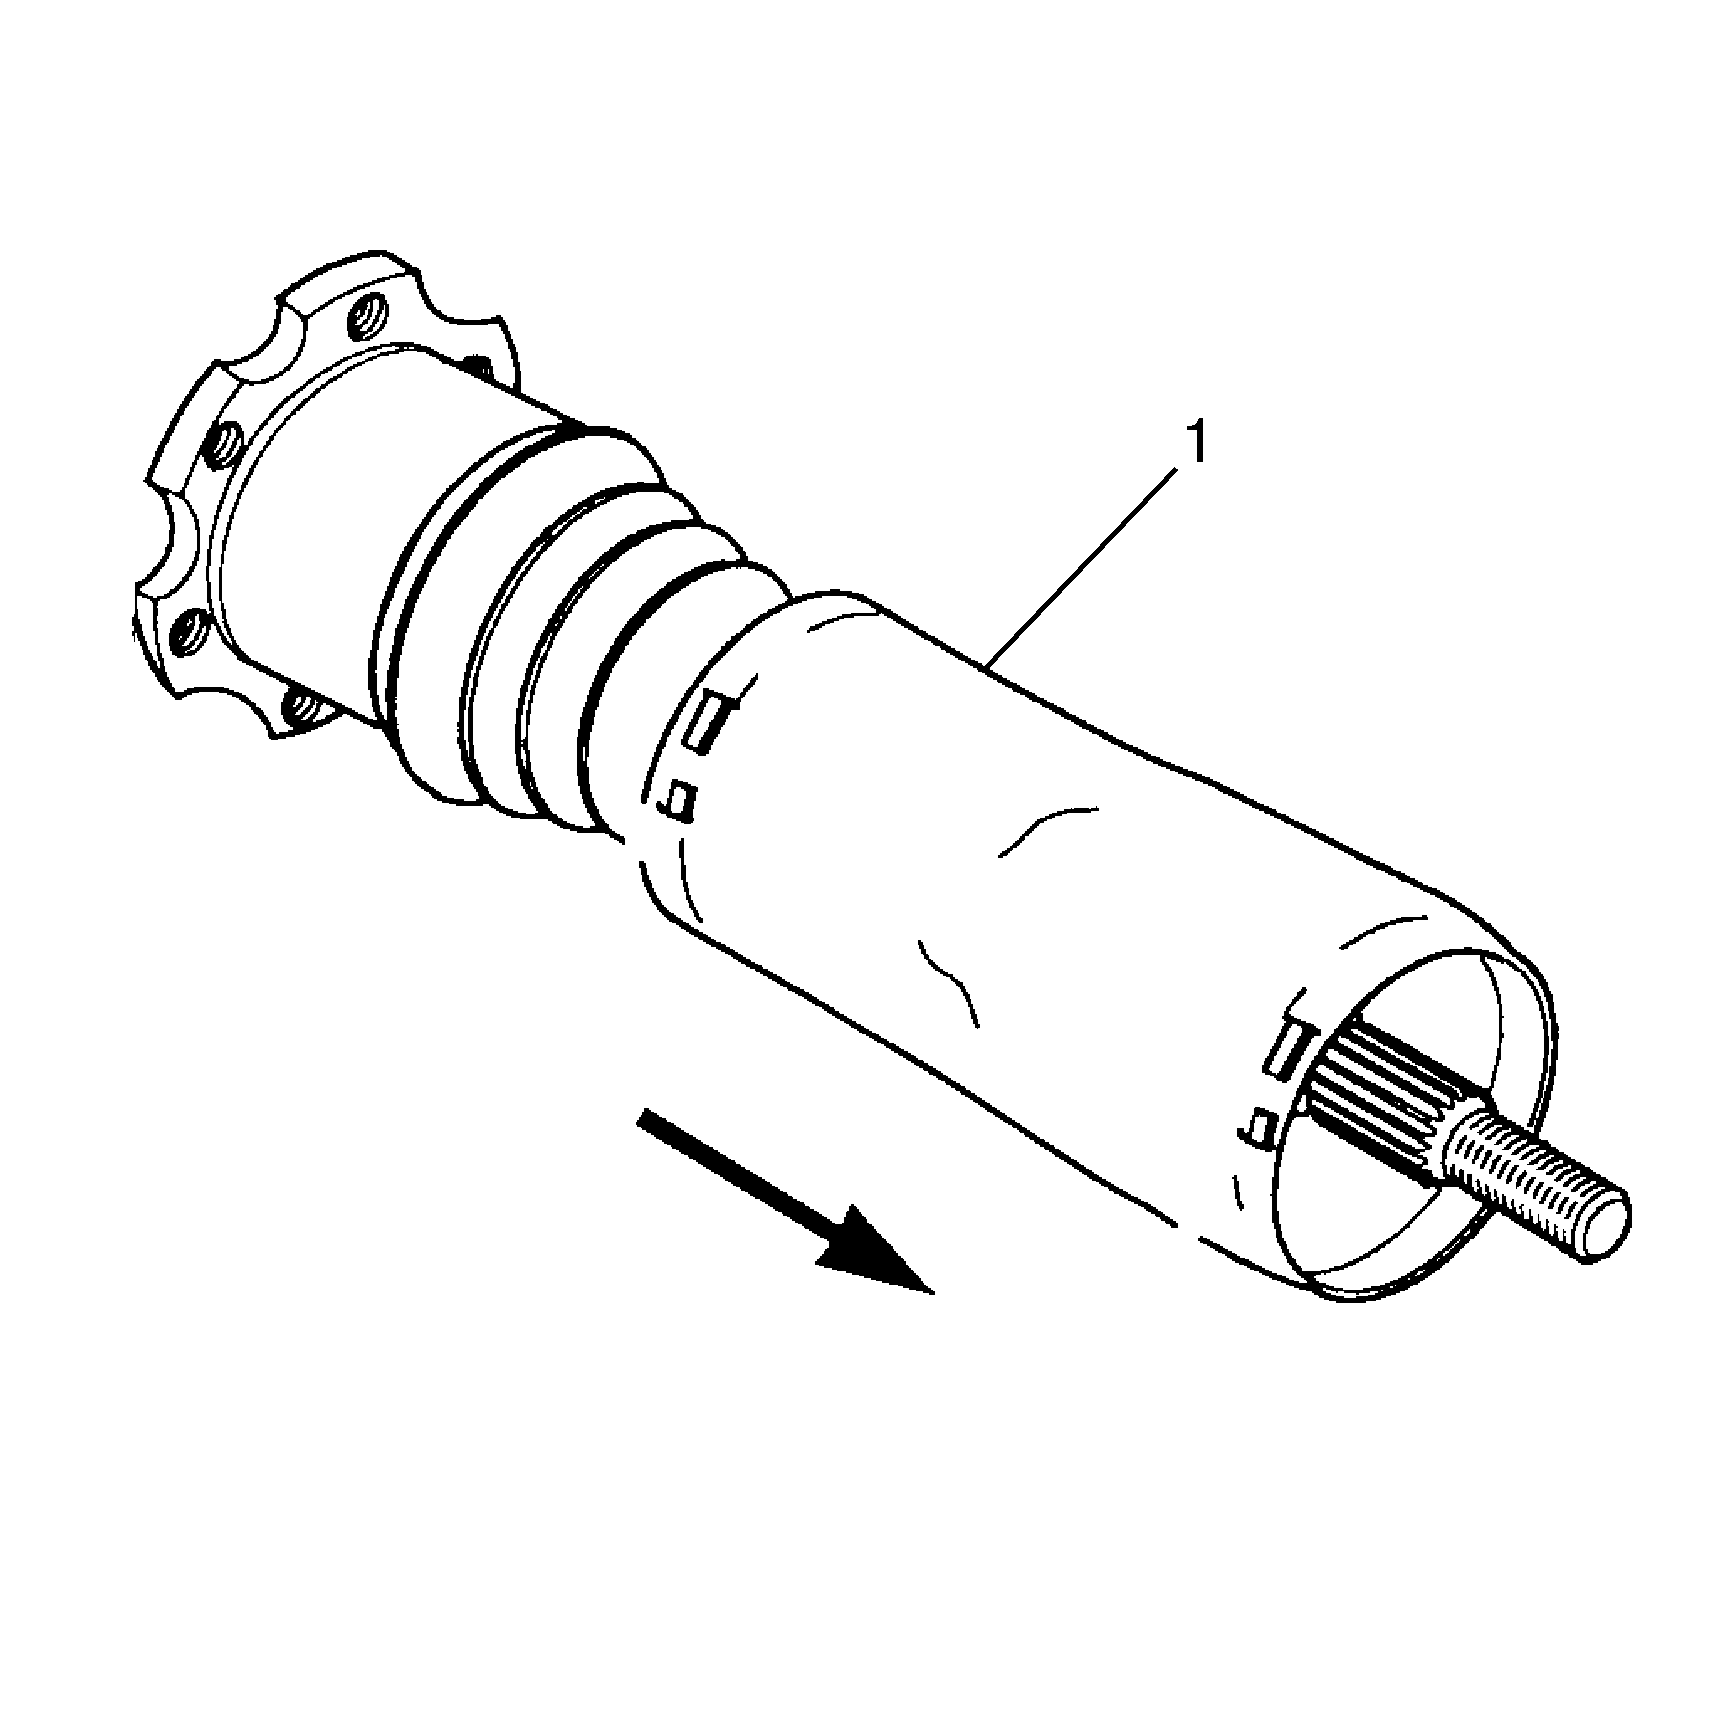
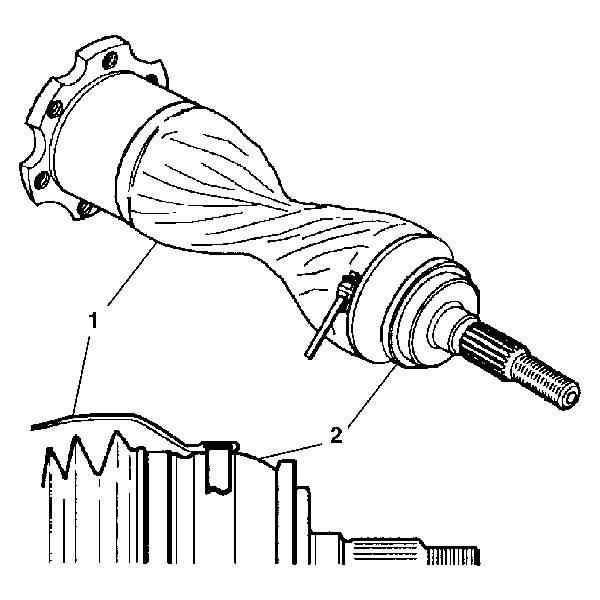
- Use side cutters to cut the halfshaft seal cover clamps (2) and the nylon strap (1).
- Slide the halfshaft seal cover (1) off of the halfshaft, over the CV joint end.
- Check the halfshaft seal cover (1) for rips, tears, worn spots or other damage. Reuse the halfshaft seal cover (1) if there is no damage visible.
Important: Be careful when removing the clamps to avoid damaging the halfshaft seal cover.
Assembly Procedure
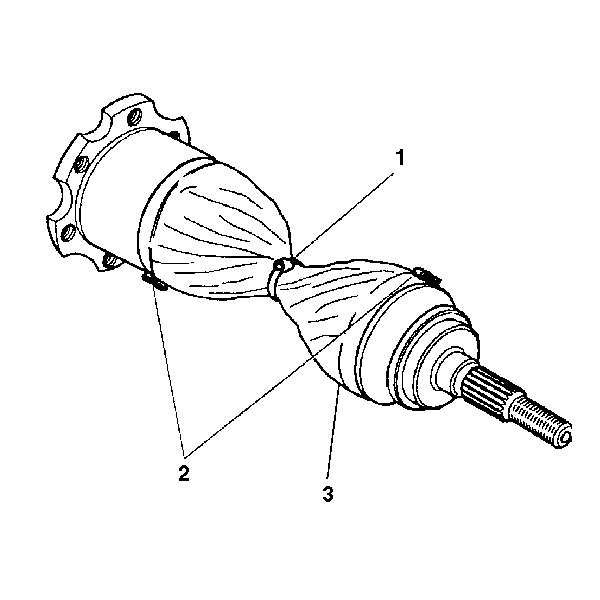
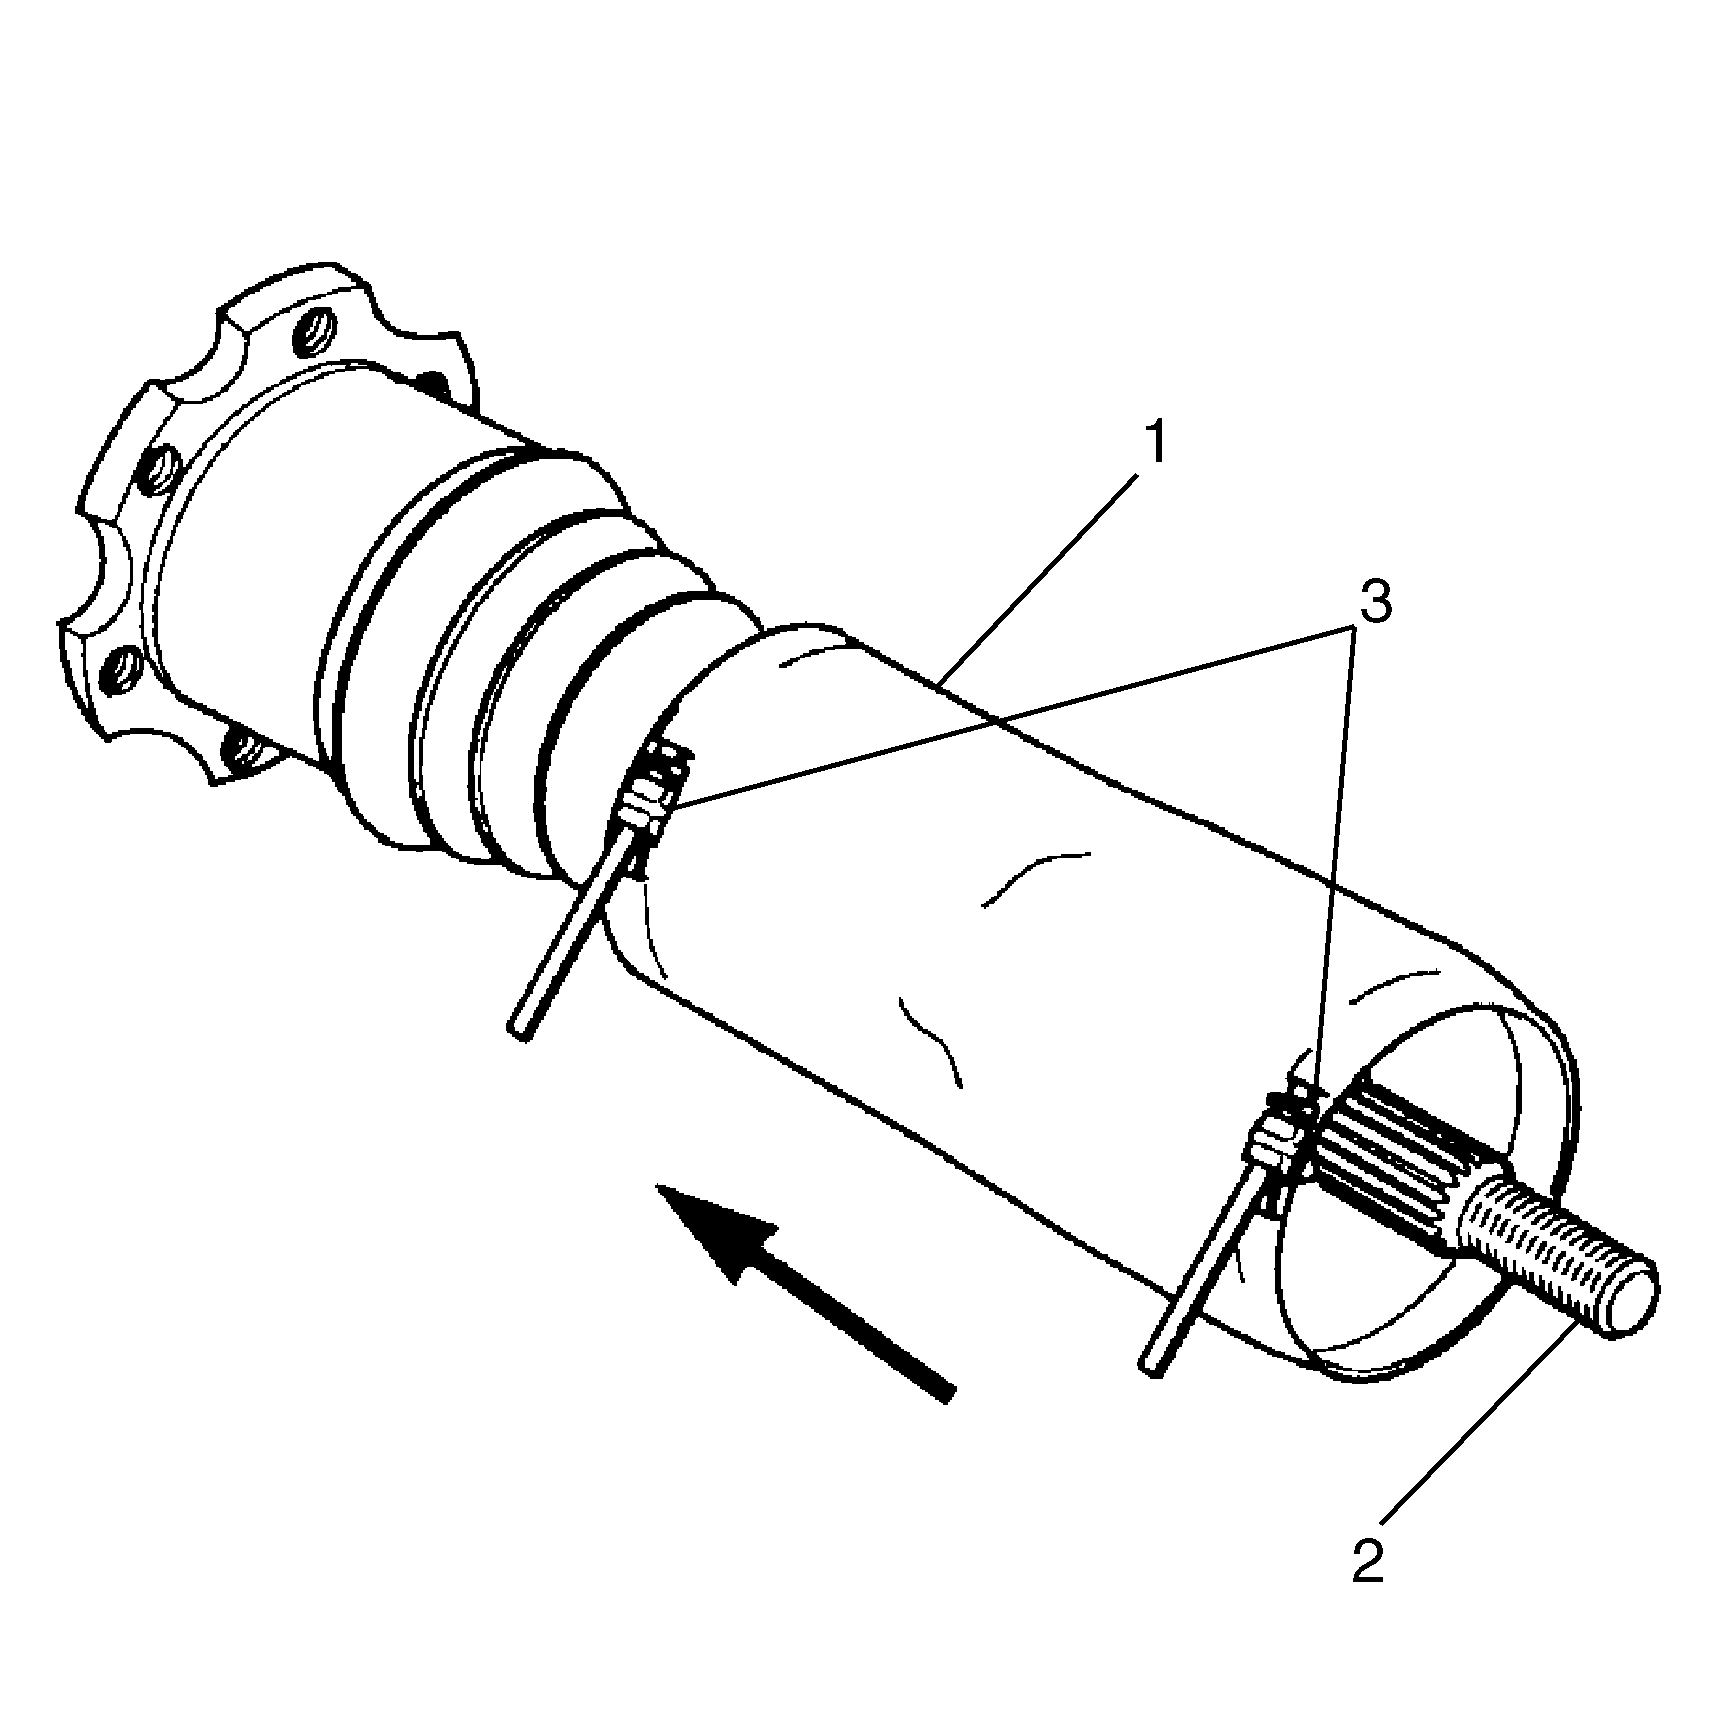
- Insert new clamps (3) into the original halfshaft seal cover (1) (if you are reusing the original halfshaft seal cover.
- Slide the halfshaft seal cover (1) onto the halfshaft assembly (2), starting at the outboard (CV joint) end.
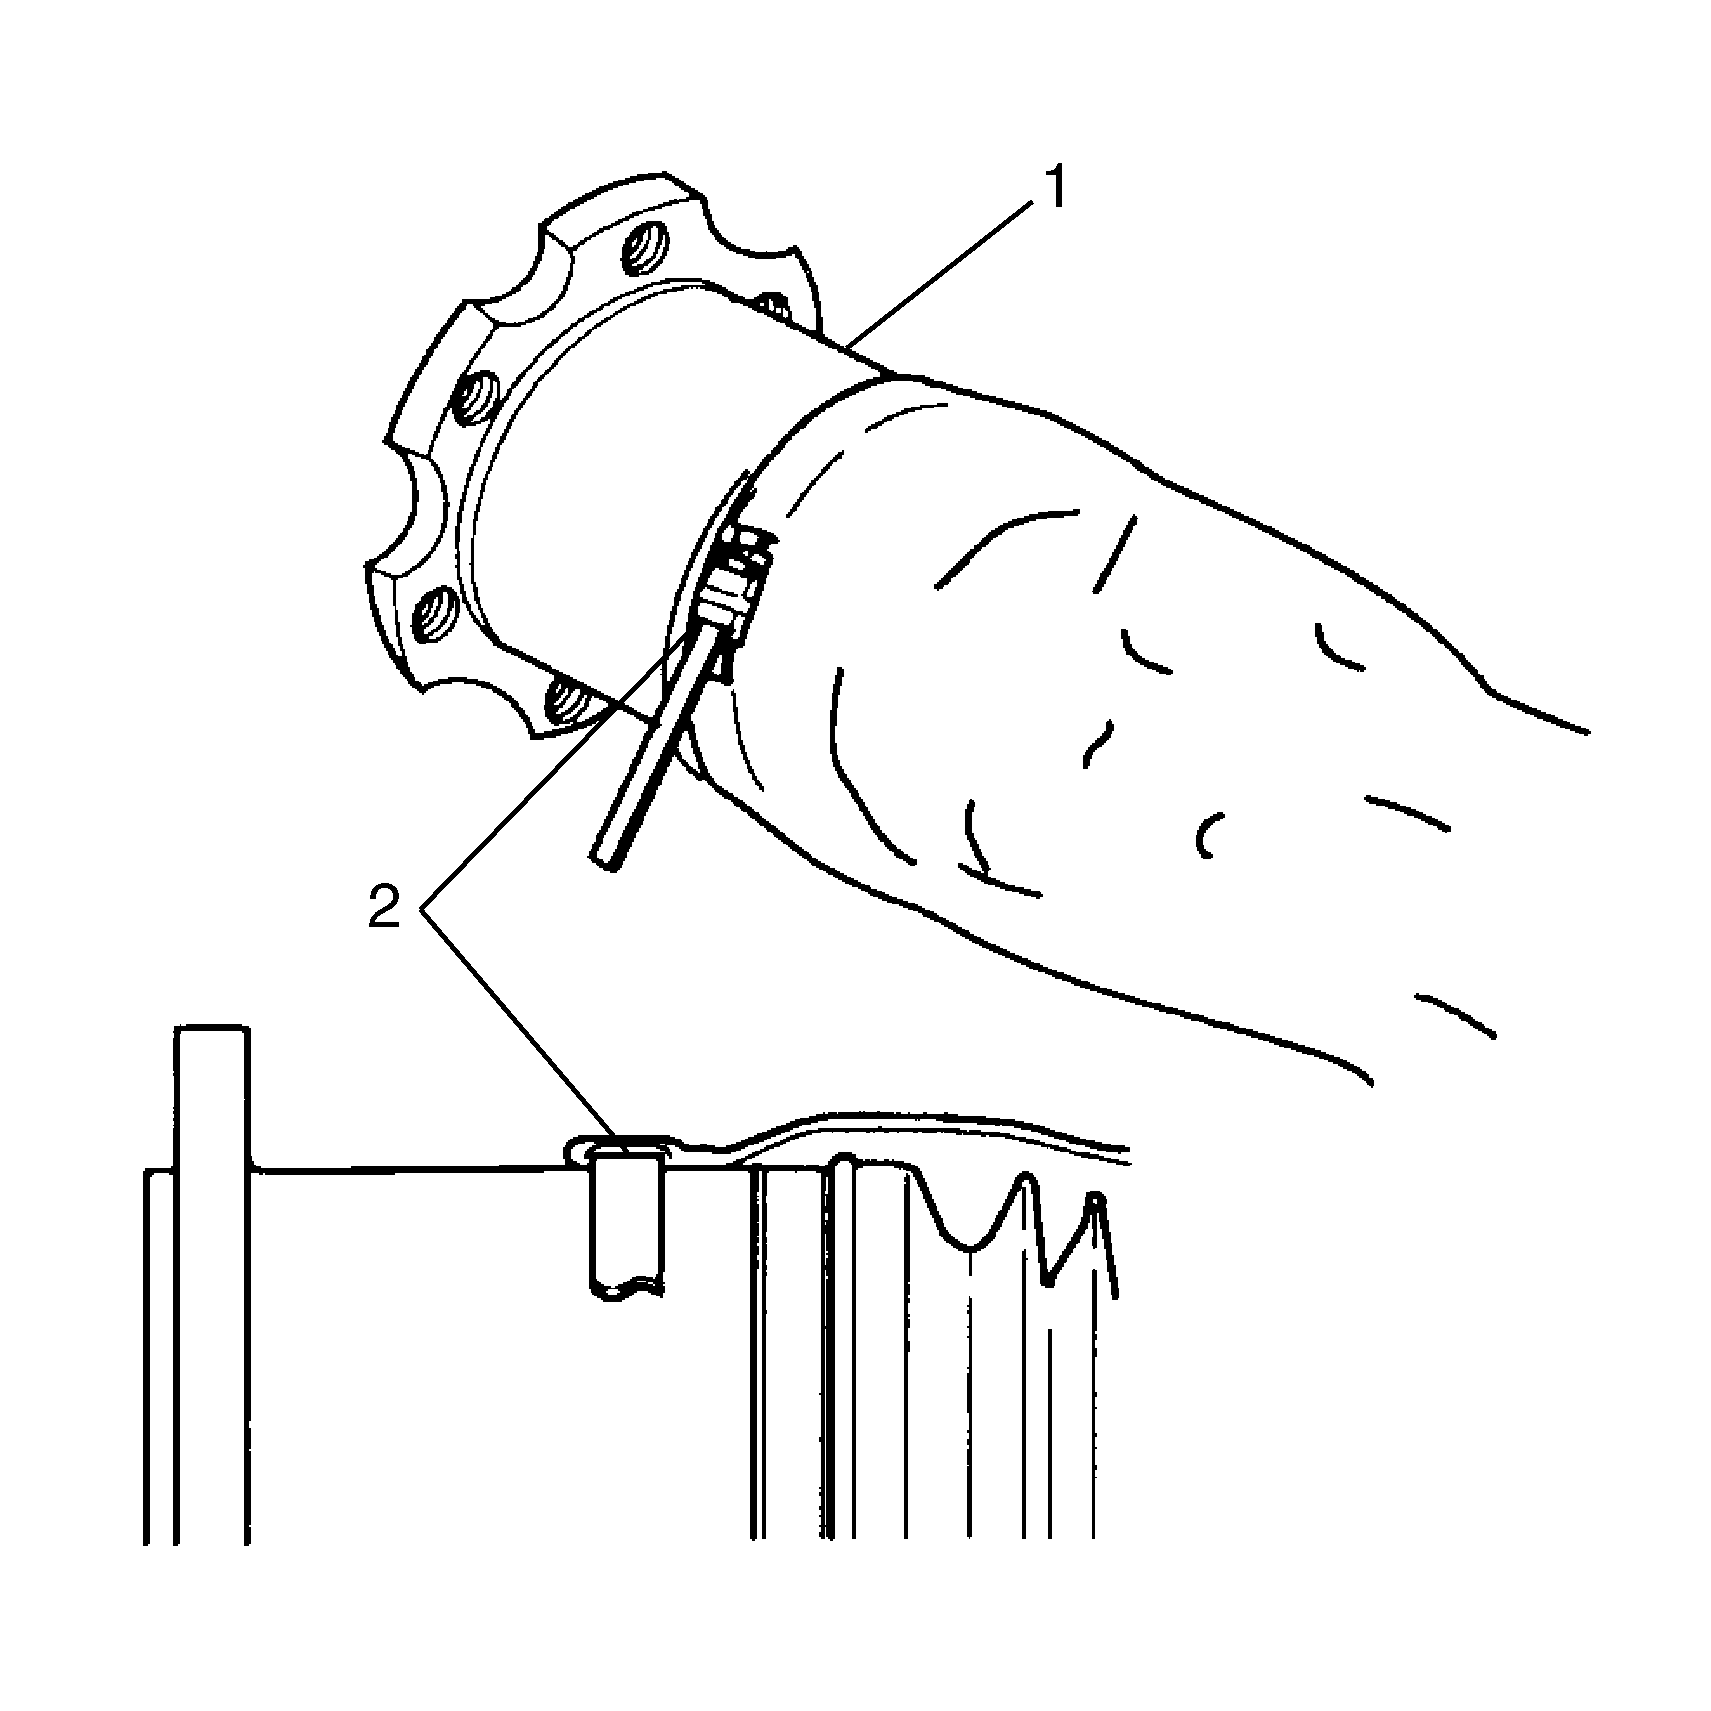
- Align the inboard clamp (2) on the inboard joint (1). Align the seal cover seam so the seam is straight.
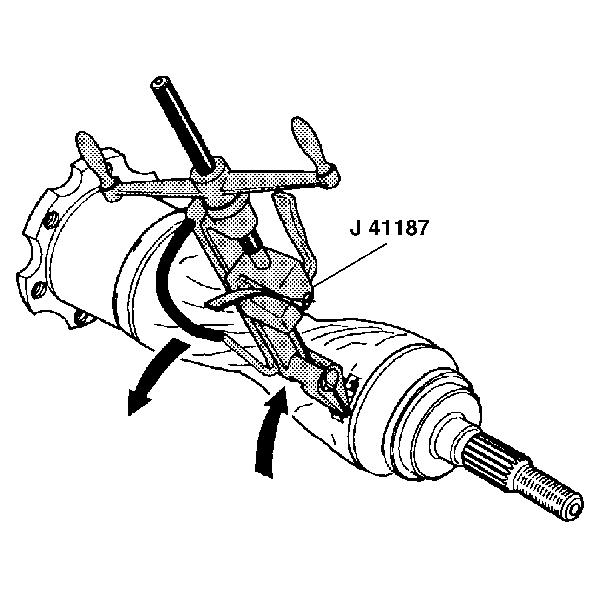
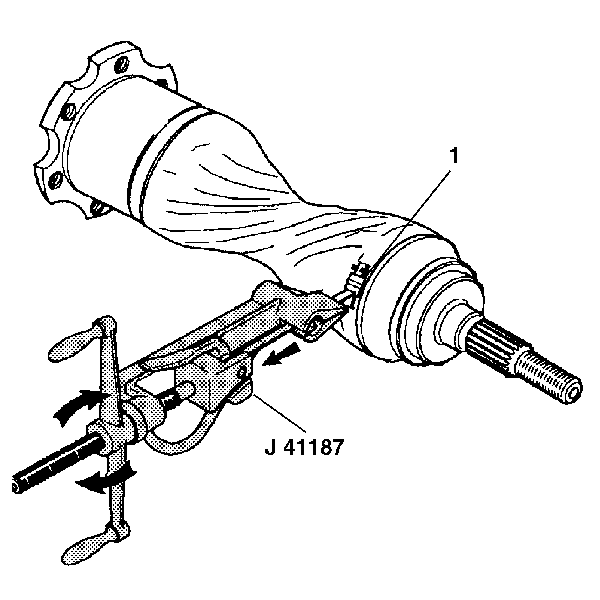
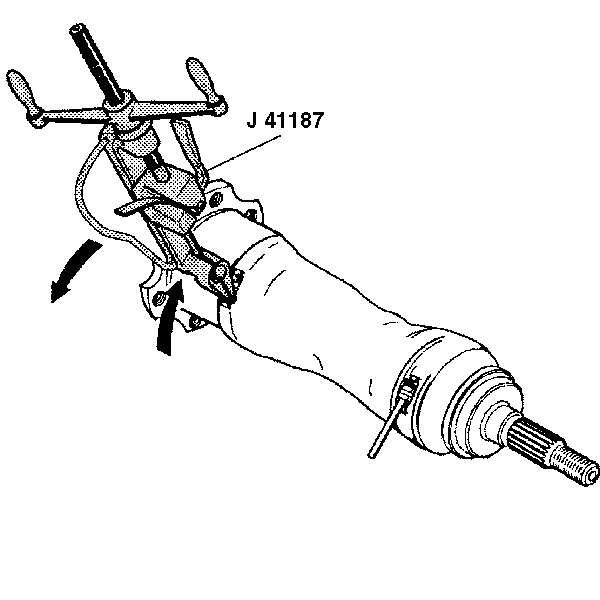
- Use J 41187 in order to tighten the inboard seal cover clamp (1).
- Rotate J 41187 toward the clip in order to bend the band onto the clip.
- Pull on the tool's cutting handle in order to cut off the excess band.
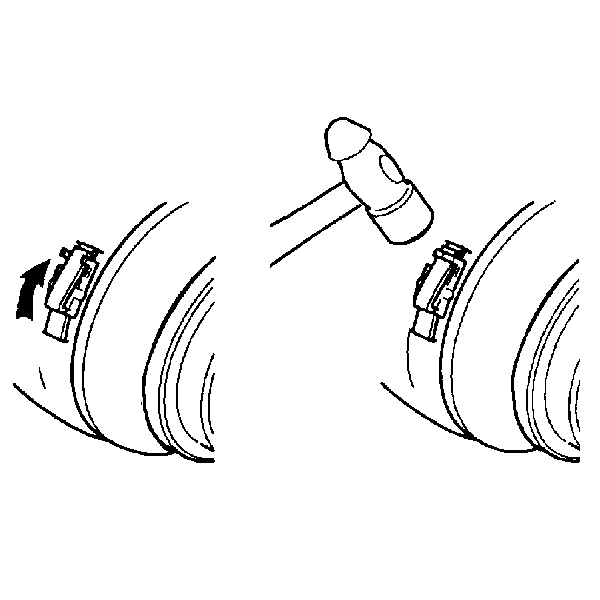
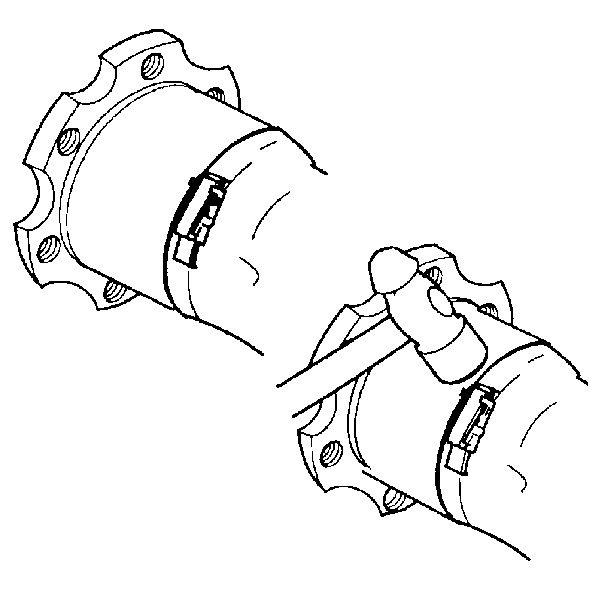
- Pound the band flat between the latch tabs. Peen the latch tabs over in order to lock the band into position.
- Twist the halfshaft seal cover (1) until the middle of the cover fits loosley against the halfshaft bar.
- Position the outboard end of the halfshaft seal cover (1) over the CV joint (2) flat.
- Use J 41187 in order to tighten the outboard cover clamp (1).
- Rotate J 41187 toward the clip in order to bend the band onto the clip.
- Pull the tool's cutting handle in order to cut off the excess band.
- Pound the band flat between the latch tabs. Peen the latch tabs over in order to lock the band into position.
- Gather the halfshaft seal cover material at the center. Wrap the halfshaft seal cover (1) tightly with the nylon strap (2) provided in the kit.
Important: Tighten the seal cover clamp (1) as tight as possible without deforming the retaining clip. Clamps that are not tight enough allow the cover to slide upon the joint. This causes shortened service life.

Important: Tighten the seal cover clamp (1) as tight as possible without deforming the retaining clip. Clamps that are not tight enough allow the cover to slide upon the joint. This causes shortened service life.
