For 1990-2009 cars only
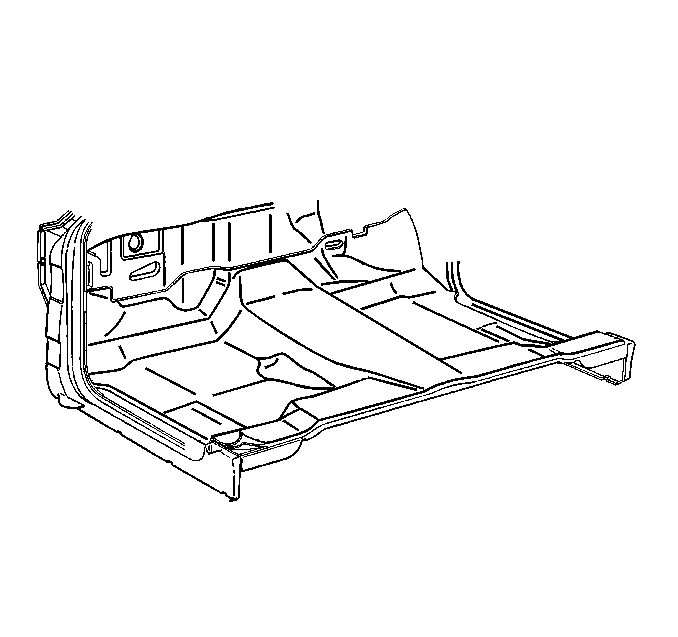
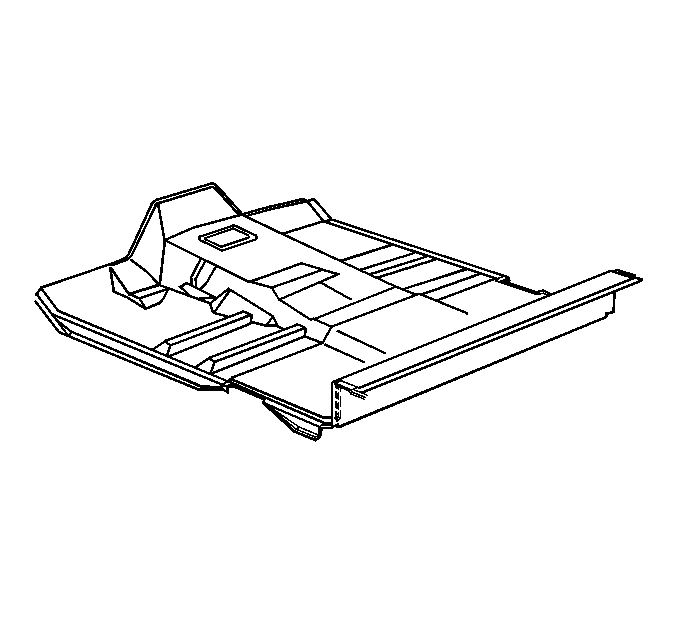
Front Floor Panel Carpet Replacement Pickup
Removal Procedure
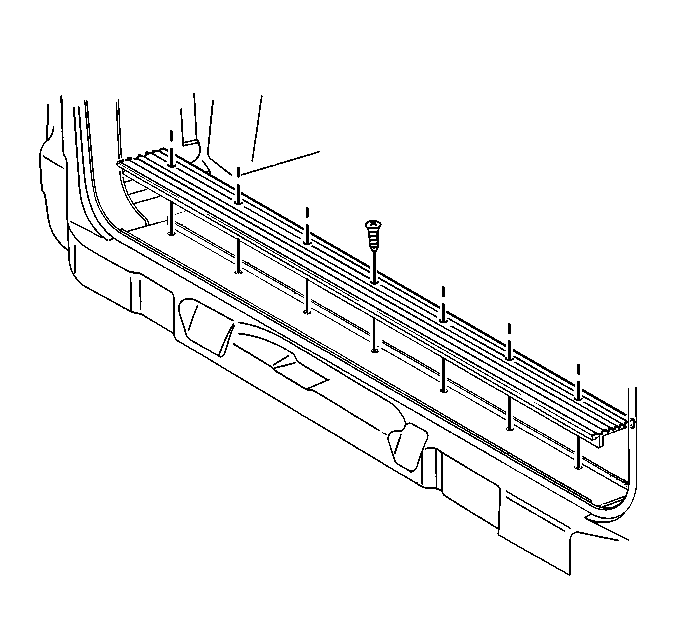
- Remove the door sill trim plates. Refer to Door Sill Plate Replacement .
- Remove the front seat belts. Refer to Front Seat Belt Replacement in Seat Belts.
- Remove the heater duct. Refer to Floor Air Outlet Replacement in Heating, Ventilation and Air Conditioning.
- Remove the kick panels.
- Remove the seat riser trim covers. Refer to Power Seat Riser Trim Cover Replacement in Seats.
- Remove the seats. Refer to Front Seat Replacement - Bucket or to Split Bench Seat Replacement or to Bench Seat Replacement in Seats.
- Remove the front floor console, if equipped. Refer to Front Floor Console Replacement in Instrument Panel, Gages and Console.
- Remove the carpet from the vehicle.

Installation Procedure
- Install the new carpet into the vehicle.
- Install the front seats into the vehicle. Refer to Front Seat Replacement - Bucket or to Split Bench Seat Replacement or to Bench Seat Replacement in Seats.
- Install the front floor console, if equipped. Refer to Front Floor Console Replacement in Instrument Panel, Gauges and Console.
- Install the seat riser trim covers. Refer to Power Seat Riser Trim Cover Replacement in Seats.
- Install the front seat belts. Refer to Front Seat Belt Replacement in Seat Belts.
- Install the kick panels.
- Install the heater duct. Refer to Floor Air Outlet Replacement in Heating, Ventilation and Air Conditioning.
- Install the door sill trim plats. Refer to Door Sill Plate Replacement .

Caution: In order to avoid personal injury or vehicle damage when you repair or replace the carpet, use the same thickness and material size as the original installation. Always return the carpet to the original location.
Front Floor Panel Carpet Replacement Utility
Removal Procedure
- Remove the front seats. Refer to Front Seat Replacement - Bucket in Seats.
- Remove the floor center console. Refer to Front Floor Console Replacement in Instrument Panel, Gauges and Console.
- Remove the rear side seats. Refer to Rear Bench Seat Replacement in Seats.
- Remove the floor mats.
- Remove the transfer case shifter bezel, if equipped.
- Remove the front seat belts. Refer to Front Seat Belt Replacement in Seatbelts.
- Remove the door side sill trim plates. Refer to Door Sill Plate Replacement .
- Remove the center pillar trim panels. Refer to Center Pillar Garnish Molding Replacement .
- Remove the side kick panels.
- Remove the carpet.


Installation Procedure
- Install the carpet.
- Install the kick panels.
- Install the center pillar trim. Refer to Center Pillar Garnish Molding Replacement .
- Install the door sill trim plates. Refer to Door Sill Plate Replacement .
- Install the front seat belts. Refer to Front Seat Belt Replacement in Seatbelts.
- Install the transfer case shifter bezel, if equipped.
- Install the floor mats.
- Install the rear seats. Refer to Rear Seat Replacement in Seats.
- Install the floor center console. Refer to Front Floor Console Replacement in Instrument Panel, Gauges and Console.
- Install the front seats. Refer to Front Seat Replacement - Bucket in Seats.

Caution: In order to avoid personal injury or vehicle damage when you repair or replace the carpet, use the same thickness and material size as the original installation. Always return the carpet to the original location.


