Tools Required
J 34730-1A Fuel Pressure Gauge
Caution: Relieve the fuel system pressure before servicing fuel system components in order to reduce the risk of fire and personal injury.
After relieving the system pressure, a small amount of fuel may be released when servicing the fuel lines or connections. In order to reduce the chance of personal injury, cover the regulator and the fuel line fittings with a shop towel before disconnecting. This will catch any fuel that may leak out. Place the towel in an approved container when the disconnection is complete.- Turn the ignition Off.
- Disconnect negative battery cable in order to avoid possible fuel discharge if an accidental attempt is made to start the engine.
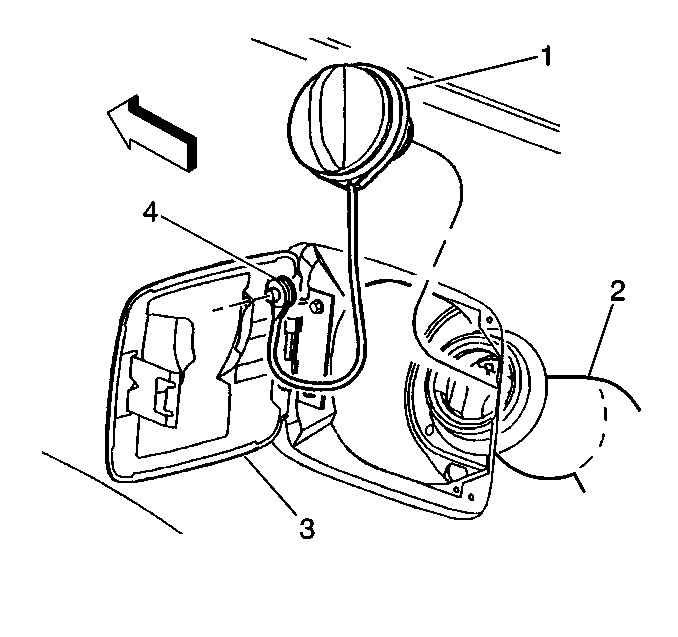
- Loosen the fuel filler cap (1) to relieve fuel tank vapor pressure.
- Remove the four intake manifold top cover nuts from the intake manifold top cover.
- Remove the intake manifold top cover.
- Connect gauge J 34730-1A to fuel pressure connection. Wrap a shop towel around fitting while connecting gauge to avoid spillage.
- Install the bleed hose into an approved container and open valve to bleed system pressure. Fuel connections are now safe for servicing.
- Drain any fuel remaining in the fuel pressure gauge into an approved container.
- Tighten the fuel filler cap.
- Turn the ignition Off.
- Connect the negative battery cable.
- Install the intake manifold top cover.


| 11.1. | Turn the ignition switch ON for 2 seconds after service is completed. |
| 11.2. | Turn the ignition switch OFF for 5 seconds. |
| 11.3. | Turn the ignition switch ON. |
| 11.4. | Check for fuel leaks. |

Notice: Use the correct fastener in the correct location. Replacement fasteners must be the correct part number for that application. Fasteners requiring replacement or fasteners requiring the use of thread locking compound or sealant are identified in the service procedure. Do not use paints, lubricants, or corrosion inhibitors on fasteners or fastener joint surfaces unless specified. These coatings affect fastener torque and joint clamping force and may damage the fastener. Use the correct tightening sequence and specifications when installing fasteners in order to avoid damage to parts and systems.
Tighten
Tighten the nuts to 3 N·m (27 lb in).
