Rear Brake Caliper Overhaul without J55
Caution: Refer to Brake Dust Caution in the Preface section.
Caution: Refer to Brake Fluid Irritant Caution in the Preface section.
Notice: Refer to Brake Fluid Effects on Paint and Electrical Components Notice in the Preface section.
- Remove the rear brake caliper from vehicle. Refer to Rear Brake Caliper Replacement
- Remove the caliper sleeves from the caliper mounting holes.
- Remove the brake caliper sleeve dust boots.
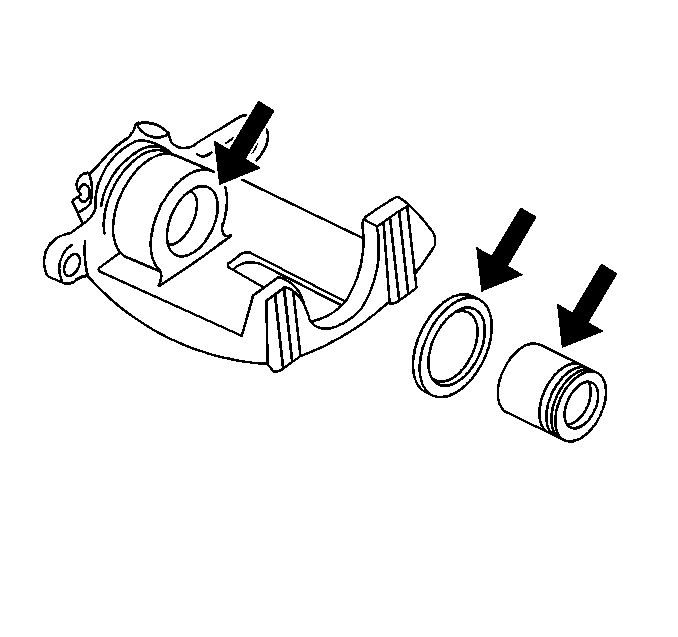
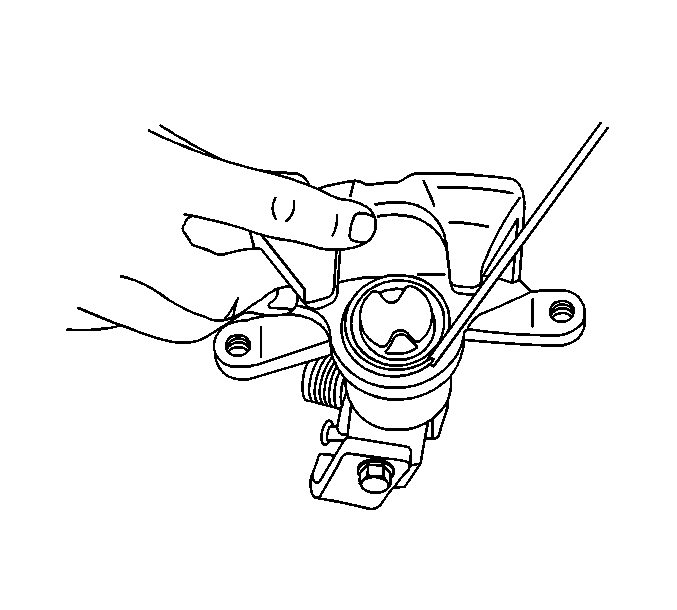
- Using a small wooden or plastic tool, carefully remove the brake caliper piston dust boot seal retaining ring from the groove in the caliper seal counterbore.
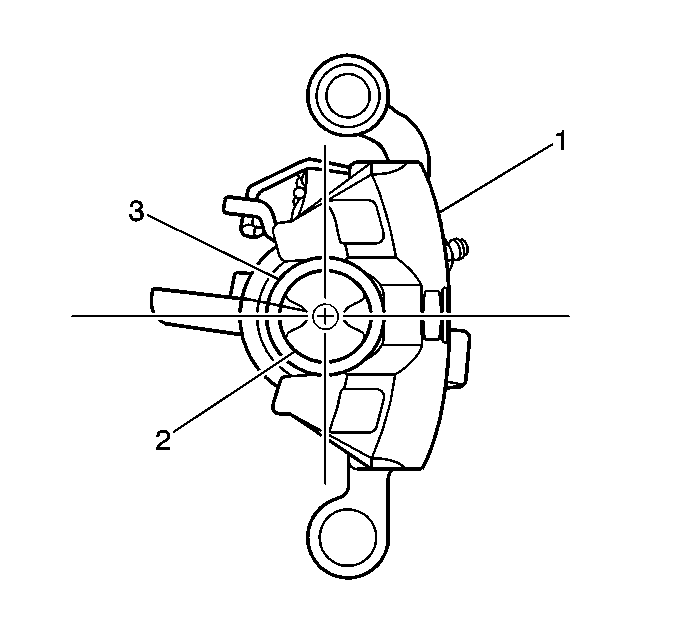
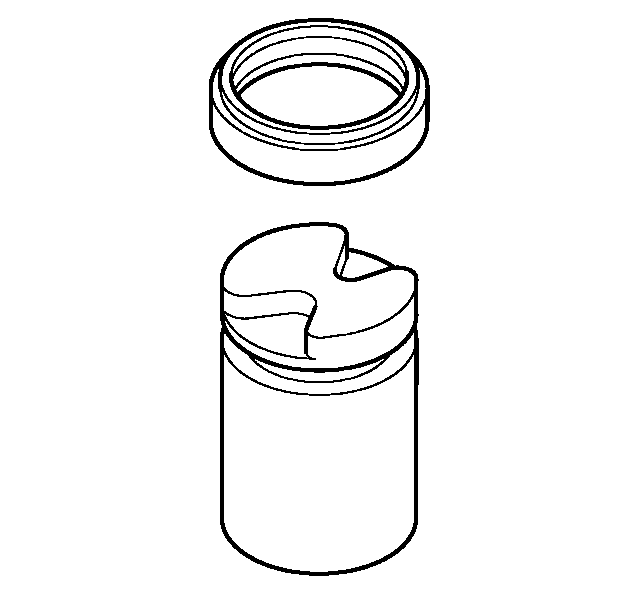
- Using a spanner type wrench, rotate the brake caliper piston (2) counterclockwise to remove the piston with the dust boot seal (3) from the caliper (1).
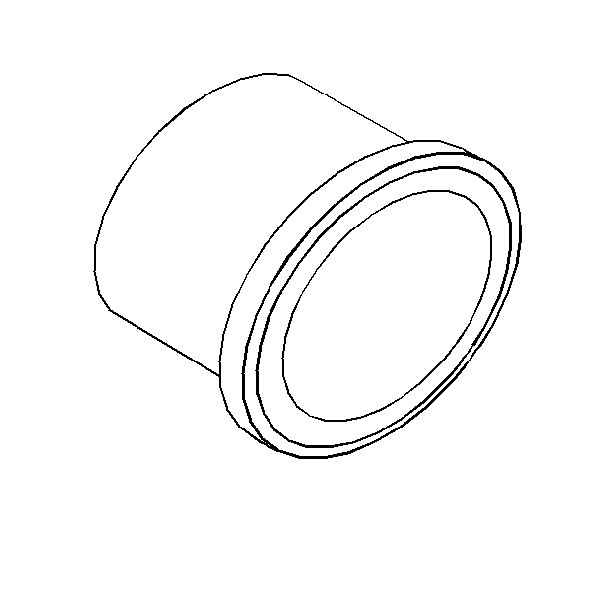
- Remove the piston dust boot seal from the piston and discard the boot seal.
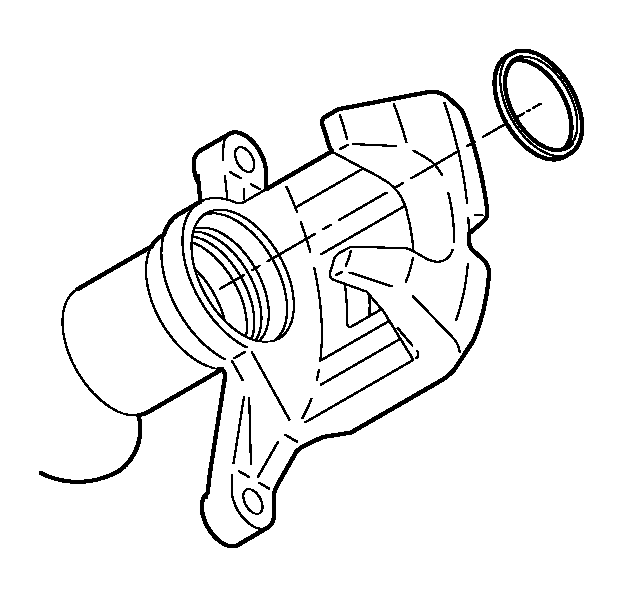
- Using a small wooden or plastic tool, remove the piston seal from the caliper bore and discard the piston seal.
- Remove the bleeder valve from the caliper body.
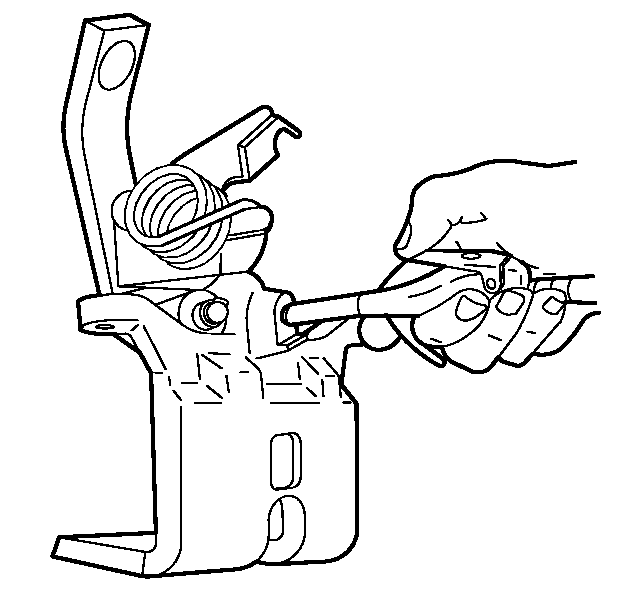
- Using a flat bladed tool, carefully reposition the park brake actuator lever return spring from the park brake actuator lever to relieve tension on the lever.
- Inspect the operation of the integral park brake mechanism; rotate the park brake lever back and forth while observing the movement of the park brake mechanism actuator assembly in the caliper bore.
- If the integral park brake mechanism was not operating properly (binding or seized), replace the brake caliper assembly.
- Clean the brake caliper piston bore and seal counterbore, the caliper piston, and the caliper sleeves with denatured alcohol, or equivalent.
- Dry the caliper piston bore and counterbore, the piston, and the sleeves with non-lubricated, filtered air.
- Inspect the caliper bore for cracks, scoring, pitting, excessive rust, and/or excessive corrosion.
- If light rust or light corrosion are present in the caliper bore, attempt to remove the imperfection with a fine emery paper. If the imperfection cannot be removed, replace the caliper assembly.
- If cracks, scoring, pitting, excessive rust, and/or excessive corrosion are present in the caliper bore, replace the caliper assembly.
- Inspect the caliper piston for cracks, scoring, damage to the chrome plating, and/or damage to the integral adjusting mechanism. Replace the caliper piston if any of these conditions exist.
- Inspect the caliper sleeves for cracks, scoring, pitting, rust, and/or corrosion. Replace the sleeves if any of these conditions exist.
- Inspect the caliper sleeve dust boots for cracks, cuts, tears, or deterioration. Replace the boots if any of these conditions exist.
- Inspect the caliper mounting holes for cracks, scoring, pitting, rust, and/or excessive corrosion. Replace the caliper assembly if any of these conditions exist.
- Remove the park brake lever return spring from the park brake lever.
- Remove the nut retaining the park brake lever to the park brake actuator shaft.
- Remove the park brake lever from the actuator shaft.
- Using a flat bladed tool or a punch, carefully tap the service tab of the park brake actuator shaft seal to remove the seal from out of the seal counterbore and discard the shaft seal.
- Inspect the park brake actuator shaft sealing surface for pitting, rust, and/or excessive corrosion. Replace the caliper assembly if any of these conditions exist.
- Inspect the park brake actuator lever for excessive wear or deformities. Replace the actuator lever if either of these conditions exist.
- Inspect the park brake actuator lever return spring for cracks or deformities. Replace the lever return spring if either of these conditions exist.
- Apply a light film of high temperature silicone brake lubricant to the new park brake actuator shaft seal contact surface.
- Install the new park brake actuator shaft seal to the actuator shaft and seat fully to the caliper body.
- Install the park brake lever to the park brake actuator shaft.
- Install the park brake lever return spring to the park brake lever.
- Using a flat bladed tool, carefully position and secure the park brake actuator lever return spring to the park brake actuator lever.
- Lubricate the new piston seal with Delco Supreme 11®, GM P/N 12377967 (Canadian P/N 992667) or equivalent DOT-3 brake fluid from a clean, sealed brake fluid container.
- Install the lubricated, new piston seal into the caliper bore.
- Install the new dust boot seal onto the caliper piston.
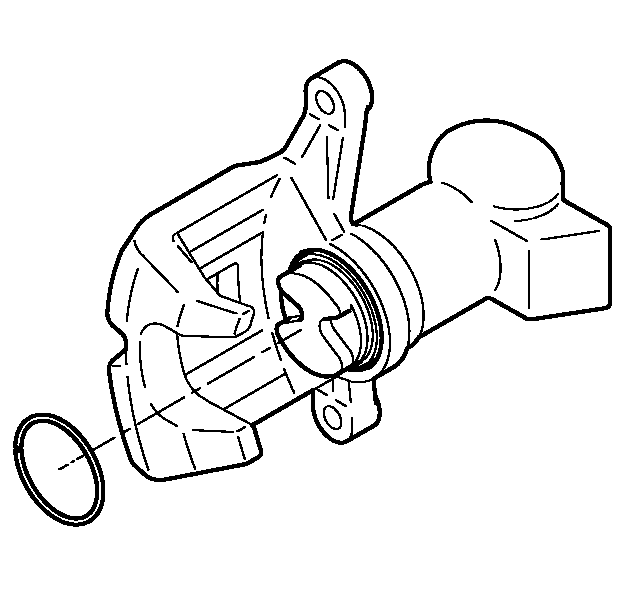
- Insert the caliper piston into the caliper bore; using a spanner type wrench, rotate the piston (2) clockwise to fully seat the piston into the caliper body (1).
- Fully seat the piston dust boot seal in the seal counterbore.
- Install the piston dust boot seal retaining ring to the groove in the caliper seal counterbore.
- Install the caliper bleeder valve to the brake caliper and tighten securely.
- Apply high temperature silicone brake lubricant to the brake caliper sleeves and the caliper mounting holes.
- Install the brake caliper sleeve dust boots to the caliper.
- Install the lubricated caliper sleeves into the caliper mounting holes.
- Install the brake caliper to the vehicle. Refer to Rear Brake Caliper Replacement .
If the brake caliper was leaking brake fluid from the REAR of the caliper past the integral park brake actuator shaft seal, replace the brake caliper assembly. The park brake integral mechanism contains a non-serviceable seal which may be allowing brake fluid to leak past it and into the non-serviceable integral park brake mechanism.
Important: The park brake lever, lever return spring and actuator shaft seal are the only components of the integral park brake mechanism that can be removed or replaced. Do not disassemble the integral park brake mechanism.
Important: Do not use abrasives to clean the brake caliper piston.


Inspect the brake caliper for brake fluid leaks while performing the hydraulic brake system bleeding procedure after the caliper has been installed to the vehicle. If the brake caliper leaks brake fluid from the FRONT of the caliper past the piston dust boot seal, replace the caliper piston assembly. The piston integral adjustment mechanism contains a non-serviceable seal which may be allowing brake fluid to leak past it through a bleed hole near the end of the caliper piston.
Rear Brake Caliper Overhaul J55
Caution: Refer to Brake Dust Caution in the Preface section.
Caution: Refer to Brake Fluid Irritant Caution in the Preface section.
Notice: Refer to Brake Fluid Effects on Paint and Electrical Components Notice in the Preface section.
Disassembly Procedure
- Remove the rear brake caliper from the vehicle. Refer to Rear Brake Caliper Replacement .
- Drain all the brake fluid from the brake caliper.
- Pad the interior of the caliper with clean shop towels.
- Remove the brake caliper piston from the caliper bore by directing low pressure compressed air into the caliper bore through the fluid inlet hole.
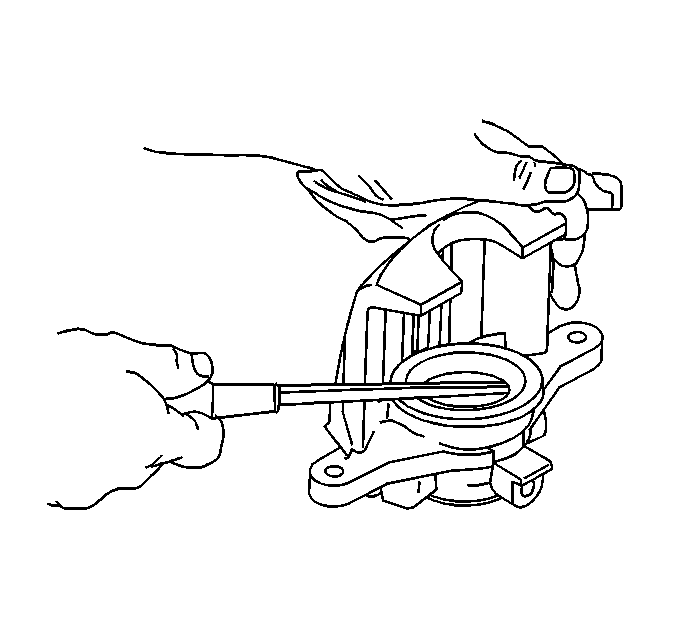
- Using a small wooden or plastic tool, remove the piston dust boot seal from the seal counterbore in the caliper and discard the boot seal.
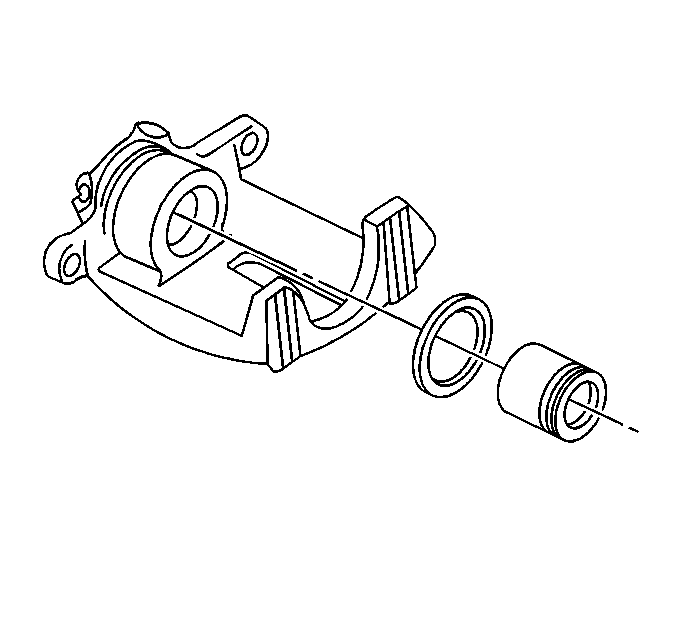
- Using a small wooden or plastic tool, remove the piston seal from the caliper bore and discard the piston seal.
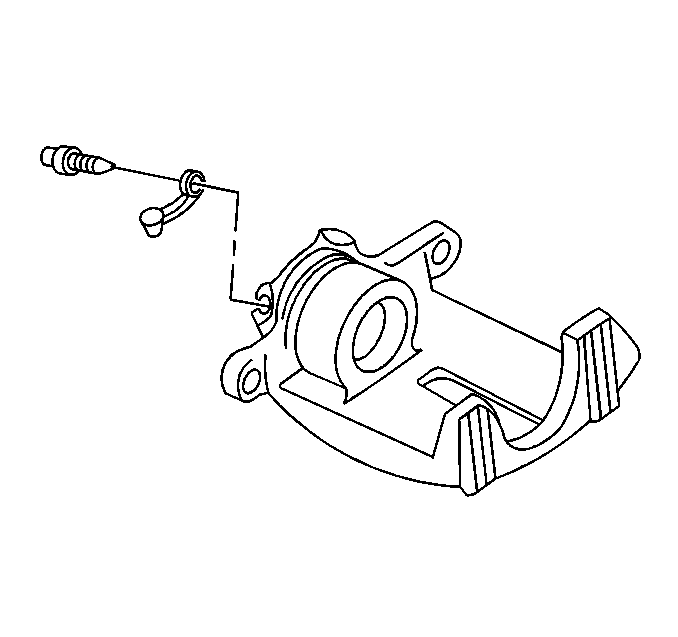
- Remove the bleeder valve and bleeder valve cap from the caliper body.
- Clean the following components with denatured alcohol or equivalent.
- Dry the parts with non-lubricated, filtered air.
- Replace the piston or the caliper if any of the following conditions exist:
- Install the bleeder valve.
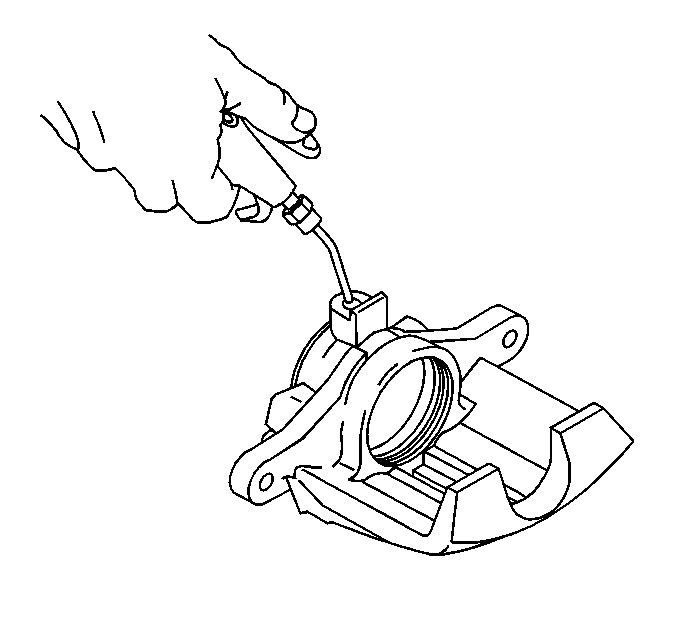
Caution: Do not place your fingers in front of the piston in order to catch or protect the piston while applying compressed air. This could result in serious injury.
Notice: Use clean cloths to pad interior of caliper housing during piston removal. Use just enough air to ease the pistons out of the bores. If the pistons are blown out, even with the padding provided, it may be damaged.
Remove the piston from the brake caliper bore.
| • | The bleeder valve |
| • | The caliper bore |
| • | The caliper passages |
| • | The piston |
| • | The lining contact area on the brake caliper bracket. |
| • | Scoring on the piston surface or in the caliper bore |
| • | Corrosion on the piston |
| • | Chrome plating damage on the piston |
| • | Corrosion in the caliper bore. Use crocus cloth in order to polish light corrosion from the caliper bore. Replace the caliper if the corrosion cannot be removed. |
| • | Pitting in the caliper bore |
Notice: Use the correct fastener in the correct location. Replacement fasteners must be the correct part number for that application. Fasteners requiring replacement or fasteners requiring the use of thread locking compound or sealant are identified in the service procedure. Do not use paints, lubricants, or corrosion inhibitors on fasteners or fastener joint surfaces unless specified. These coatings affect fastener torque and joint clamping force and may damage the fastener. Use the correct tightening sequence and specifications when installing fasteners in order to avoid damage to parts and systems.
Tighten
Tighten the bleeder valve to 13 N·m
(115 lb in).
Assembly Procedure
- Lubricate the new piston seal with Delco Supreme 11®, GM P/N 12377967 (Canadian P/N 992667) or equivalent DOT-3 brake fluid from a clean, sealed brake fluid container.
- Install the lubricated piston seal. Make sure the piston seal is not twisted in the caliper bore groove.
- Install the boot into the caliper housing bore by hand.
- Install the piston in the caliper bore. Push the piston to the bottom of the bore by hand.
- Install the boot and retaining ring to the piston.
- Install the caliper to the vehicle. Refer to Rear Brake Caliper Replacement .
