For 1990-2009 cars only
Front Floor Console Trim Plate Replacement DTS
Removal Procedure
- Set the parking brake, then shift the vehicle into neutral in order to allow clearance for the console trim plate to be removed.
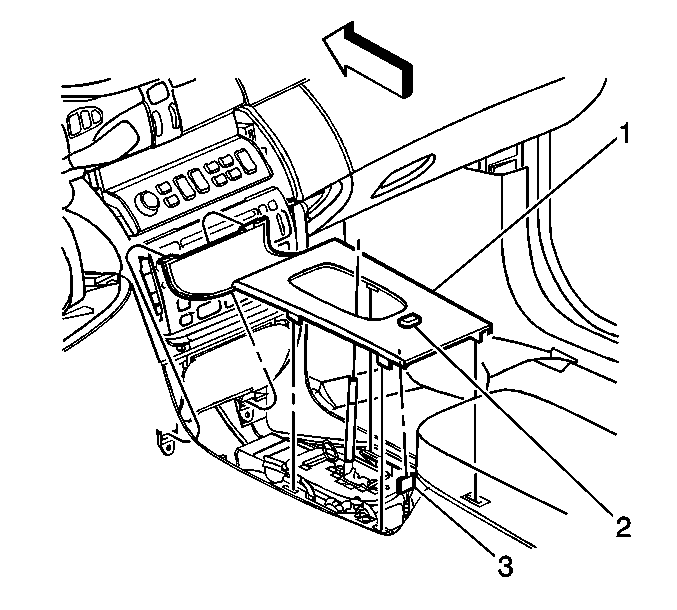
- Using a thin bladed tool or a hook tool, pry upward on the rear edge of the console trim plate in order to disengage 4 of the 6 clips retaining the trim plate.
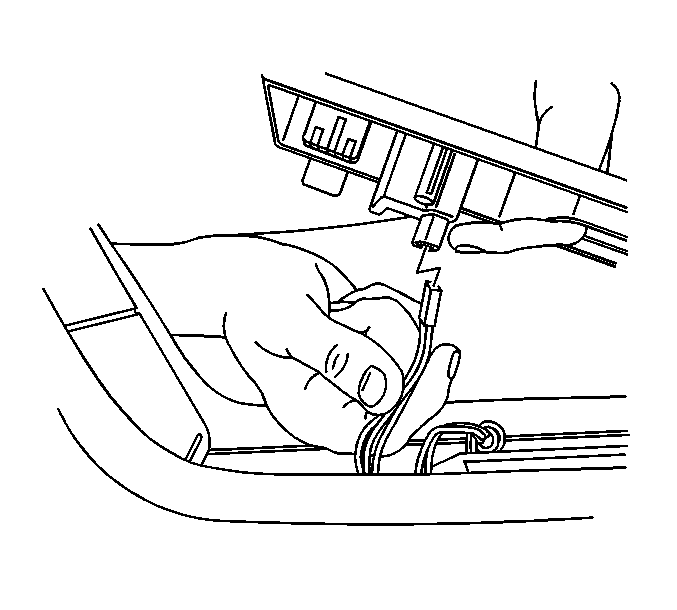
- Lift the rear of the trim plate in order to disconnect the traction control switch electrical connector.
- Push down lightly on the front of the console trim plate and pull towards the rear in order to avoid interference with the storage compartment door trim when disengaging the front console trim panel clips.
- Lift the console trim plate over the shift handle and remove the console trim plate.
Caution: Refer to SIR Caution in the Preface section.
Notice: To prevent component damage, DO NOT use metal tools to remove the trim.


Installation Procedure
- Align the front edge of the console trim plate (1).
- Lower the console trim plate into place over the shift handle.
- Connect the traction control switch electrical connector.
- Align the front 2 retainer clips and push forward on the console trim plate in order to engage the front clips.
- Align the 4 rear trim plate clips with the console and push firmly into to place in order to engage the retainers.


Important: Make sure the retainers are aligned properly before attempting to engage the trim plate.
