For 1990-2009 cars only
Tools Required
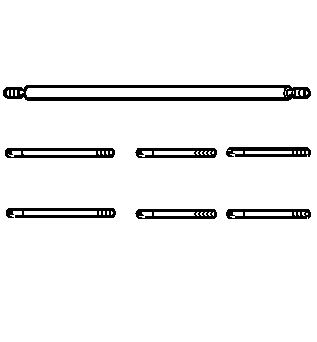
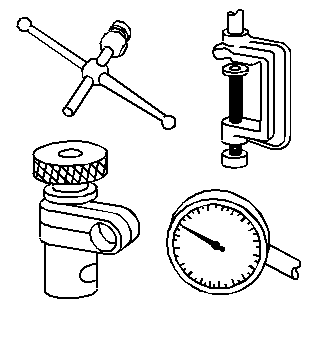
| • | J 25025-7A Dial Indicator Post |
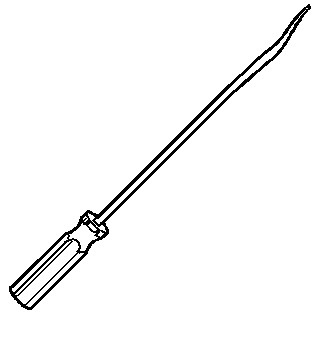
| • | J 28585 Snap Ring Remover |
| • | J 8001 Dial Indicator |
- Inspect the case to case extension seal (126).
- Inspect the case extension mating surface for damage.
- Install the following parts:
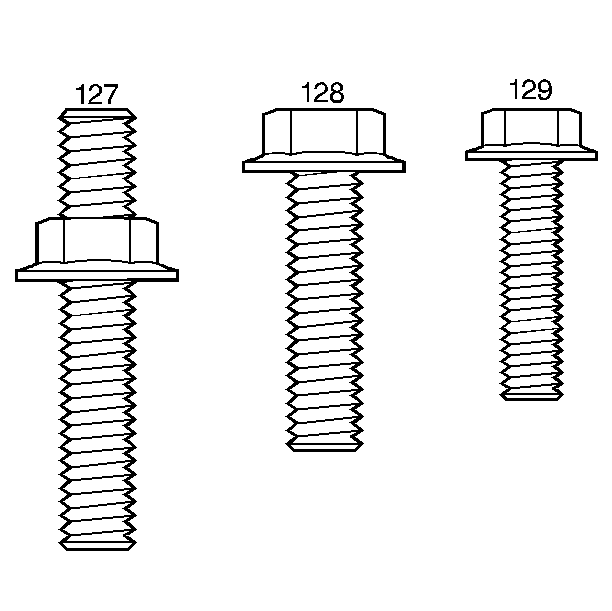
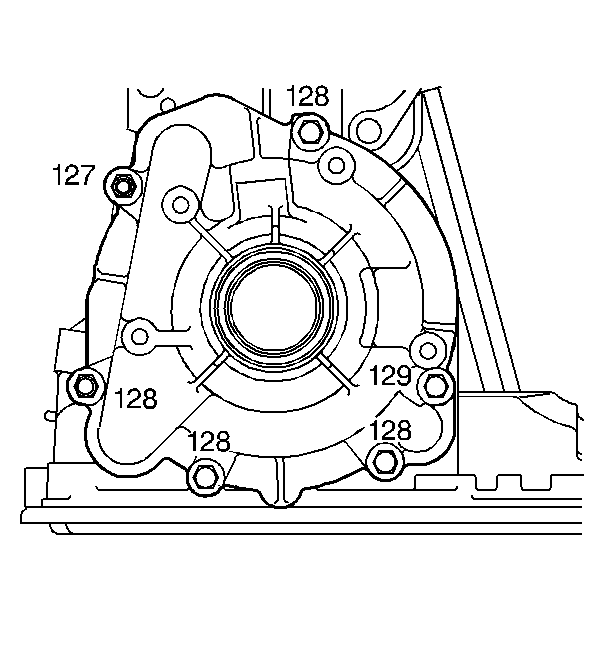
- Apply pip thread sealant GM P/N 12346004 to bolt threads before installation. Install the case extension bolts (128, 129).
- Hand tighten bolts (128, 129) until case extension (134) is seated onto case.
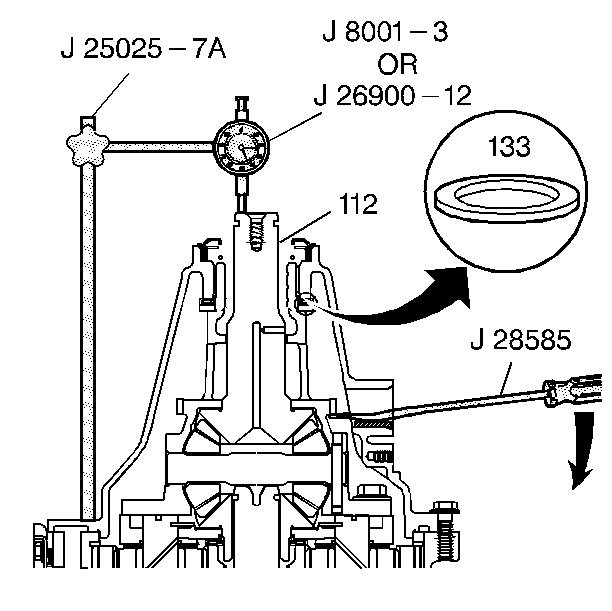
- Install the long J 25025-7A and the J 8001 .
- Position the dial indicator with the stem contacting the output shaft (112). Set the dial indicator to zero.
- Insert the J 28585 through the vehicle speed sensor bore and lift the speed sensor rotor for measurement. Protect the bore with a piece of wood or a suitable piece of plastic.
- Proper end play clearance is 0.15-0.65 mm (Eng. Spec.).
- Record measured specification and, if necessary, adjust the clearance with the proper thickness selective thrust washer on reassembly. Refer to step 3.
- Remove the dial indicator set and the post.
- Install the stud (127).
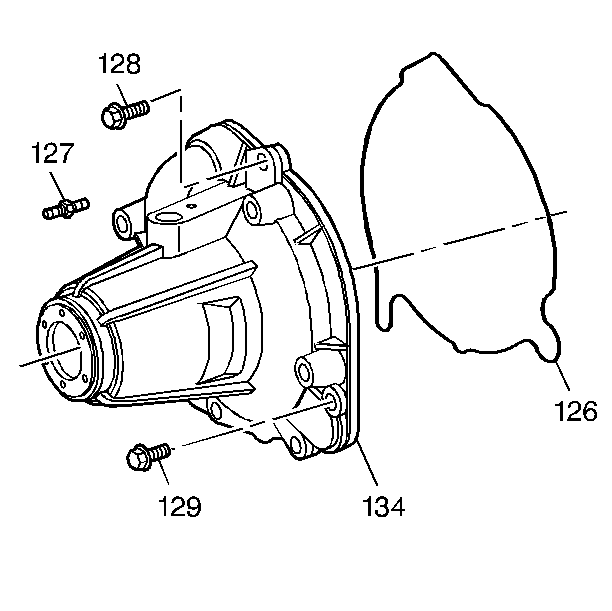
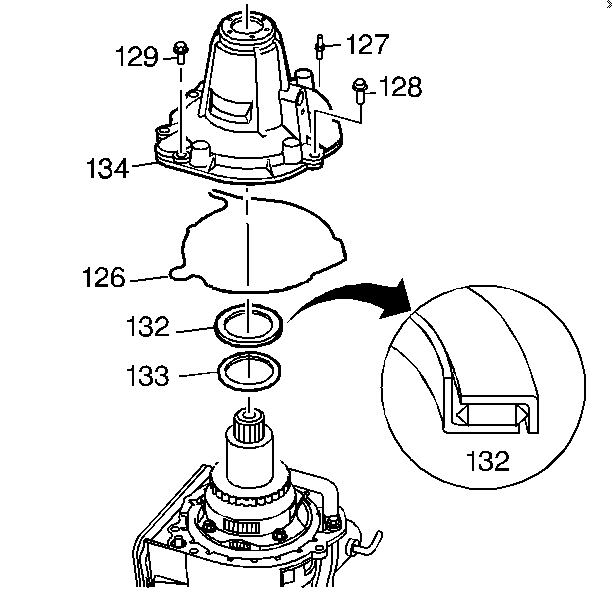
| • | The selective washer (133) |
| • | The thrust washer (132) |
| • | The case extension seal (126) |
| • | The case extension (134) |
Notice: Failure to ensure that proper end play clearance exists, could lead to internal component damage.
Notice: Use the correct fastener in the correct location. Replacement fasteners must be the correct part number for that application. Fasteners requiring replacement or fasteners requiring the use of thread locking compound or sealant are identified in the service procedure. Do not use paints, lubricants, or corrosion inhibitors on fasteners or fastener joint surfaces unless specified. These coatings affect fastener torque and joint clamping force and may damage the fastener. Use the correct tightening sequence and specifications when installing fasteners in order to avoid damage to parts and systems.
Tighten
| • | Tighten the bolt (128) and the stud (127) to 50-55 N·m (37-40 lb ft). |
| • | Tighten the bolt (129) to 20-27 N·m (15-20 lb ft). |
