For 1990-2009 cars only
Removal Procedure
- Remove the instrument panel carrier. Refer to Instrument Panel Assembly Replacement in Instrument Panel, Gages, and Console.
- Remove the mode actuator retaining screws (1).
- Remove the mode actuator.
- Note the position of the door levers to the cam.
Caution: Refer to SIR Handling Caution in the Preface section.
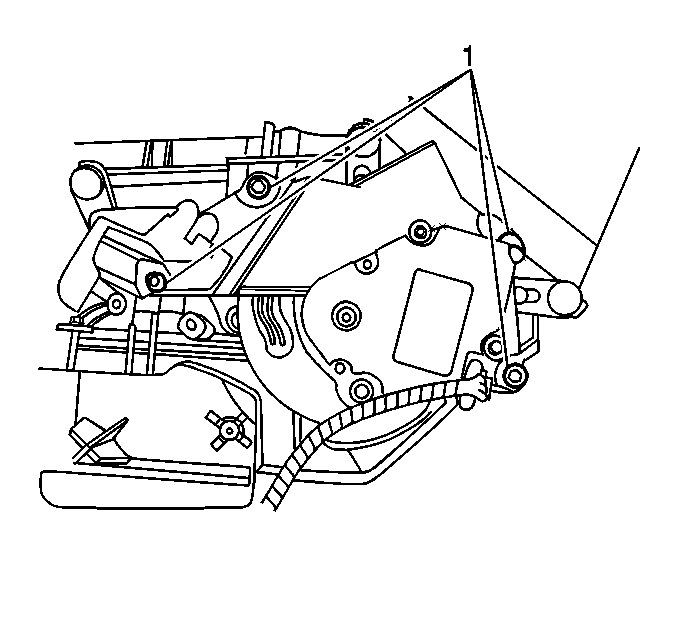
Important: The left air temperature actuator does not need to be removed in order to remove the mode actuator.
The left air temperature actuator is removed in the graphic in order to show the screw locations.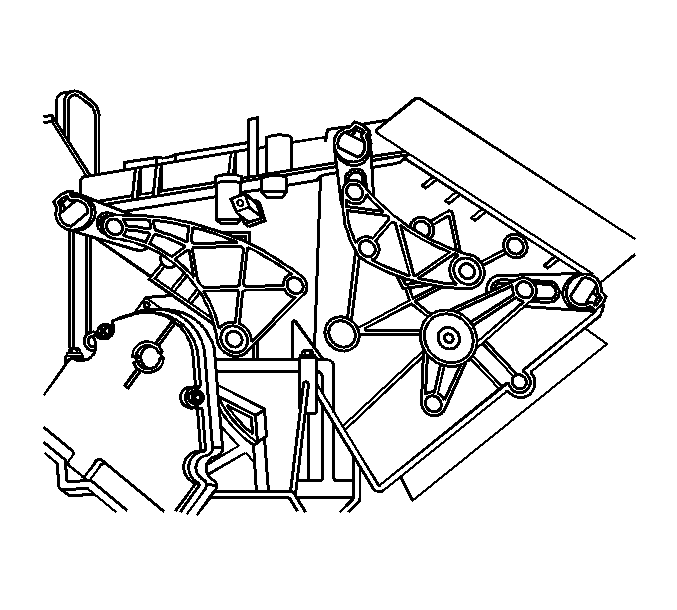
The mode door levers must be in the same position in order to reassemble the mode actuator to the HVAC case.
Installation Procedure
- The mode door levers must be in the this position in order to reassemble the mode actuator to the HVAC case.
- Lubricate the pivots on the mode door levers and the channels on the mode actuator cam before assembling.
- Align the mode door levers with the cam slots, as noted on disassembly.
- Install the mode actuator to the HVAC module.
- Install the mode actuator retaining screws (1).
- Install the instrument panel carrier. Refer to Instrument Panel Assembly Replacement in Instrument Panel, Gages, and Console.
- Re-calibrate the actuators. Refer to Actuator Recalibration .
Notice: Refer to Fastener Notice in the Preface section.
Tighten
Tighten the screws to 1.4 N·m (12 lb in).
