GM Service Manual Online
For 1990-2009 cars only
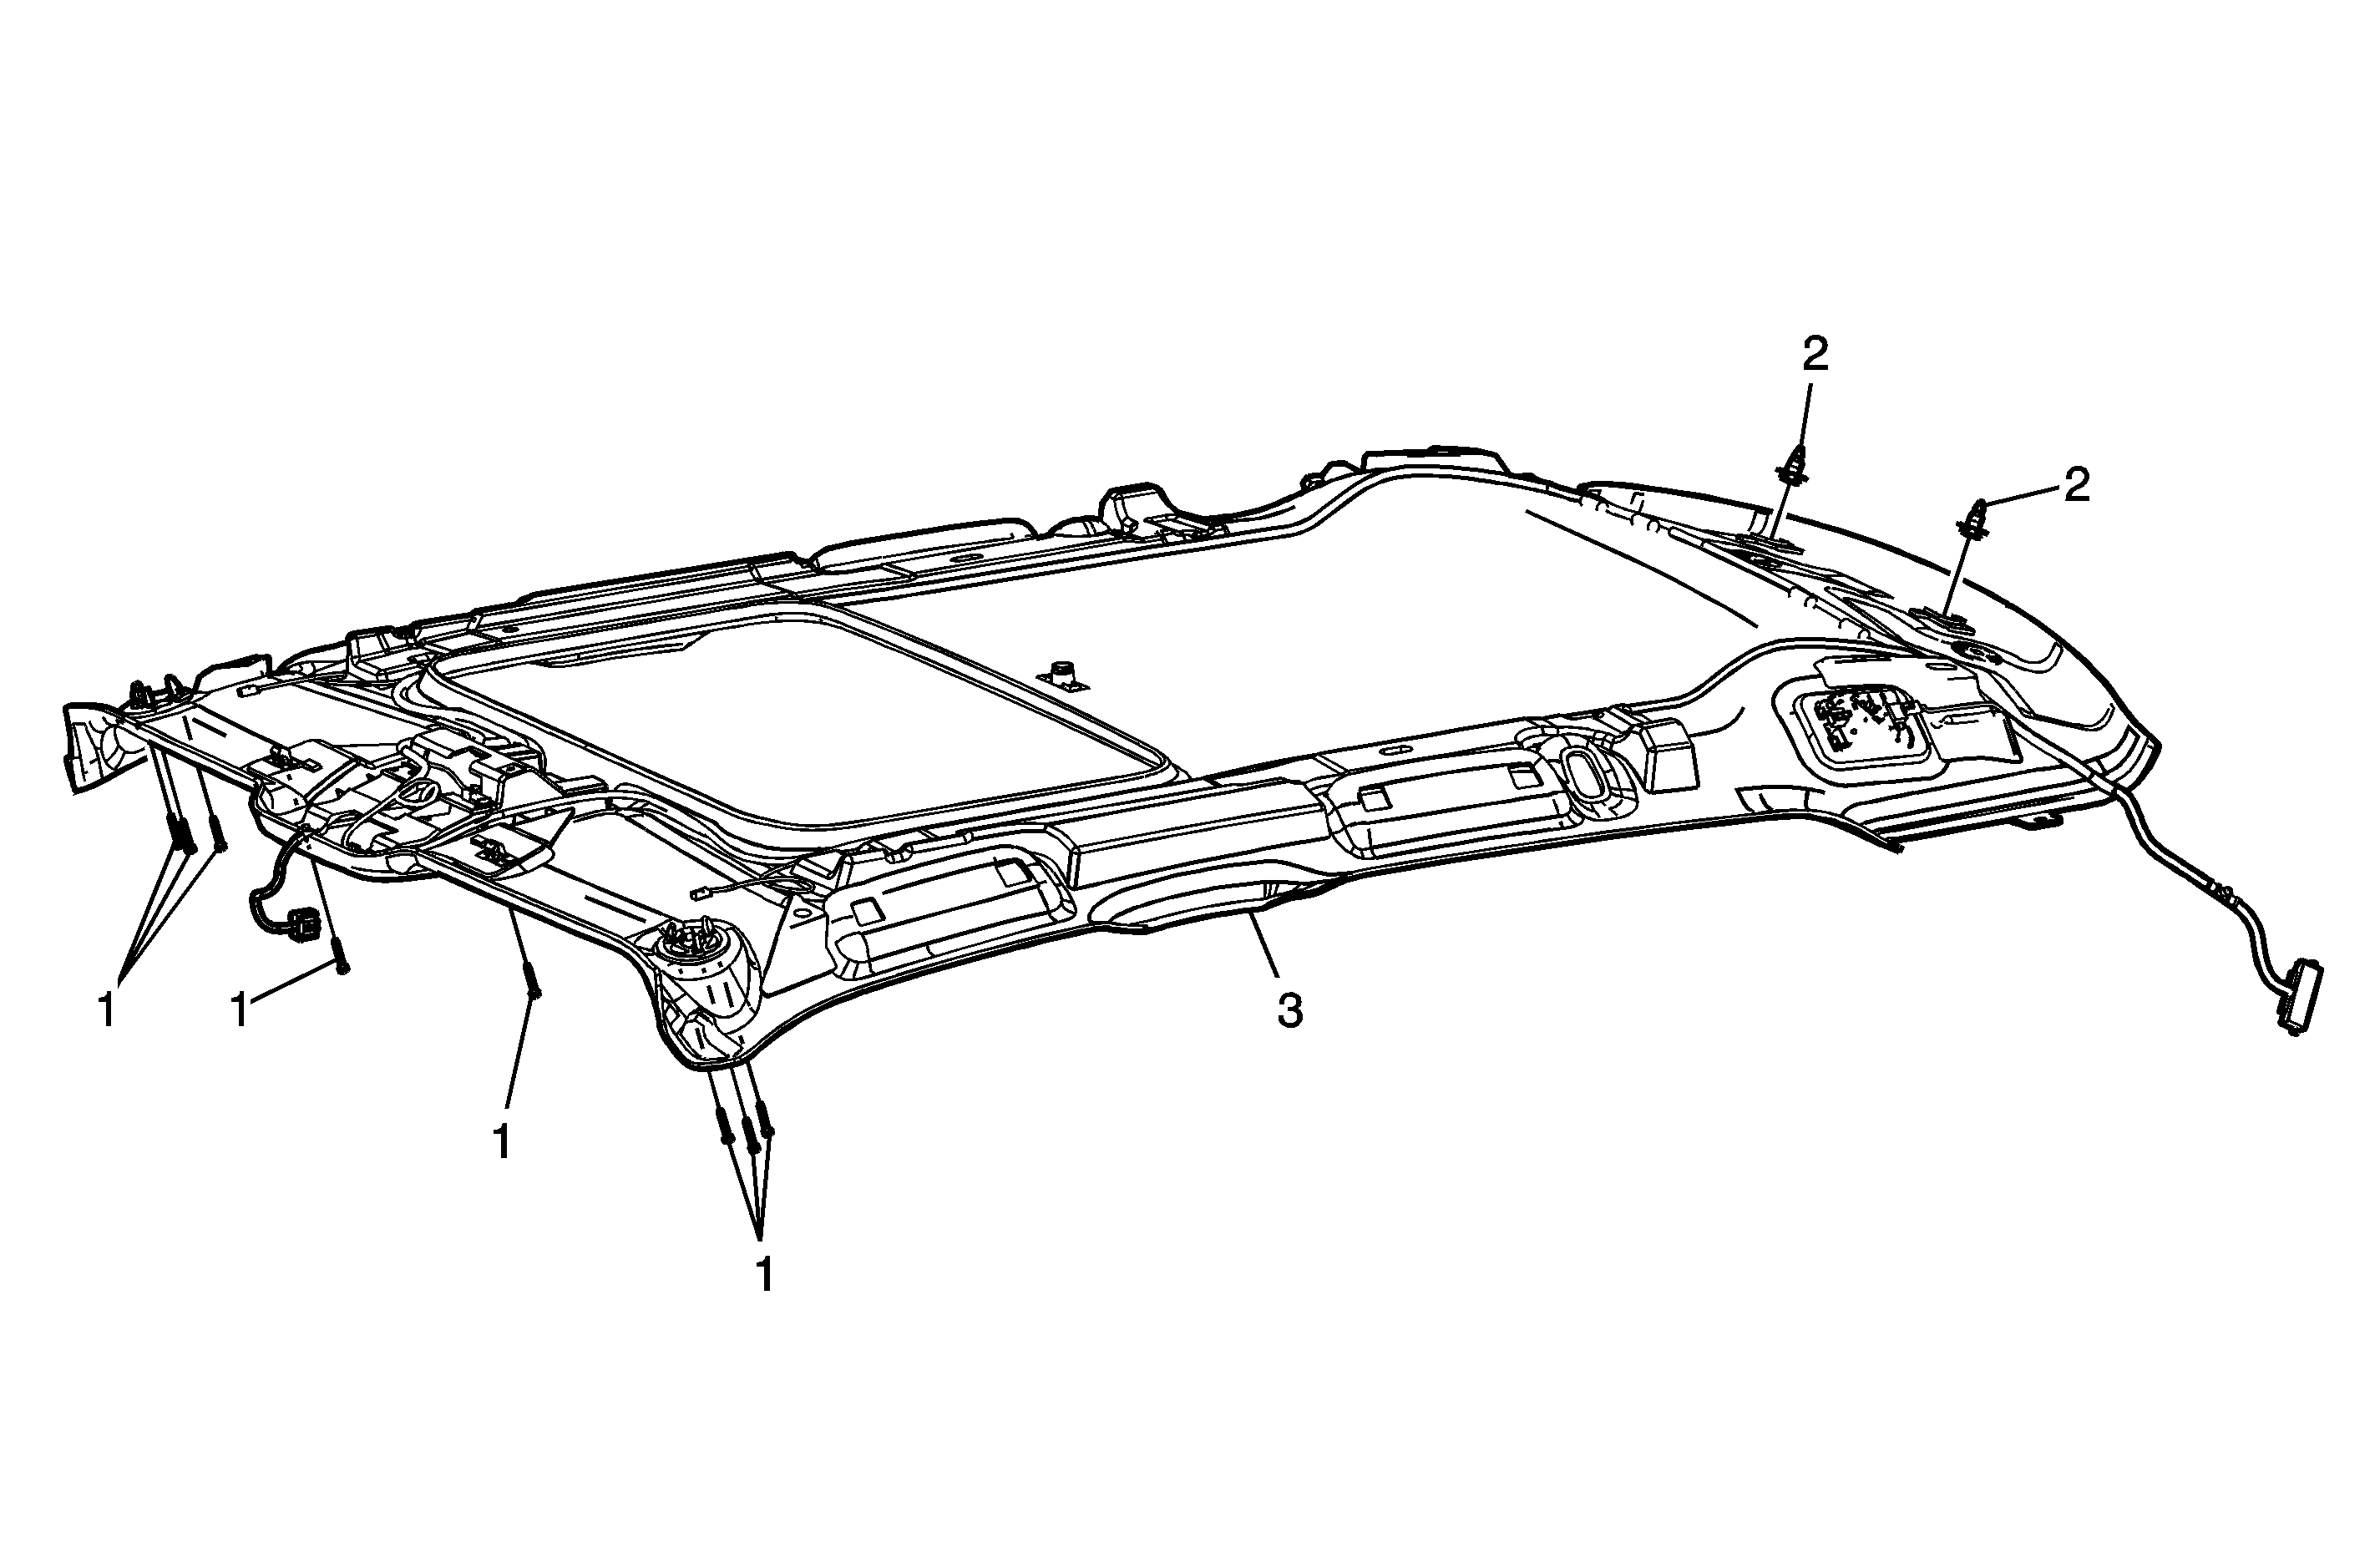
Object Number: 1619058  Size: MF

Callout

Component Name

Caution: Do not attempt to repair or alter the head impact energy-absorbing material glued to the headliner or to the garnish trims. If the material is damaged, replace the headliner and/or the garnish trim. Failure to do so could result in personal injury.

Preliminary Procedure

  1. Remove the rear window shelf trim panel. Refer to Rear Window Shelf Trim Panel Replacement .
  2. Remove the rear quarter sail trim panel. Refer to Sail Panel Replacement .
  3. Remove the rear seat roof illuminated mirror, if equipped. Refer to Rear Seat Roof Illuminated Mirror Replacement
  4. Remove the upper center pillar trim. Refer to Center Pillar Upper Garnish Molding Replacement .
  5. Remove the windshield pillar trim. Refer to Windshield Pillar Garnish Molding Replacement .
  6. Remove the sunshades. Refer to Sunshade Replacement .
  7. Remove the sunshade anchors. Refer to Sunshade Retainer Bezel Replacement .
  8. Remove the assist handles. Refer to Assist Handle Replacement .

1

Headlining Trim Retainer

Notice: Refer to Fastener Notice in the Preface section.

Tip
Screws come off with the sunshade and sunshade anchors.

Tighten
9 N·m (80 lb in)

2

Headlining Trim Retainers (Qty: 2)

3

Headlining Trim

Procedure

  1. Place the front seats fully forward with the seat back fully reclined.
  2. Disconnect the electrical connectors.
  3. With the aid of an assistant, remove the headliner out the rear door opening of the vehicle by lifting the left hand side and lowering the right hand side.