For 1990-2009 cars only
Tools Required
| • | J 45059 Angle Meter |
| • | J 41816 Crankshaft Balancer Remover |
| • | J 41998-B Crankshaft Balancer Installer |
| • | J 44214 Flywheel Holder |
Removal Procedure
- Remove the drive belt. Refer to Drive Belt Replacement .
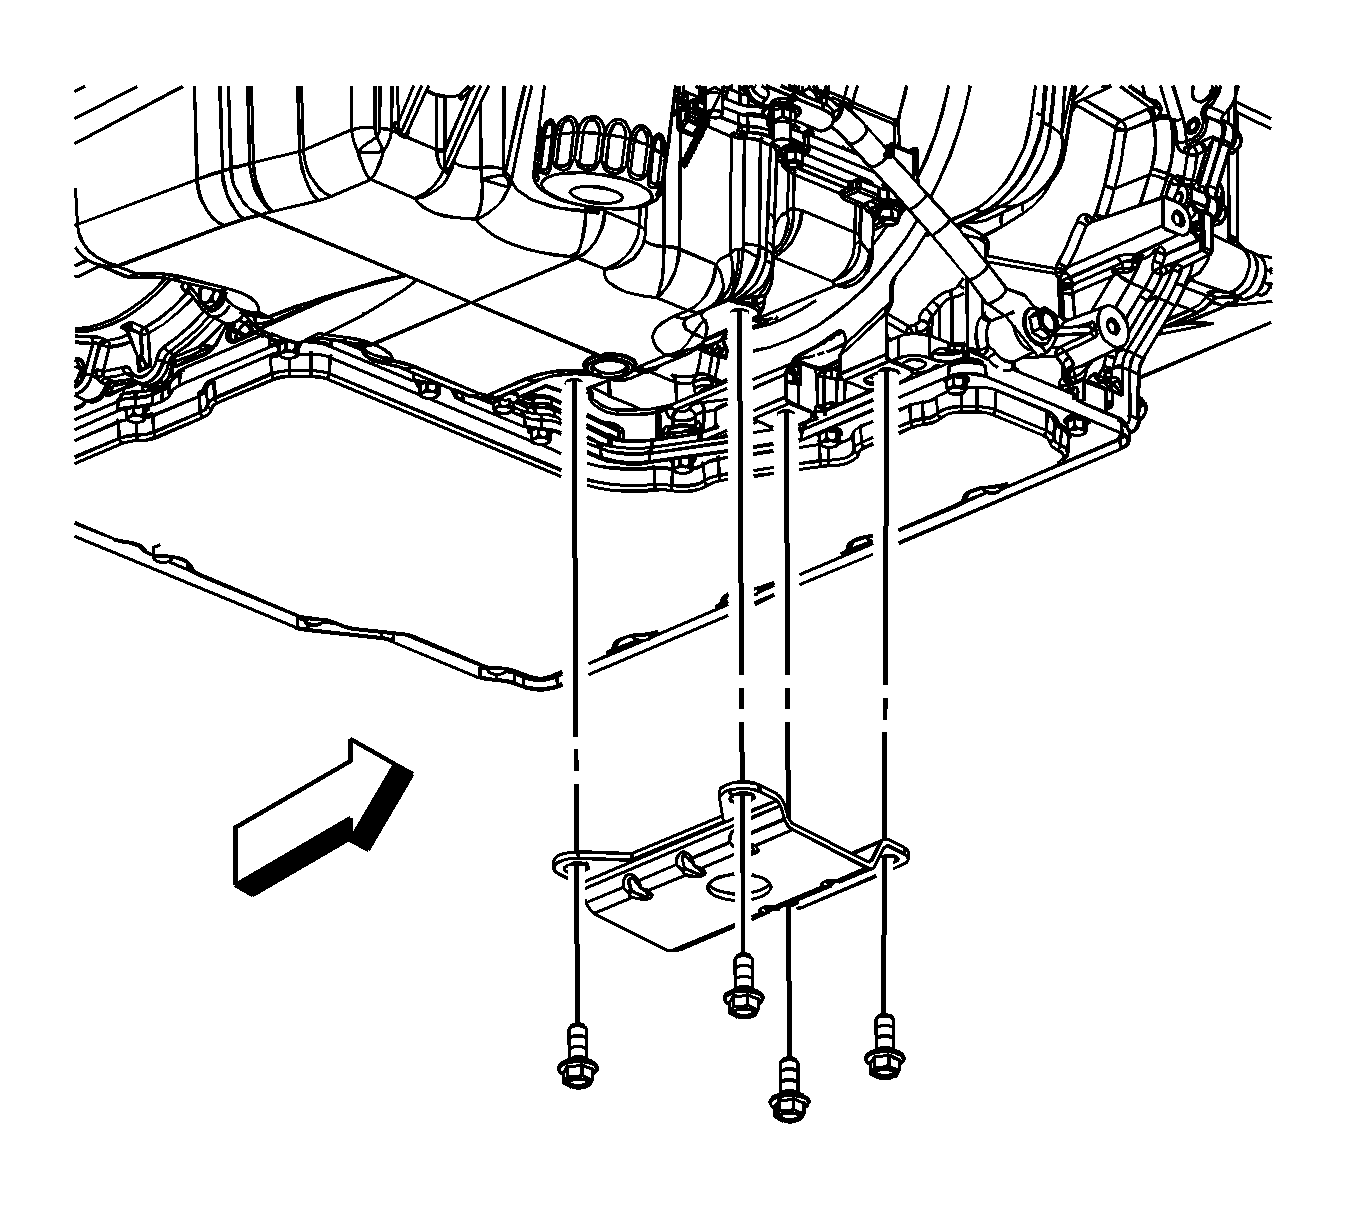
- Remove the transaxle to engine brace bolts.
- Remove the transaxle to engine brace.
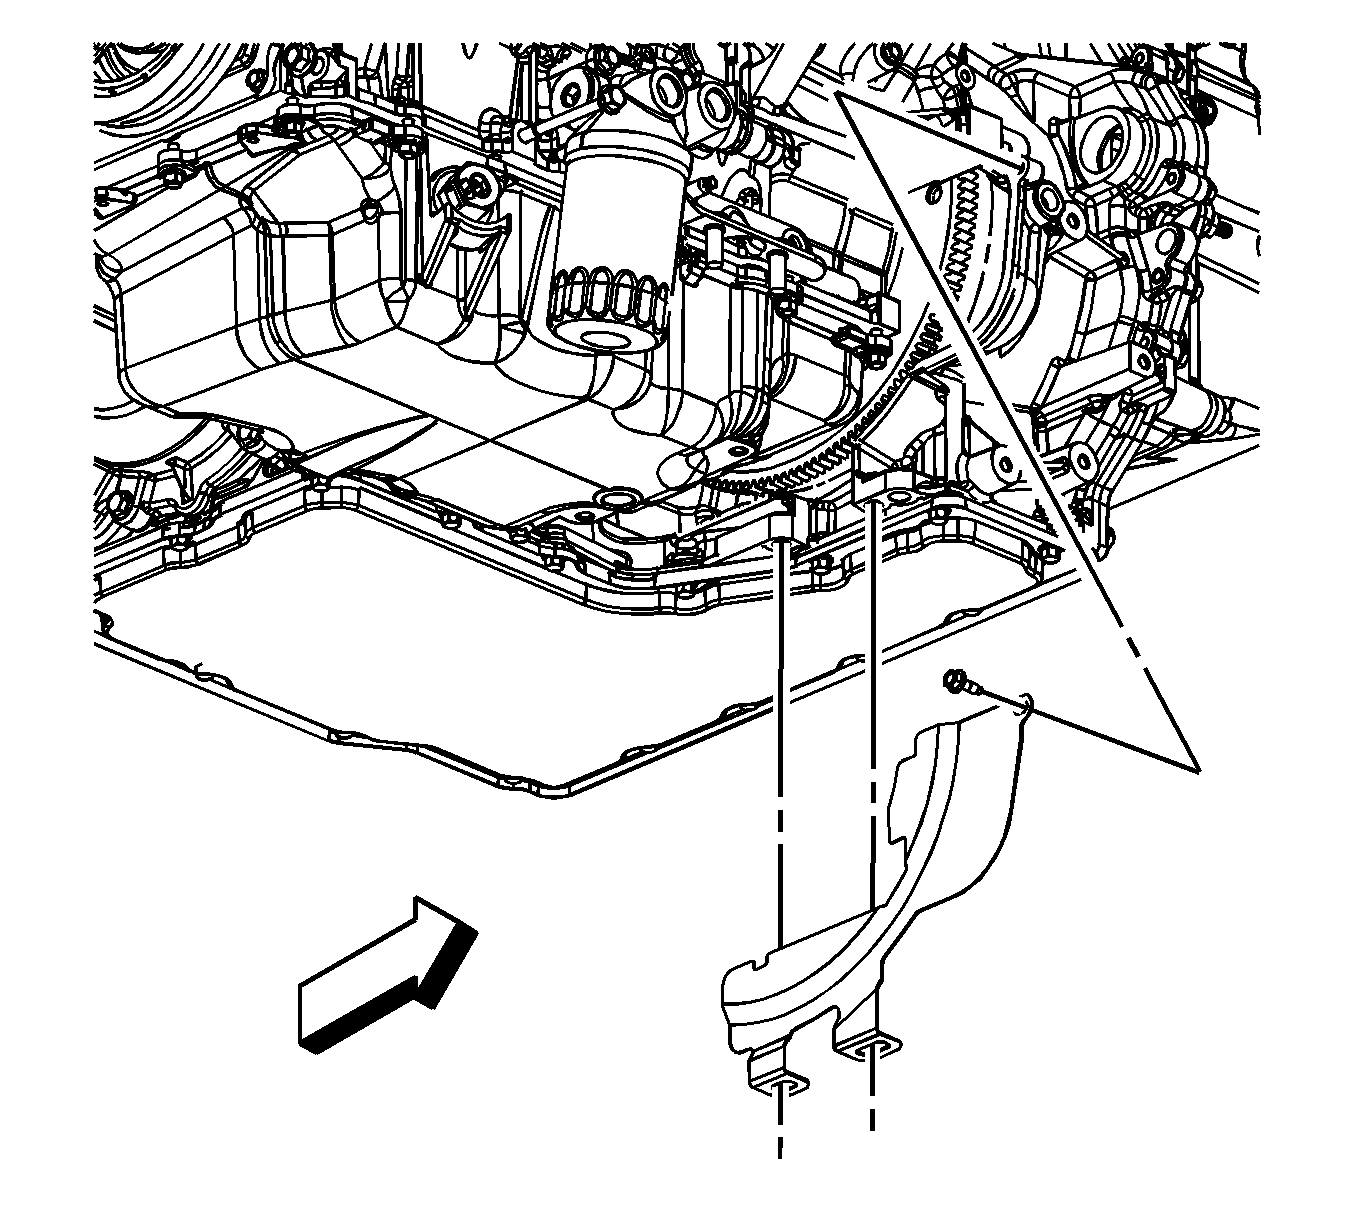
- Remove the torque converter cover bolt.
- Remove the torque converter cover.
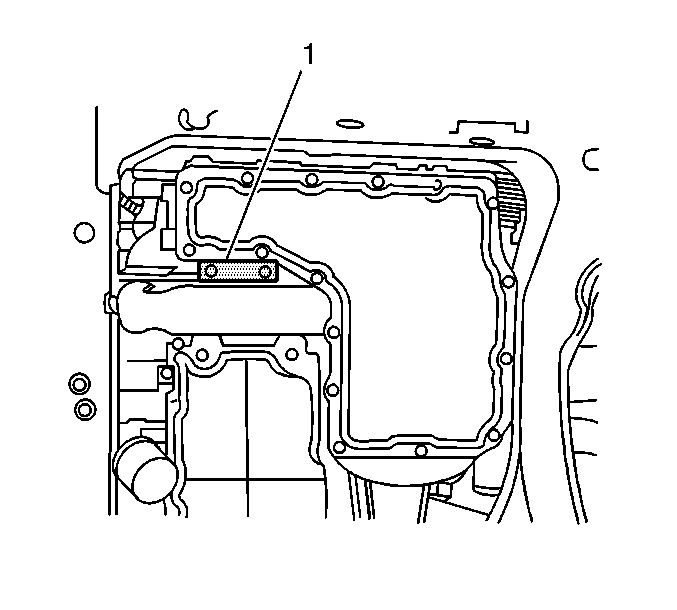
- Install the J 44214 (1).
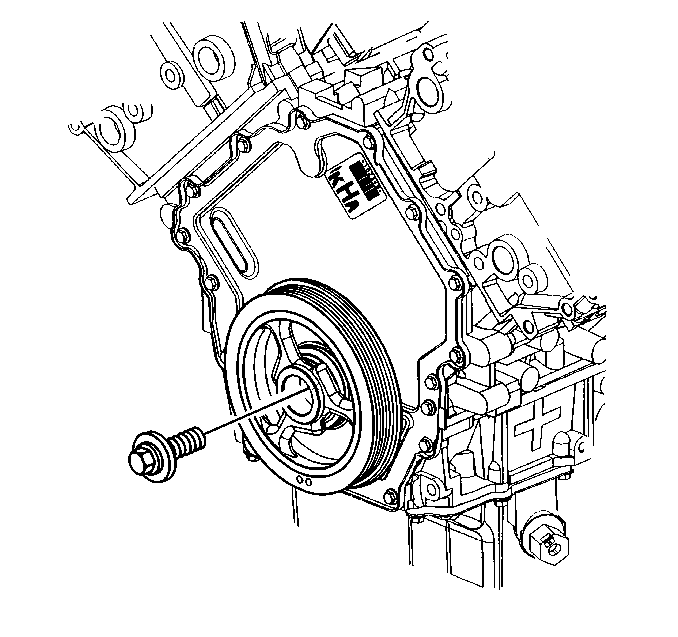
- Remove the crankshaft balancer bolt.
- Remove the front fascia. Refer to Front Bumper Fascia Replacement .
- Support the frame with a suitable adjustable jack.
- Loosen the right side frame bolts.
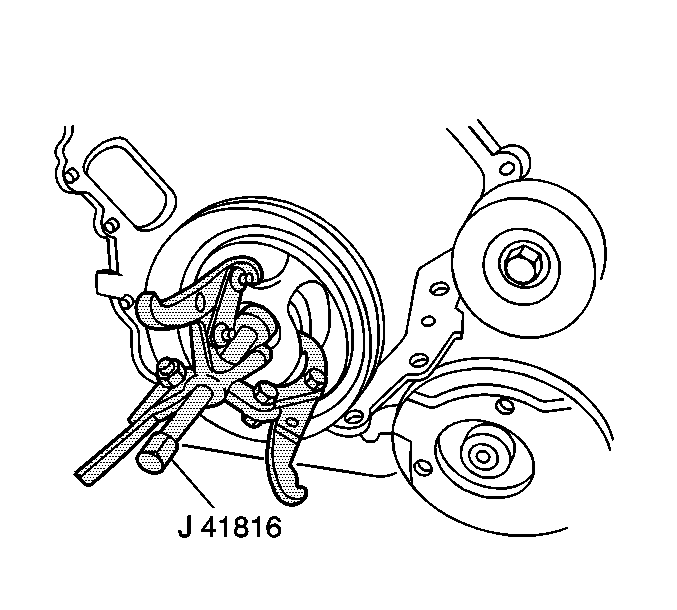
- Lower the frame in order to obtain clearance for the J 41816 below the body rail.
- Place the remover pilot into the end of the crankshaft.
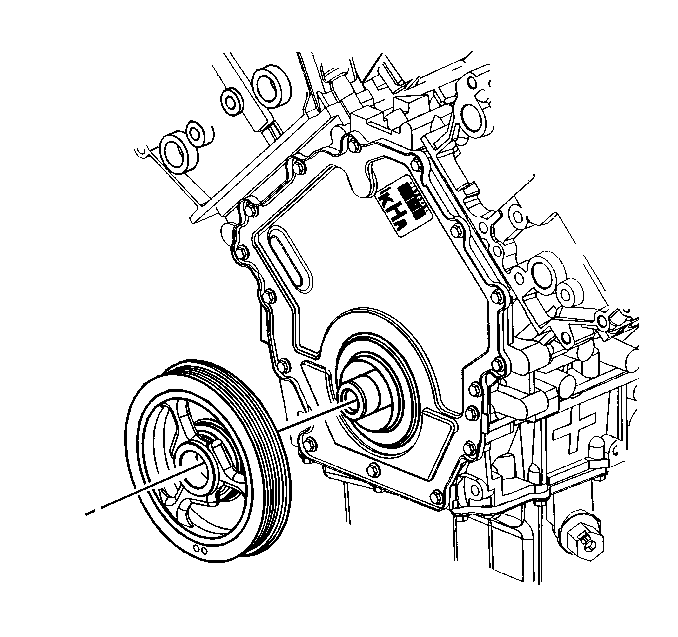
- Remove the crankshaft balancer using the J 41816 .
Installation Procedure
- Position the crankshaft balancer on the nose of the crankshaft.
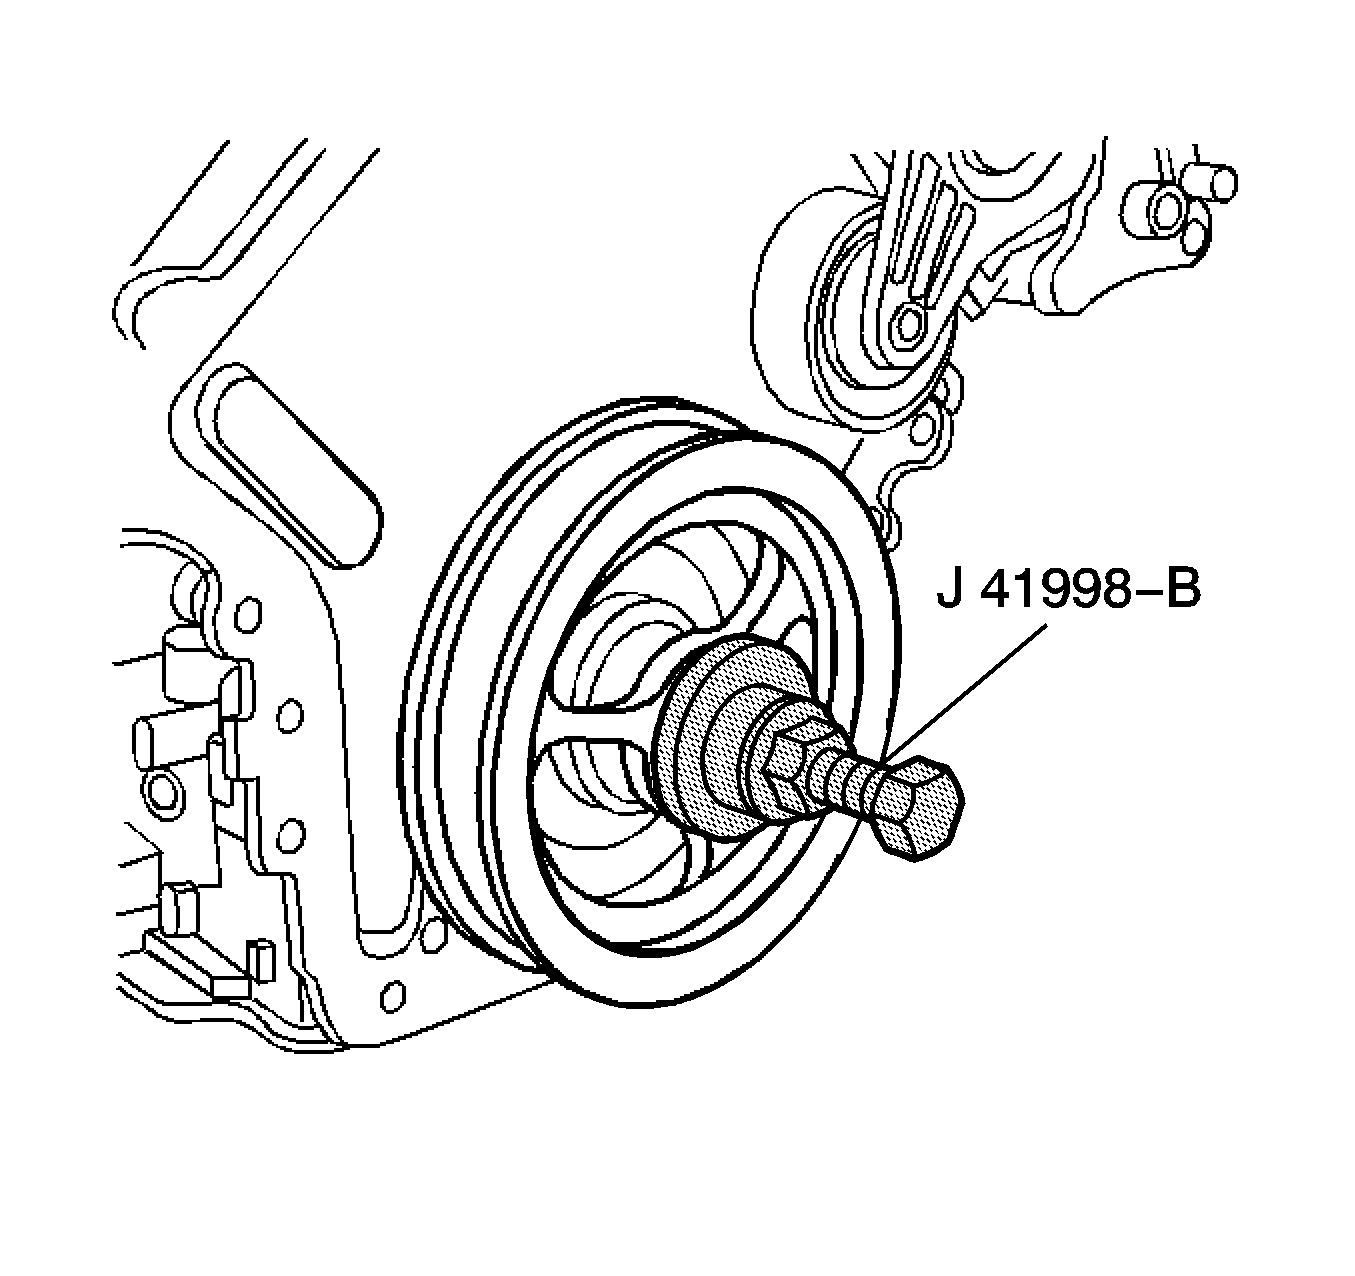
- Press the crankshaft balancer in place using the J 41998-B .
- Clean the crankshaft balancer bolt threads.
- Apply engine oil to the crankshaft balancer bolt threads.
- Install the crankshaft balancer bolt.
- Raise the frame into position.
- Install the right side frame bolts.
- Install the front fascia. Refer to Front Bumper Fascia Replacement .
- Remove the support(s) from the frame.
- Remove the J 44214 (1).
- Position the torque converter cover.
- Install the torque converter cover bolt.
- Install the transaxle to engine brace.
- Install the transaxle to engine brace bolts.
- Install the drive belt. Refer to Drive Belt Replacement .
Notice: Refer to Fastener Notice in the Preface section.
Tighten
| • | Tighten the bolt a first pass to 50 N·m (37 lb ft). |
| • | Tighten the bolt a final pass an additional 120 degrees using the J 45059 . |
Tighten
Tighten the bolts to 181 N·m (133 lb ft).


Tighten
Tighten the bolt to 12 N·m (106 lb in).

Tighten
Tighten the bolts to 47 N·m (35 lb ft).
