WHIST/VIB/NOISE FULL HEAT POS. PROC. TO MODIFY TEMP DOOR

SUBJECT: WHISTLE/FLUTTER/VIBRATION NOISE WHEN COMING OFF FULL HEAT POSITION
MODELS AFFECTED: 1991-1992 DE VILLES AND FLEETWOODS 1992 ELDORADOS AND SEVILLES
On some 1991-1992 DeVilles and Fleetwoods and 1992 Eldorados and Sevilles a whistle/flutter/vibration noise may occur as the temperature valve moves off maximum heat position. It may also sound like an intermittent noisy blower motor.
To verify that a vehicle has the condition, enter on-board diagnostics and override the program number. Start at 99 and slowly decrease the program number until the noise is present. Continue to decrease until the noise is gone. If the noise comes and goes when the program number is between 50 and 99, the vehicle has the condition.
There are two items which may cause this to happen:
1. The rubber seal between the two valve halves of the temperature valve may not be rigid enough allowing the top part of the valve to come off the full heat position before the bottom causing flutter/vibration noise.
2. The temperature valve shaft may not be tightly secured allowing the valve to tilt on its aids creating a gap and whistle/flutter/vibration noise.
To repair these conditions perform the following procedure:
CAUTION:
This vehicle is equipped with Supplemental Inflatable Restraint (SIR). Refer to the Supplemental Inflatable Restrait (SIR) Section for cautions under "On-Vehicle Service" and SIR component and wiring location views before performing service on or around SIR components or wiring. Failure to follow cautions could result in possible air bag deployment, personal injury, or otherwise unneeded SIR system repairs.
CAUTION:
Before removing or installing any electrical components, disconnect the negative battery cable to help prevent personal injury and/or damage to the vehicle or its components.
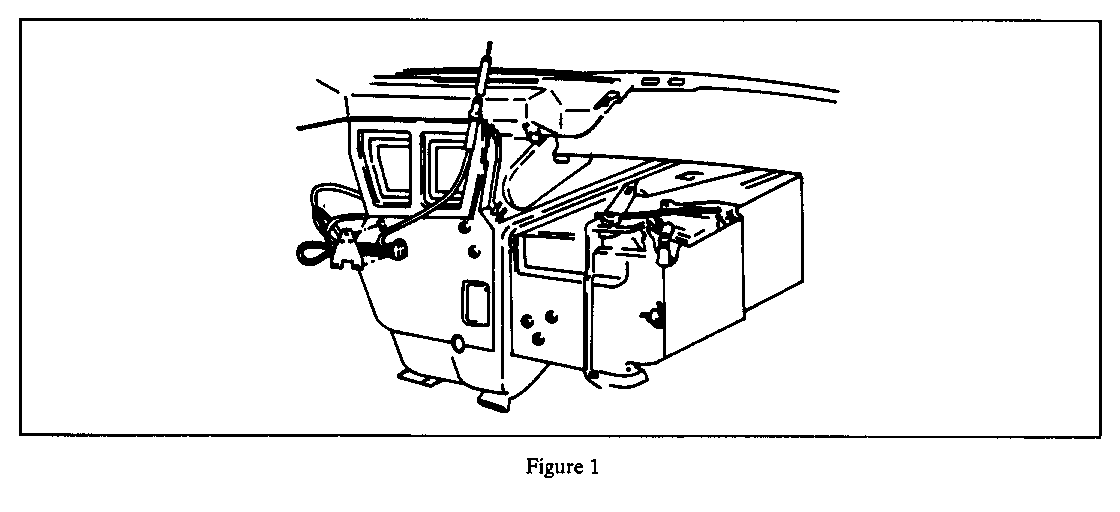
1. Using tool J-37097, clamp off heater hoses and remove hoses from heater core.
2. Remove hush panel and glove box.
3. Remove the programmer and heater core case cover.
4. Remove the heater core.
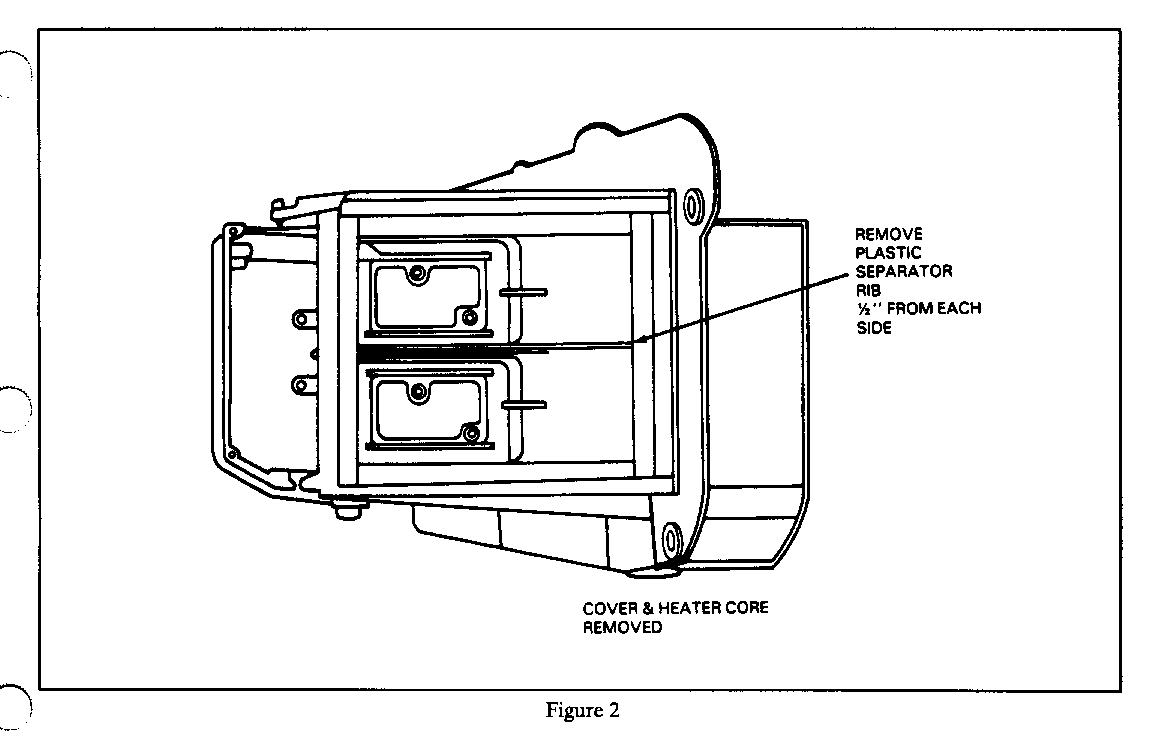
5. With a hack saw blade, remove the plastic case separator rib. Refer to Figures 1 and 2.
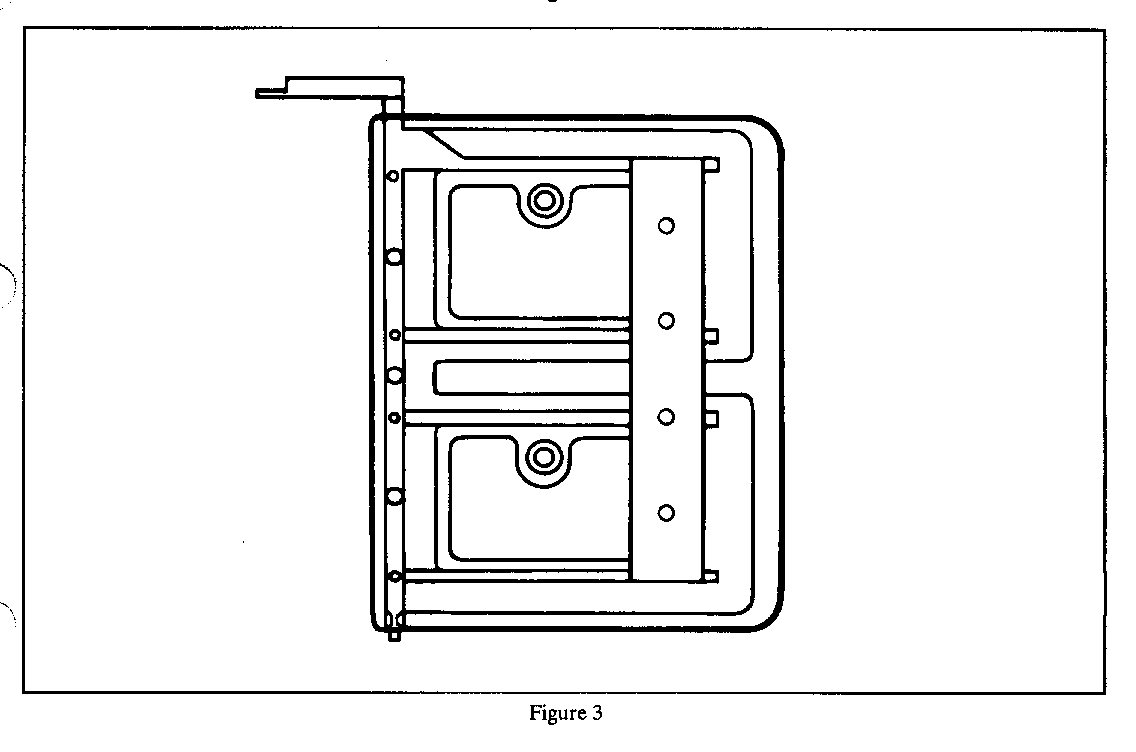
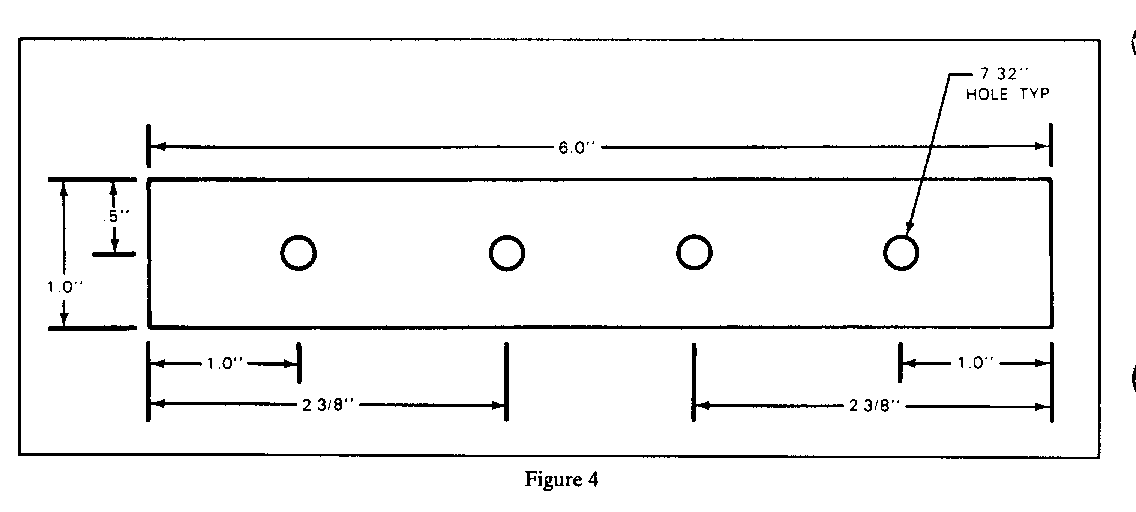
6. Fabricate a 1" x 6" x.048" (18 gage) steel bracket (refer to Figure 4) with four 7/32" holes. Place bracket over the temperature valve as shown in Figure 3. Mark hole location on temperature valve and drill holes with 7/32" drill. Use four blind rivets, P/N 9442361, which are available from GMSPO.
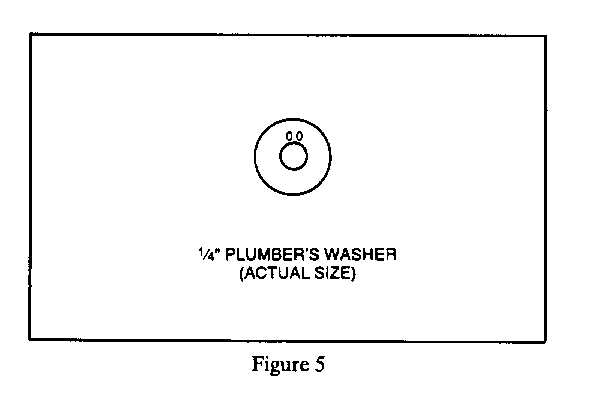
7. Reach in case and lift the temperature valve upward dislodging the temperature valve shaft from the pivot position. Attach a 1/4" rubber plumber's washer (refer to Figure 5) at the bottom of the shaft to take up slack in the shaft mounting. (This washer is available at hardware or plumbing supply stores.)
8. Verify temperature valve operation by moving the lever prior to reconnecting the linkage.
9. Reassemble the HVAC and dash assembly per the Service Information Manual.
Parts are currently available from GMSPO.
For warranty purposes use Labor Operation T5322 at 1.2 hours.
General Motors bulletins are intended for use by professional technicians, not a "do-it-yourselfer". They are written to inform those technicians of conditions that may occur on some vehicles, or to provide information that could assist in the proper service of a vehicle. Properly trained technicians have the equipment, tools, safety instructions and know-how to do a job properly and safely. If a condition is described, do not assume that the bulletin applies to your vehicle, or that your vehicle will have that condition. See a General Motors dealer servicing your brand of General Motors vehicle for information on whether your vehicle may benefit from the information.
