Tools Required
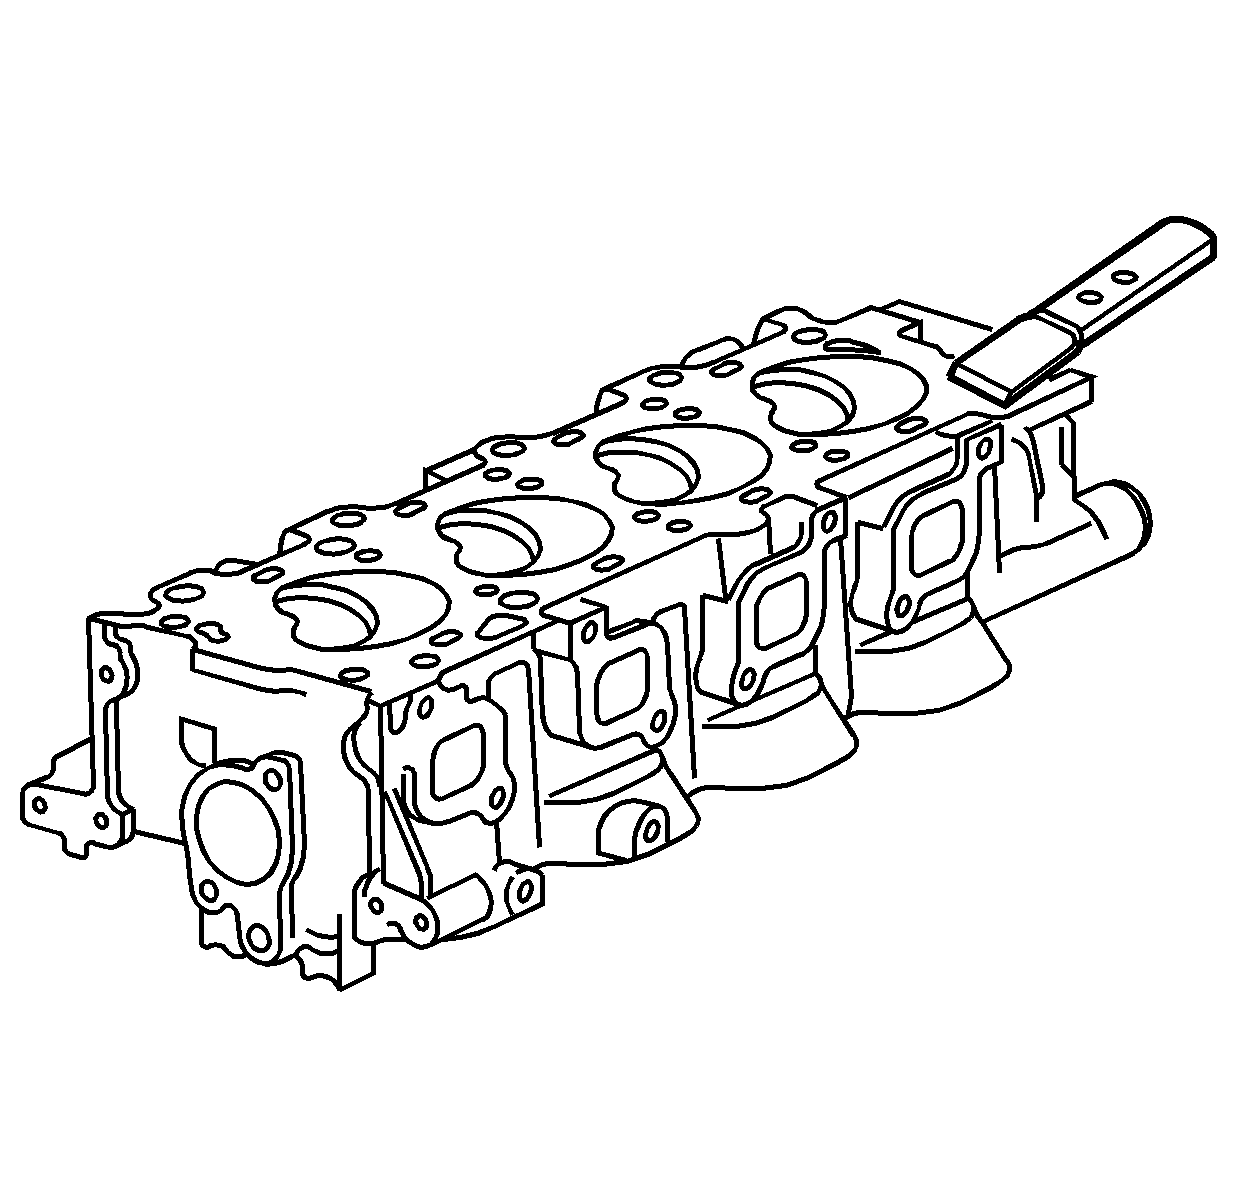
Notice: Carefully clean the aluminum gasket surfaces in order to prevent damage
to the sealing surfaces. Use only plastic, wood, or dull gasket scrapers,
such as J 28410. Follow the manufacturer's recommendations
to dissolve gasket materials with chemical agents.
- Remove all gasket material from the sealing surfaces using
the J 28410
.
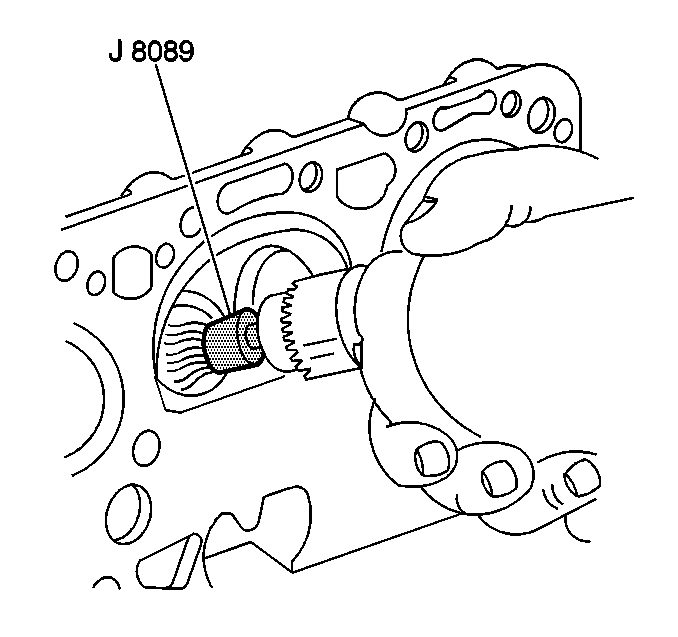
- Use the J 8089
to clean the carbon from the combustion
chambers.
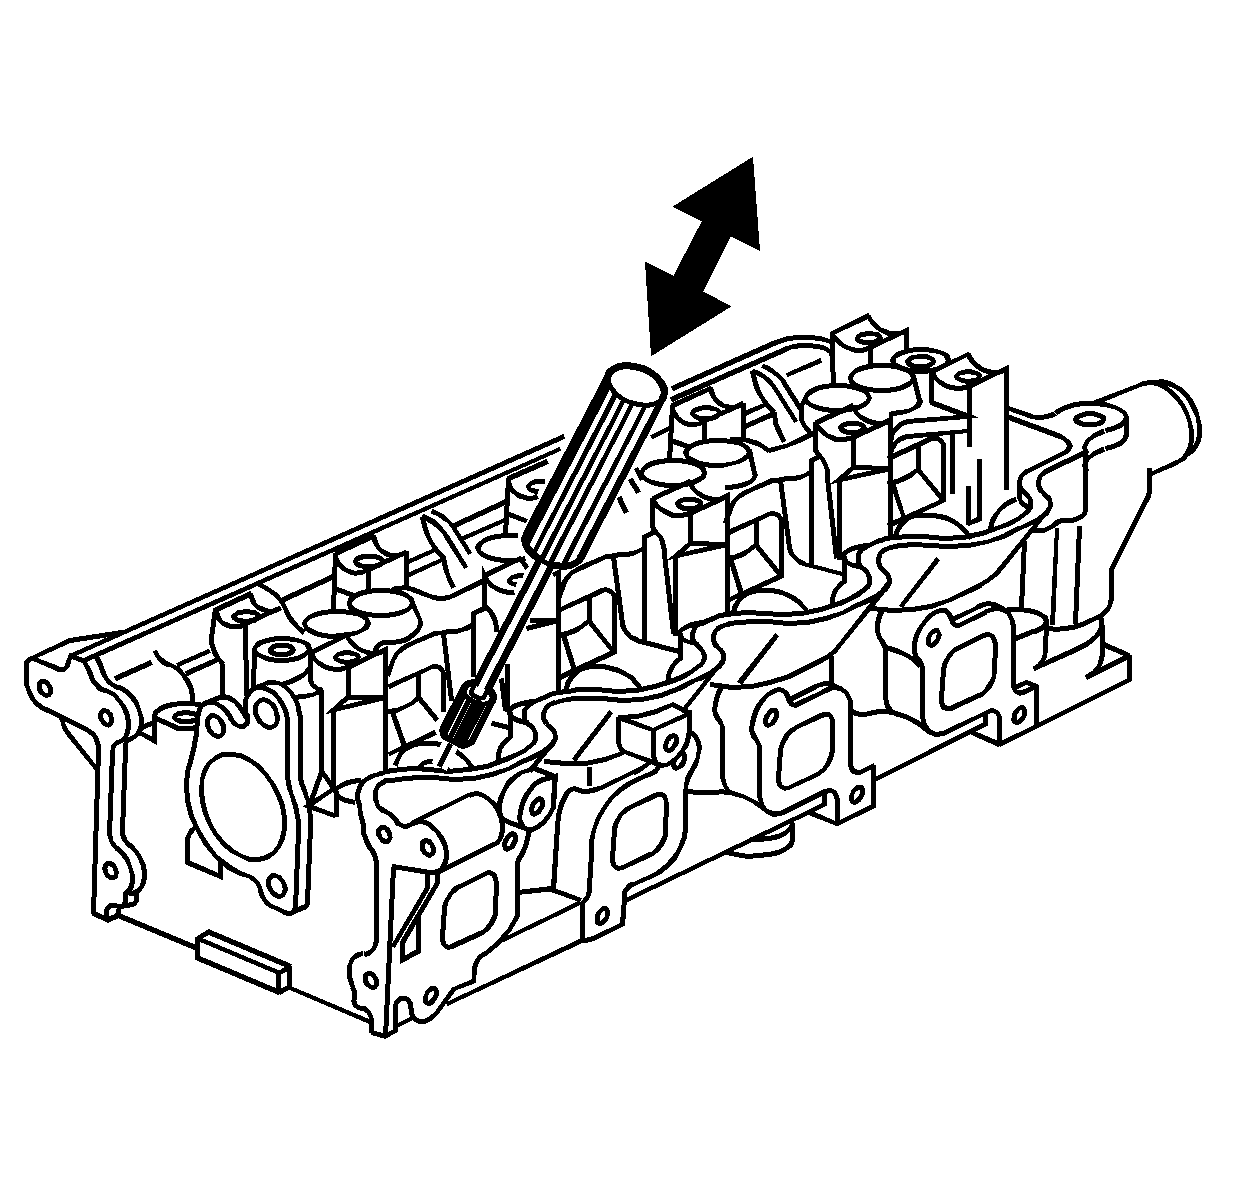
- Using a valve guide bushing
brush and solvent, clean all the valve guide bushings.
- Using a soft brush and solvent, clean the cylinder head:
| • | Intake and exhaust parts |
| • | Intake and exhaust valve seats |
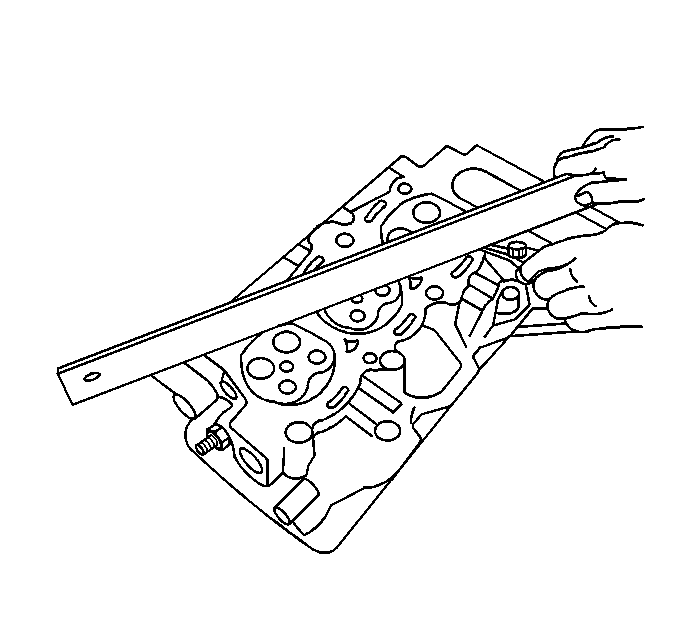
- Inspect the cylinder head
for flatness. Using a straight edge and a feeler gage, measure the surfaces
contacting the cylinder block and manifolds for warpage. Refer to
Engine Mechanical Specifications
. If the warpage
is greater than the maximum, replace the cylinder head.
- Inspect for the following in the cylinder head:
| • | Cracks in the exhaust ports |
| • | Cracks in the combustion chambers |
| • | Cracks to the water jackets |
| • | Cracks in the valve seats |
| • | Valve seats for looseness |
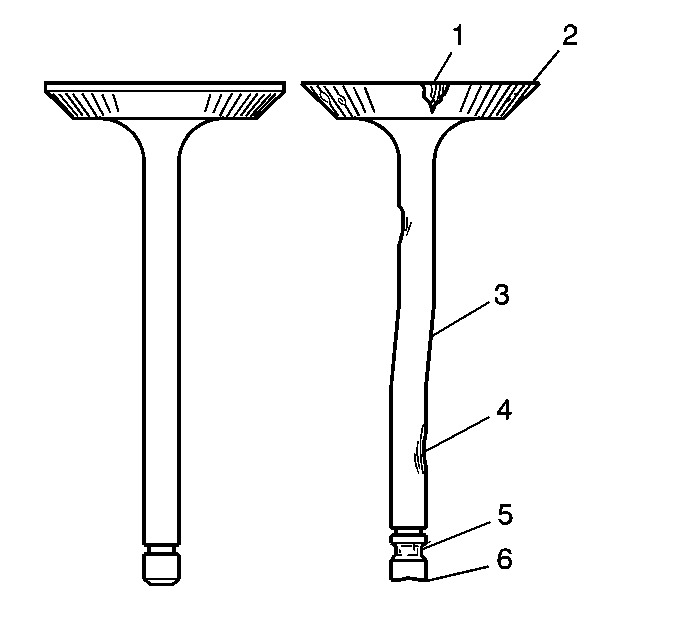
- Use a buffing wheel to
clean the valve stems and the valve heads.
- Inspect the valves for the following:
| • | Burnt or damaged areas (1) |
| • | Undersized valve margin (2) |
| • | Scoring or other damage to the stem (4) |
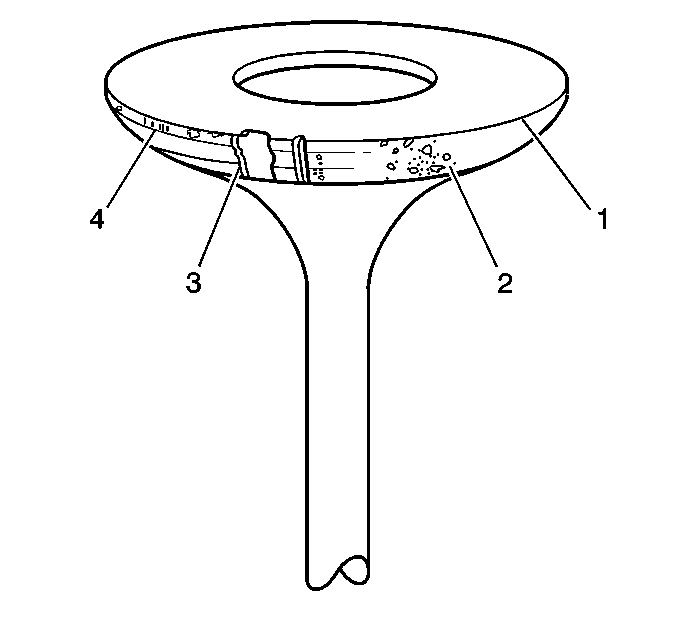
- Inspect the valve contact
surface for the following conditions:
| • | Burnt or eroded areas (3) |
| • | Acceptable edge, margin, (4) |
Important: Minor imperfections of the valve may be corrected during reconditioning.
- Valves with excessive damage must be replaced.
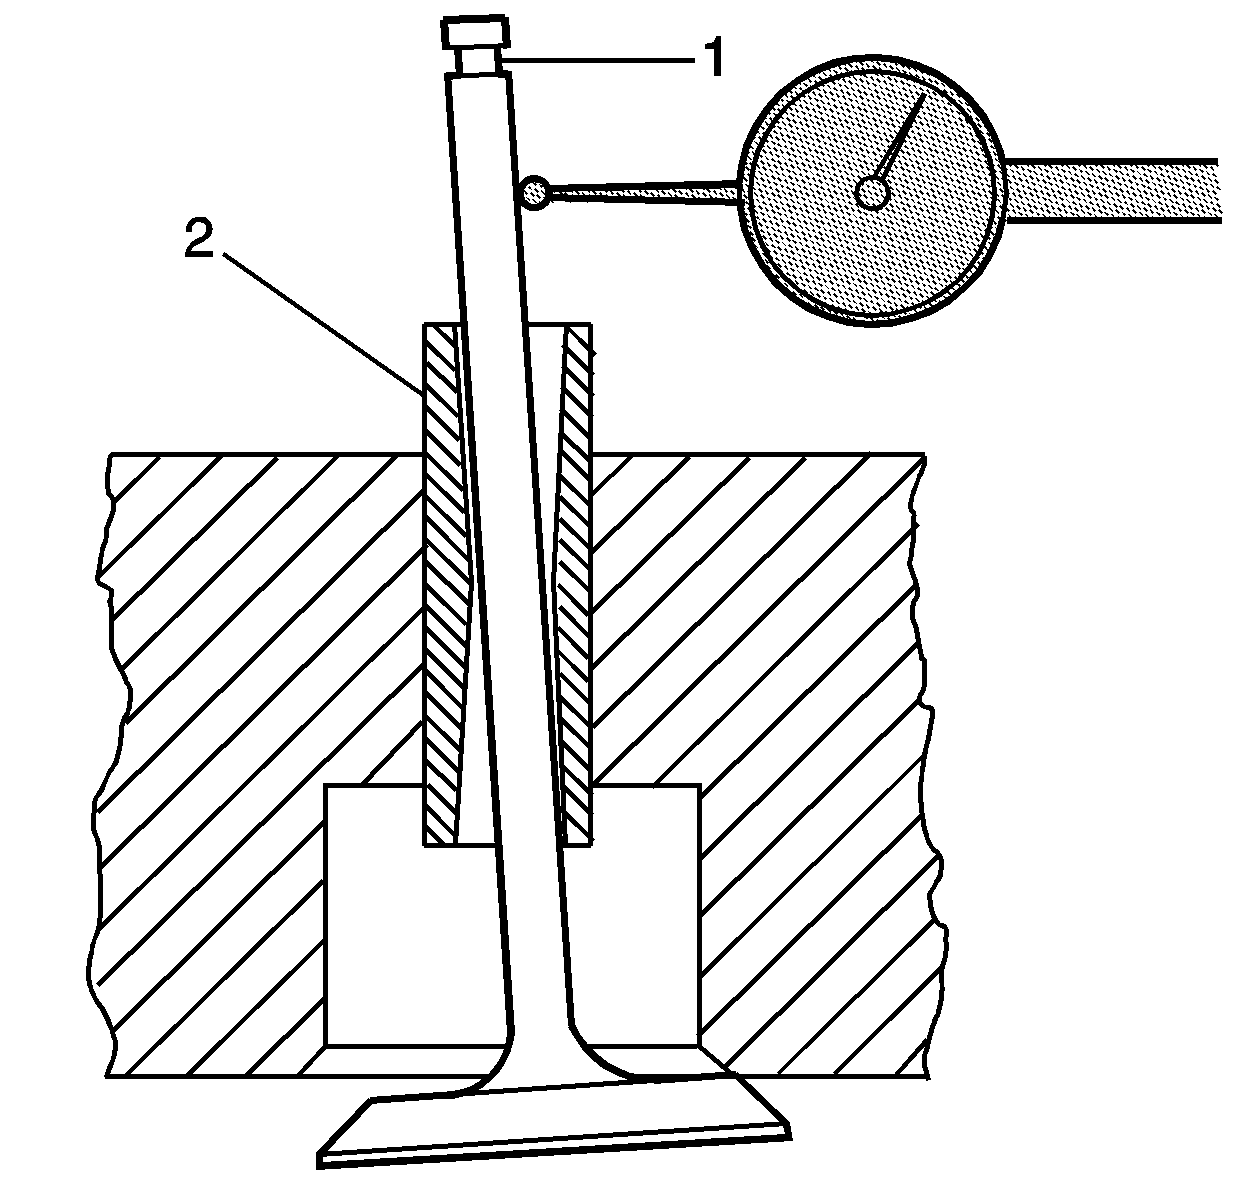
- Perform the following
steps to inspect the valve stem, 1 to valve guide, 2 clearance:
| • | Clamp the J 8001
on the exhaust port side of the cylinder head. |
| • | Locate the indicator so the movement of the valve stem crosswise
to cylinder head will cause a direct movement of the indicator stem. |
| • | Drop the valve head 10 mm (0.39 in) off the valve
seat. |
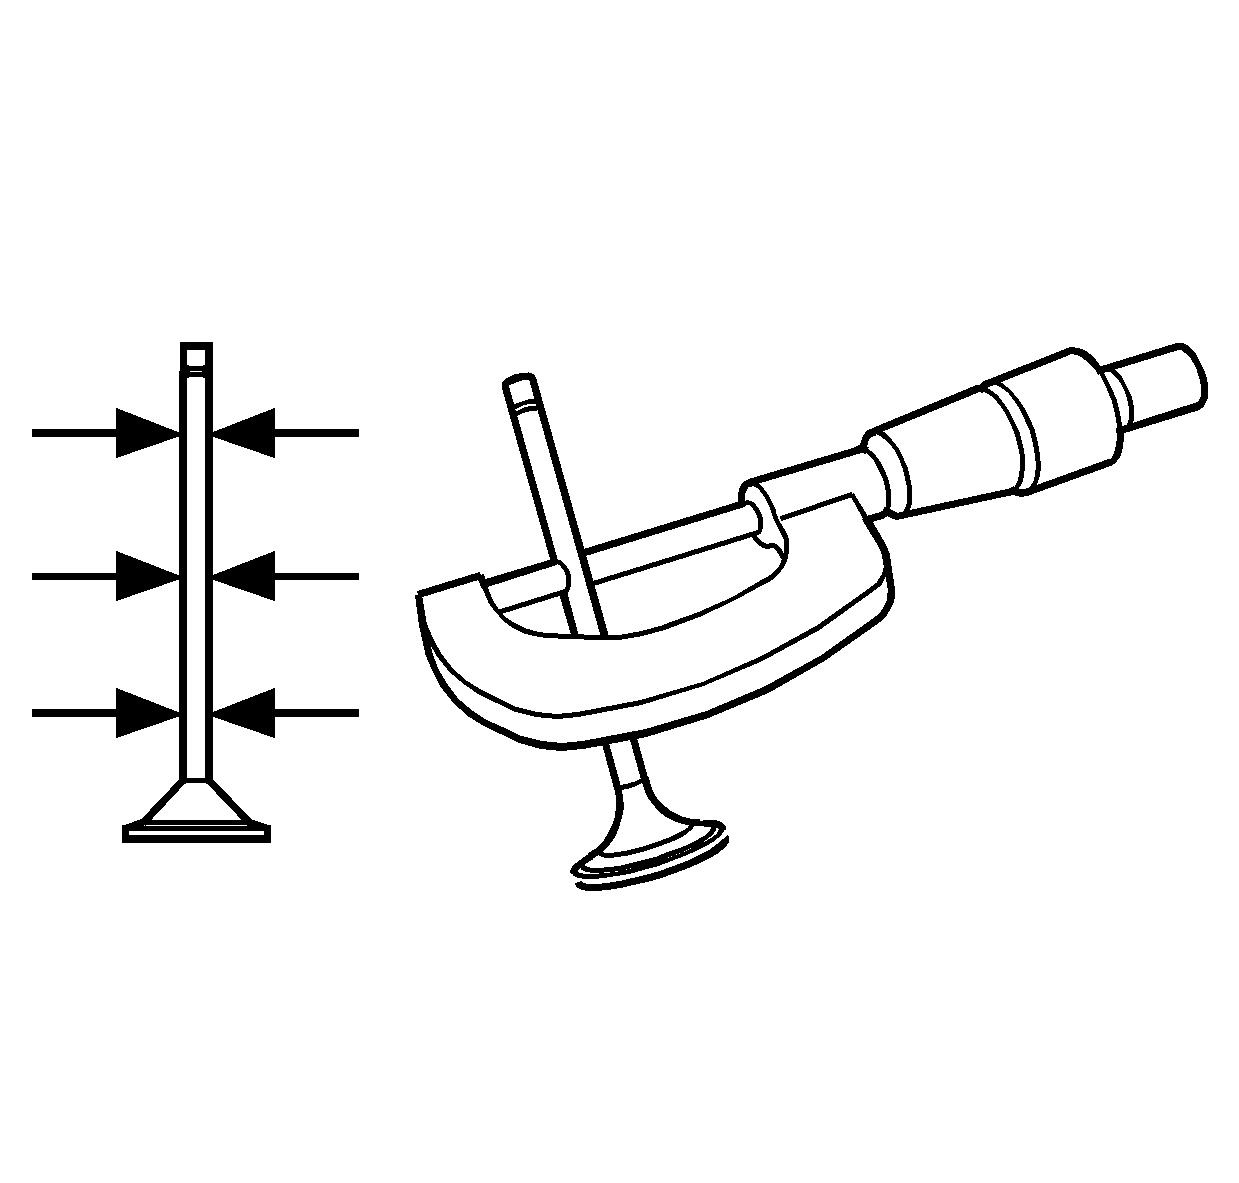
- Measure the valve stem
in 3 locations if the valve clearance is out of specifications.
| • | Replace the valve if the valve stem is out of specification. |
| • | Ream the valve guide and use an oversized valve if the valve stem
is within specification. |
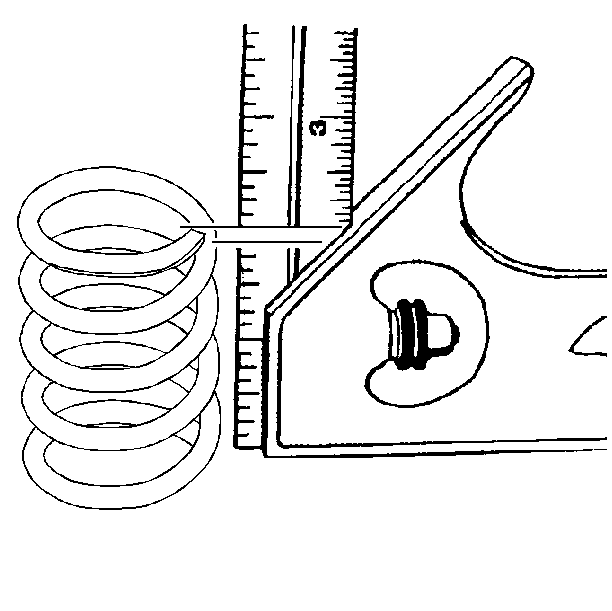
- Inspect the valve springs
for broken coils or coil ends.
- Perform the following steps to inspect the valve for squareness:
| • | Place the valve spring on a level surface next to a square. |
| • | Rotate the valve spring. |
| • | Replace the valve spring if the valve spring is more than 1.58 mm
(0.062 in) out of square. |
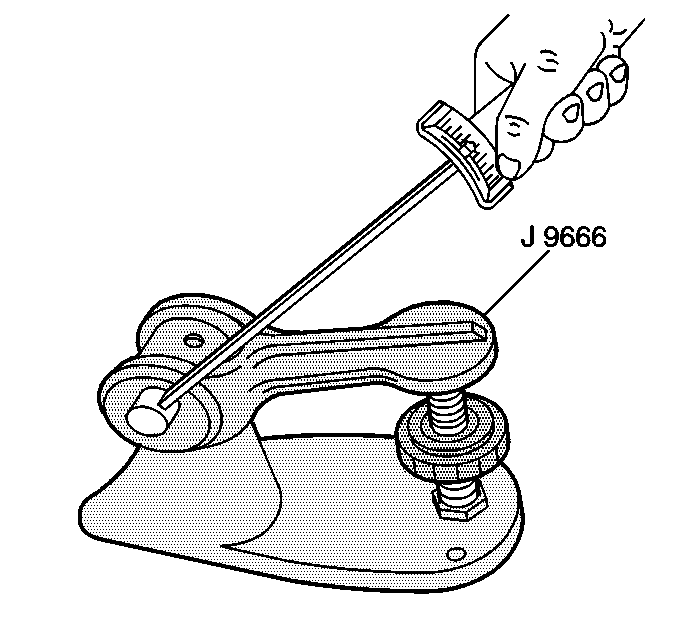
- Using calipers, measure
the free length of the valve spring. Refer to
Engine Mechanical Specifications
.
- Use the J 9666
in order to measure the valve spring force. Refer to
Engine Mechanical Specifications
.


