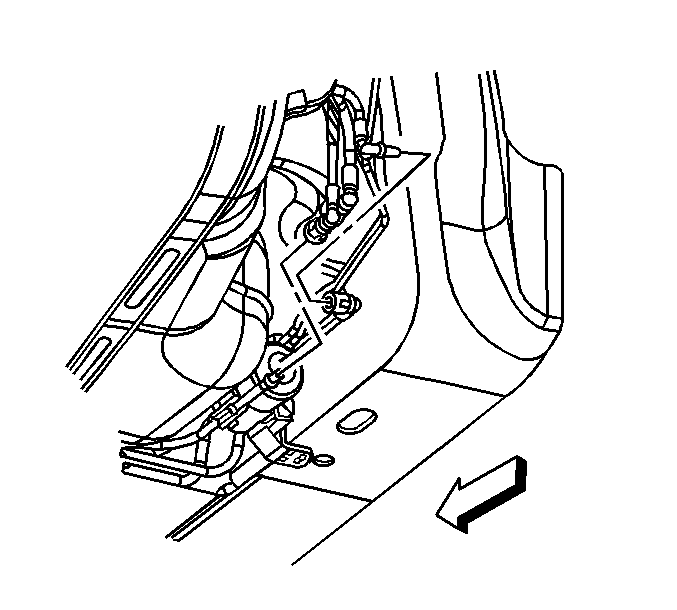
For 1990-2009 cars only
Removal Procedure
Caution: Refer to Gasoline/Gasoline Vapors Caution in the Preface section.
- Keep a shop cloth and a container ready to capture any spilled fuel.
- Relieve the fuel system pressure. Refer to Fuel Pressure Relief .
- Raise and support the vehicle. Refer to Lifting and Jacking the Vehicle .
- Disconnect the quick-connect fitting at the fuel filter inlet. Refer to Plastic Collar Quick Connect Fitting Service .
- Using a primary and back-up wrench, remove the threaded fitting at the fuel filter outlet.
- Slide the fuel filter rearward from the fuel filter bracket.
- Remove the fuel pipe O-ring seal.
- Drain any remaining fuel into an approved gasoline container.
- Discard the fuel filter into an approved container.

Discard the O-ring seal if damaged.
Installation Procedure
- Lubricate the fuel pipe O-ring seal with clean engine oil.
- Install the fuel pipe O-ring seal to the fuel pipe.
- Remove the protective caps from the new fuel filter.
- Slide the fuel filter forward into the fuel filter bracket.
- Install the threaded fitting to the fuel filter outlet. Use a back-up wrench in order to prevent the fuel filter from turning.
- Connect the quick-connect fitting at the fuel filter inlet. Refer to Plastic Collar Quick Connect Fitting Service .
- Lower the vehicle.

Notice: Refer to Component Fastener Tightening Notice in the Preface section.
Tighten
Tighten the fuel filter outlet fitting to 30 N·m (22 lb ft).
