Removal Procedure
- Turn the ignition OFF.
- Remove the fuel injector sight shield. Refer to Fuel Injector Sight Shield Replacement .
- Remove the air inlet duct. Refer to Air Cleaner Inlet Duct Replacement .
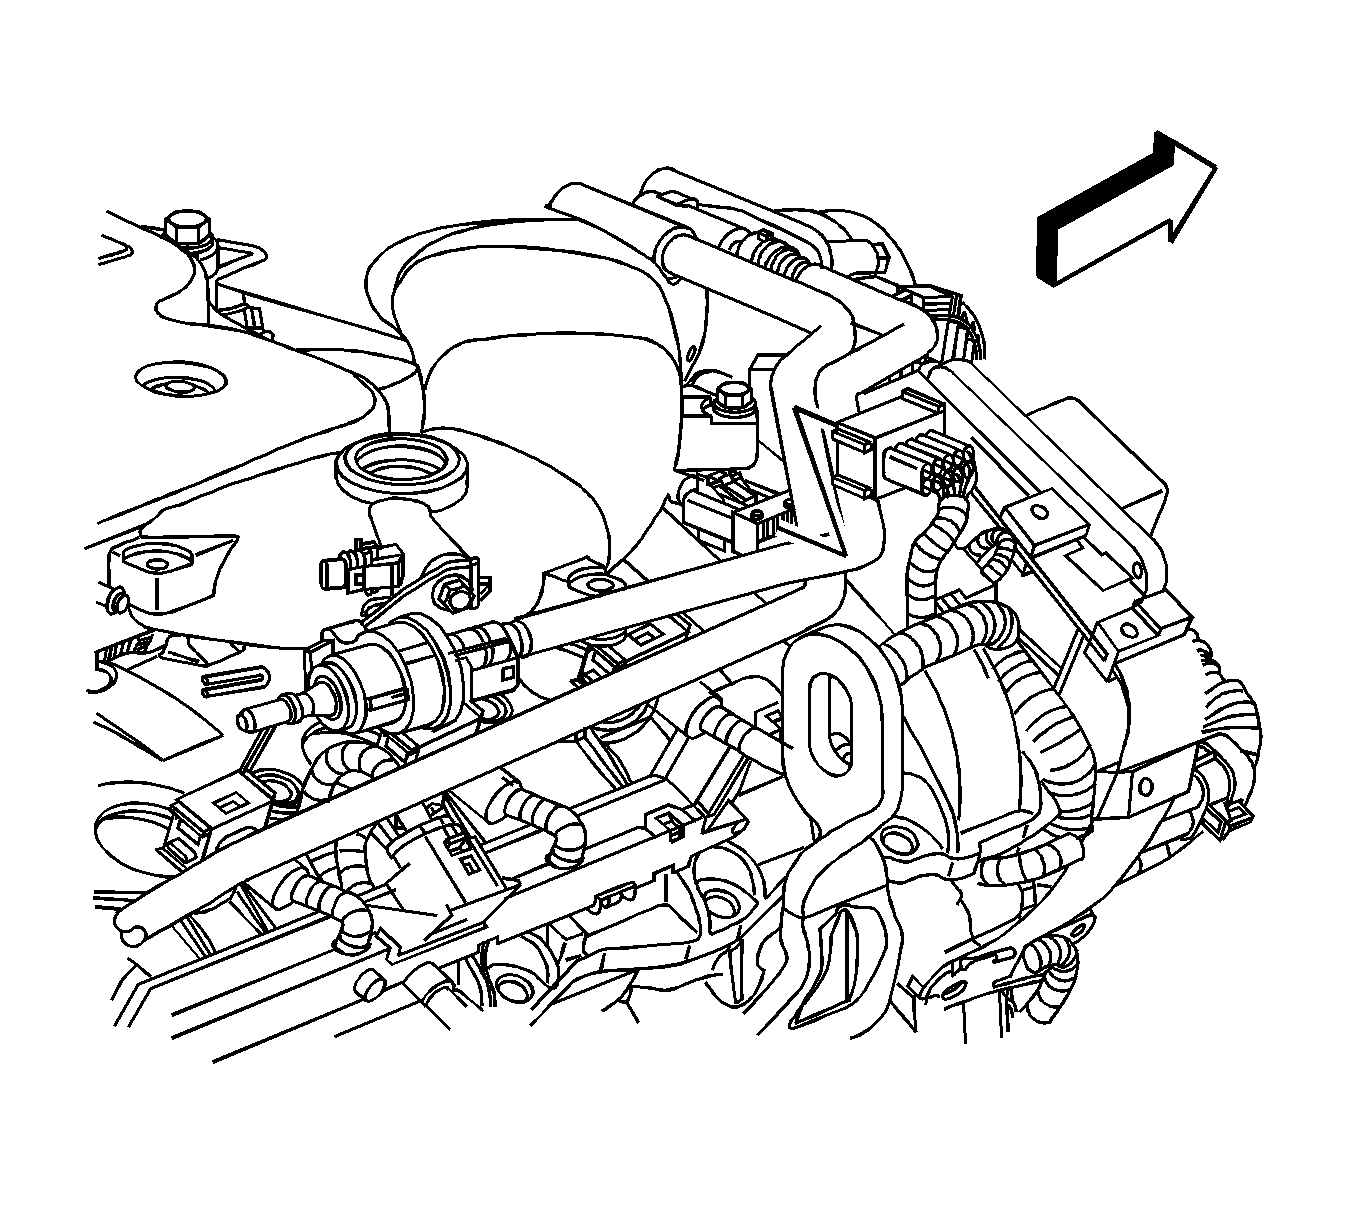
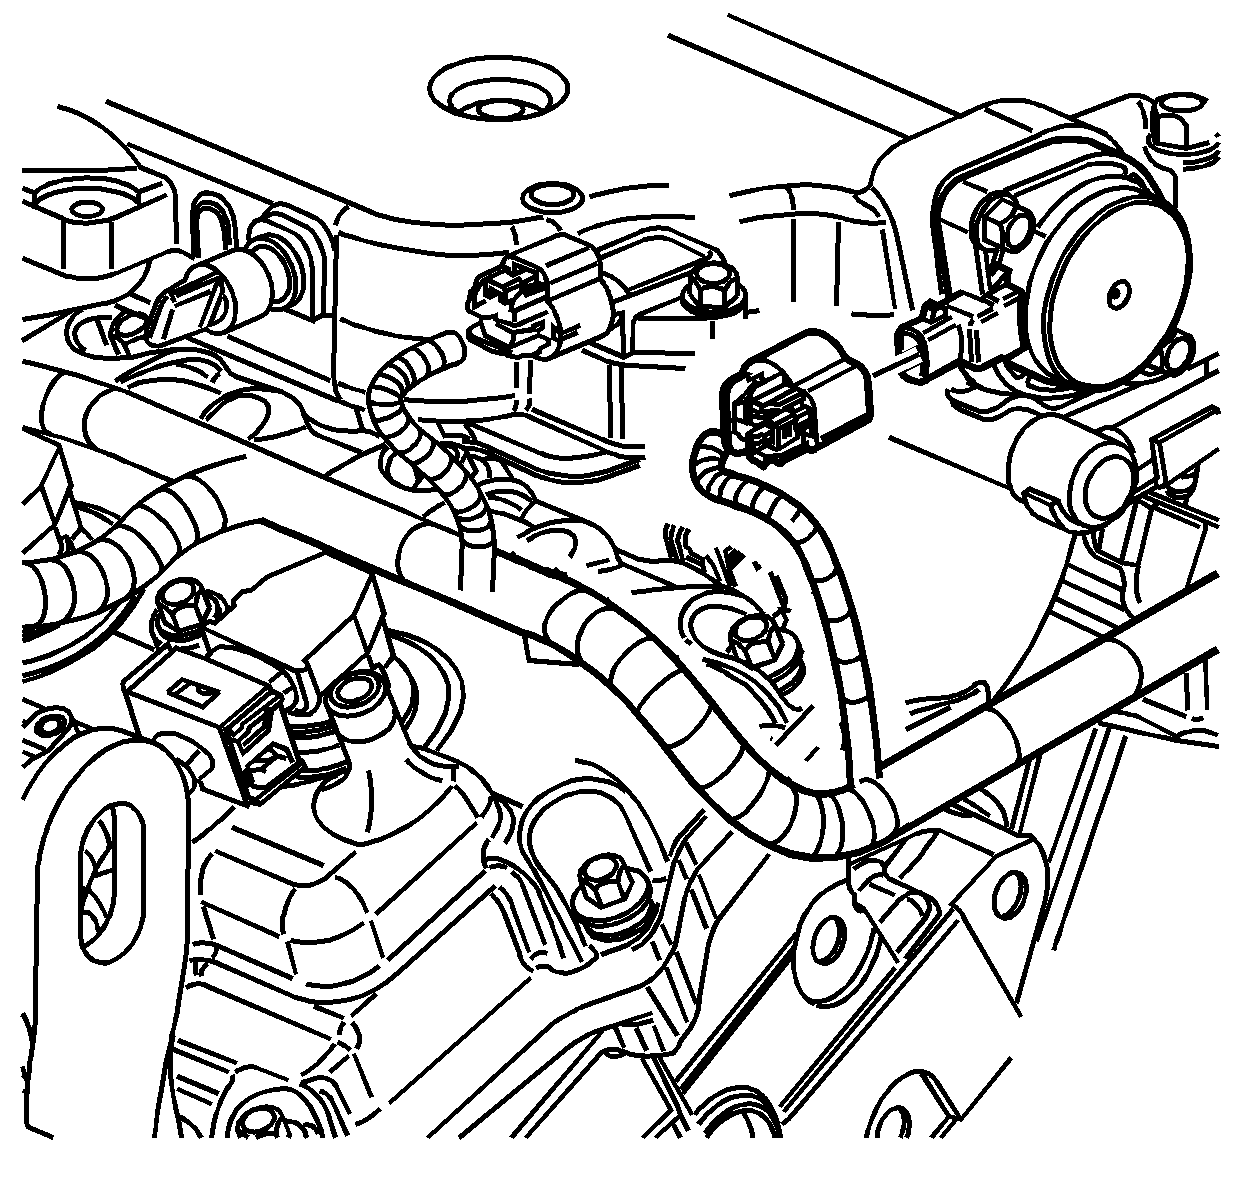
- Disconnect the brake booster hose from the intake manifold.
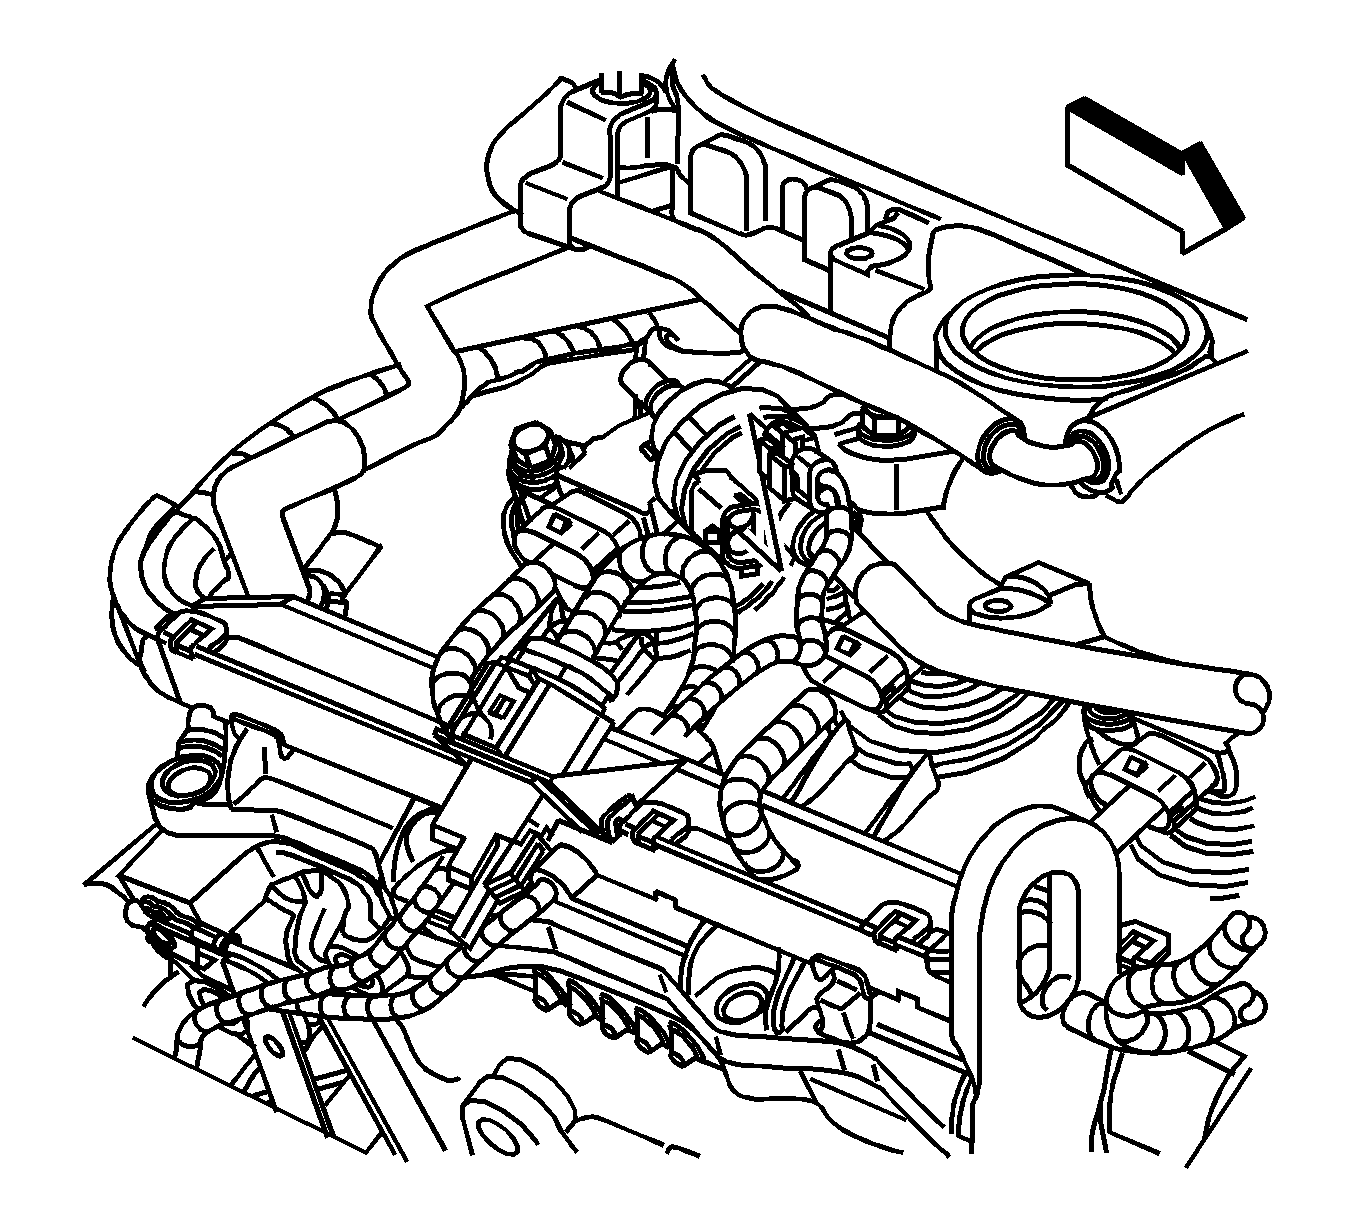
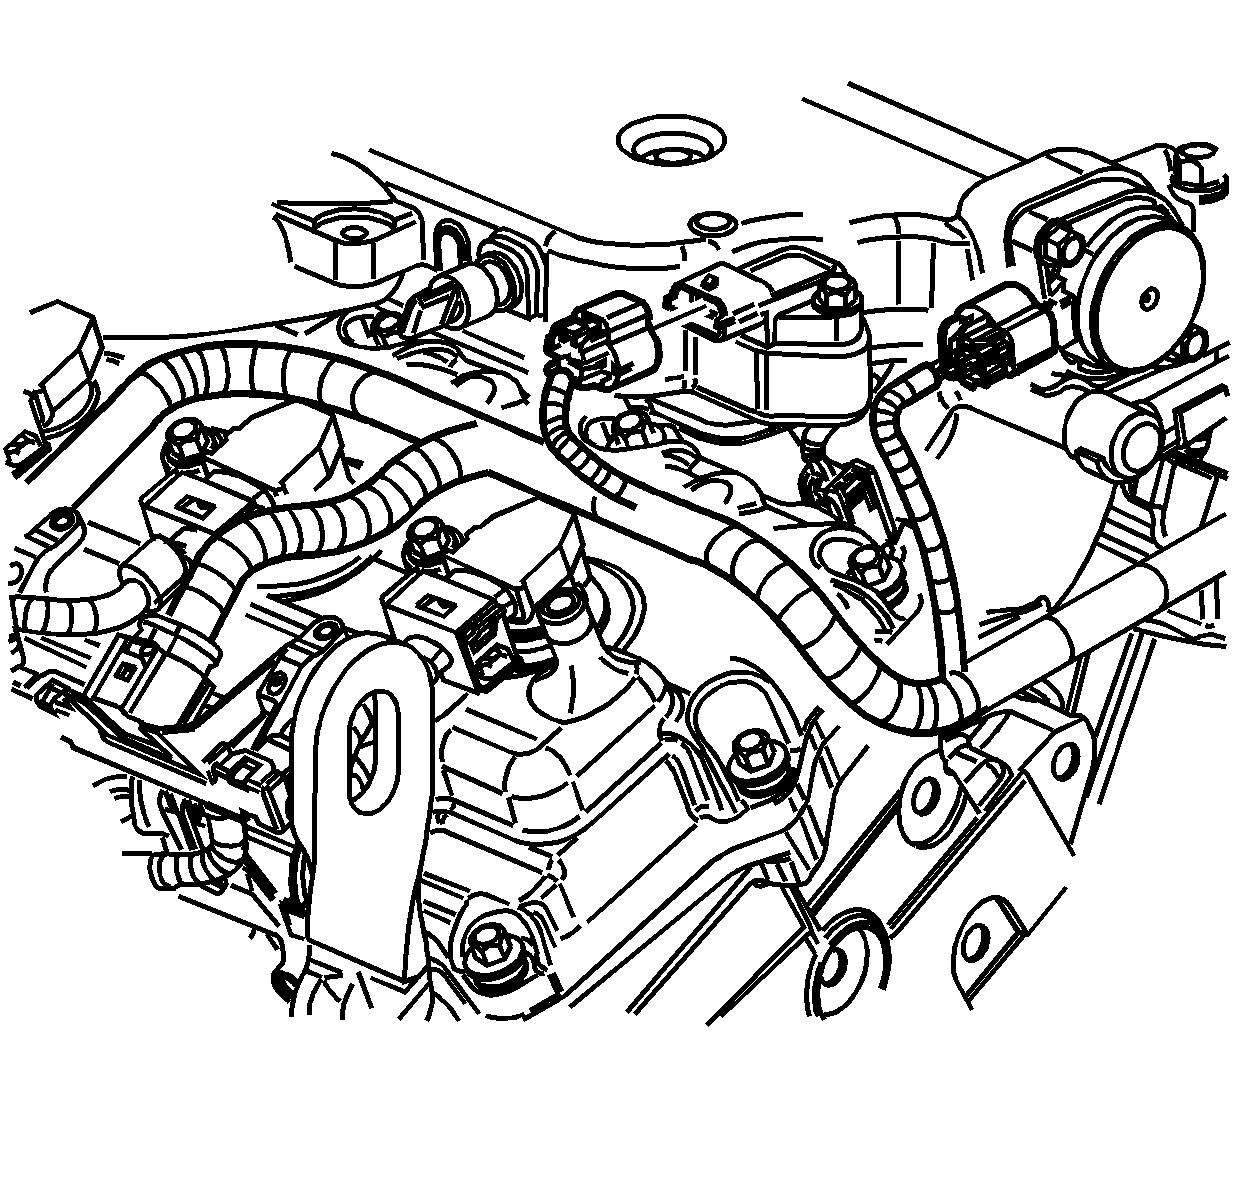
- Disconnect the purge solenoid valve electrical connector.
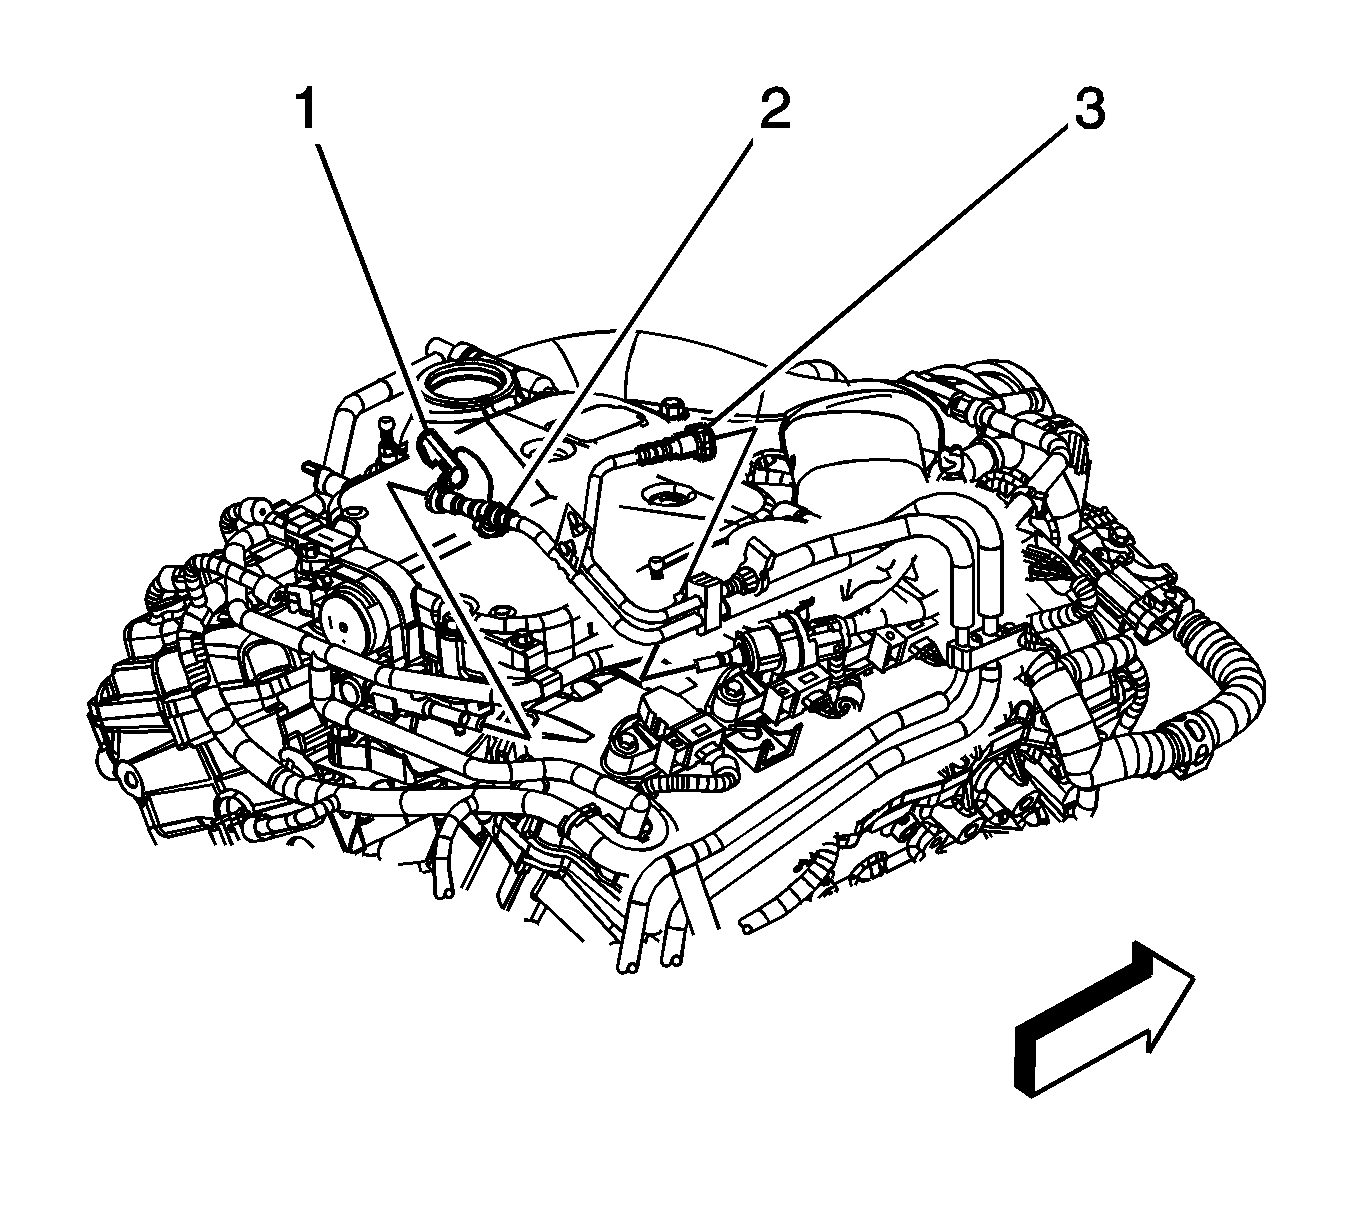
- Disconnect the purge line (3) from the purge solenoid valve.
- Disconnect the fuel injector harness electrical connector.
- Disconnect the throttle body electrical connector.
- Remove the wiring harness retainer.
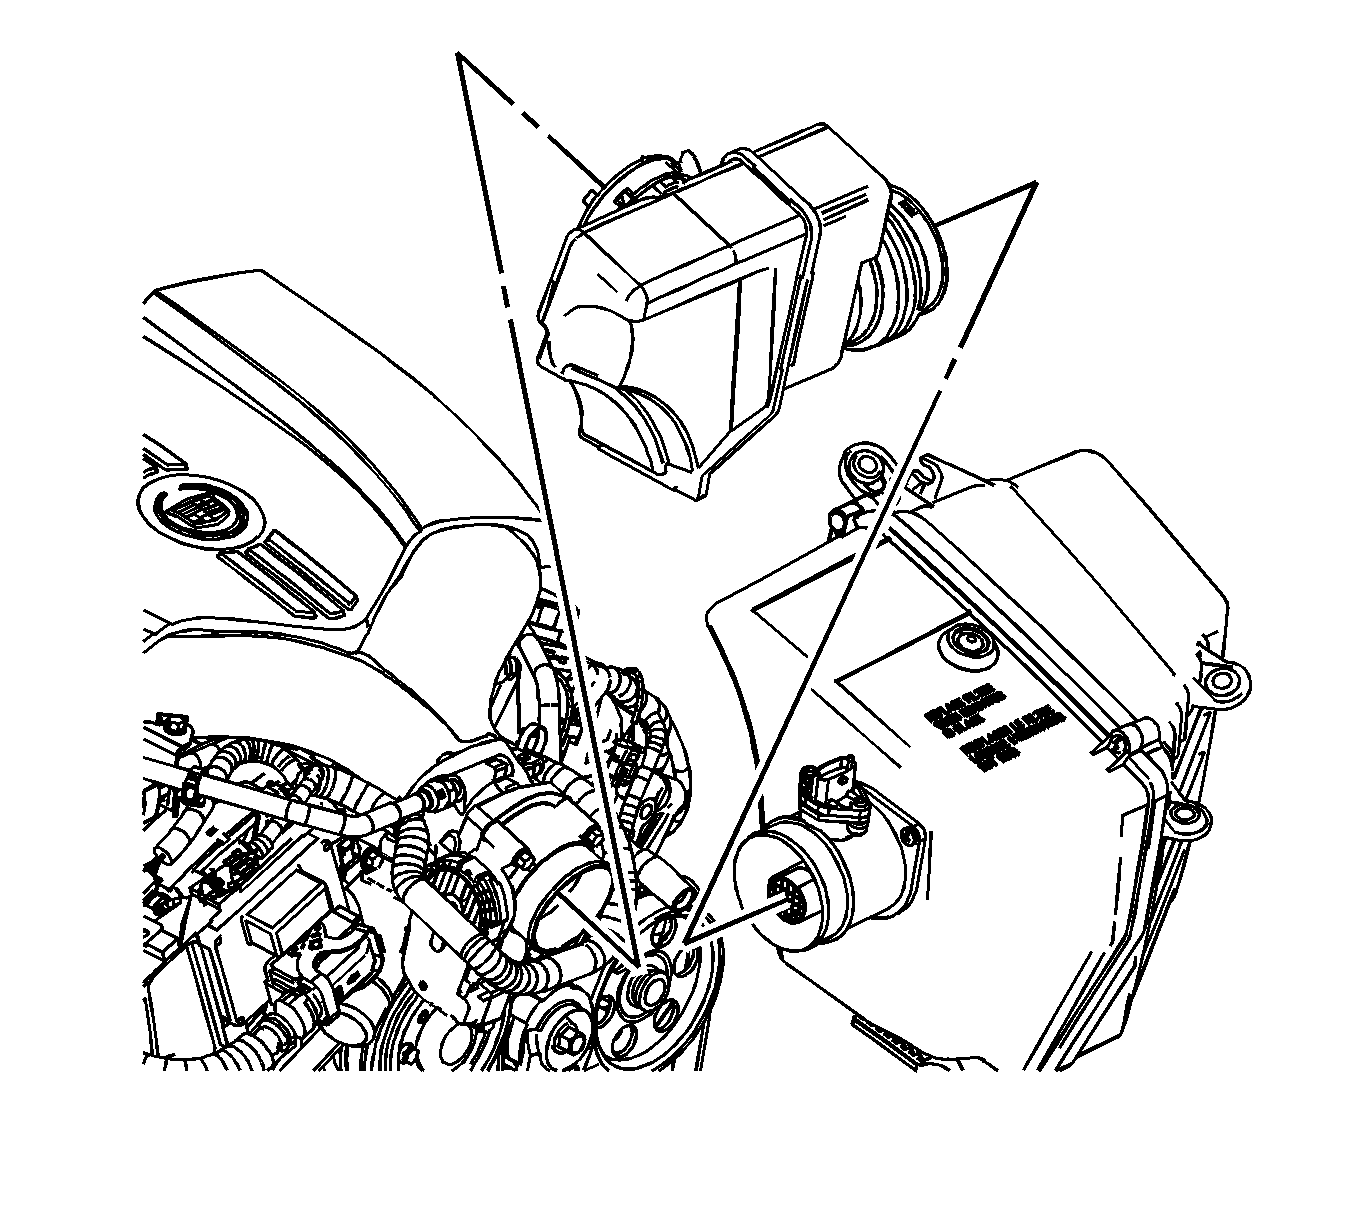
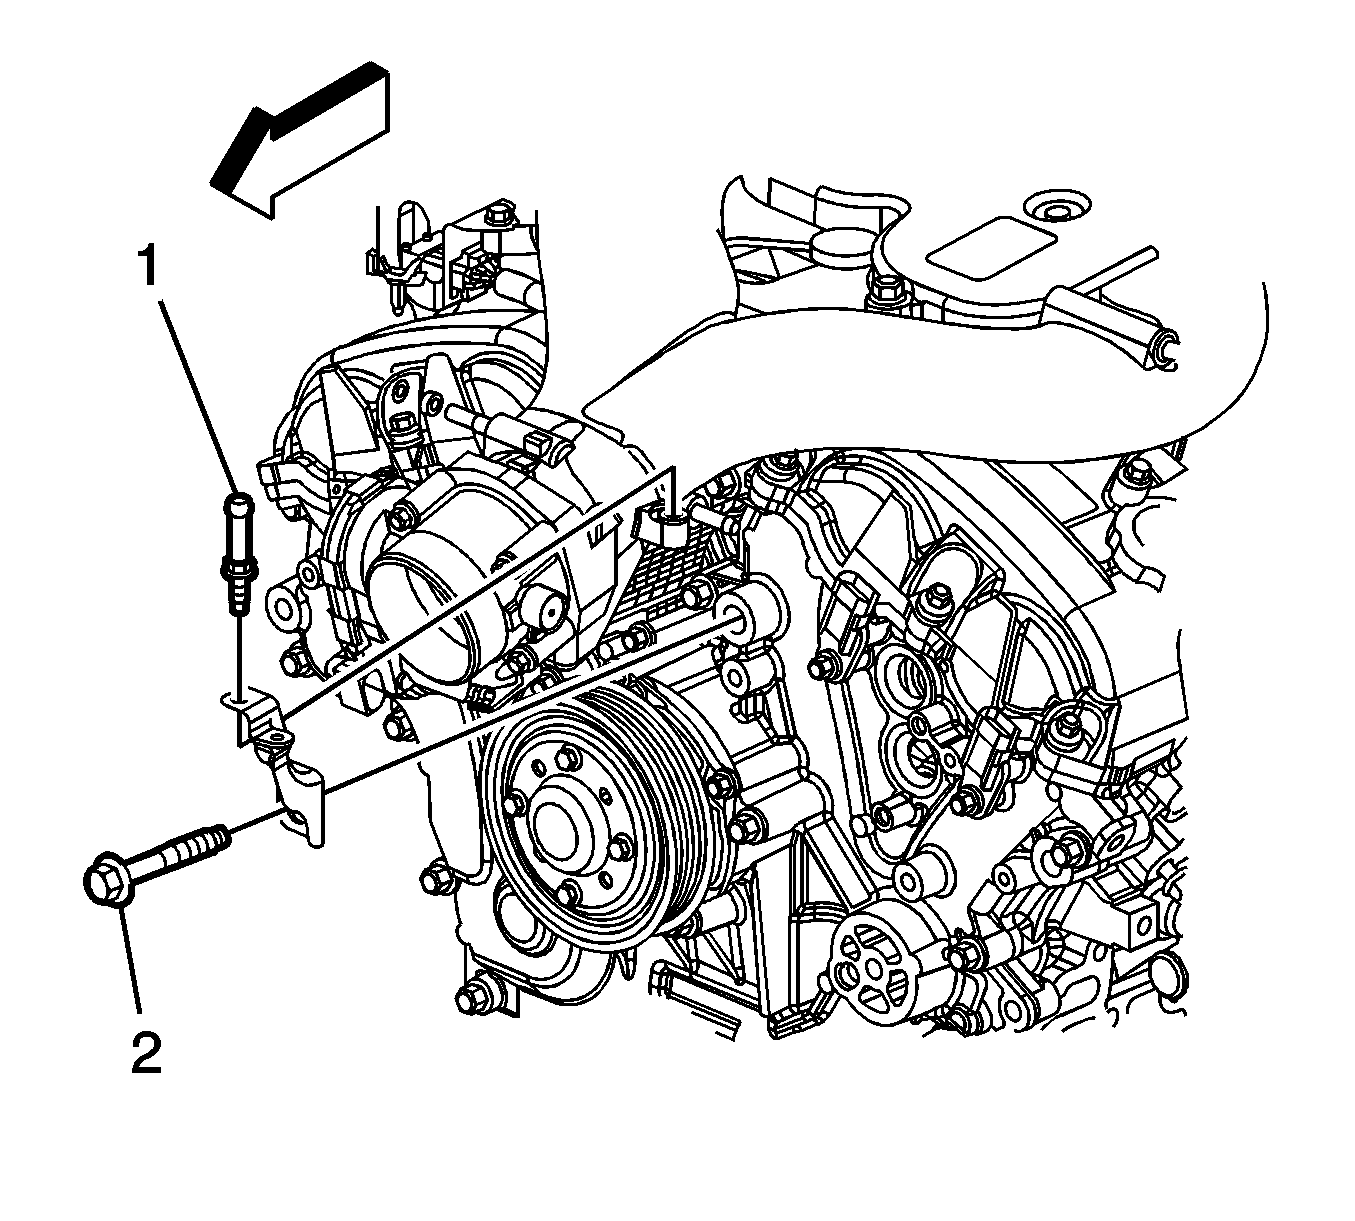
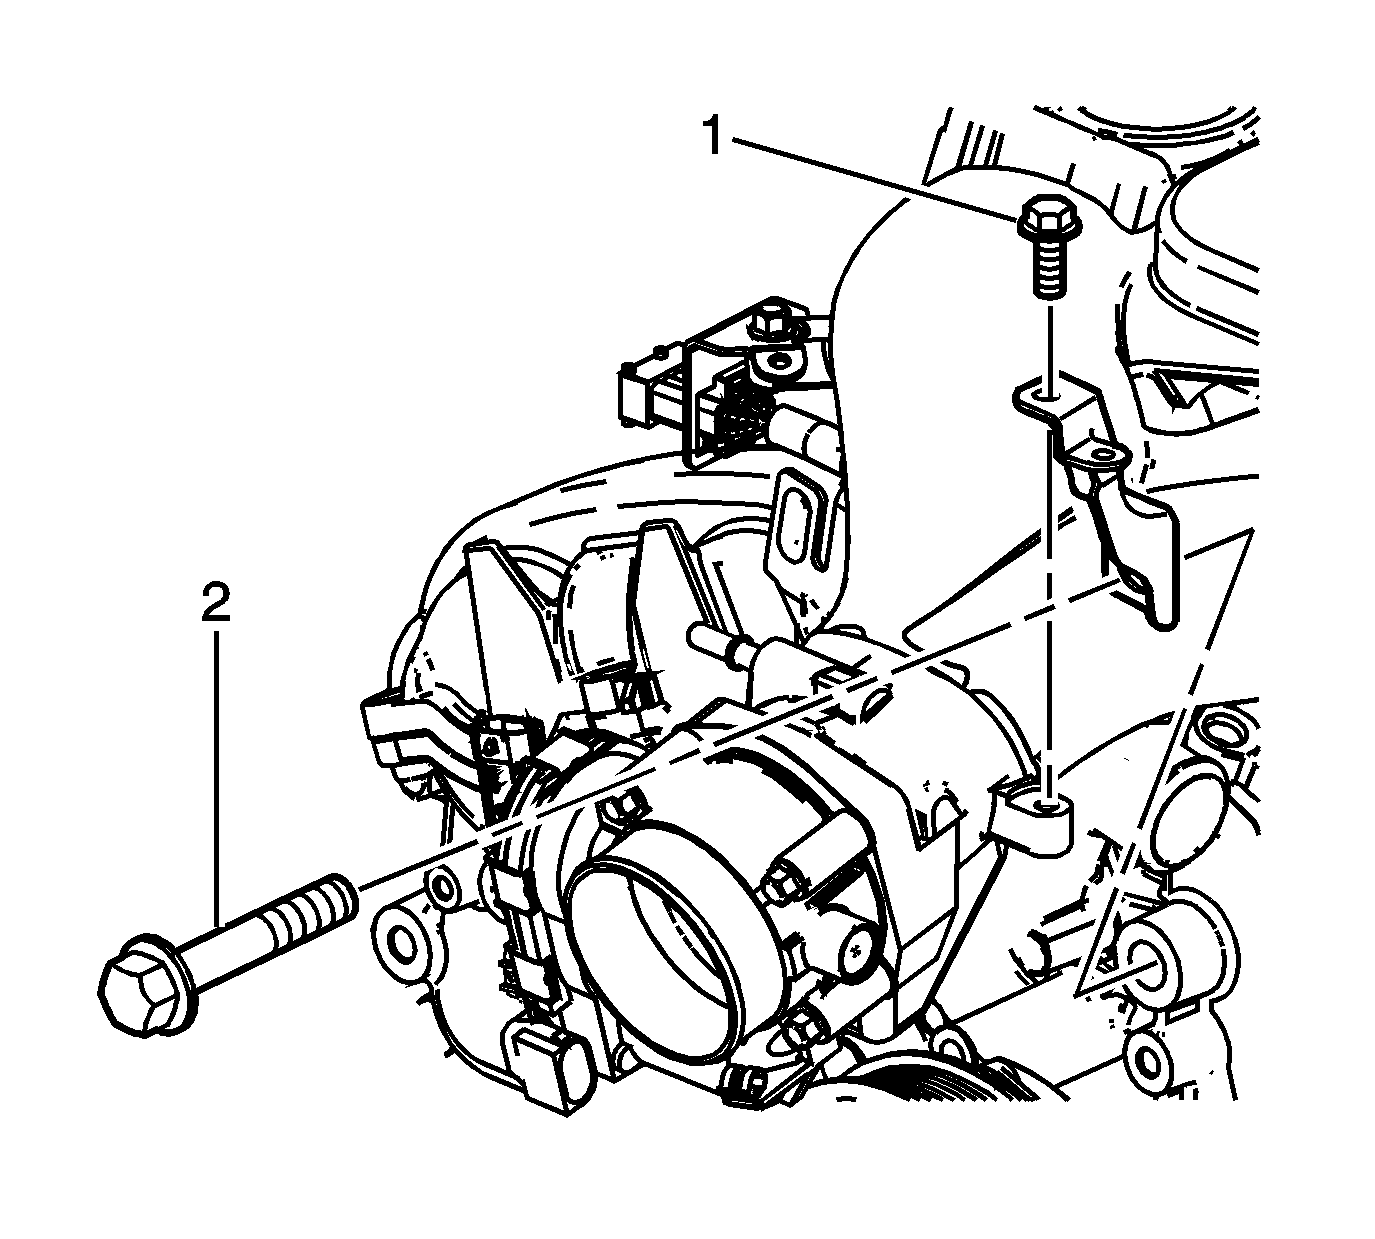
- Remove the upper intake manifold brace bolt (2) and stud (1), reposition the brace with the wiring harness.
- Remove the wiring harness retainer from the right side of the throttle body.
- Disconnect the positive crankcase valve (PCV) hose from the right bank camshaft cover.
- Disconnect the barometric pressure (BARO) sensor electrical connector.
- Disconnect the intake manifold runner control solenoid electrical connector.
- Remove the left bank ignition coil wiring harness from the bracket.
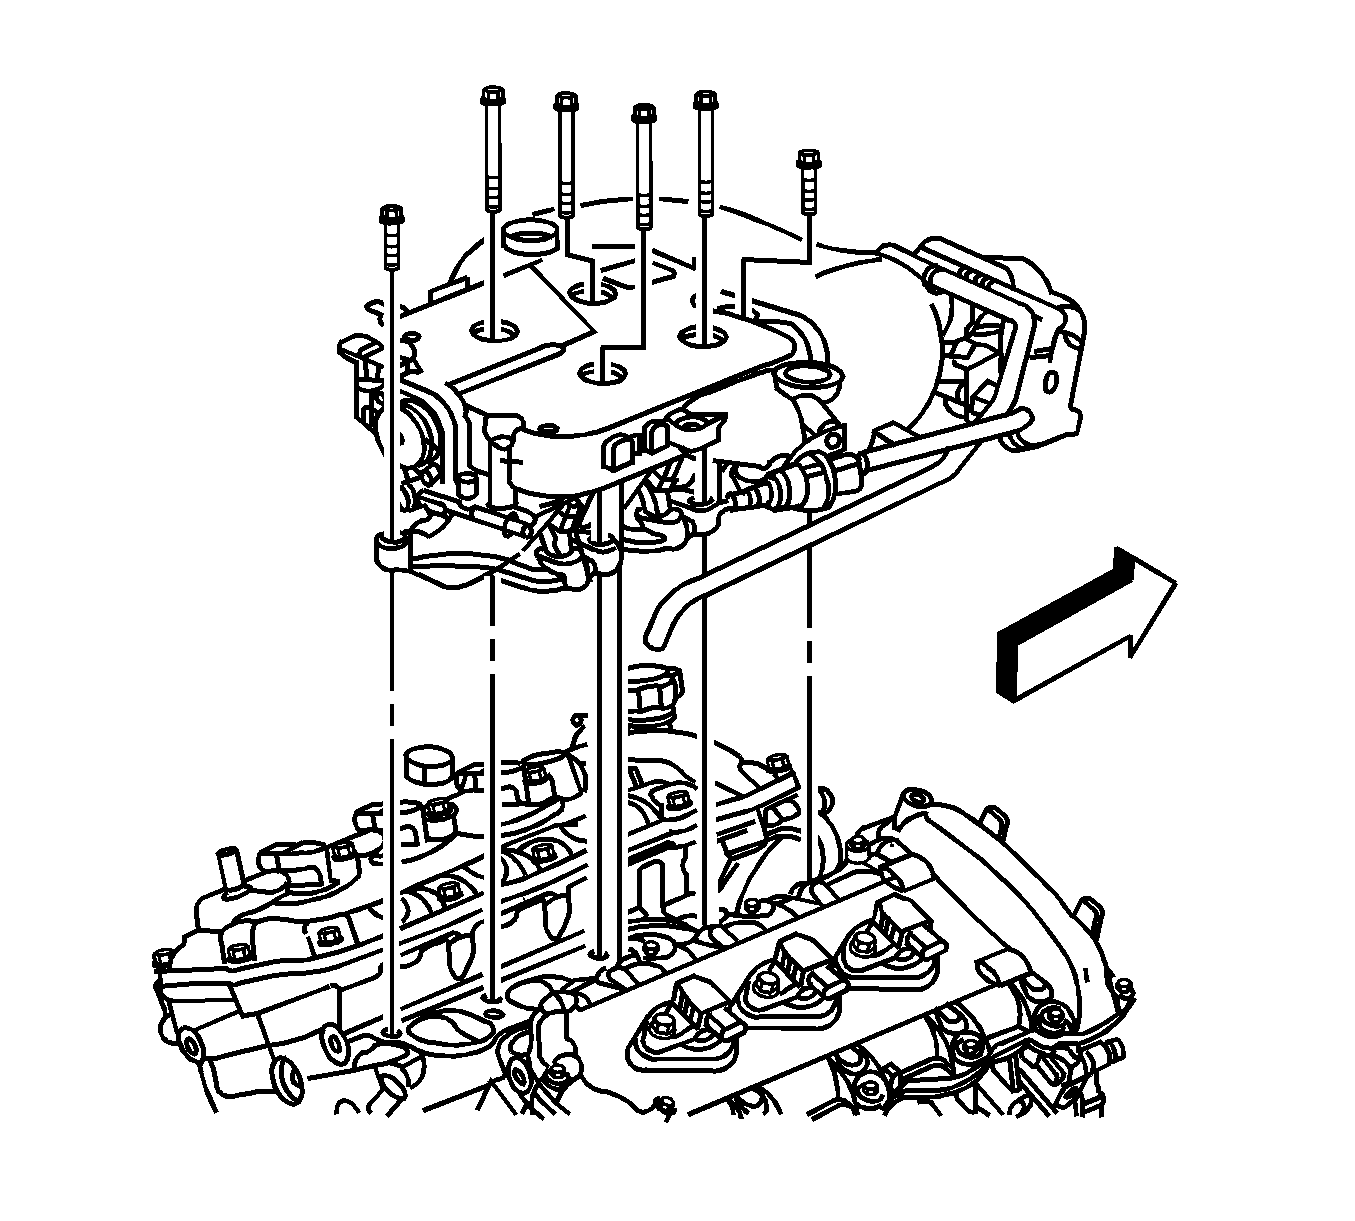
- Remove the intake manifold bolts.
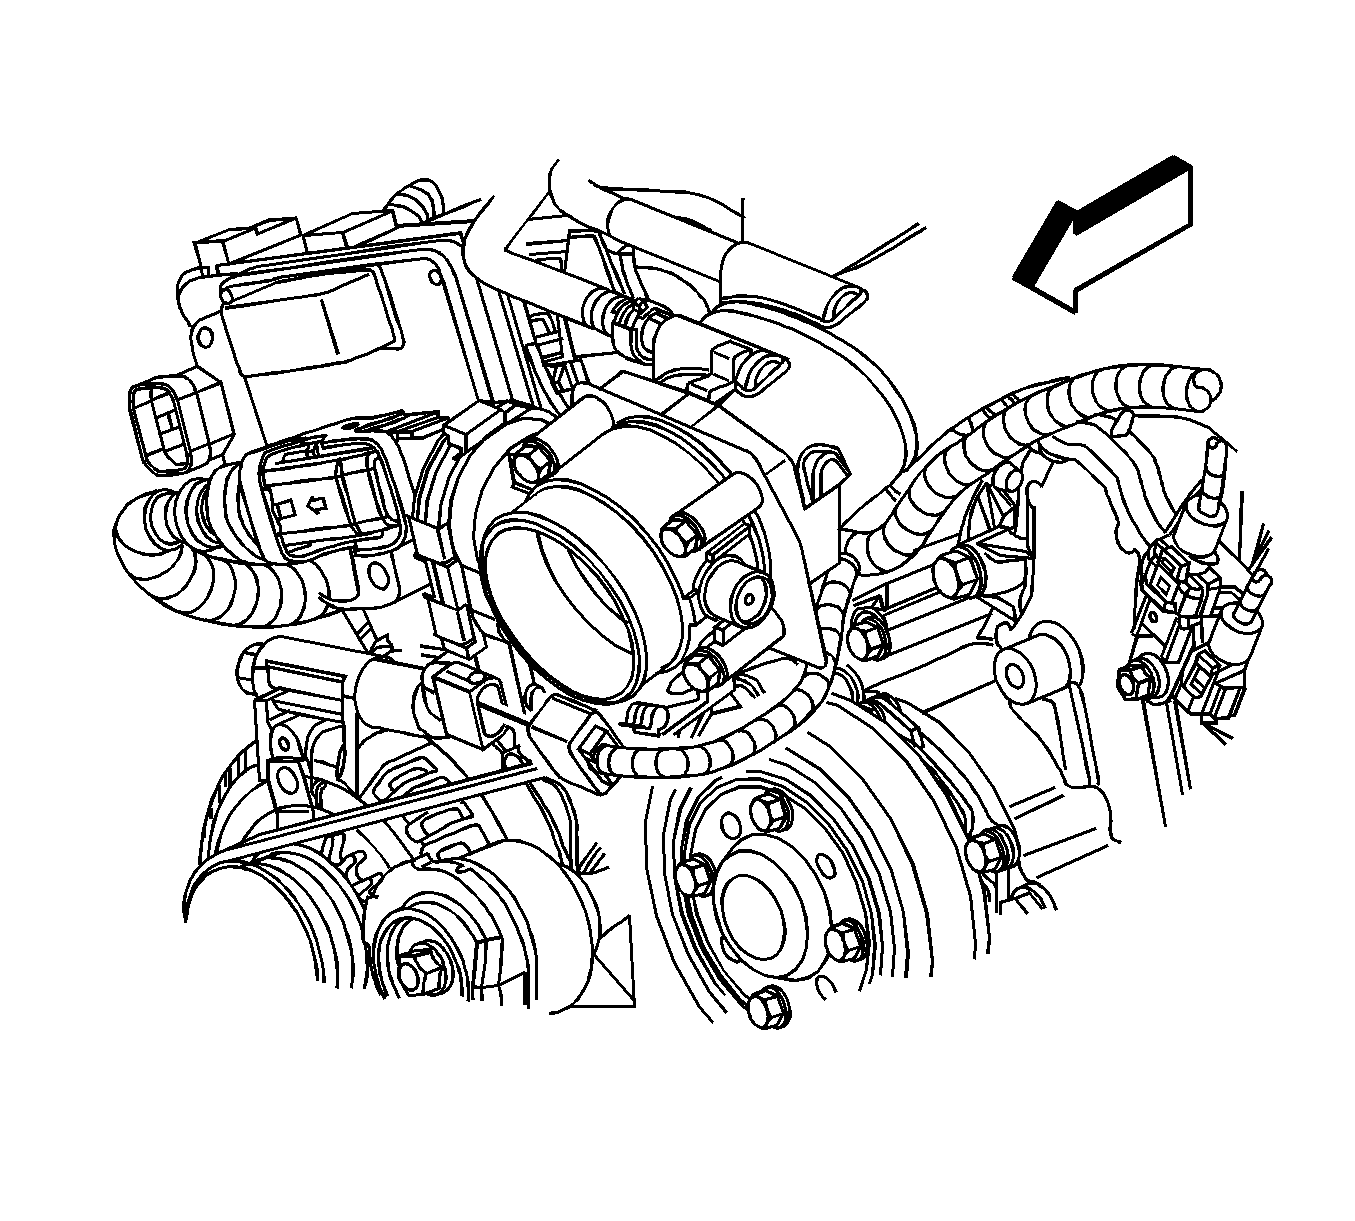
- Reposition the intake manifold to gain access to the fuel pipe connector.
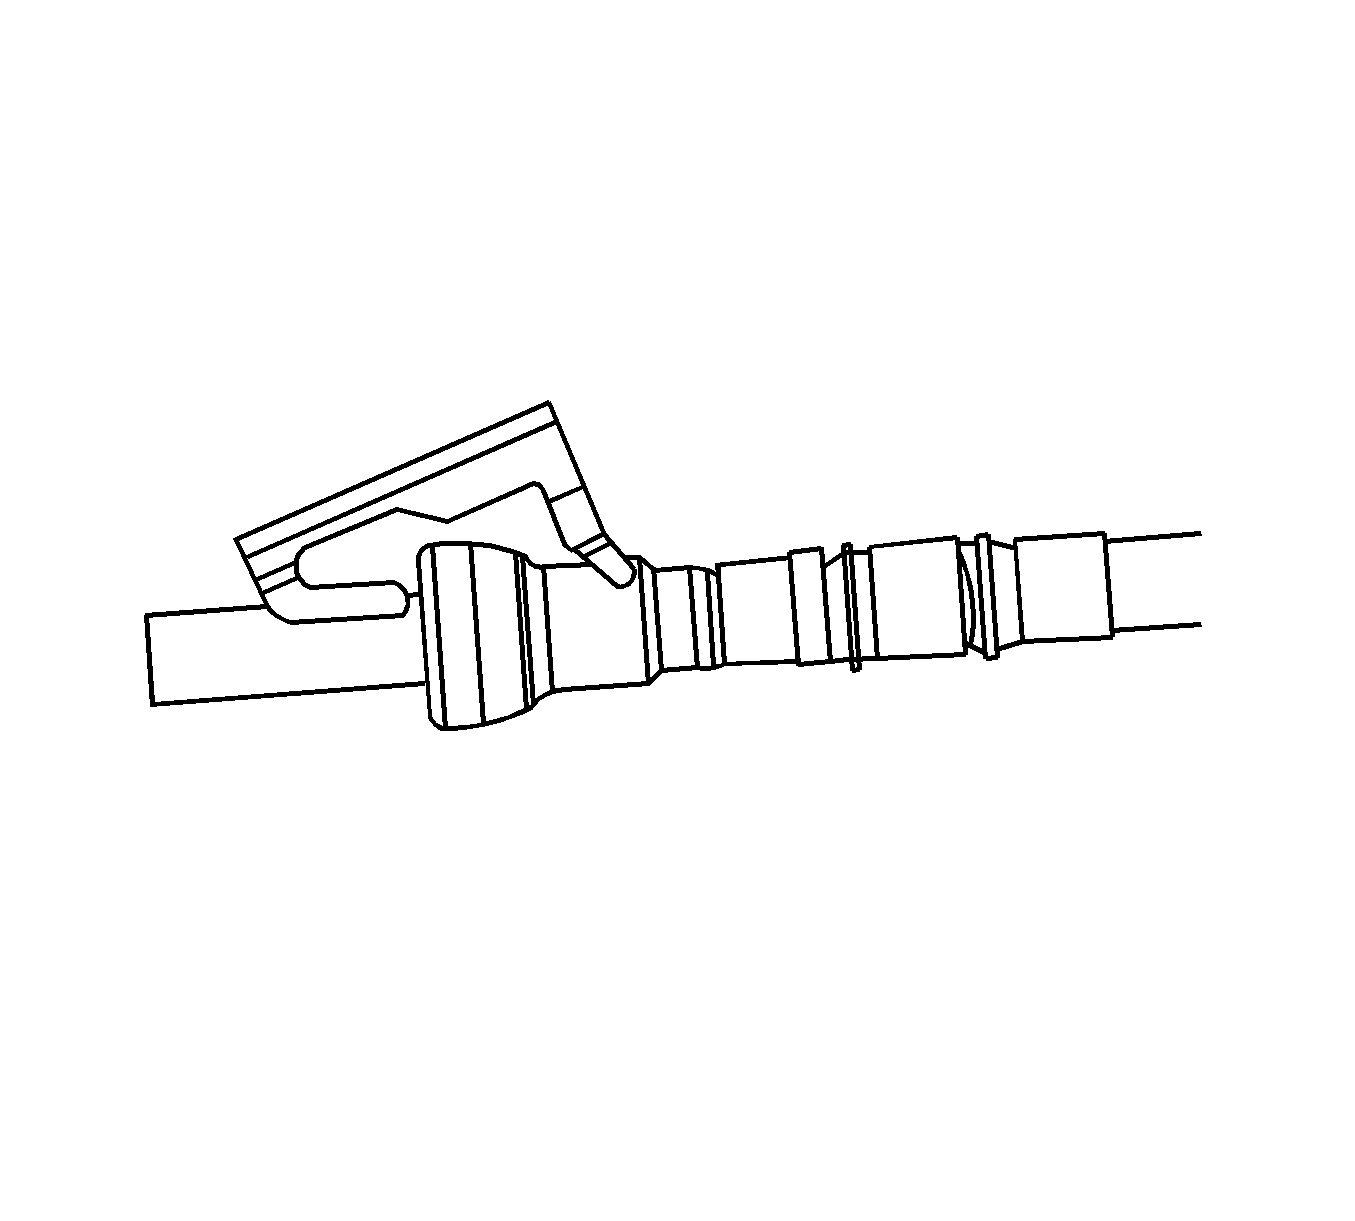
- Remove the fuel feed pipe retainer.
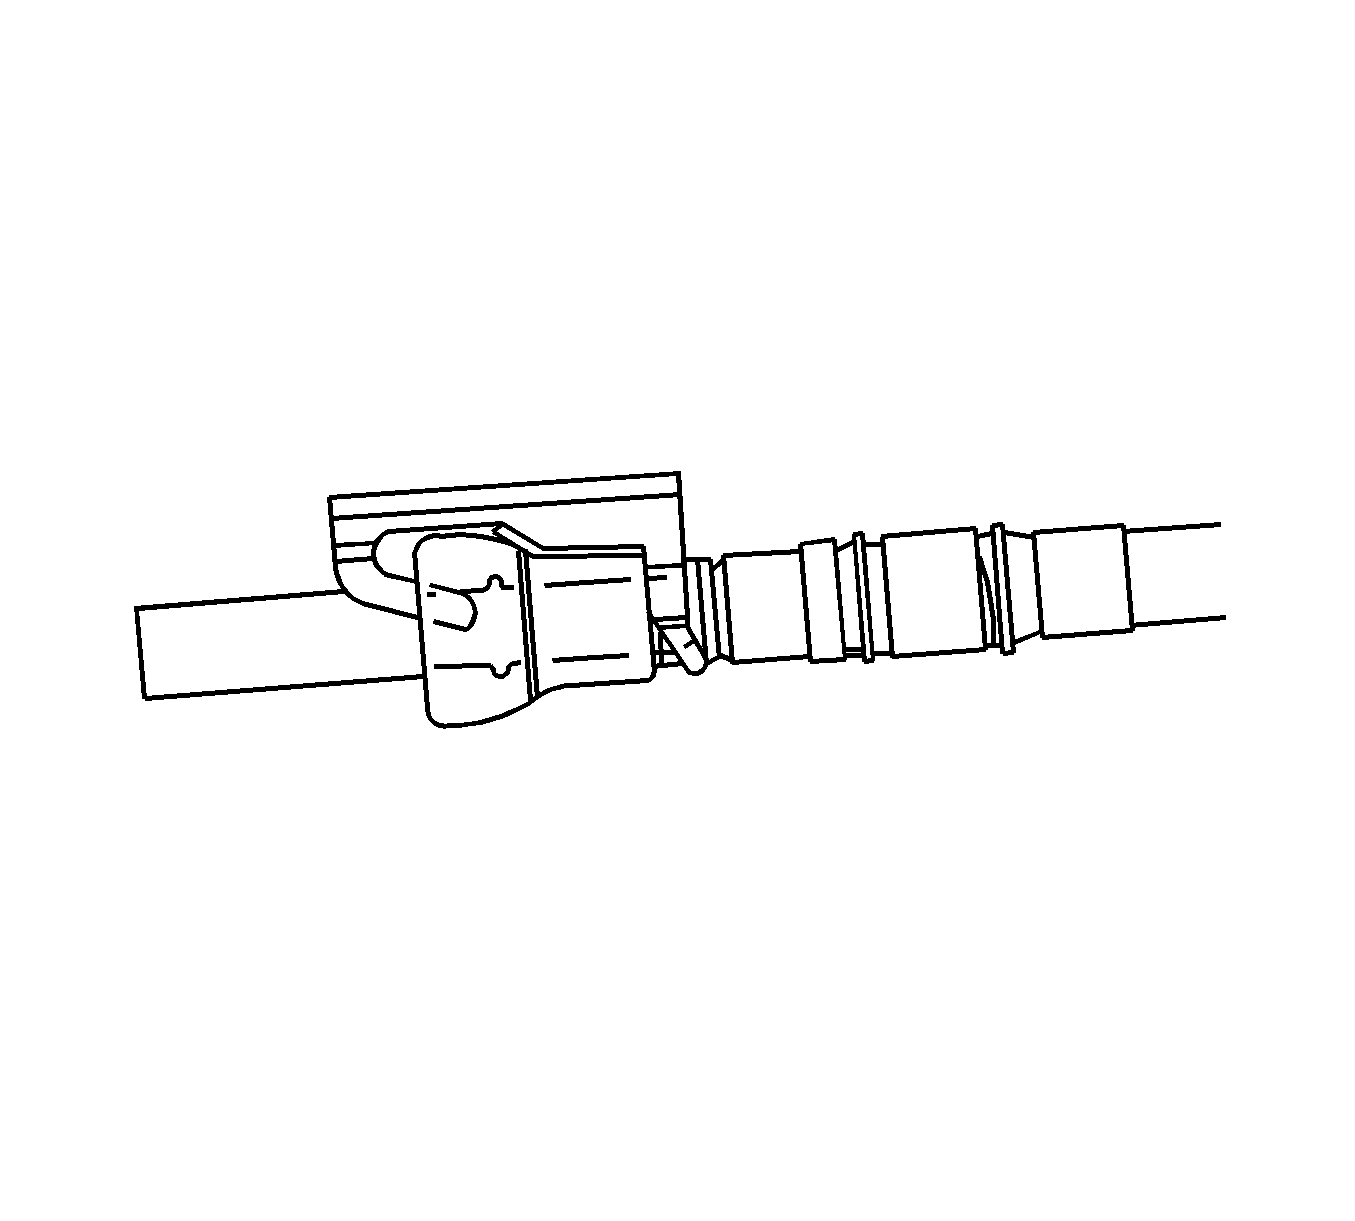
- Disconnect the fuel feed pipe from the fuel rail. Refer to Metal Collar Quick Connect Fitting Service .
- Disassemble the intake manifold as necessary. Refer to Intake Manifold Disassemble .
- Clean and inspect the intake manifold and the sealing surfaces. Refer to Intake Manifold Cleaning and Inspection .

Important: Do not remove the upper to lower intake manifold bolts.
Important: DO NOT kink or damage the fuel pipe.
Installation Procedure
- Assemble the intake manifold as necessary. Refer to Intake Manifold Assemble .
- Install the lower intake manifold gasket.
- Install the intake manifold. Refer to Intake Manifold Installation .
- Connect the fuel injector harness electrical connector.
- Connect the intake manifold runner control solenoid electrical connector.
- Connect the BARO sensor electrical connector.
- Connect the PCV hose to the right bank camshaft cover.
- Install the upper intake manifold brace, bolt (2), and stud (1).
- Install the wiring harness retainer.
- Connect the throttle body electrical connector.
- Connect the fuel injector harness electrical connector.
- Connect the fuel feed pipe (1) to the fuel rail. Refer to Metal Collar Quick Connect Fitting Service .
- Connect the purge line (3) to the purge solenoid valve.
- Install the fuel pipe retainer.
- Connect the purge solenoid valve electrical connector.
- Install the brake booster hose and check valve to the brake booster.
- Install the air inlet duct. Refer to Air Cleaner Inlet Duct Replacement .
- Install the fuel injector sight shield. Refer to Fuel Injector Sight Shield Replacement .
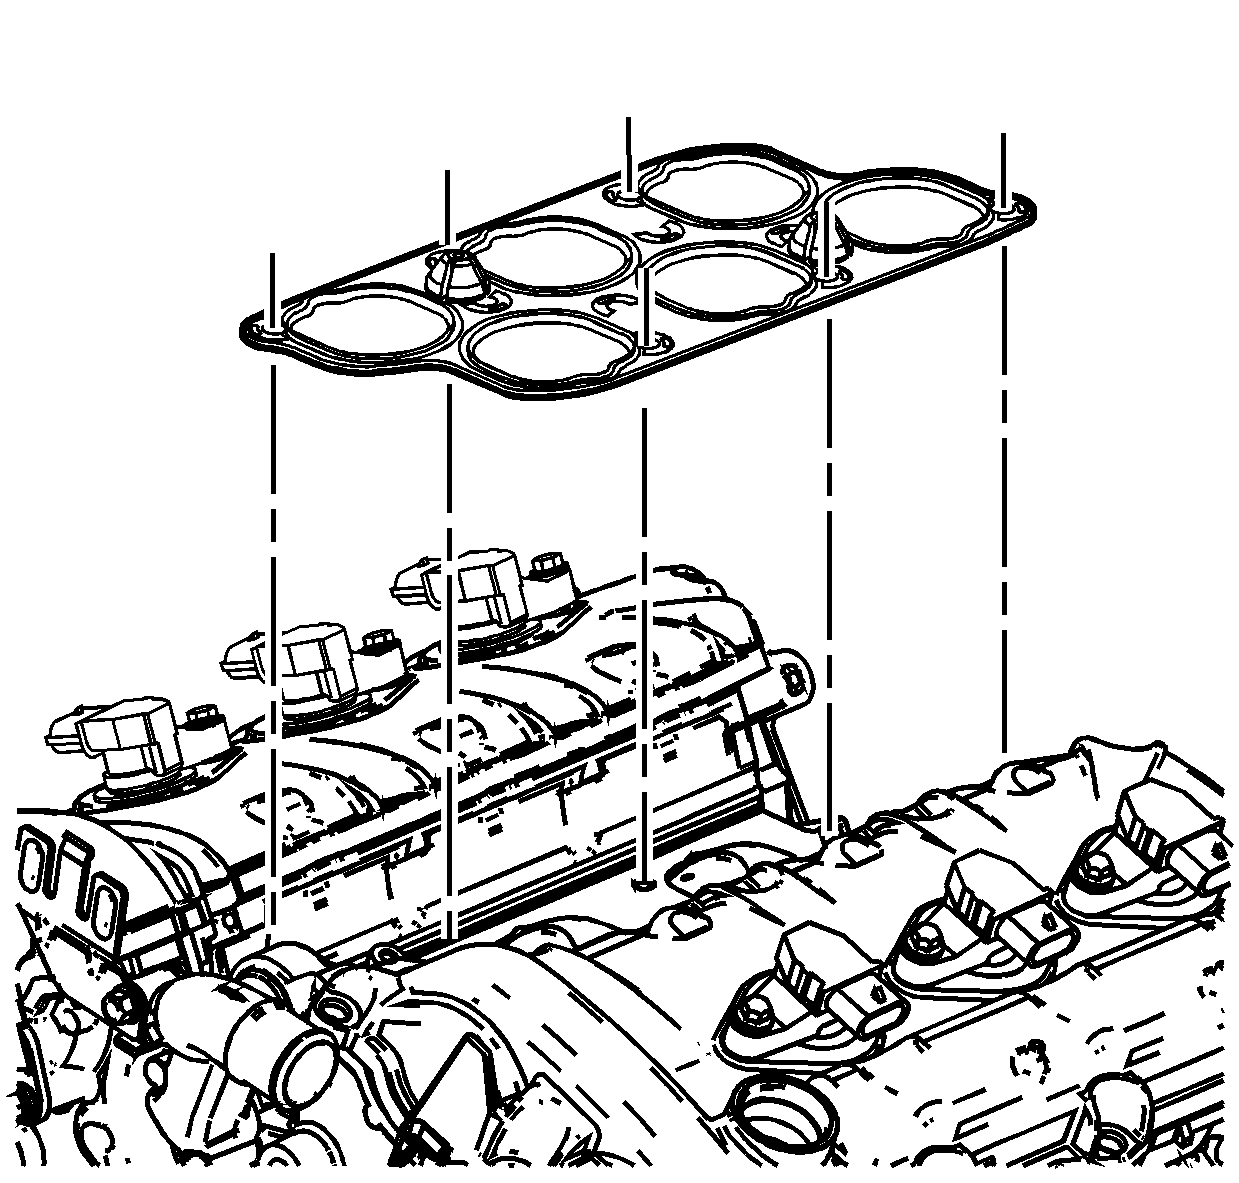
Important: Inspect and replace the lower intake manifold gasket only if the gasket is worn or damaged.
Notice: Refer to Fastener Notice in the Preface section.
Tighten
Tighten the bolt/stud.
| 8.1. | Tighten the bolt (2) to 65 N·m (48 lb ft). |
| 8.2. | Tighten the stud (1) to 10 N·m (89 lb in). |
Notice: Ensure proper engagement of the wiring harness connector. The wiring harness connector must be installed straight onto the component connector and firmly seated. Visually inspect the connector to ensure that the connector latches are engaged and locked. Any damage to the connector or wiring must be repaired. Failure to follow this procedure can lead to an intermittent electrical connection, driveability concerns, and/or wiring harness or wiring harness connector damage or failure.