For 1990-2009 cars only
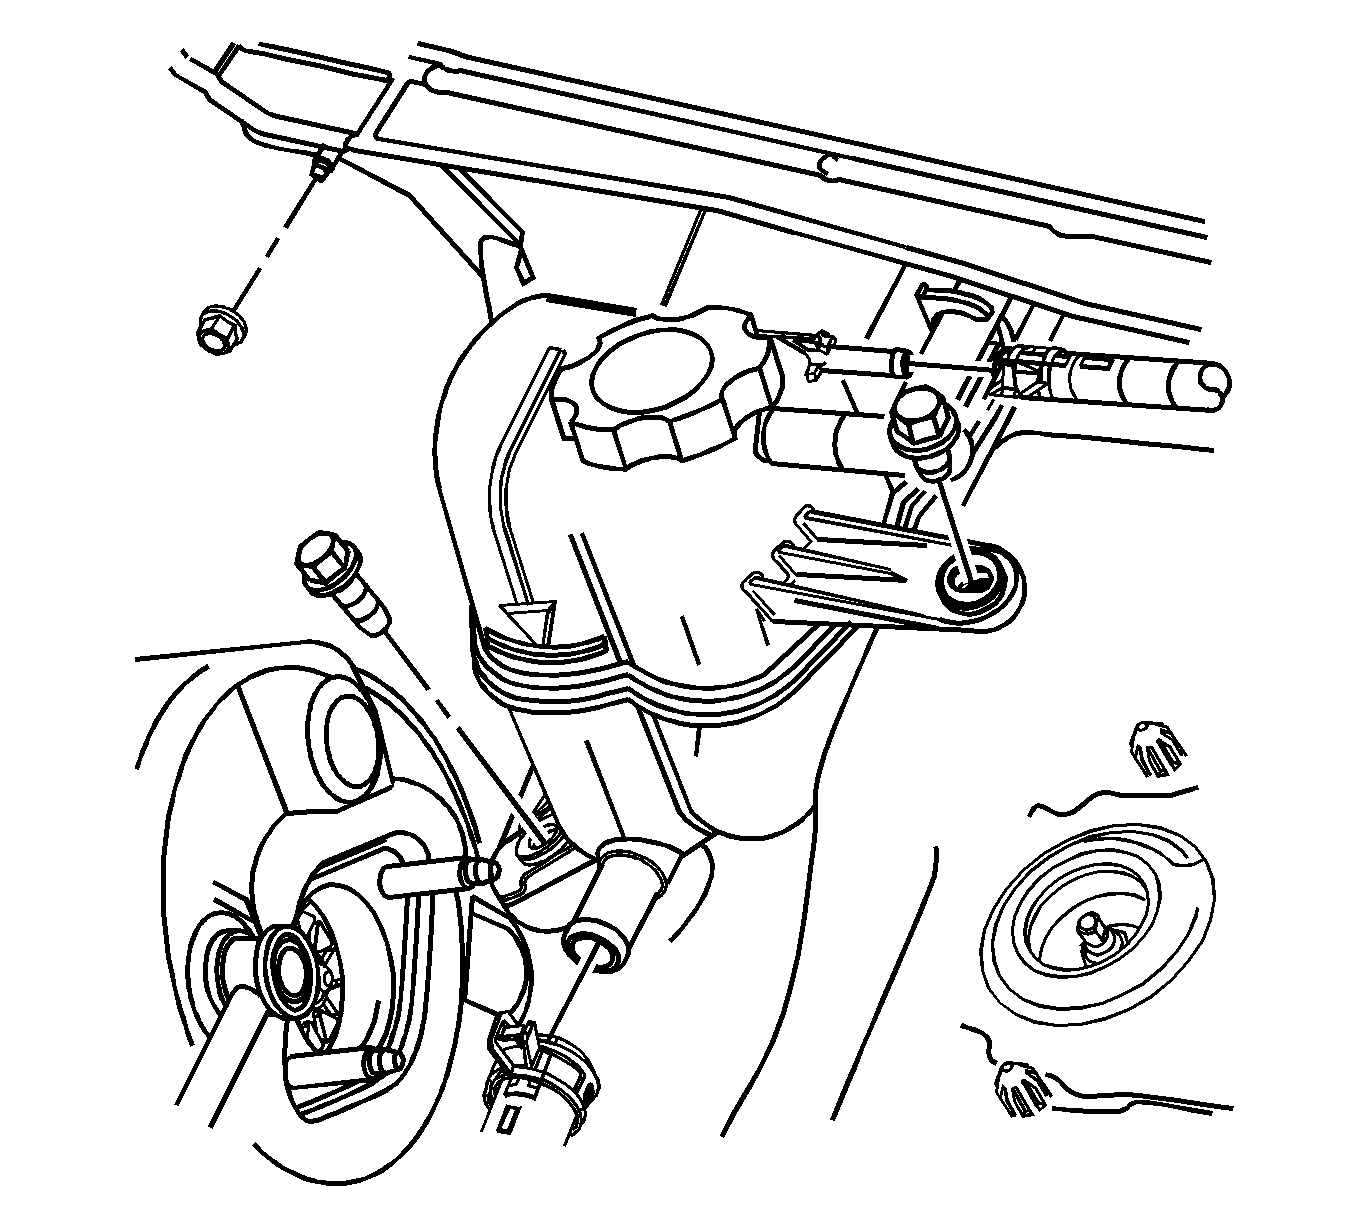
Radiator Surge Tank Replacement LS6
Tools Required
J 38185 Hose Clamp Pliers
Removal Procedure
- Drain the coolant. Refer to Cooling System Draining and Filling.
- Remove the left air inlet grille. Refer to Air Inlet Grille Panel Replacement in Body Front End.
- Using J 38185 , loosen and slide the clamp from the surge tank inlet hose.
- Disconnect the surge tank inlet hose.
- Using J 38185 , loosen and slide the clamp from the surge tank outlet hose.
- Disconnect the surge tank outlet hose.
- Remove the master cylinder nuts.
- Without disconnecting brake lines, separate the master cylinder from the brake booster.
- Gently reposition the master cylinder out of the way.
- Remove the 2 surge tank bolts.
- Disconnect the low coolant sensor electrical connector.
- Remove the left air inlet grill panel. Refer to Air Inlet Grille Panel Replacement
- Remove the surge tank.

Installation Procedure
- Connect the low coolant sensor electrical connector.
- Install the surge tank.
- Position the surge tank tab behind the air inlet grille screen.
- Install the left air inlet grill panel. Refer to Air Inlet Grille Panel Replacement
- Connect the surge tank outlet hose.
- Using J 38185 , reposition the clamp on the surge tank outlet hose.
- Install the surge tank bolts.
- Connect the surge tank inlet hose.
- Using the J 38185 , reposition the clamp on the surge tank inlet hose.
- Connect the master cylinder to the vacuum booster.
- Install the master cylinder nuts.
- Install the left air inlet grille. Refer to Air Inlet Grille Panel Replacement in Body Front End.
- Fill the cooling system. Refer to Cooling System Draining and Filling.
Notice: Refer to Fastener Notice in the Preface section.
Tighten
Tighten the bolts to 9 N·m (80 lb in).
Tighten
Tighten the nuts to 25 N·m (18 lb ft).
Radiator Surge Tank Replacement LP1, LY7
Tools Required
J 38185 Hose Clamp Pliers
Removal Procedure
- Drain the coolant. Refer to Cooling System Draining and Filling.
- If equipped with a manual transmission, remove the clutch master cylinder reservoir bolts (1).
- Position the clutch master cylinder reservoir out of the way.
- Using J 38185 , loosen and slide the clamp from the surge tank inlet hose.
- Disconnect the surge tank inlet hose.
- Using J 38185 , loosen and slide the clamp from the surge tank outlet hose.
- Disconnect the surge tank outlet hose.
- Remove the master cylinder nuts.
- Without disconnecting brake lines, separate the master cylinder from the brake booster.
- Gently reposition the master cylinder out of the way.
- Remove the 2 surge tank bolts.
- Remove the surge tank nut.
- Remove the left air inlet grill panel. Refer to Air Inlet Grille Panel Replacement
- Disconnect the low coolant sensor electrical connector.
- Remove the surge tank.

Installation Procedure
- Connect the low coolant sensor electrical connector.
- Install the surge tank.
- Position the surge tank tab behind the air inlet grille screen.
- Install the left air inlet grill panel. Refer to Air Inlet Grille Panel Replacement
- Connect the surge tank outlet hose.
- Using J 38185 , reposition the clamp on the surge tank outlet hose.
- Install the surge tank nut.
- Connect the surge tank inlet hose.
- Using the J 38185 , reposition the clamp on the surge tank inlet hose.
- Install the 2 surge tank bolts.
- Connect the master cylinder to the vacuum booster.
- Install the master cylinder nuts.
- Fill the cooling system. Refer to Cooling System Draining and Filling.
- If equipped with a manual transmission, position the clutch master cylinder reservoir to the bracket.
- Install the clutch master cylinder reservoir bolts (1).
Notice: Refer to Fastener Notice in the Preface section.
Tighten
Tighten the nut to 9 N·m (80 lb in).
Tighten
Tighten the bolts to 9 N·m (80 lb in).
Tighten
Tighten the nuts to 25 N·m (18 lb ft).
Tighten
Tighten the bolts to 50 N·m (37 lb ft).
