Radiator Replacement LA3, LY9
Tools Required
| • | J 38185 Hose Clamp Pliers |
| • | J 44827 Transmission Cooler Quick Disconnect |
Removal Procedure
- Drain the coolant. Refer to Cooling System Draining and Filling .
- Remove the radiator support brackets. Refer to Radiator Support Bracket Replacement .
- Remove the cooling fans. Refer to Engine Cooling Fan Replacement .
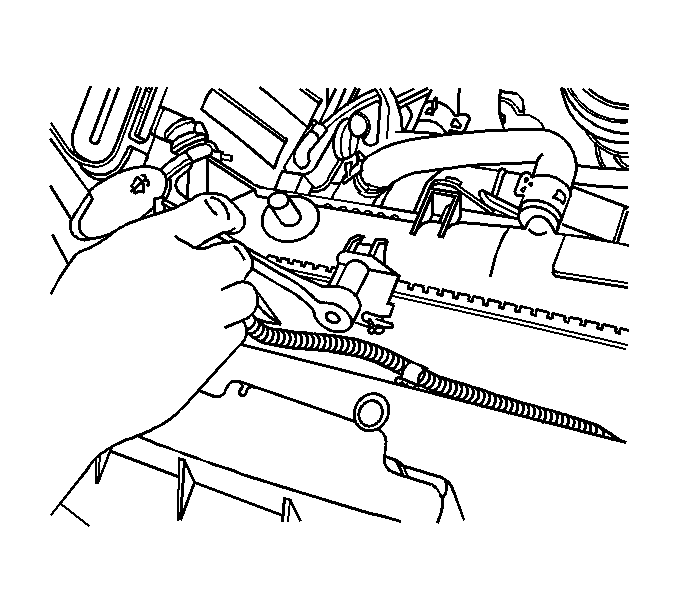
- Remove the 2 upper condenser mounting bolts.
- Raise the vehicle. Refer to Lifting and Jacking the Vehicle in General Information.
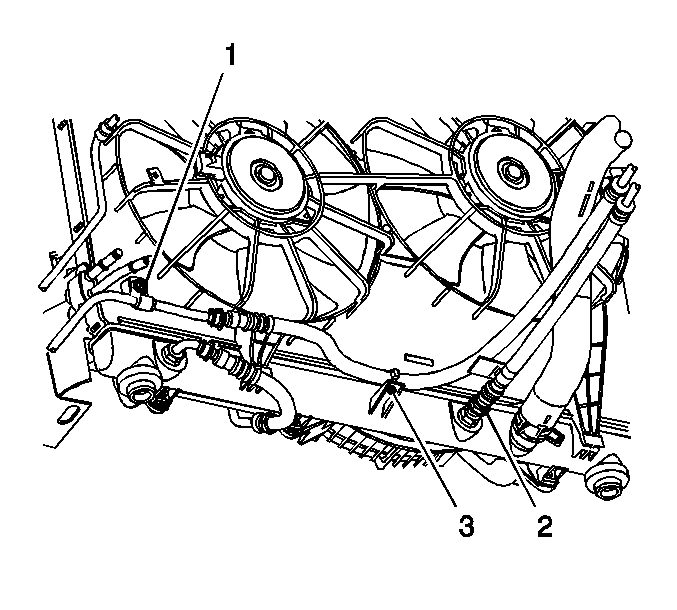
- Using the J 44827 (2) disconnect the lower transaxle oil cooler line from the radiator.
- Using the J 38185 disconnect the lower radiator hose (1) from the radiator.
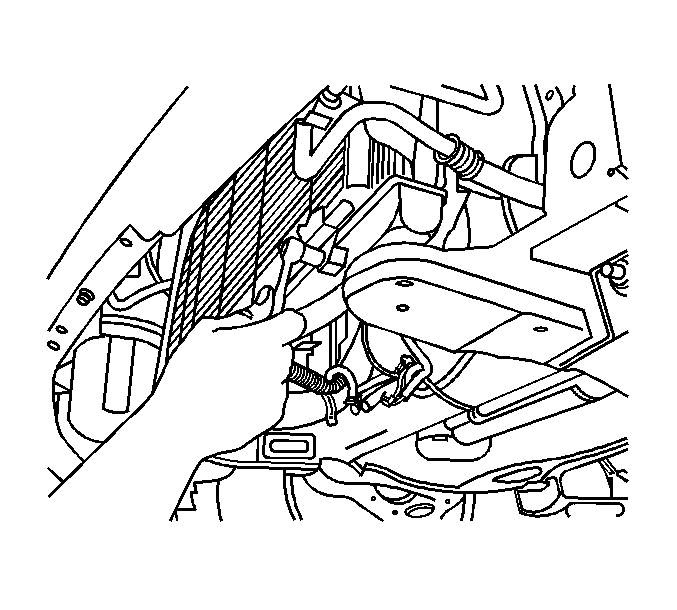
- Remove the lower condenser mounting bolts.
- Remove the radiator side seal push pins.
- Separate the side seals from the radiator.
- Lower the vehicle.
- Remove the radiator.
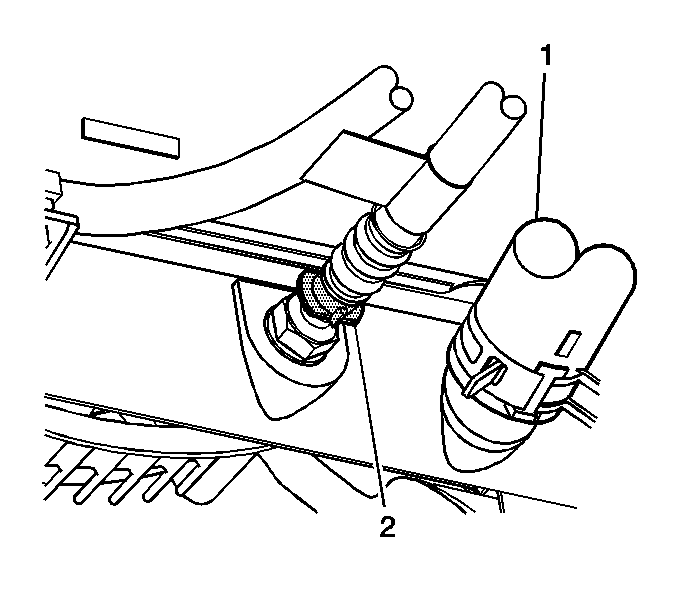
Notice: The transmission oil cooler system uses quick connect fittings throughout the system. Use a special tool to disconnect these quick connect fittings. Removing the transmission oil cooler lines without this tool will result in damage to the radiator, the transmission, and the transmission oil cooler caused by mixing the transmission oil and coolant or due to transmission oil loss.
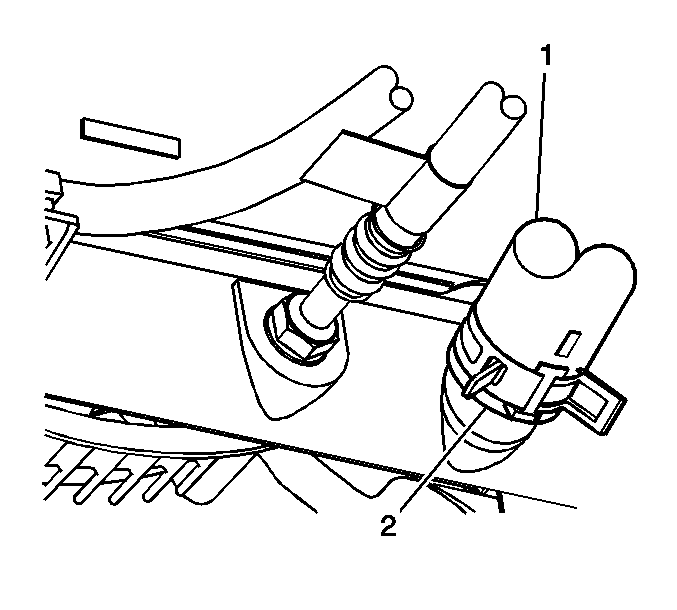
Installation Procedure
- Install the radiator into the insulator in the frame.
- Install the upper condenser mounting bolts.
- Raise the vehicle.
- Install the lower condenser mounting bolts.
- Push the lower transaxle oil cooler lines into the radiator until you hear the lines engage.
- Gently tug out on the transmission oil cooler lines to verify that the lines are engaged into position.
- Connect the lower radiator hose to the radiator.
- Using J 38185 slide the clamp into the original position on the hose.
- Connect the auxiliary transmission oil cooler line to the radiator (3).
- Install the side seal pushpin into the radiator.
- Ensure that all seal are in place around the radiator.
- Lower the vehicle.
- Install the cooling fans. Refer to Engine Cooling Fan Replacement .
- Install the radiator supports. Refer to Radiator Support Bracket Replacement .
- Fill the cooling system with coolant. Refer to Cooling System Draining and Filling .
Notice: Refer to Fastener Notice in the Preface section.

Tighten
Tighten the bolts to 6.5 N·m (58 lb in).

Tighten
Tighten the bolts to 6.5 N·m (58 lb in).
Radiator Replacement LY7
Tools Required
| • | J 38185 Hose Clamp Pliers |
| • | J 44827 Transmission Cooler Quick Disconnect |
Removal Procedure
- Drain the coolant. Refer to Cooling System Draining and Filling .
- Remove the radiator support brackets. Refer to Radiator Support Bracket Replacement .
- Remove the cooling fans. Refer to Engine Cooling Fan Replacement .
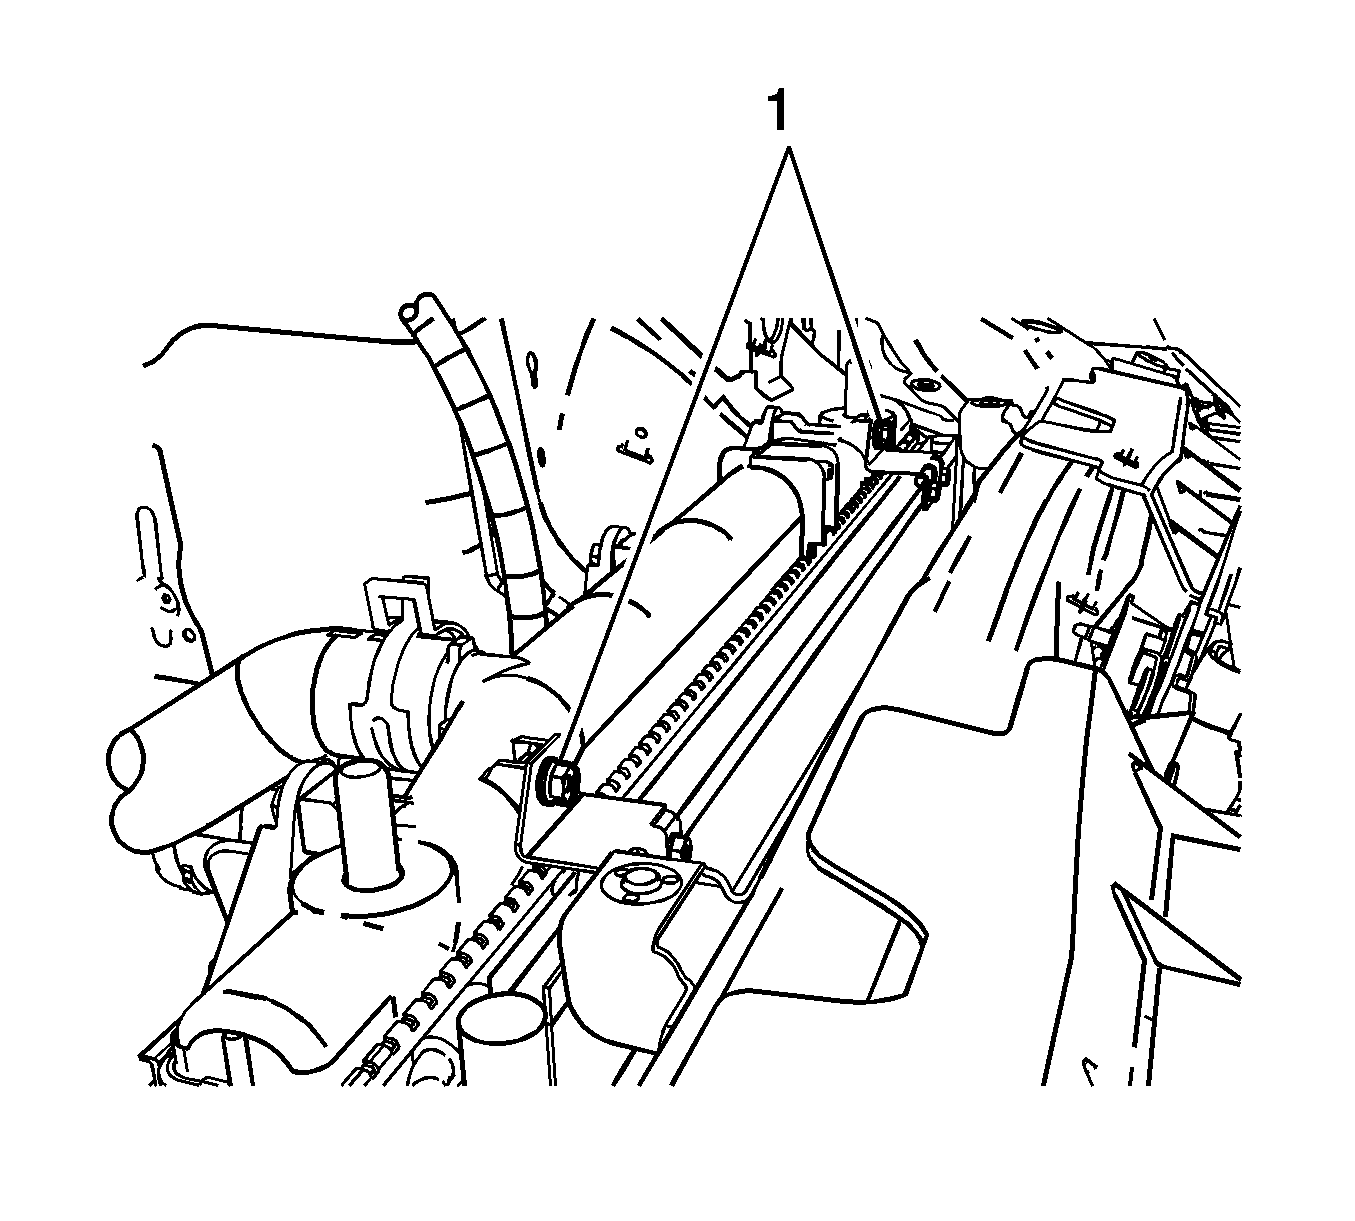
- Remove the 2 upper condenser mounting bolts (1).
- Raise the vehicle. Refer to Lifting and Jacking the Vehicle in General Information.
- Using J 38185 disconnect the lower radiator hose from the radiator.
- Remove the front air deflector. Refer to Front Air Deflector Replacement in Body Front End.
- Using J 44827 disconnect the lower transaxle oil cooler line from the radiator.
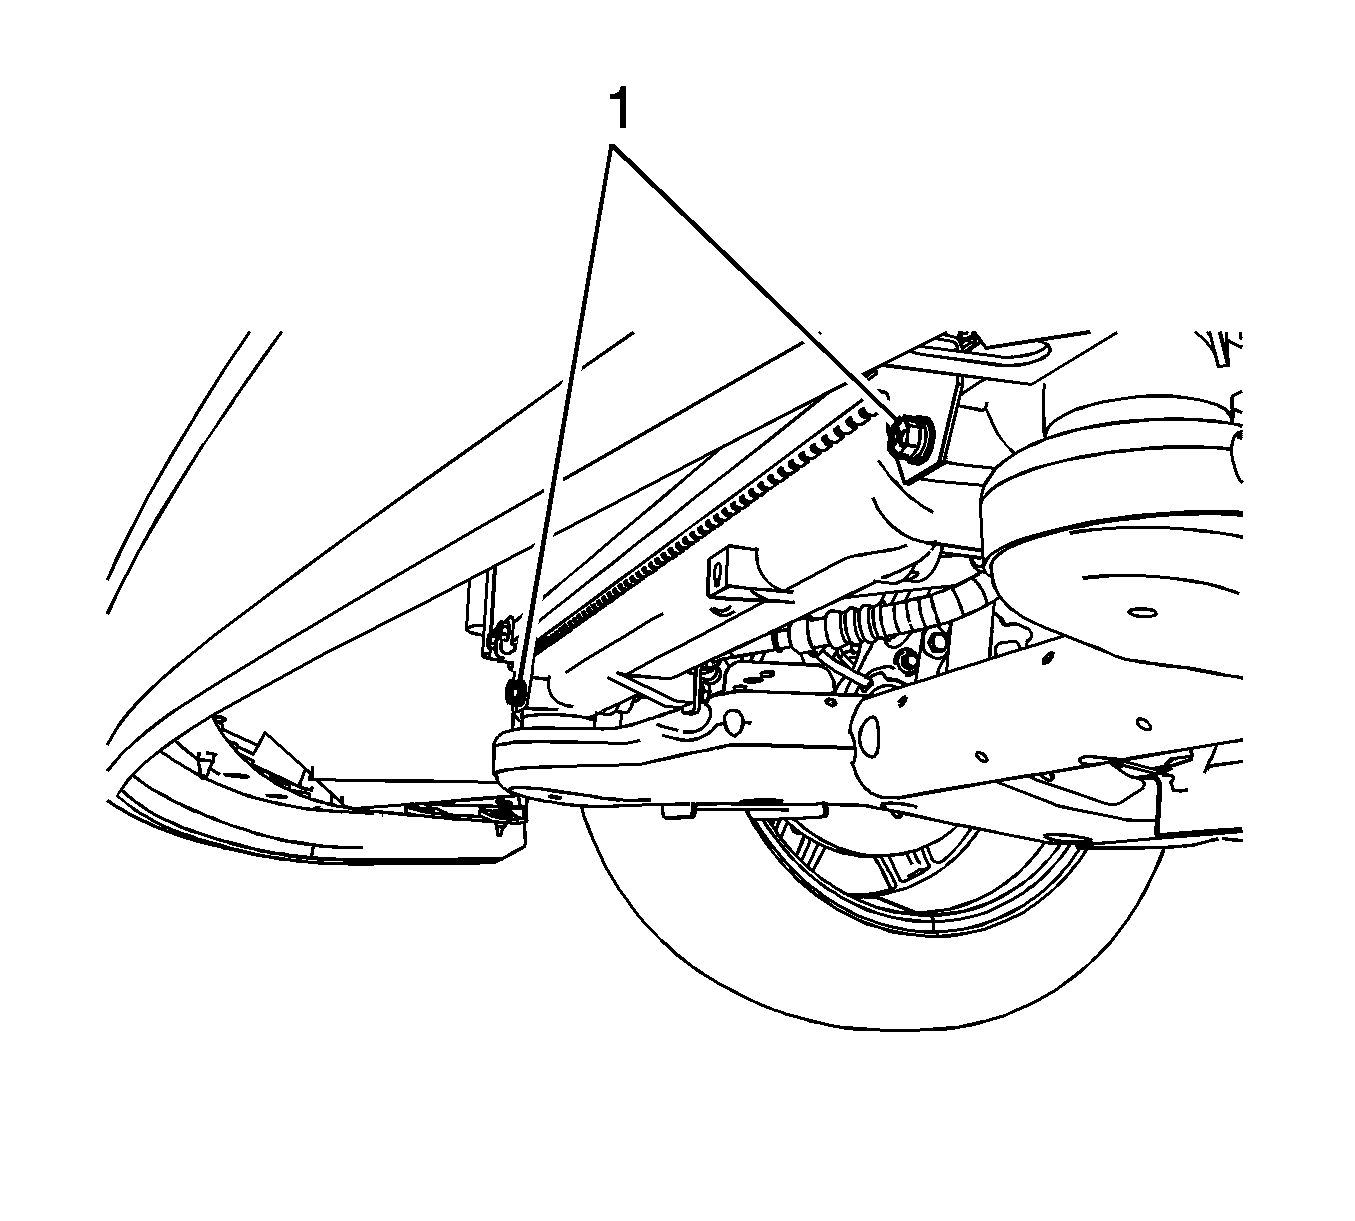
- Remove the lower condenser mounting bolts (1).
- Remove the push pins from the radiator side seal.
- Separate the side seals from the radiator.
- Lower the vehicle. Refer to Lifting and Jacking the Vehicle in General Information.
- Remove the radiator.
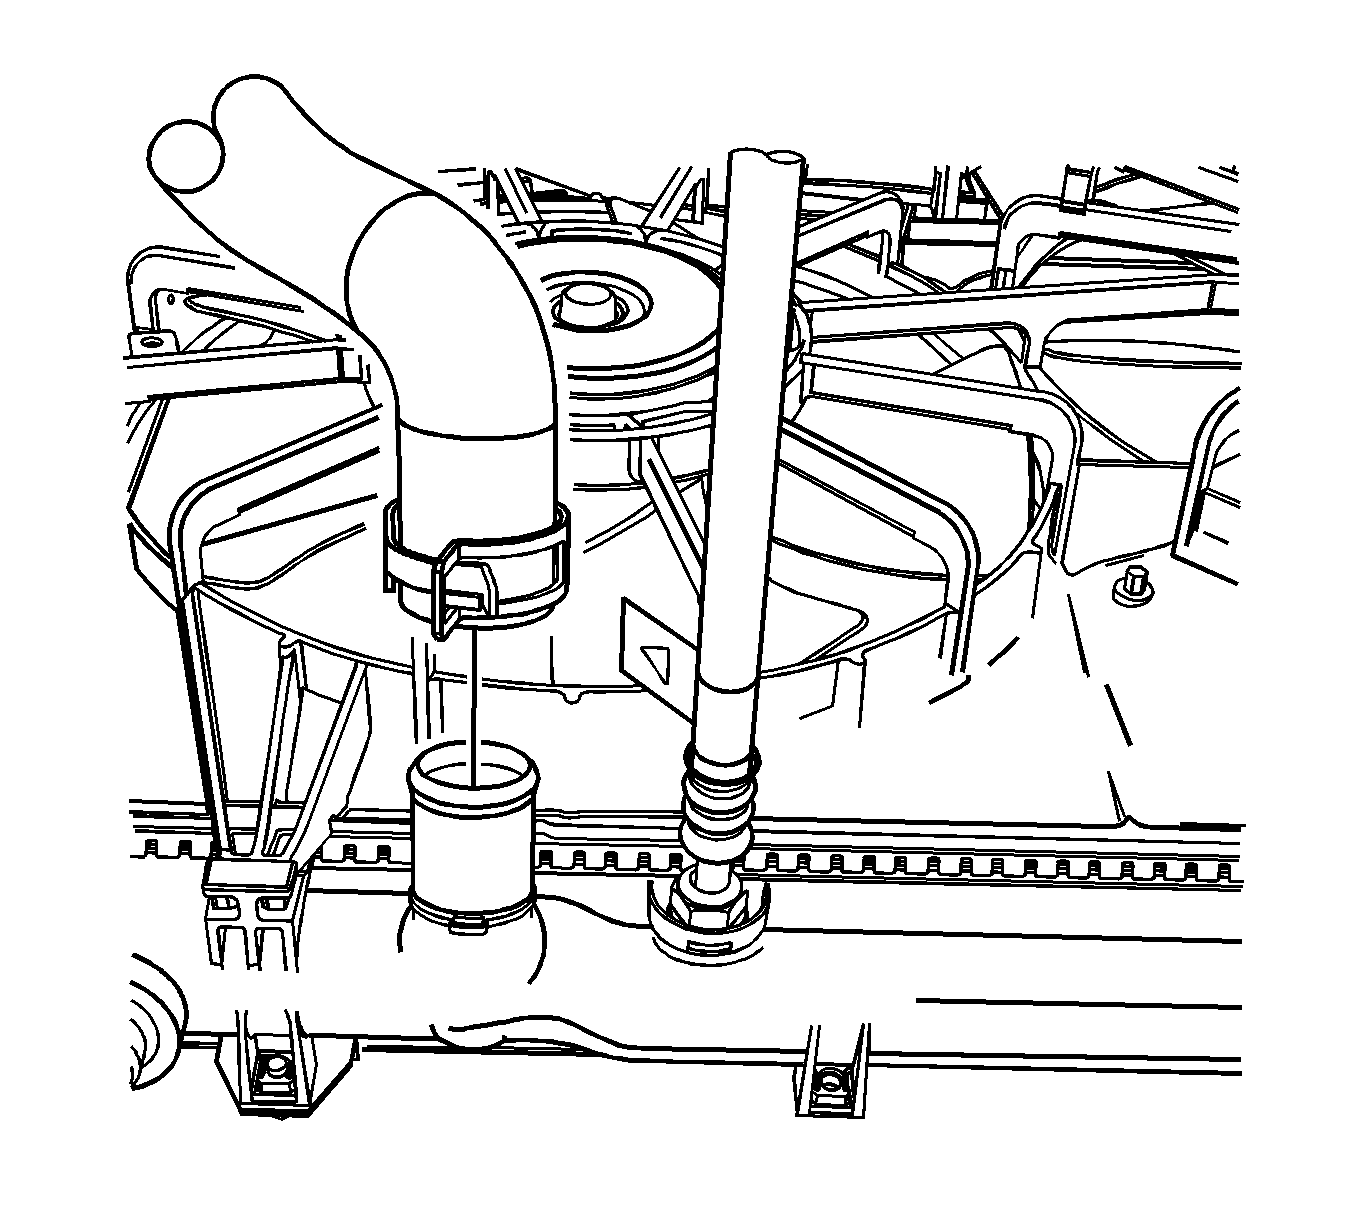
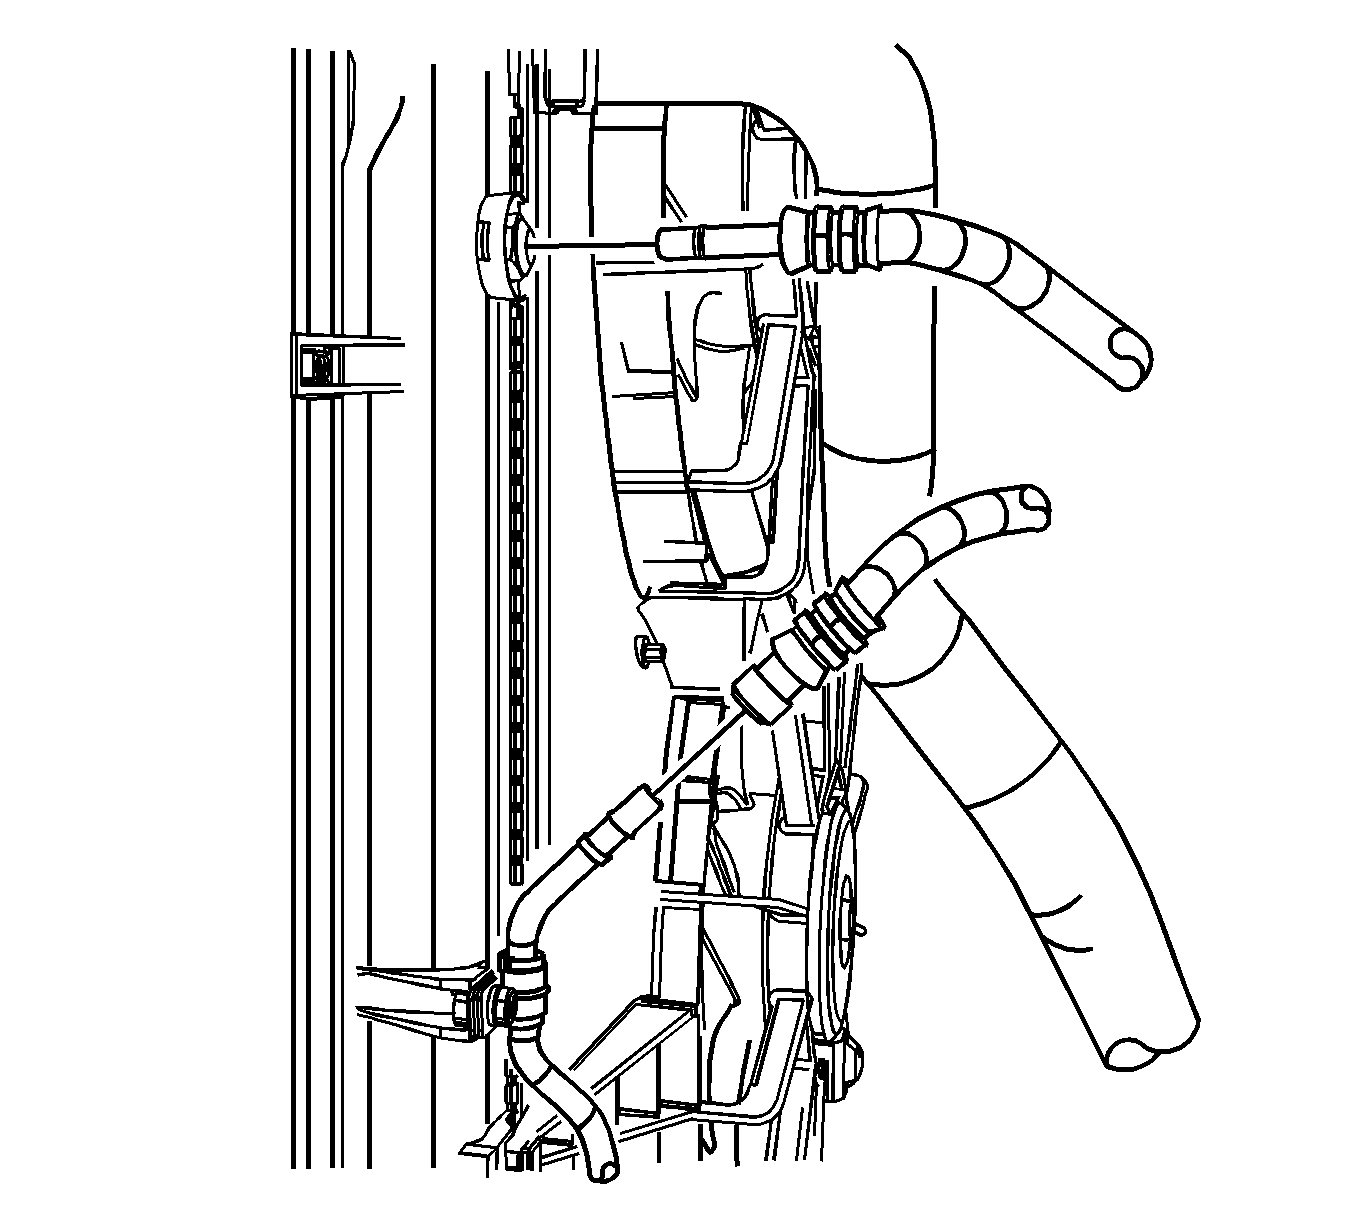
Notice: The transmission oil cooler system uses quick connect fittings throughout the system. Use a special tool to disconnect these quick connect fittings. Removing the transmission oil cooler lines without this tool will result in damage to the radiator, the transmission, and the transmission oil cooler caused by mixing the transmission oil and coolant or due to transmission oil loss.
Installation Procedure
- Install the radiator into the insulator in the frame.
- Install the upper condenser mounting bolts (1).
- Raise the vehicle. Refer to Lifting and Jacking the Vehicle in General Information.
- Install the lower condenser mounting bolts (1).
- Push the lower transaxle oil cooler lines into the radiator until you hear the lines engage.
- Gently tug out on the oil cooler lines to verify that the lines are engaged into position.
- Connect the lower radiator hose to the radiator.
- Using J 38185 slide the clamp into the original position on the hose.
- Install the side seal pushpin into the radiator.
- Ensure that all seals are in place around the radiator.
- Lower the vehicle.
- Install the cooling fans. Refer to Engine Cooling Fan Replacement .
- Install the radiator supports. Refer to Radiator Support Bracket Replacement .
- Fill the cooling system with coolant. Refer to Cooling System Draining and Filling .
Notice: Refer to Fastener Notice in the Preface section.

Tighten
Tighten the bolts to 6.5 N·m (58 lb in).

Tighten
Tighten the bolts to 6.5 N·m (58 lb in).

Radiator Replacement LS6
Tools Required
J 38185 Hose Clamp Pliers
Removal Procedure
- Drain the coolant. Refer to Cooling System Draining and Filling .
- Remove the radiator support brackets. Refer to Radiator Support Bracket Replacement .
- Remove the cooling fans. Refer to Engine Cooling Fan Replacement .
- Remove the 2 upper condenser mounting bolts (1).
- Using the J 38185 disconnect the upper radiator hose clamp.
- Remove the upper radiator hose from the radiator.
- Using the J 38185 disconnect the surge tank inlet hose clamp.
- Remove the surge tank hose from the radiator.
- Using J 38185 disconnect the lower radiator hose from the radiator.
- Remove the lower condenser mounting bolts (1).
- Remove the push pins from the radiator side seal.
- Separate the side seals from the radiator.
- Lower the vehicle.
- Remove the radiator.


Installation Procedure
- Install the radiator into the insulator in the frame.
- Install the upper condenser mounting bolts (1).
- Raise the vehicle.
- Install the lower condenser mounting bolts (1).
- Connect the lower radiator hose to the radiator.
- Using J 38185 slide the clamp into the original position on the hose.
- Install the side seal pushpin into the radiator.
- Ensure that all seals are in place around the radiator.
- Lower the vehicle.
- Install the upper radiator hose to the radiator.
- Using the J 38185 reposition the upper radiator hose clamp.
- Install the surge tank hose to the radiator.
- Using the J 38185 reposition the surge tank inlet hose clamp.
- Install the cooling fans. Refer to Engine Cooling Fan Replacement .
- Install the radiator supports. Refer to Radiator Support Bracket Replacement .
- Fill the cooling system. Refer to Cooling System Draining and Filling .
Notice: Refer to Fastener Notice in the Preface section.

Tighten
Tighten the bolts to 6.5 N·m (58 lb in).

Tighten
Tighten the bolts to 6.5 N·m (58 lb in).

