For 1990-2009 cars only
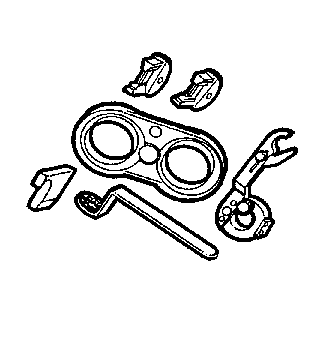
Tools Required
| • | J 36660-A Torque/Angle Meter |
| • | J 42069 Timing Belt Alignment Kit |
| • | J 42098 Crank Hub TORX® Socket |
Removal Procedure
- Remove the timing belt. Refer to Timing Belt Replacement .
- As a precaution, rotate the crankshaft counter clockwise using the J 42098 until 60 degrees Before Top Dead Center (BTDC).
- Remove the camshaft drive sprocket bolt.
- Remove the J 42069-1 and J 42069-2.
- Remove the camshaft drive sprocket.
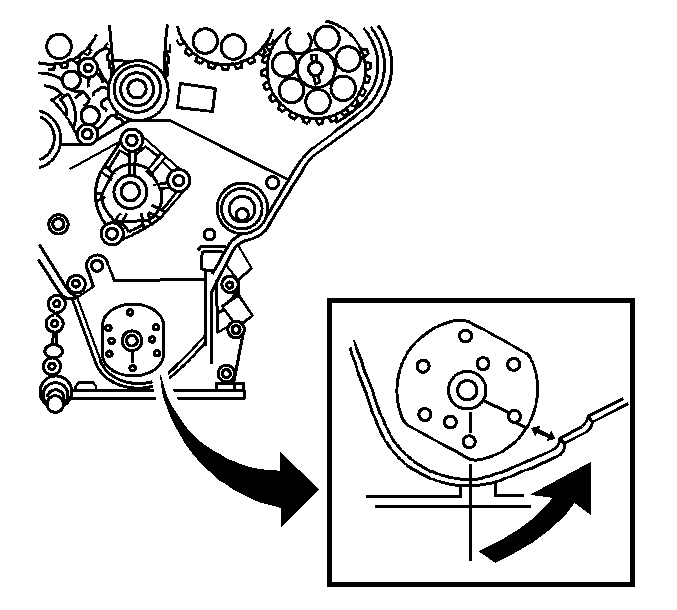
The 60 degrees BTDC point can be identified by the index mark on the oil pump cover, at this position the valves will not touch the pistons.
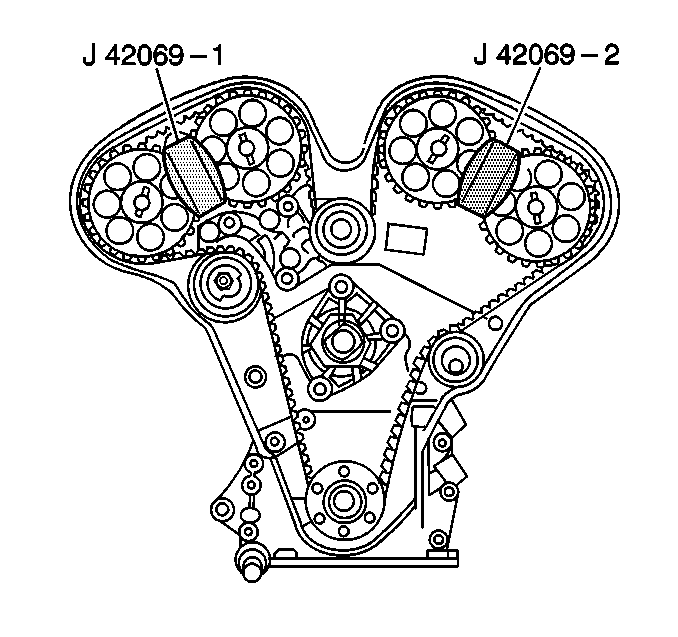
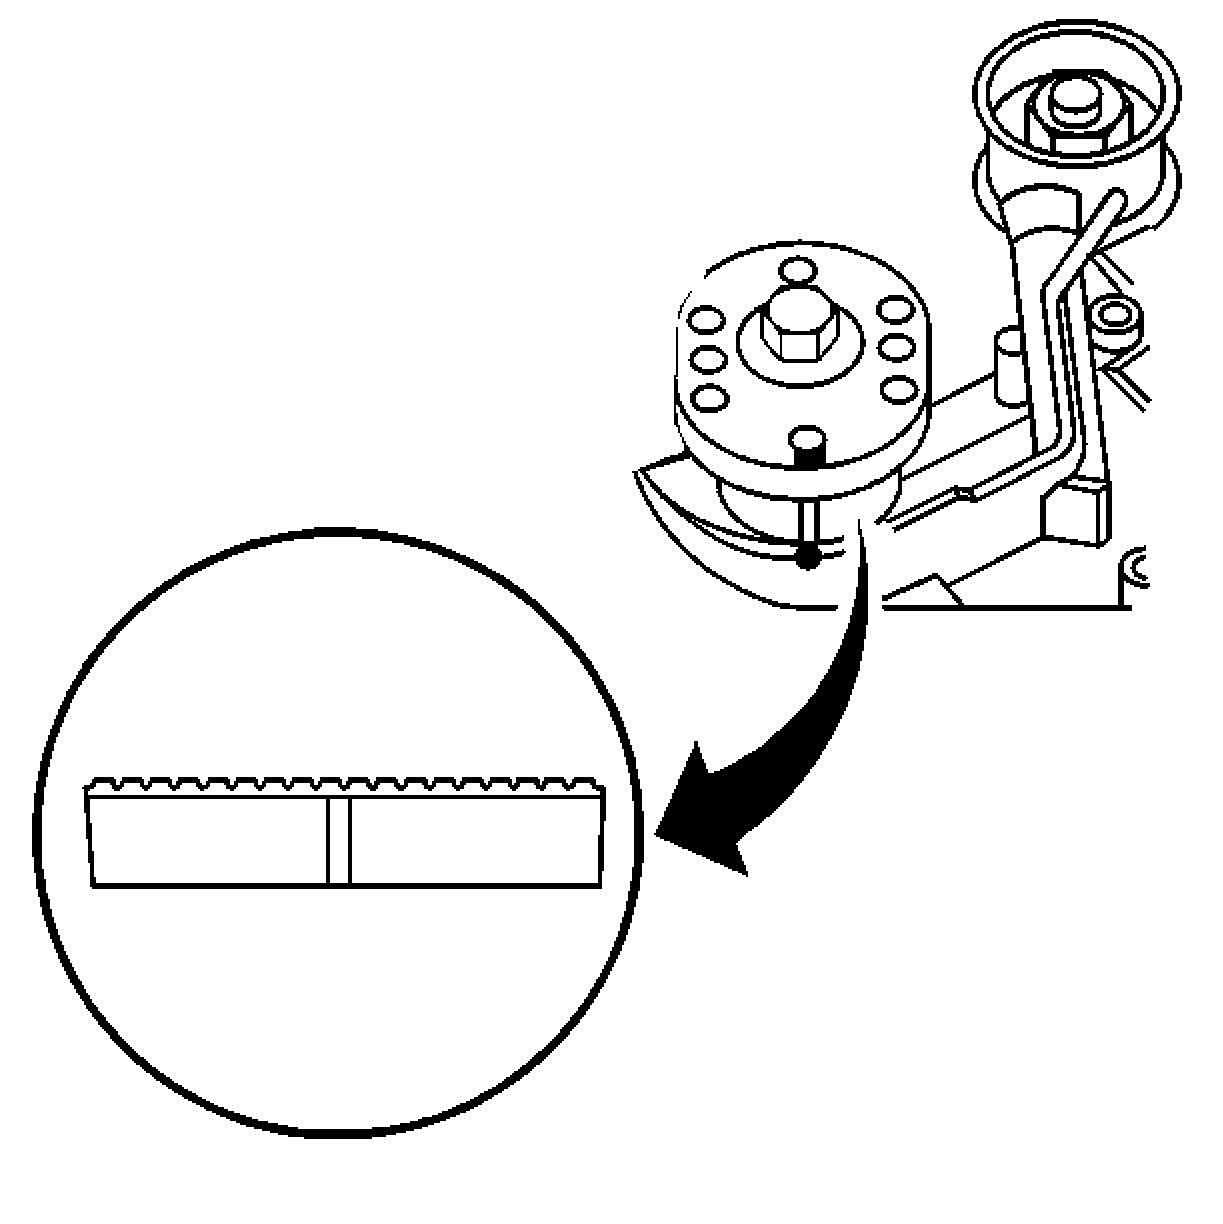
The J 42069-1 and J 42069-2 will hold the drive sprockets in place while removing the bolts.
Discard the camshaft drive sprocket bolt.
Installation Procedure
- Ensure the crankshaft is 60 degrees BTDC.
- Install the camshaft drive sprocket.
- Install the new camshaft drive sprocket bolt.
- If necessary, turn the camshaft drive sprockets in order to align the reference marks on the camshaft gears with the corresponding notches on the rear timing belt cover.
- Complete the following in order to tighten the new camshaft drive sprocket bolt:
- Tighten the camshaft drive sprocket bolt to 50 N·m (37 lb ft).
- Using the J 36660-A , rotate the camshaft gear bolt 60 degrees.
- Repeat the sequence turning the camshaft gear bolt an additional 15 degrees.
- Turn the crankshaft back to Top Dead Center (TDC), using the J 42098 .
- Install the timing belt. Refer to Timing Belt Replacement .
The 60 degrees BTDC point can be identified by the index mark on the oil pump cover, at this position the valves will not touch the pistons.
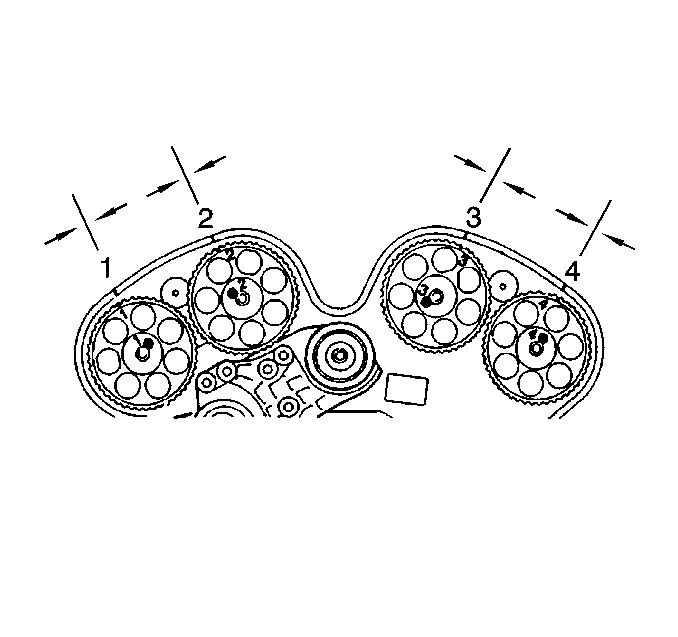
Important: The camshaft drive sprockets have numbered slots that must be aligned with the pins on the camshafts.
When the numbered camshaft drive sprocket slot is properly installed on the camshaft pin, the reference mark (1, 2, 3 or 4) on the drive sprocket, will align with the notch on the rear timing belt cover.Ensure the camshaft pin is installed in the correct numbered slot on the drive sprocket.
Notice: Refer to Torque to Yield Bolts Notice in the Preface section.
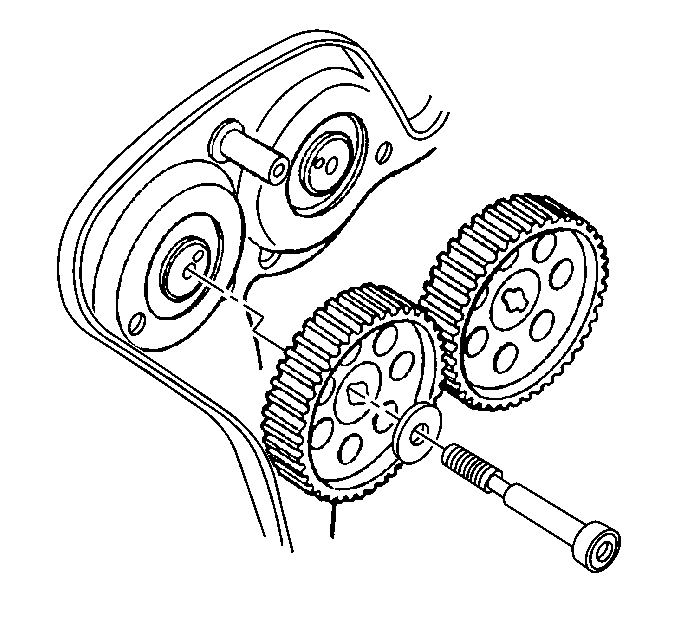
| 5.1. | Use the relevant J 42069-1 and/or J 42069-2 to hold the camshaft drive sprocket and the camshaft in place while tightening the camshaft drive sprocket bolt. |
Notice: Refer to Fastener Notice in the Preface section.
| 5.2. | Tighten the camshaft drive sprocket bolt in sequence: |
Tighten