For 1990-2009 cars only
Front Fender Wheel Opening Molding Replacement Pontiac
Removal Procedure
- Raise and support the vehicle. Refer to Lifting and Jacking the Vehicle.
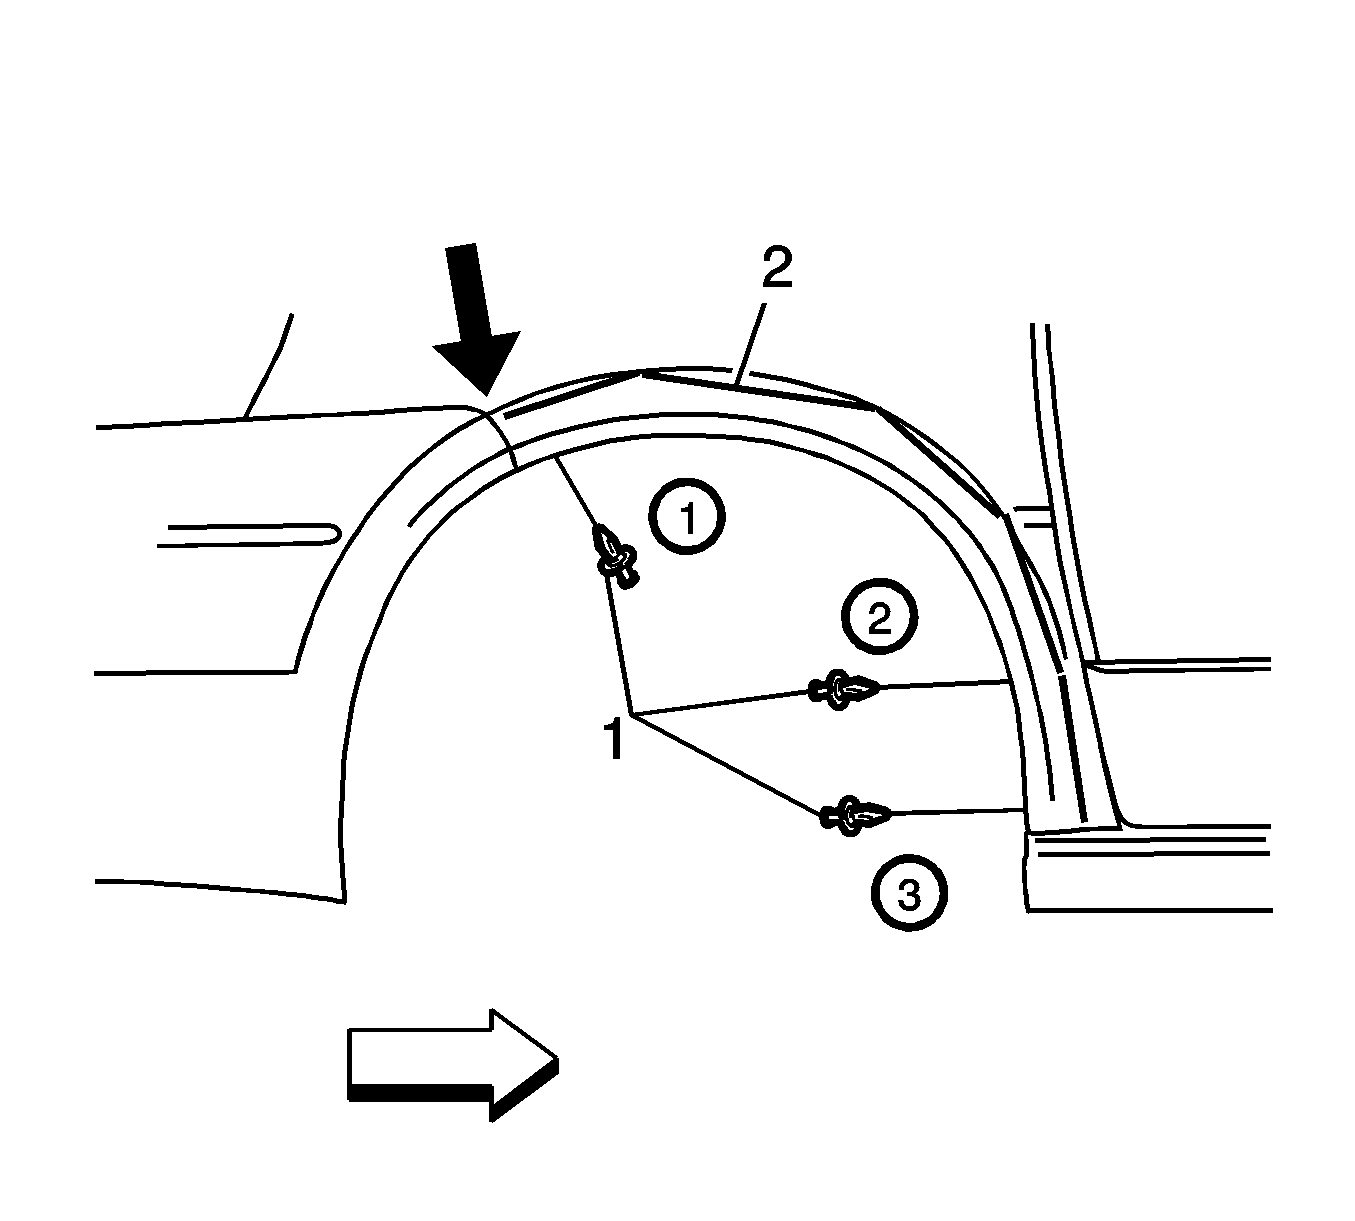
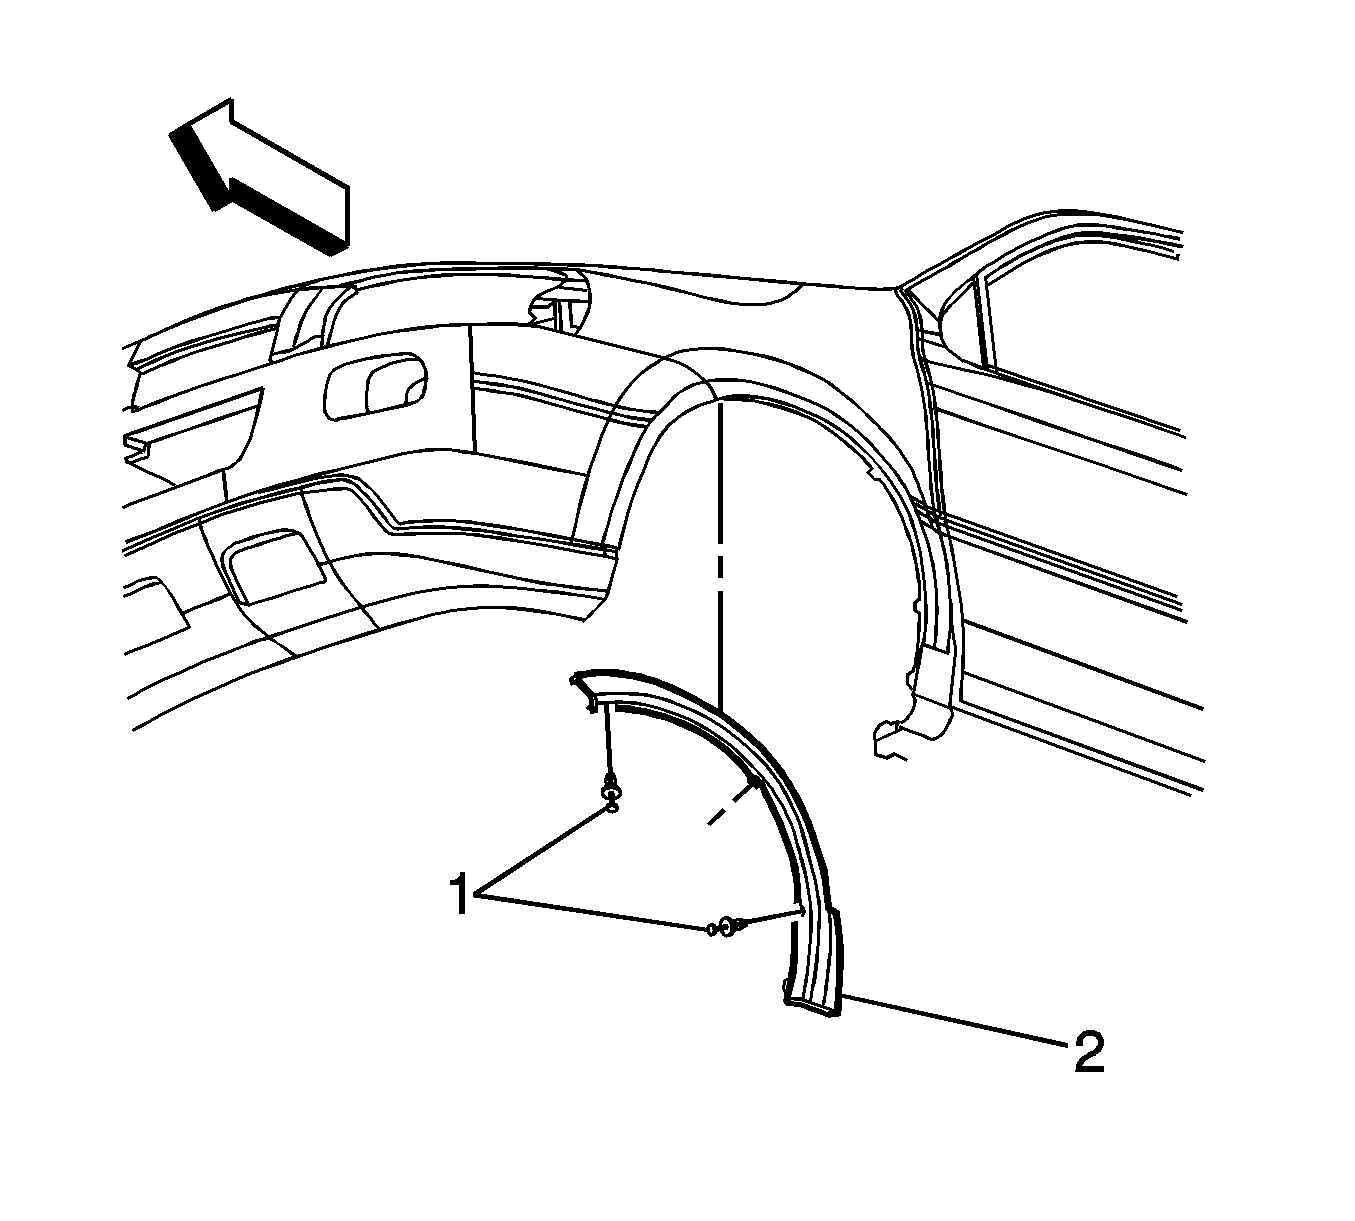
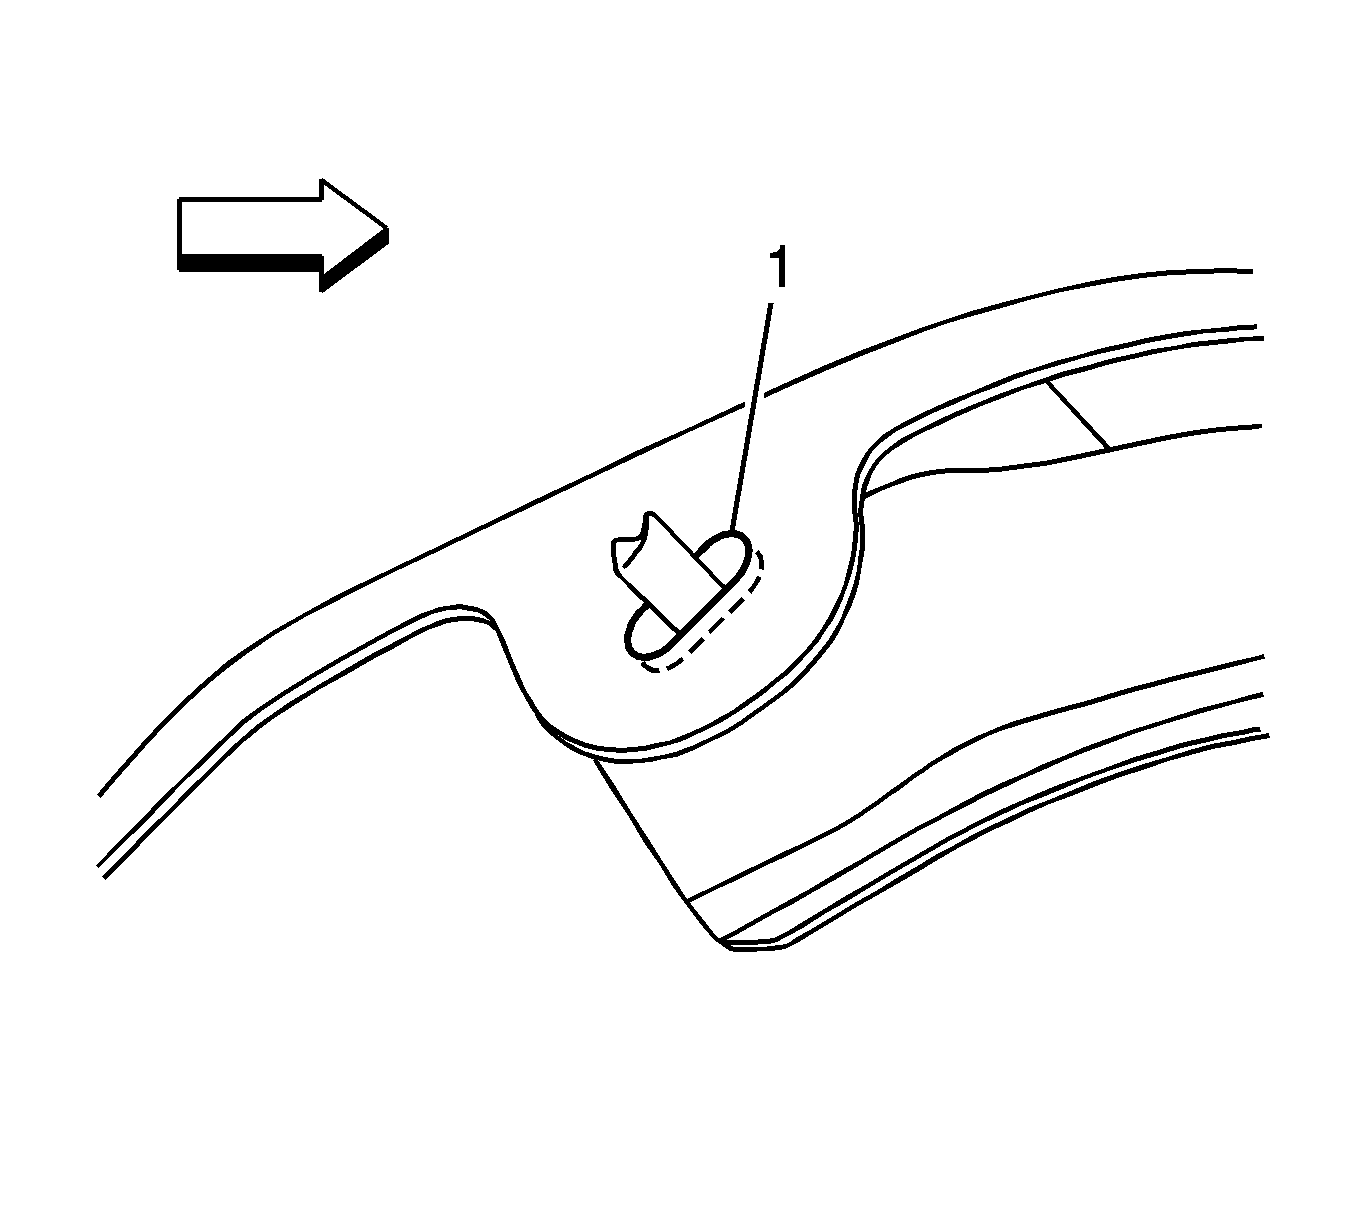
- Remove the three retainers (1) from inside the front wheel opening molding.
- Remove the front wheel opening molding (2) from the front fender.
Installation Procedure
- Clean the exterior surface of the fender with isopropyl alcohol where the wheel opening molding is to be installed.
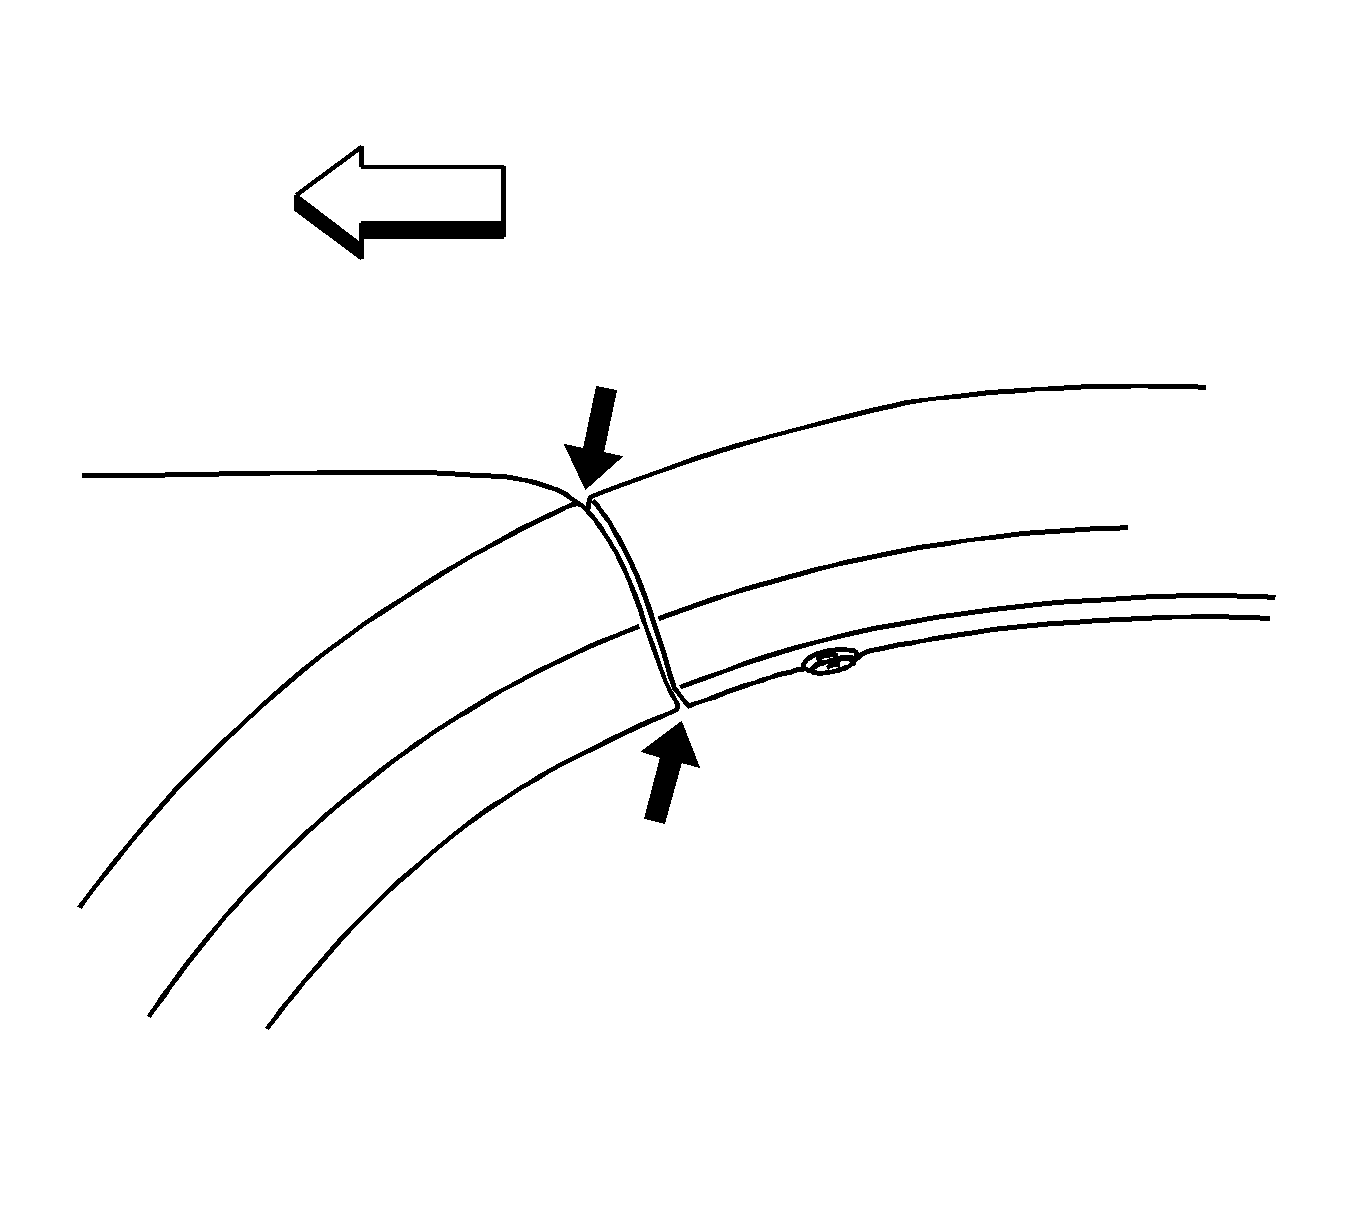
- Tuck the forward molding flap (2) inside the front fascia slot and mate the wheel opening molding to the front bumper fascia edge.
- Install the front locator retainer (1) to the molding.
- If the wheel opening molding does not fit properly, remove the front retainer and wheel opening molding, enlarge the bottomside of the molding flap hole (1) by 2 mm to ensure clearance is available to the front bumper fascia.
- Reposition the wheel opening molding to the front bumper fascia.
- Install the front retainer.
- Check for correct exterior flushness to the front bumper fascia.
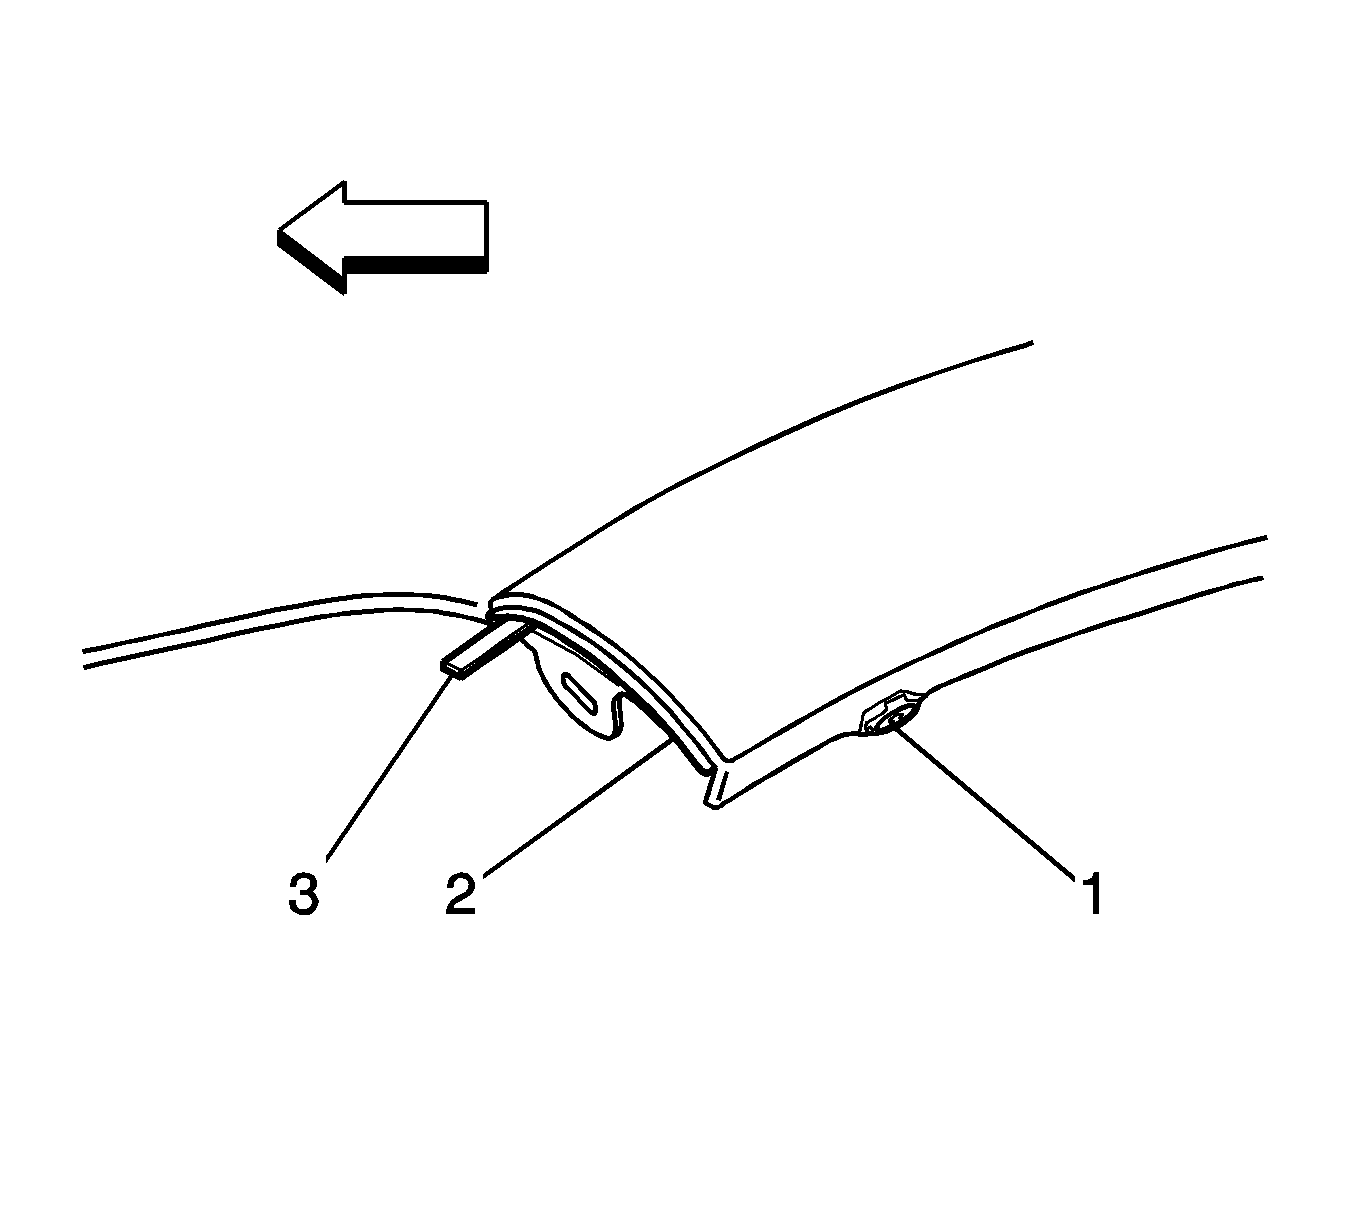
- Install the remaining two retainers (1) to the front wheel opening molding.
- Carefully remove the adhesive tape liner (2) from the backside of the wheel opening molding, being careful not to disturb the position of the molding to the fender.
- Wet out the adhesive tape, as shown, once all of the protective liners have been removed from the adhesive tape.
- Lower the vehicle. Refer to Lifting and Jacking the Vehicle.
Important: Align the wheel opening molding to the front fascia to close the gap and ensure complete flushness.