For 1990-2009 cars only
Removal Procedure
- Disable the SIR. Refer to SIR Disabling and Enabling and SIR Disabling and Enabling .
- Disconnect the negative battery cable. Refer to Battery Negative Cable Disconnection and Connection .
- Remove the instrument panel (I/P). Refer to Instrument Panel Assembly Replacement .
- Disconnect the I/P wiring harness connectors and position out of the way. Refer to Instrument Panel Wiring Harness Replacement .
- Remove the body control module (BCM). Refer to Body Control Module Replacement .
- Remove the I/P air outlet ducts. Refer to Instrument Panel Air Outlet Ducts Replacement .
- Remove the center air outlet. Refer to Center Air Outlet Replacement .
- Remove the defroster duct. Refer to Defroster Air Outlet Duct Replacement .
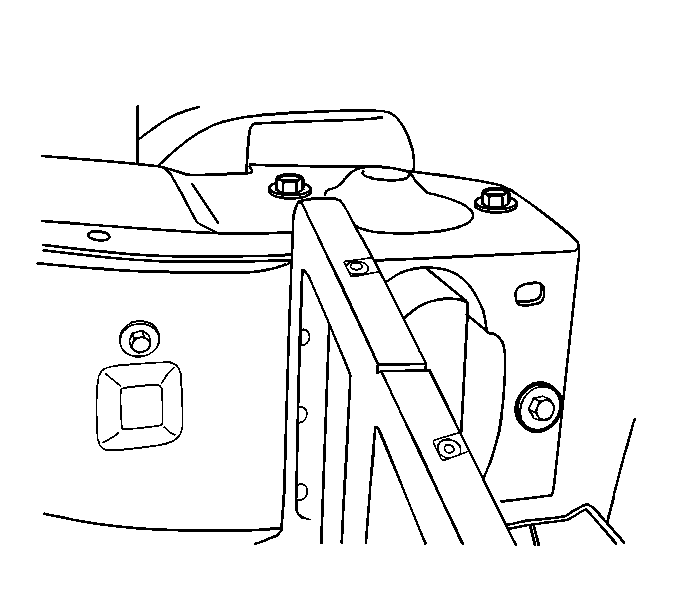
- Remove the bolt holding the HVAC module to the bracket on the I/P carrier, this bolt is located under the right side window defogger duct.
- Remove the bolt holding the HVAC module to the bracket on the I/P carrier, this bolt is located under the left side window defogger duct.
- Remove the bolt holding the HVAC module to the bracket on the I/P carrier, this bolt is located on the rear right center of the I/P carrier.
- Remove the bolt holding the brake pedal bracket on the I/P carrier, this bolt is located on the upper rear side of the bracket.
- Remove the ground wire bolts on the lower I/P carrier on the right and left sides.
- Remove the bolts holding the steering column support bracket on the cowl panel brace.
- Remove the bolts/screws which secure the I/P carrier to the body.
- Remove the I/P carrier from the body.
Installation Procedure
- Position the I/P carrier to the body.
- Install the bolts/screws which secure the I/P carrier to the body.
- Install the bolt holding the HVAC module to the bracket on the I/P carrier, this bolt is located under the right side window defogger duct.
- Install the bolt holding the HVAC module to the bracket on the I/P carrier, this bolt is located under the left side window defogger duct.
- Install the bolt holding the HVAC module to the bracket on the I/P carrier, this bolt is located on the rear right center of the I/P carrier.
- Install the bolt holding the brake pedal bracket on the I/P carrier, this bolt is located on the upper rear side of the bracket.
- Install the ground wire bolts on the lower I/P carrier on the right and left sides.
- Install the bolts holding the steering column support bracket on the cowl panel brace.
- Install the defroster duct. Refer to Defroster Air Outlet Duct Replacement .
- Install the center air outlet. Refer to Center Air Outlet Replacement .
- Install the I/P air outlet ducts. Refer to Instrument Panel Air Outlet Ducts Replacement .
- Install the A/C control module. Refer to HVAC Control Module Replacement .
- Install the EBCM. Refer to Electronic Brake Control Module Replacement .
- Install the BCM. Refer to Body Control Module Replacement .
- Install the wiring harness. Refer to Instrument Panel Wiring Harness Replacement .
- Install the I/P. Refer to Instrument Panel Assembly Replacement .
- Connect the negative battery cable. Refer to Battery Negative Cable Disconnection and Connection .
- Enable the SIR. Refer to SIR Disabling and Enabling and SIR Disabling and Enabling .
Notice: Refer to Fastener Notice in the Preface section.
Tighten
Tighten the bolts/screws to 25 N·m (18 lb ft).
Tighten
Tighten the bolts/screws to 2 N·m (18 lb in).
Tighten
Tighten the bolts/screws to 2 N·m (18 lb in).
Tighten
Tighten the bolts/screws to 2 N·m (18 lb in).
Tighten
Tighten the bolts/screws to 25 N·m (18 lb ft).
Tighten
Tighten the bolts/screws to 2 N·m (18 lb in).
Tighten
Tighten the bolts/screws to 24 N·m (18 lb ft).
