For 1990-2009 cars only
Removal Procedure
Replace the entire converter assembly in order to properly service the 3-way catalytic converter.
- Raise and support the vehicle. Refer to Lifting and Jacking the Vehicle in General Information.
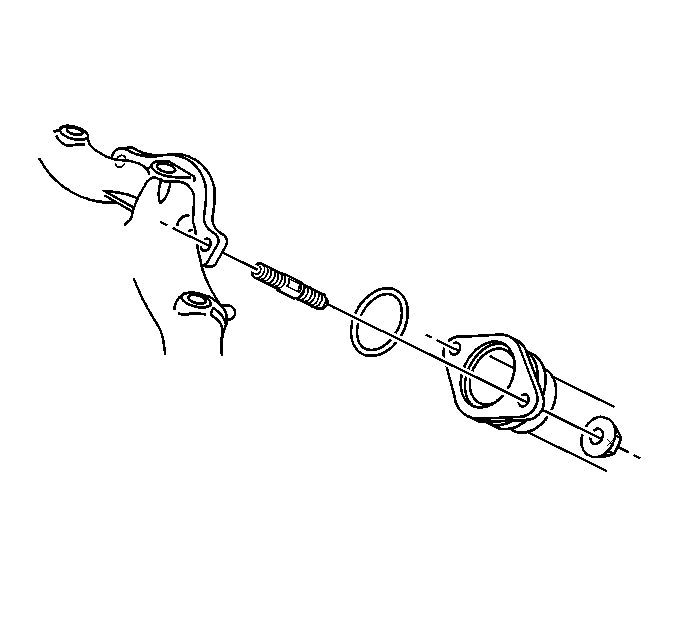
- Disconnect the heated oxygen sensor connector.
- Remove the exhaust manifold pipe nuts from the exhaust manifold pipe studs.
- Remove the catalytic converter nuts from the exhaust pipe.
- Remove the 3-way catalytic converter.
Installation Procedure
- Install a new catalytic converter gasket.
- Install a new exhaust manifold pipe gasket.
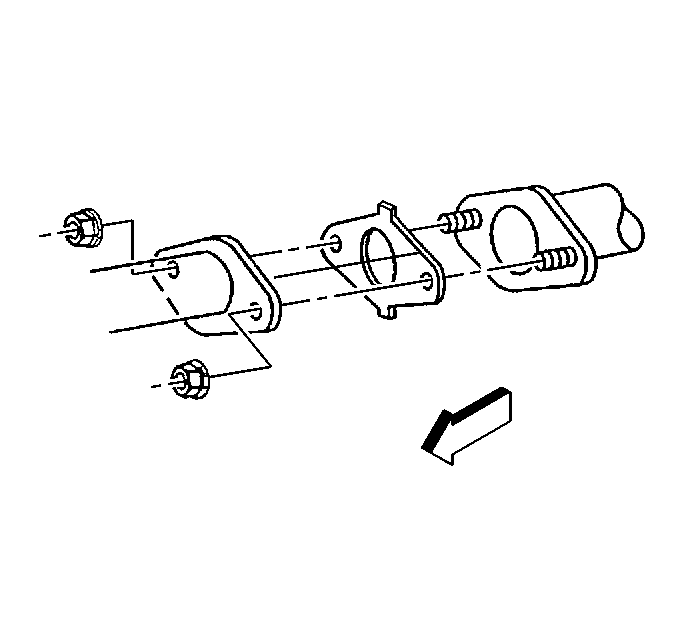
- Position and support the new 3-way catalytic converter under the vehicle.
- Install the exhaust pipe to the 3-way catalytic converter with the catalytic converter nuts. Do not tighten the nuts.
- Install the exhaust manifold pipe nuts to the exhaust manifold pipe studs.
- Connect the heated oxygen sensor connector.
- Lower the vehicle.
Notice: To prevent internal damage to the flexible coupling of the catalytic converter assembly, the converter must be supported. The vertical movement at the rear of the catalytic converter assembly must not exceed 6 degrees up or down.
Notice: Refer to Fastener Notice in the Preface section.
Tighten
| • | Tighten the exhaust manifold pipe nuts to the exhaust manifold pipe stud to 35 N·m (26 lb ft). |
| • | Tighten the catalytic converter nuts to 34 N·m (25 lb ft). |
