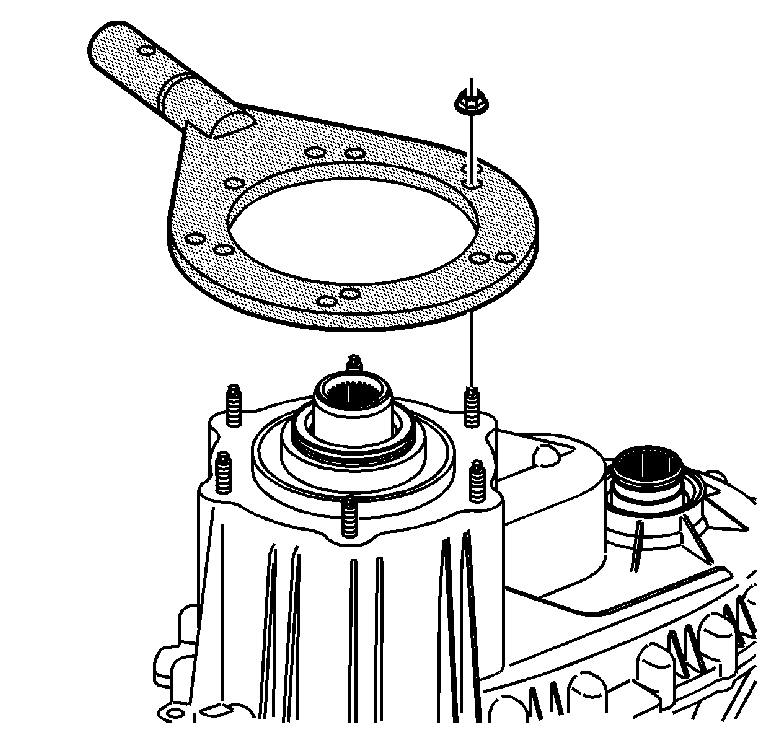
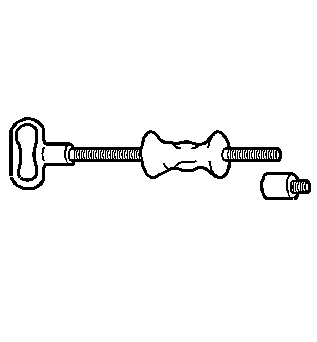
- Using the adapter studs, attach the
J 45759
to the transfer case. All of the transfer case disassembly procedures can be performed with the case mounted to the
J 45759
.
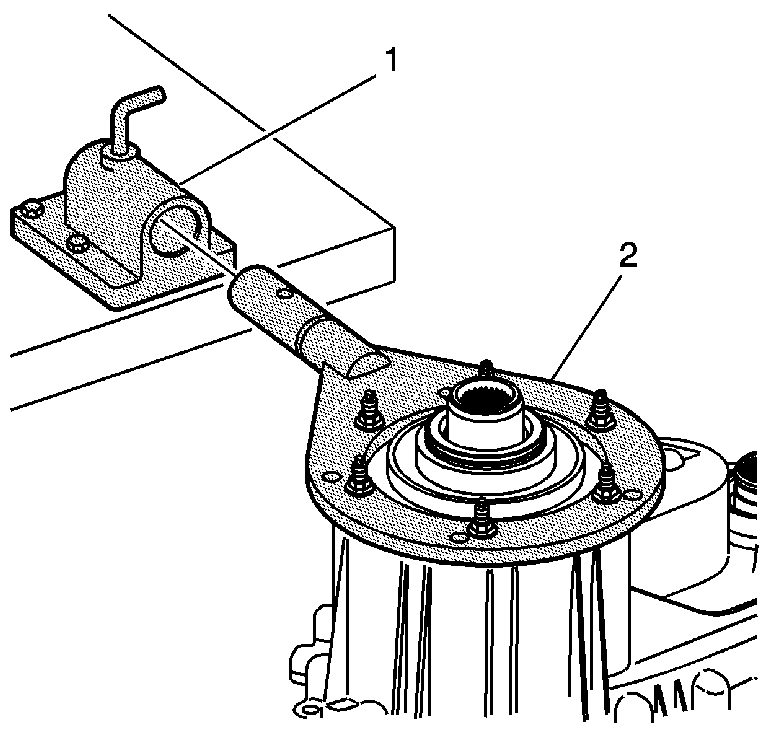
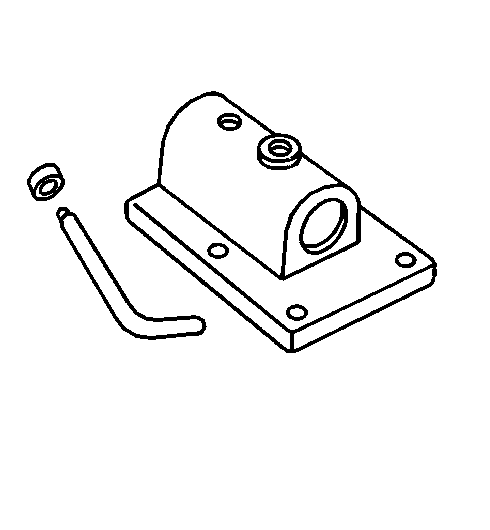
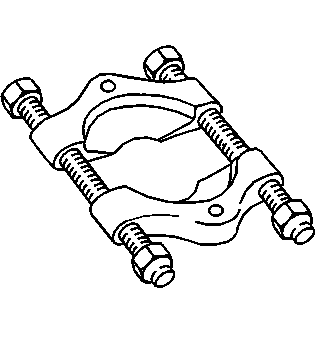
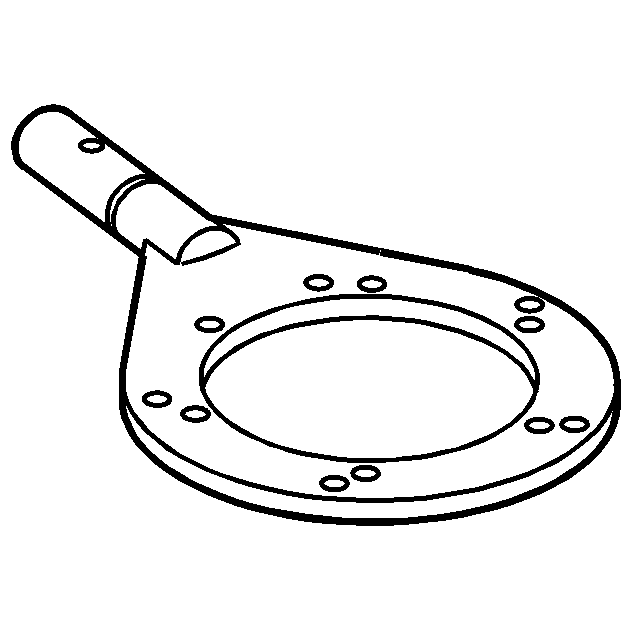
- Mount the
J 3289-20
(1) to a sturdy workbench.
- Install the
J 45759
(2) into
J 3289-20
(1) and secure with pivot pin.
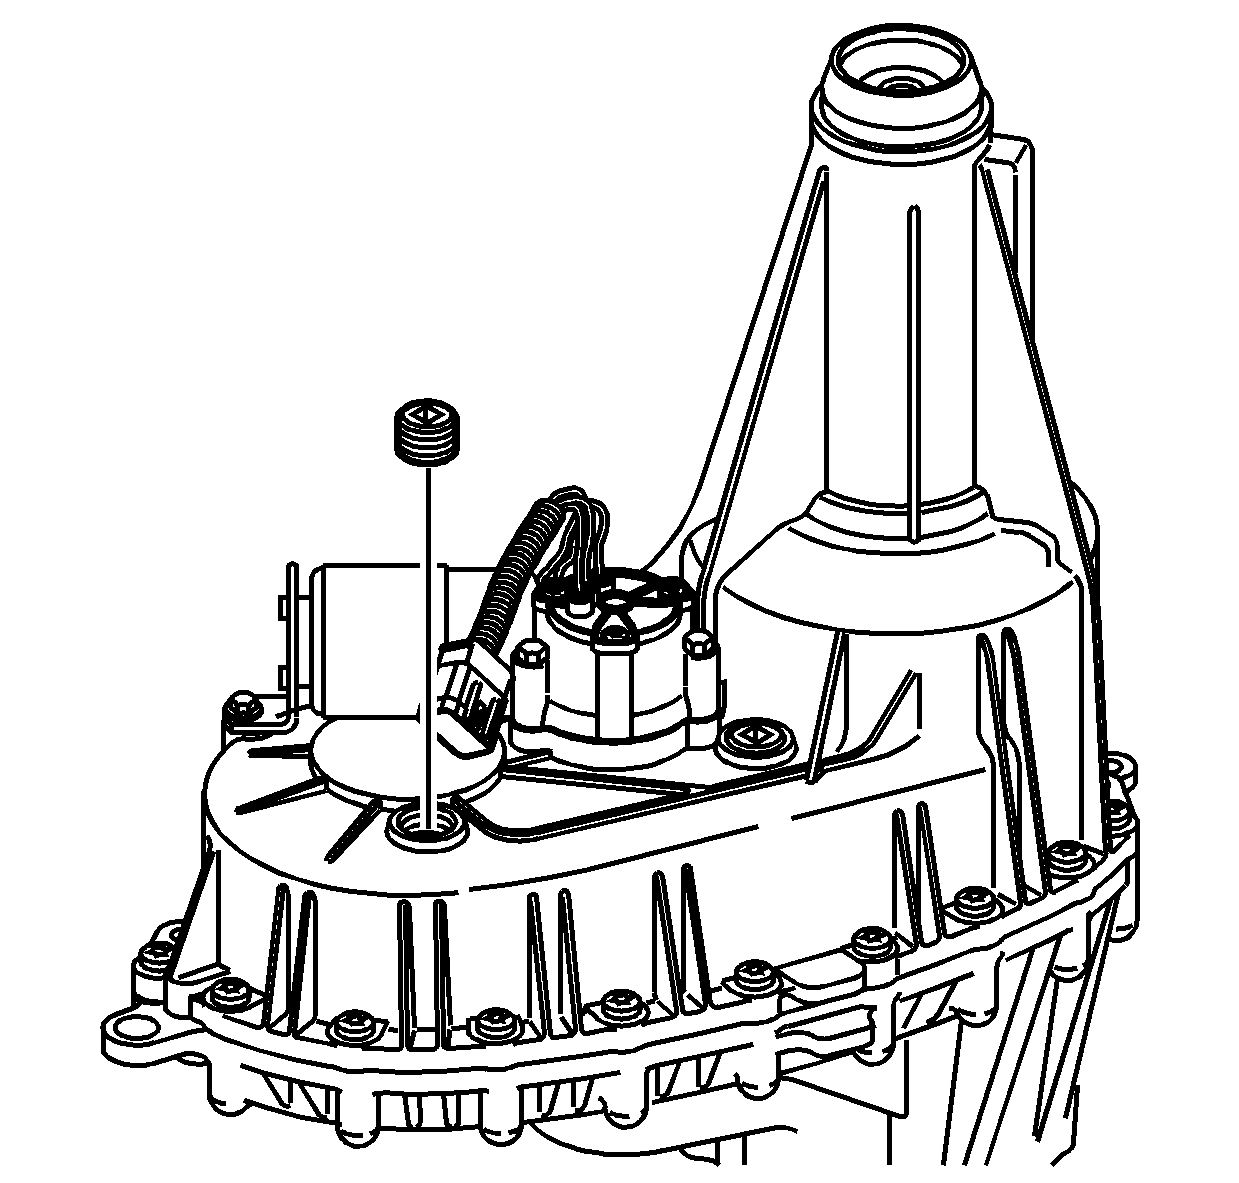
- Remove the drain plug and the fill plug. Ensure all of the transfer case fluid
is drained out of the transfer case.
Notice: Refer to Transfer Case Seal Removal Notice in the Preface section.

Important: The front output shaft seal is a two piece internal seal. The inner seal race is a force fit on the front output shaft.
- Remove the front output shaft seal by inserting a flat-tipped screwdriver behind the inner race of the seal.
- Pry the inner seal race forward.
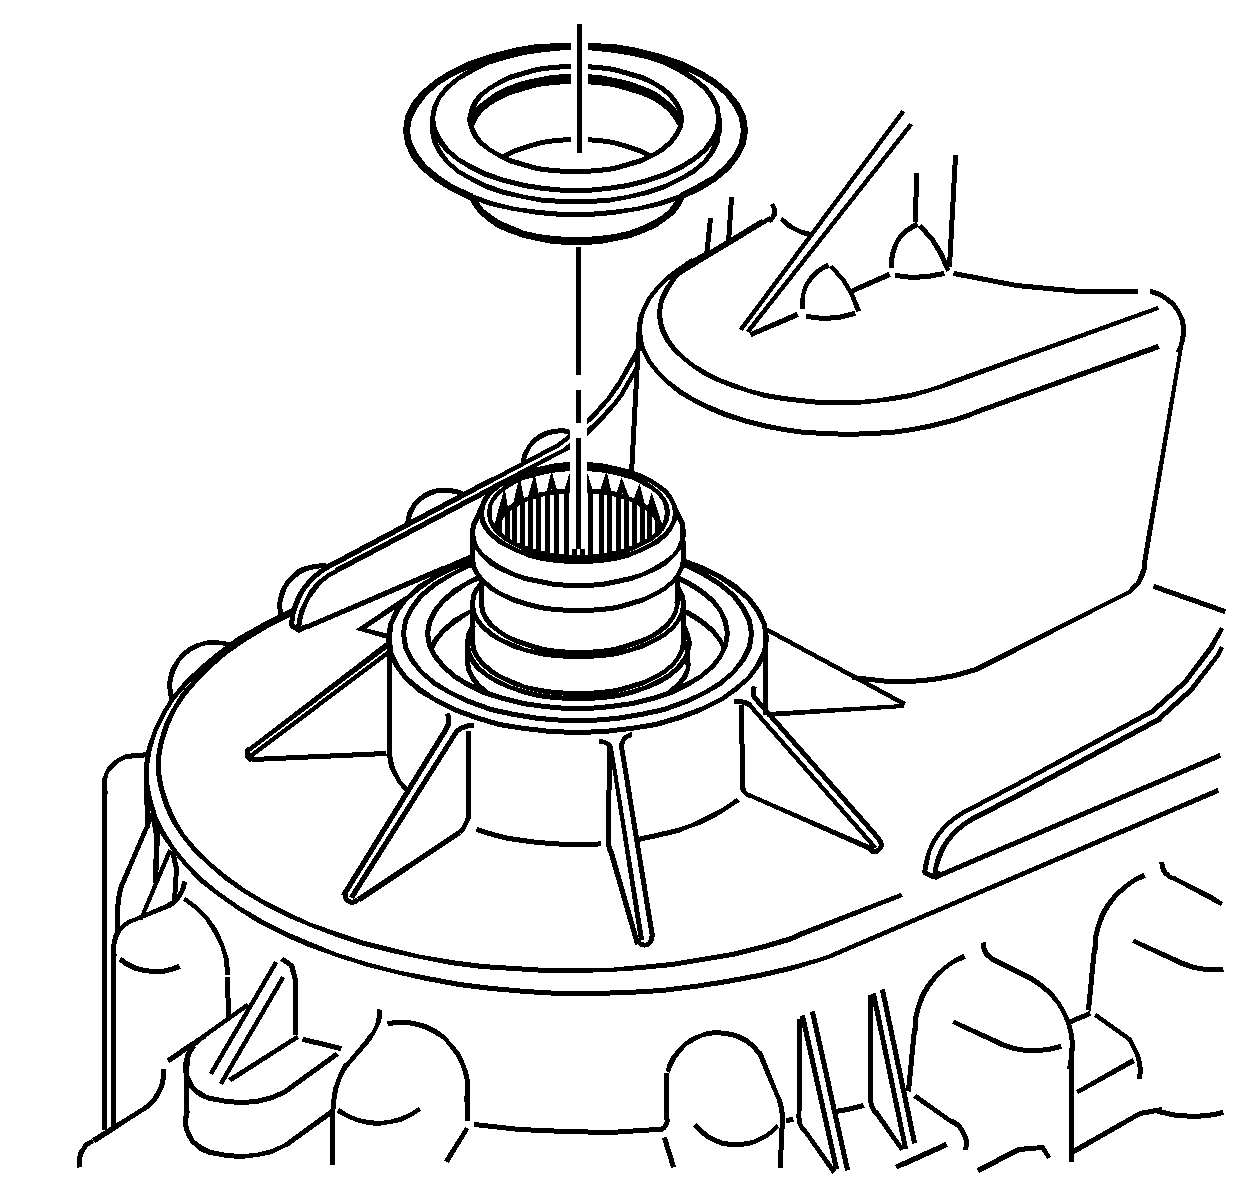
- Using a small pry bar, move the inner
seal race forward on the front output shaft.
- Remove the inner seal race from the front output shaft.
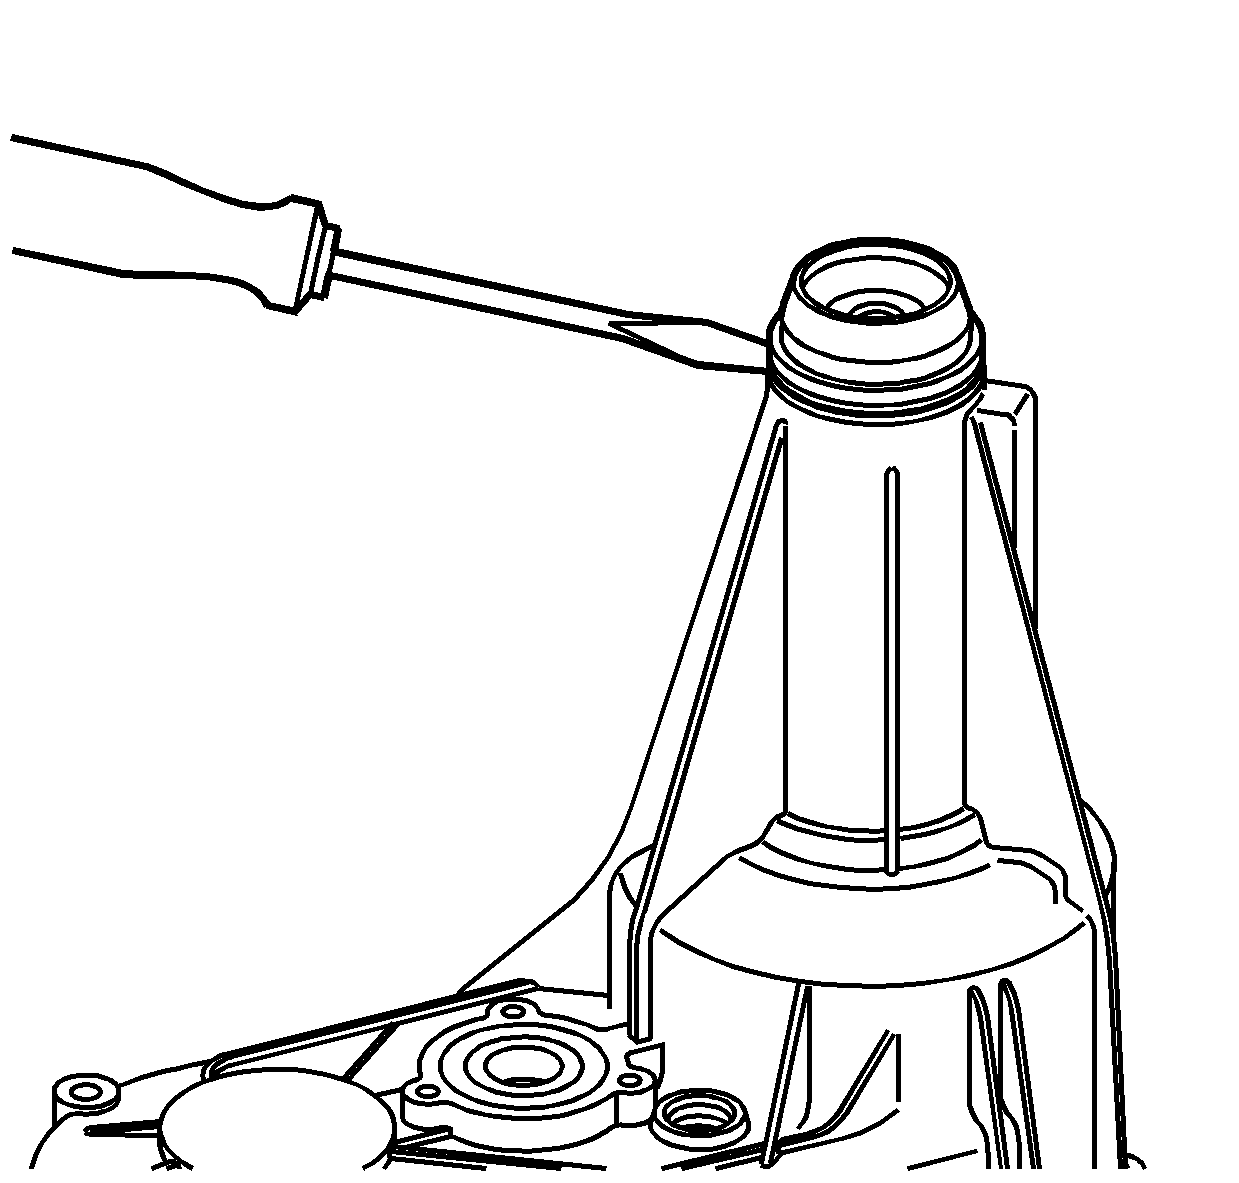
- Insert a flat-tipped screwdriver or a small pry bar between the outer lip
of the front output shaft seal and the transfer case.
- Remove the remaining part of the front output shaft seal from the transfer case.
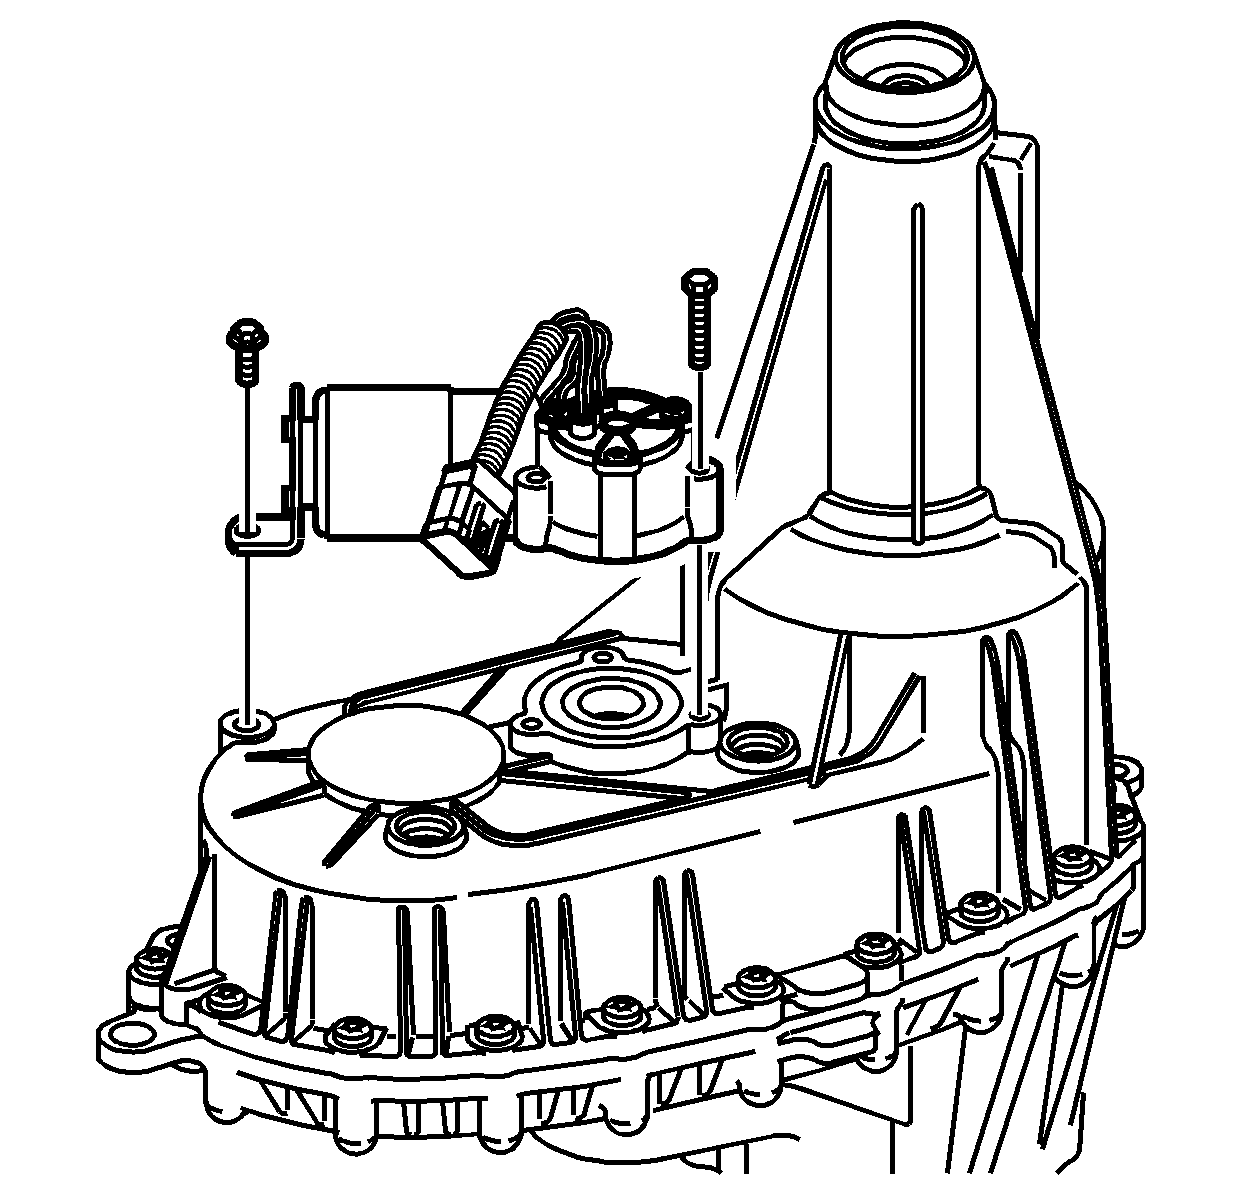
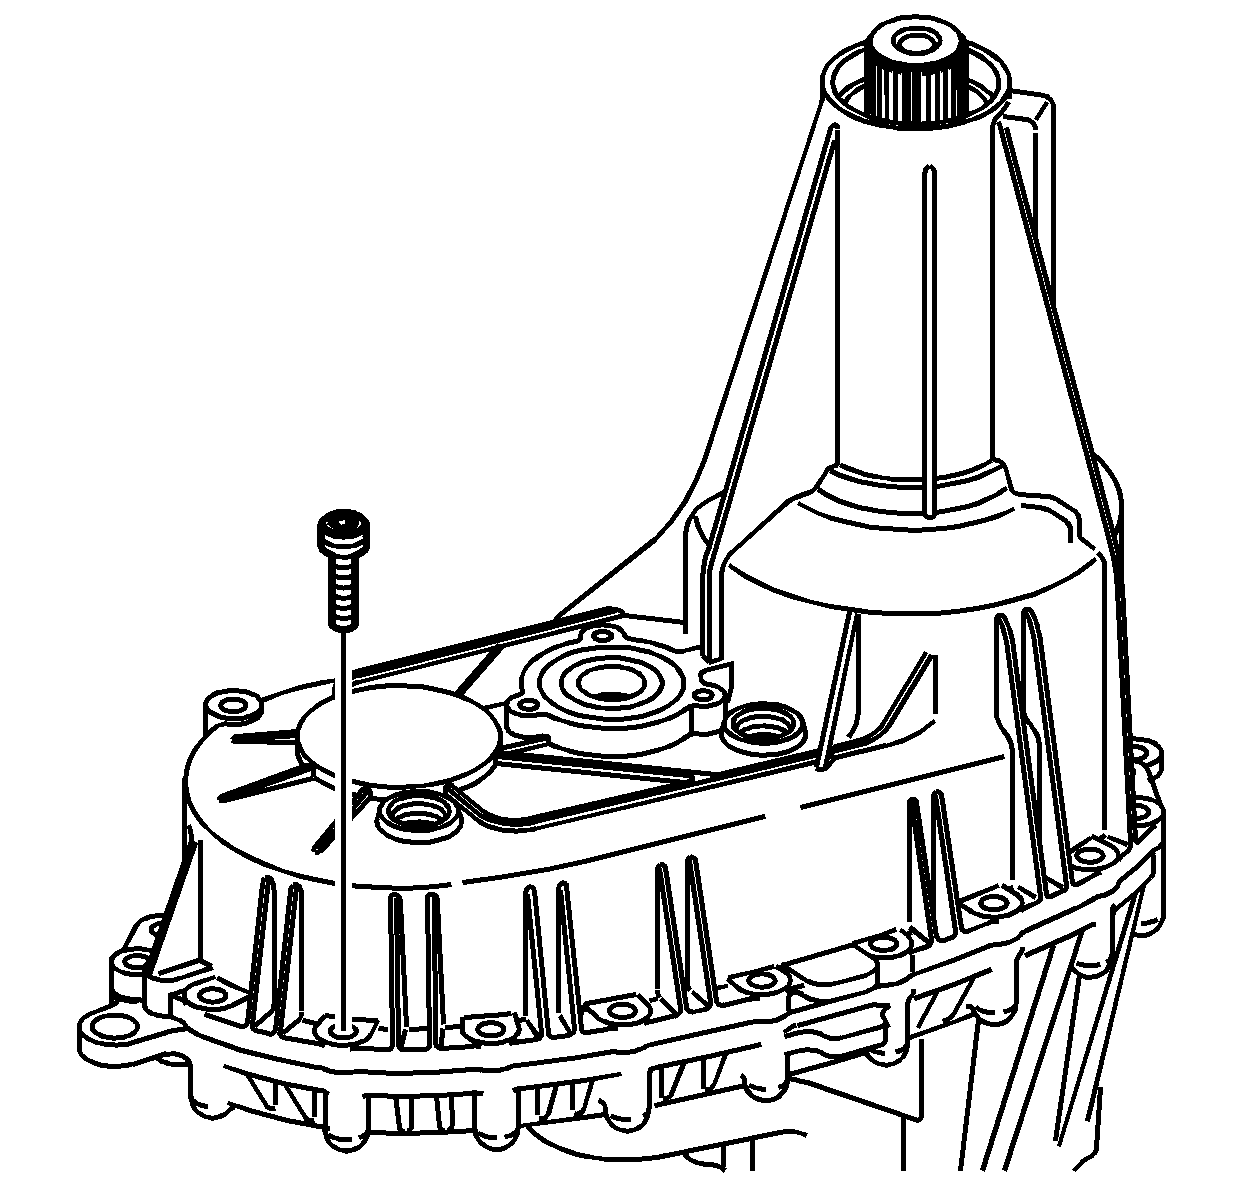
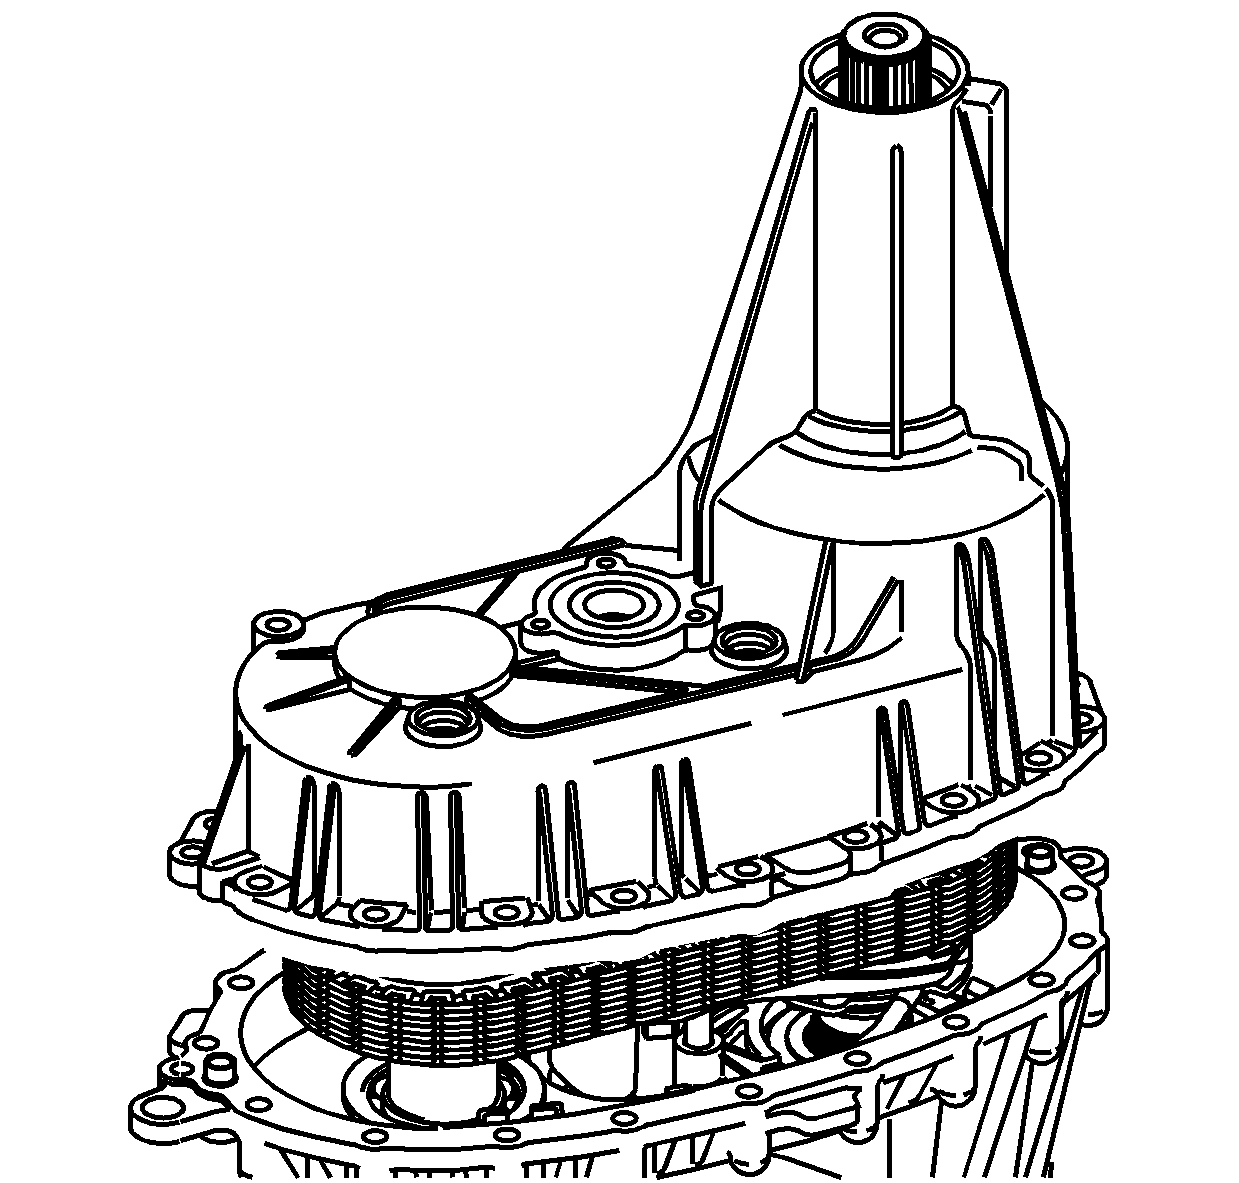
- Remove the encoder motor bracket bolt.
- Remove the encoder motor mounting bolts.
- Remove the encoder motor assembly.
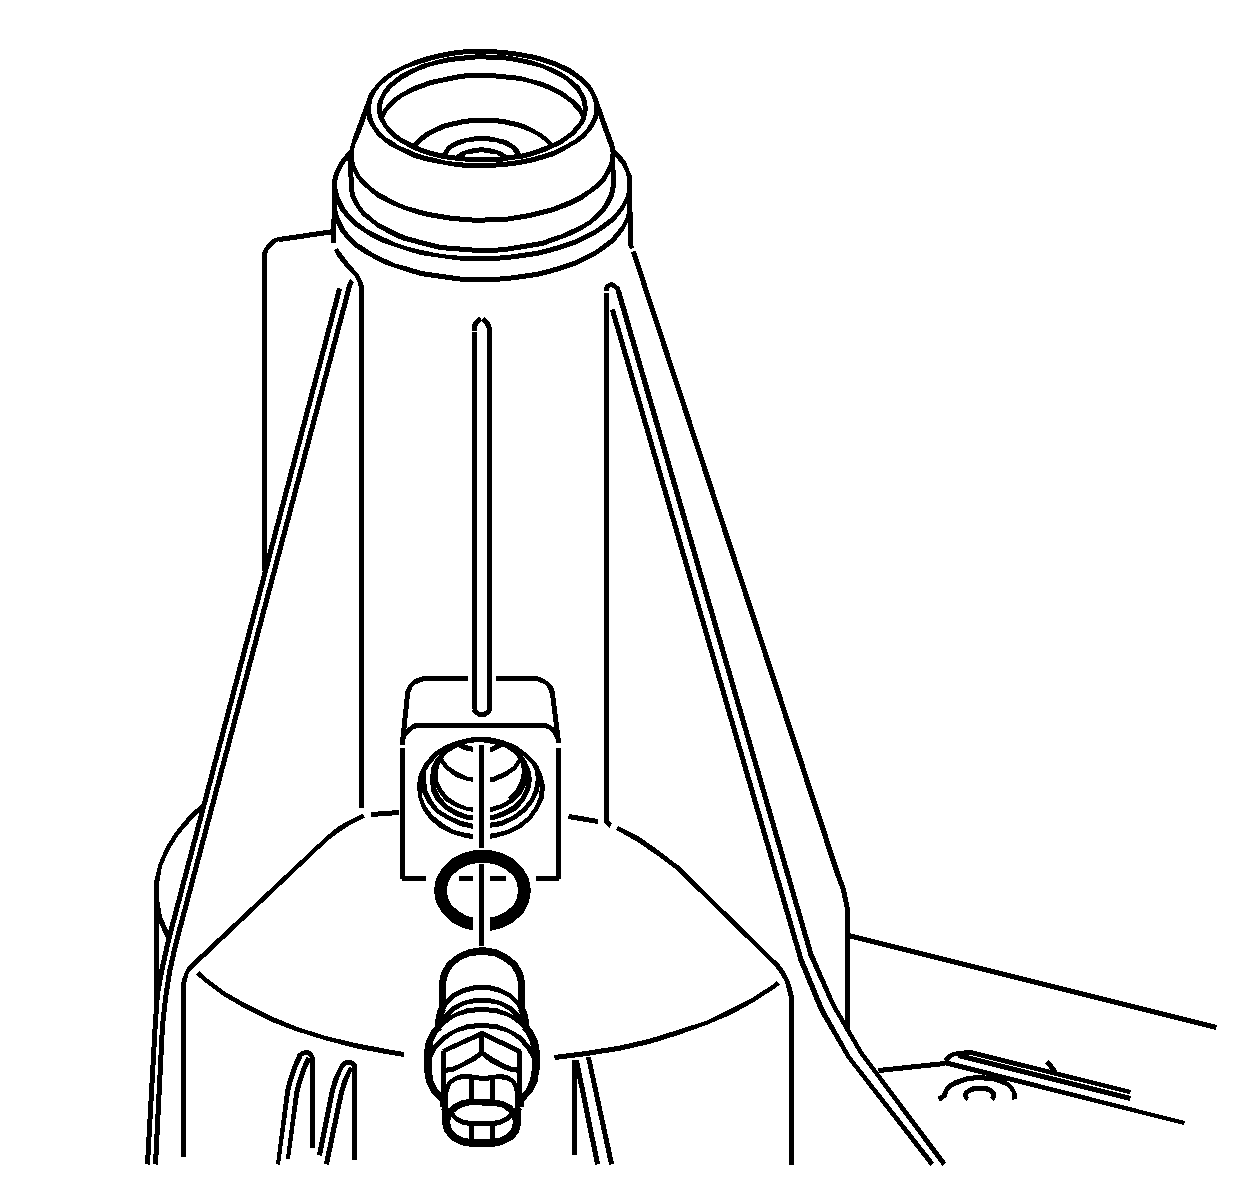
- Remove the vehicle speed sensor (VSS) and the
O-ring seal.
Notice: Refer to Transfer Case Seal Removal Notice in the Preface section.
- Remove the rear output shaft seal by prying it out with a flat-blade screwdriver.
- Remove the shipping seal from the rear output shaft, if equipped.
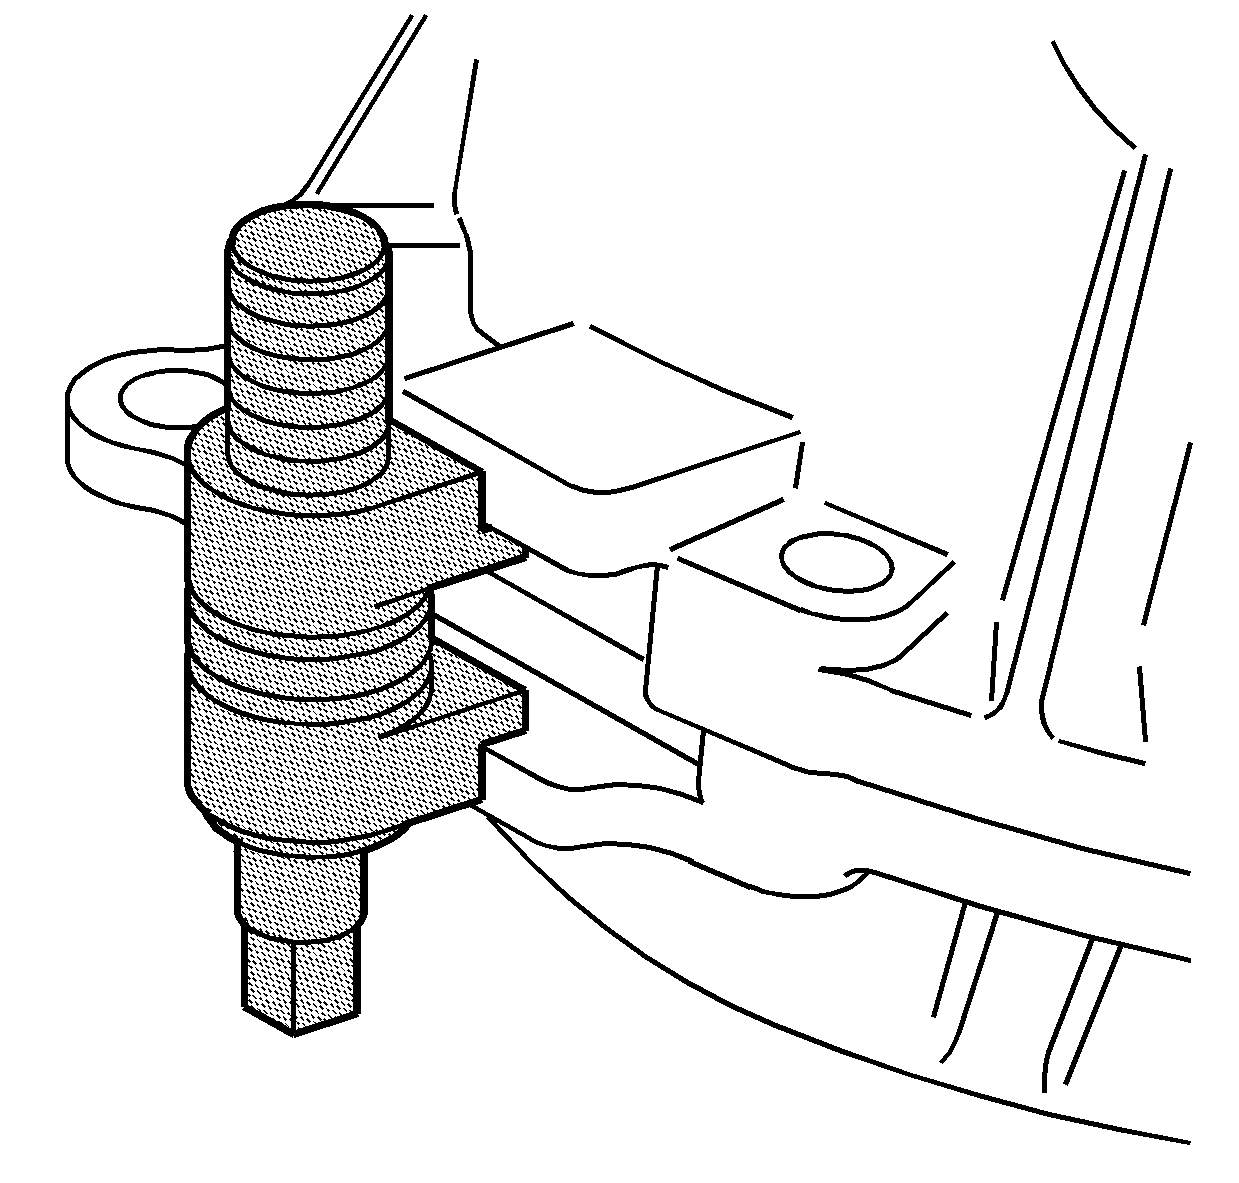
- Remove the transfer case retaining
bolts and washers.
Mark the location of the brackets.
Notice: Refer to Machined Surface Damage Notice in the Preface section.
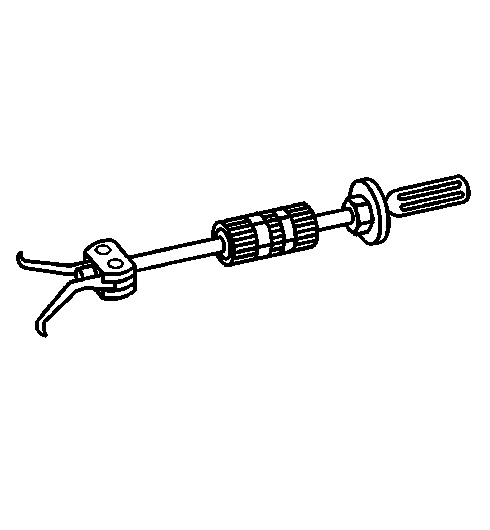
- Using the
J 45358
between the tabs on the case halves, shear the sealer that is holding the case halves together.
- Using pry bars at each side of the case, remove the case from the locating pins.
- Remove the rear case half from the
front case half. The rear output shaft will come with the rear case half.
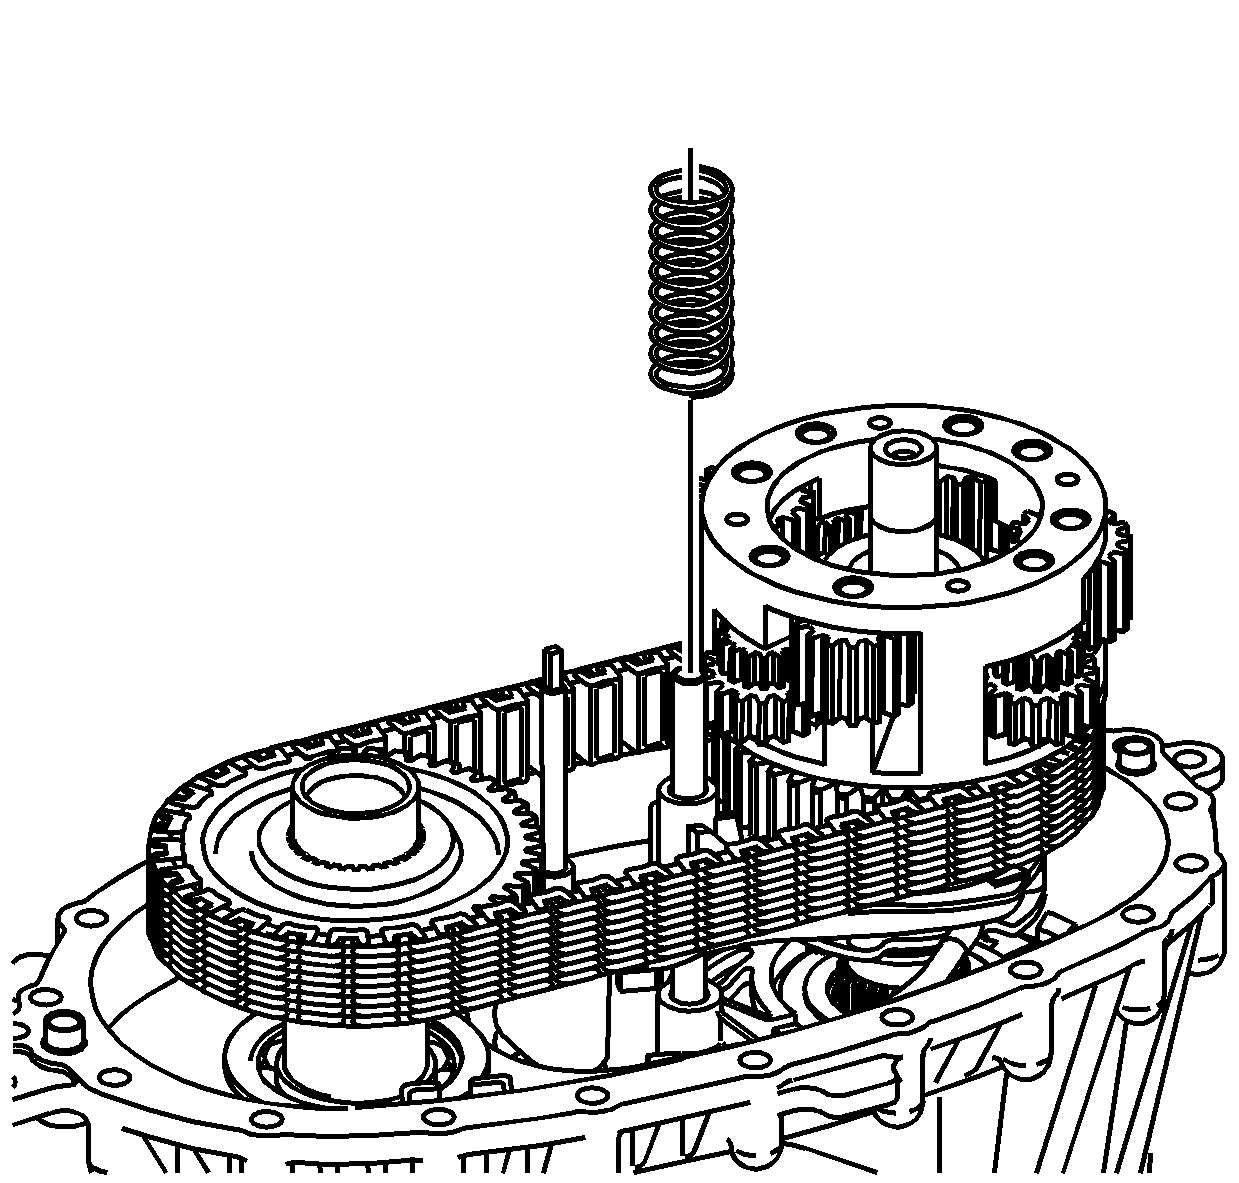
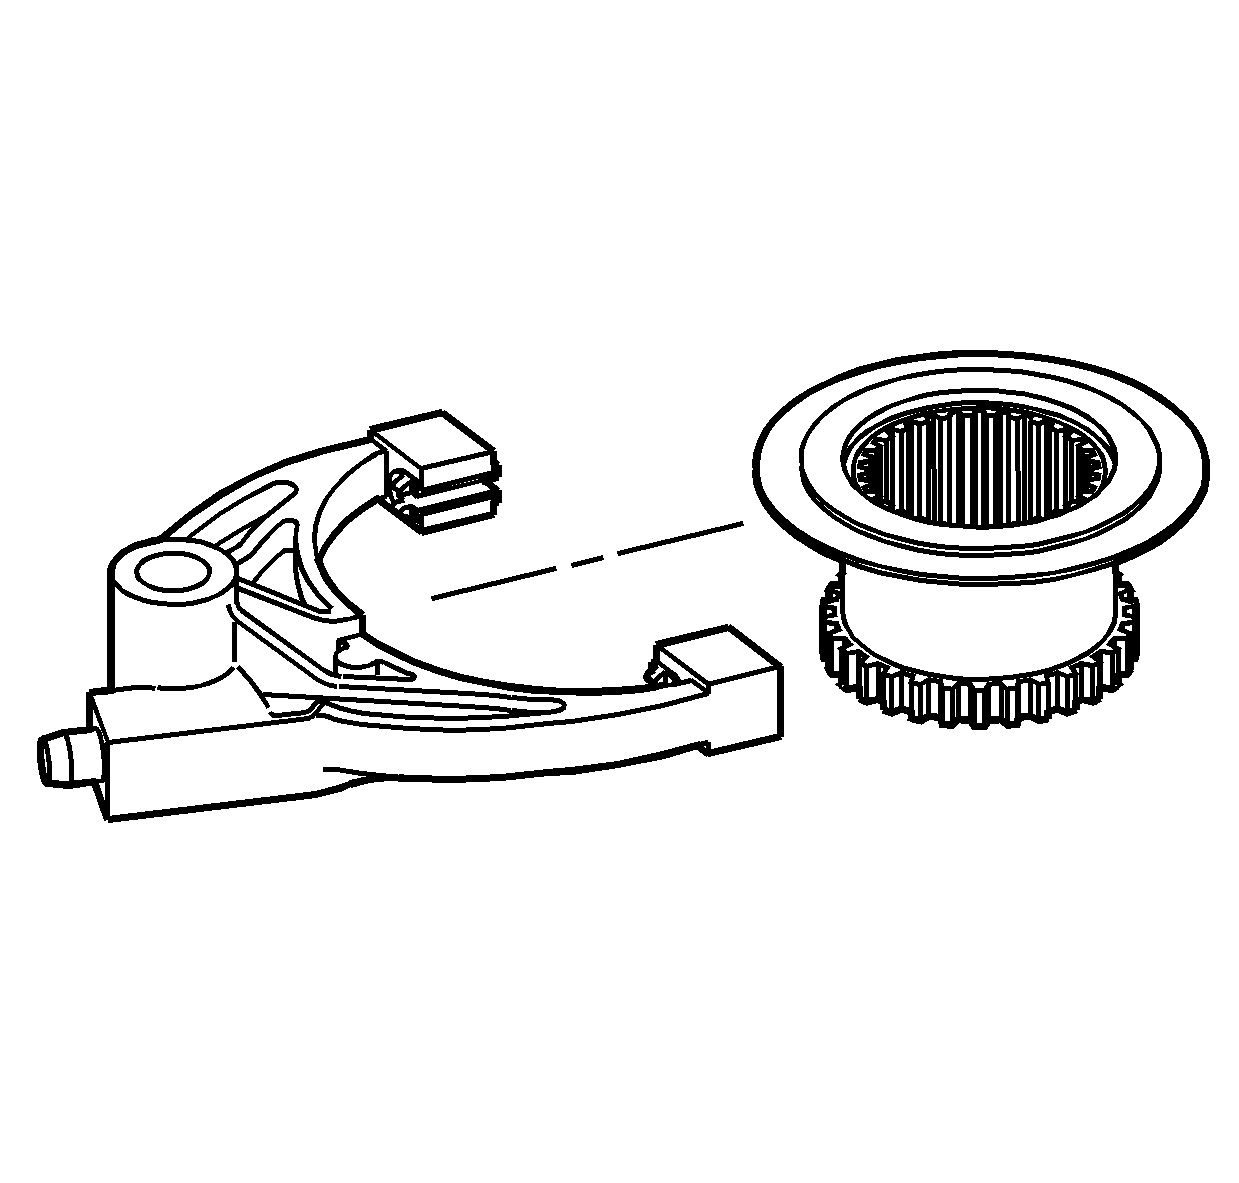
- Remove the shift fork shaft spring.
- Remove the rear sun gear.

- Remove the rear output shaft thrust washer.
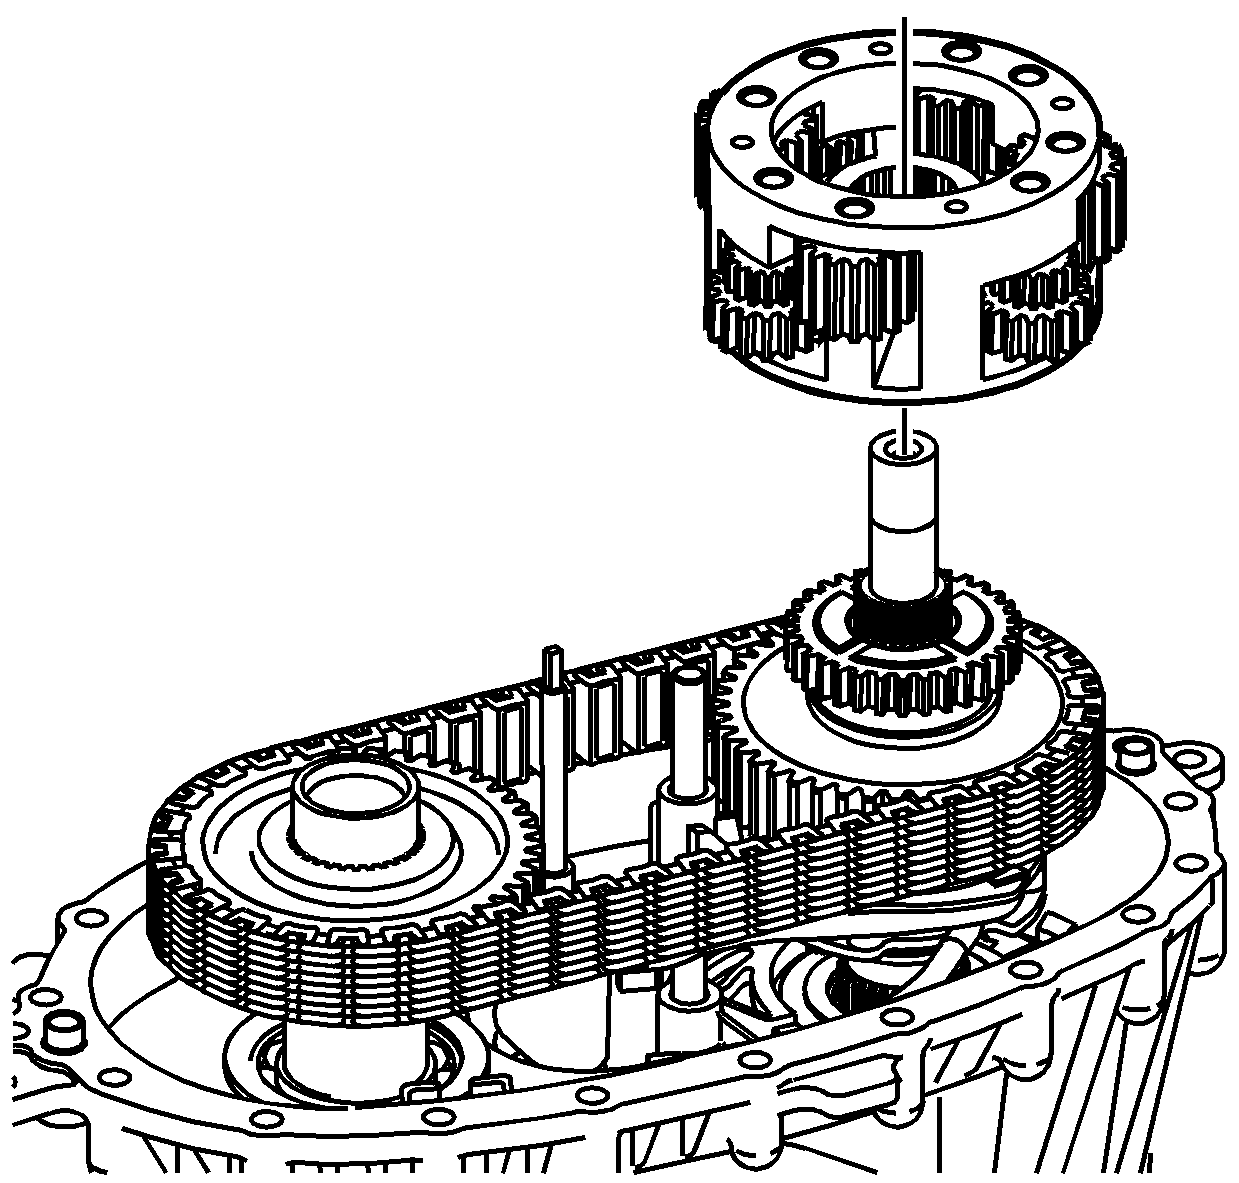
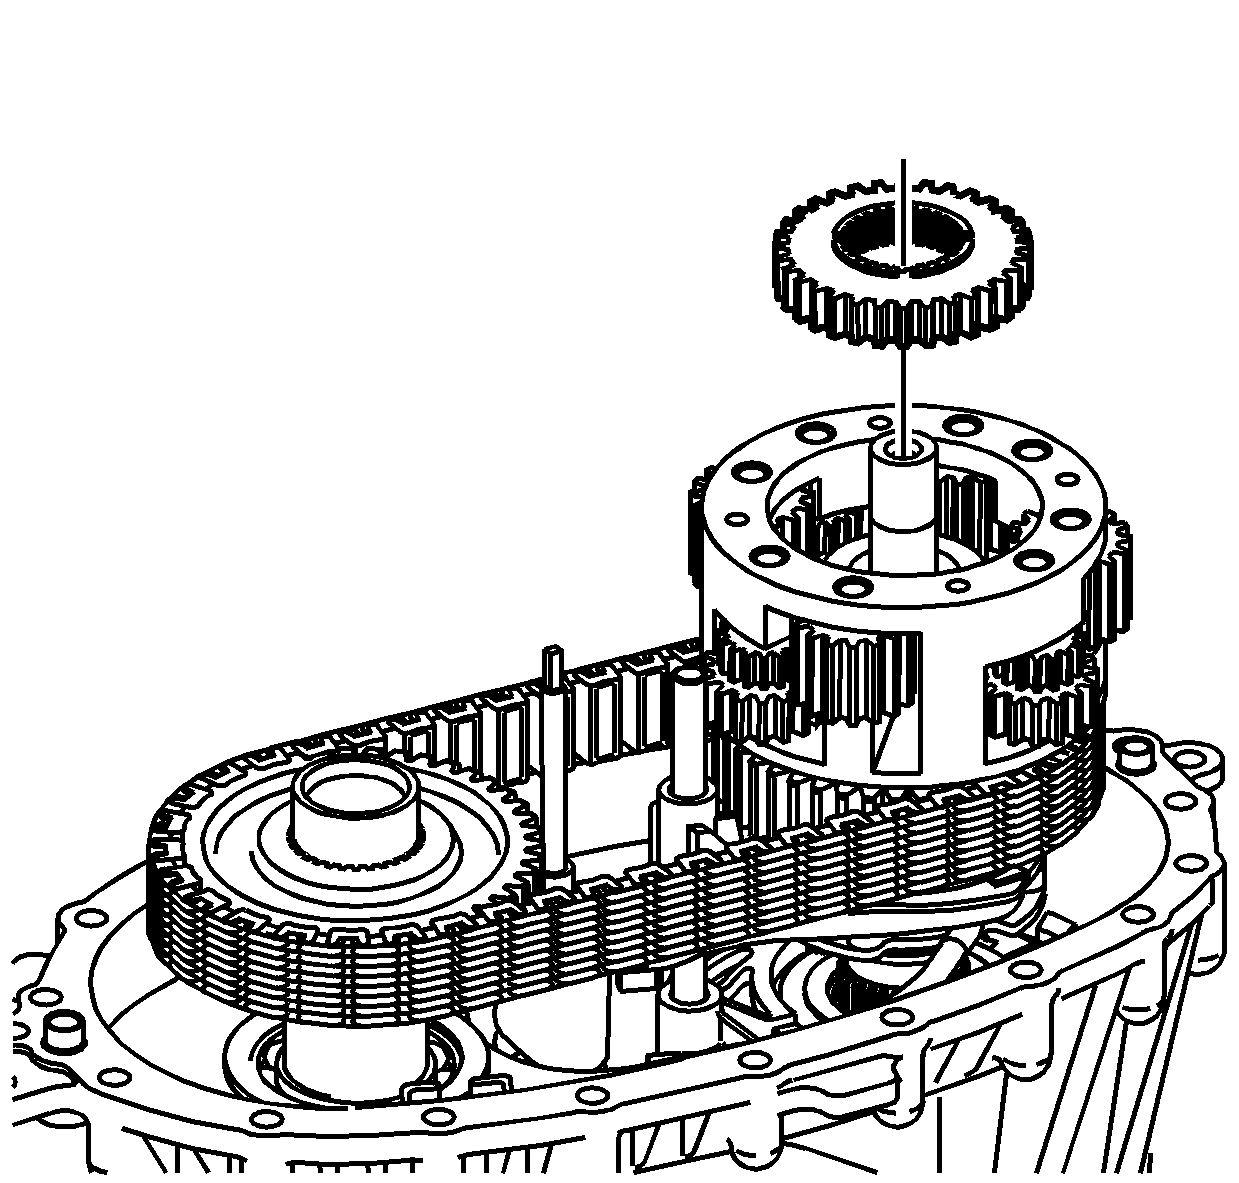
- Remove the planetary differential assembly.
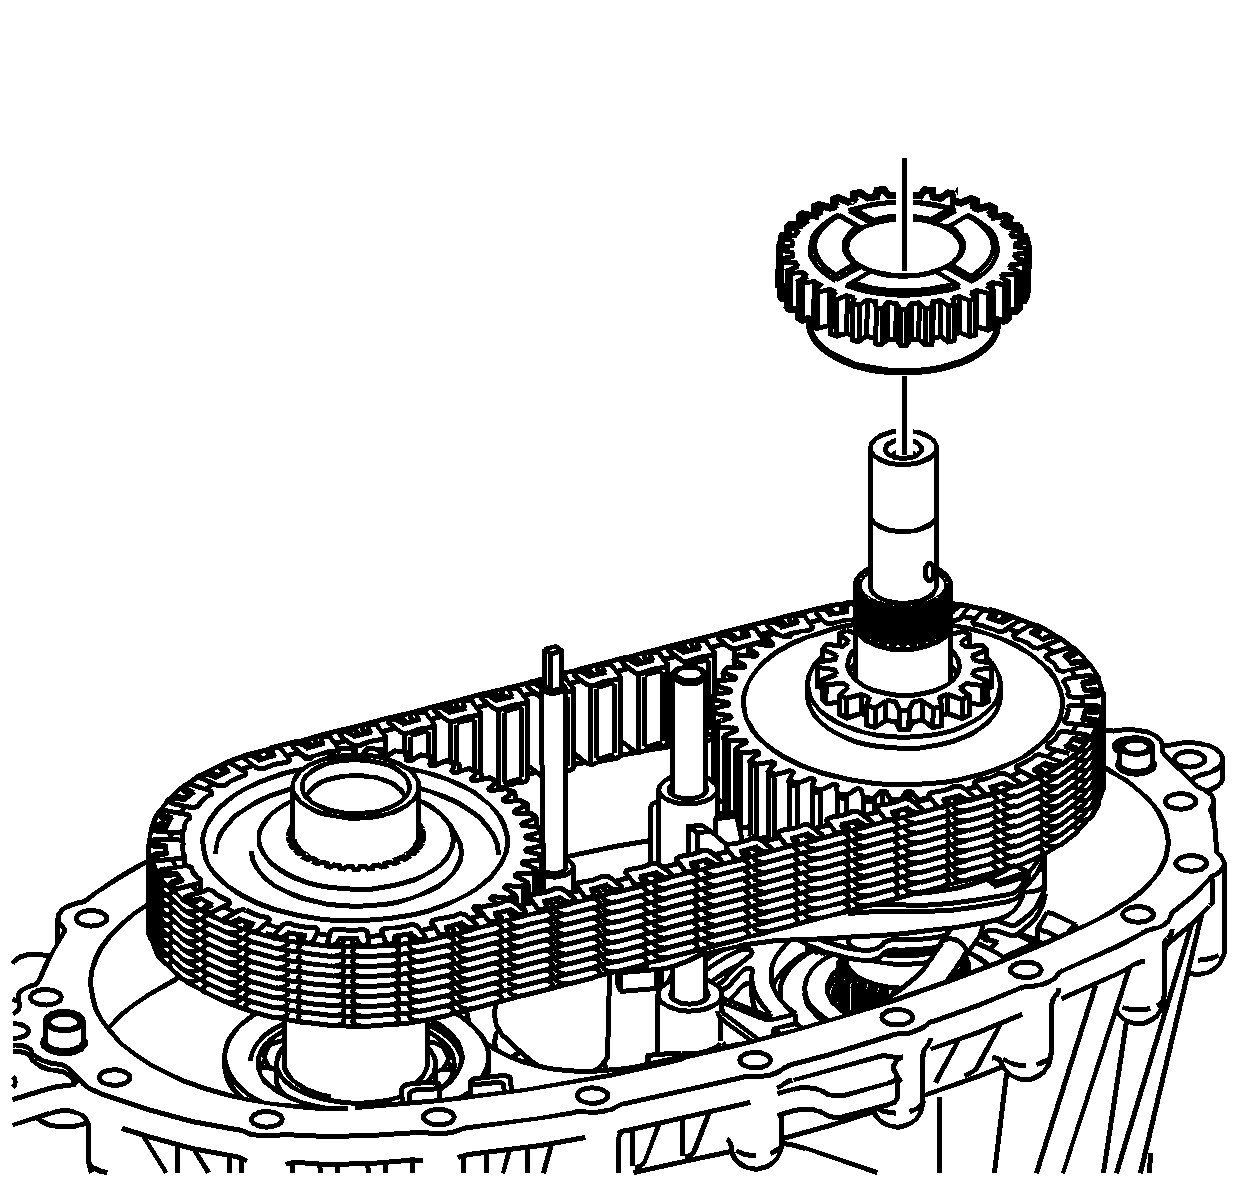
- Remove the front sun gear.
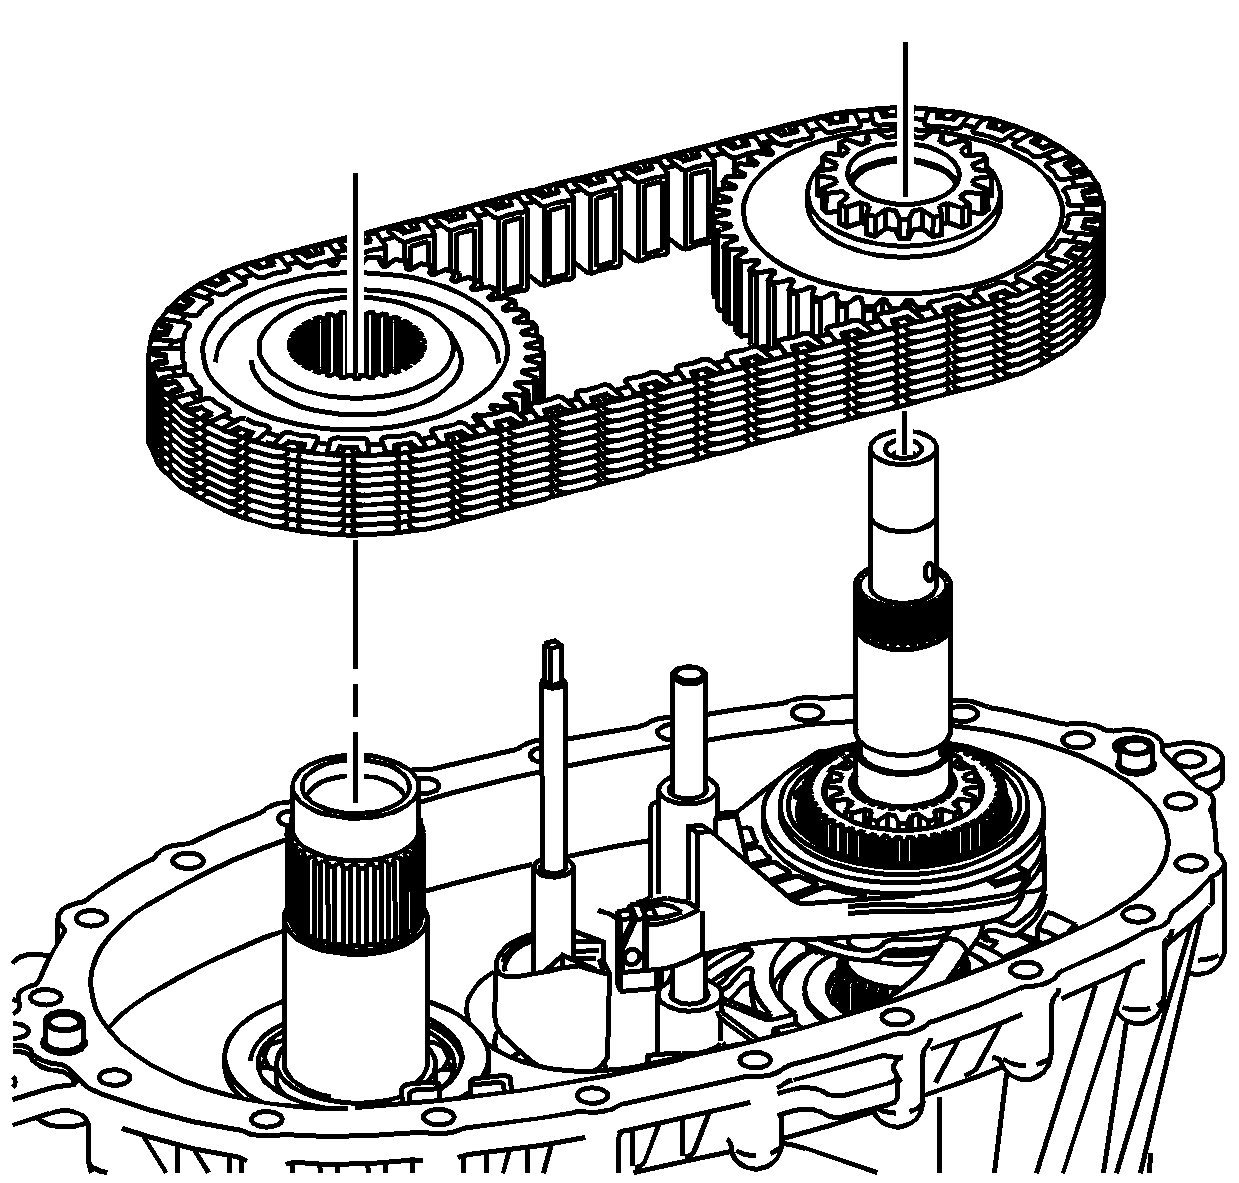
Important: If the chain and sprockets are to be used again, mark the relationship of the chain to the sprockets in order to mark the wear patterns.
- Remove the chain with the drive sprocket and driven sprocket.
- Remove the drive sprocket thrust washer.
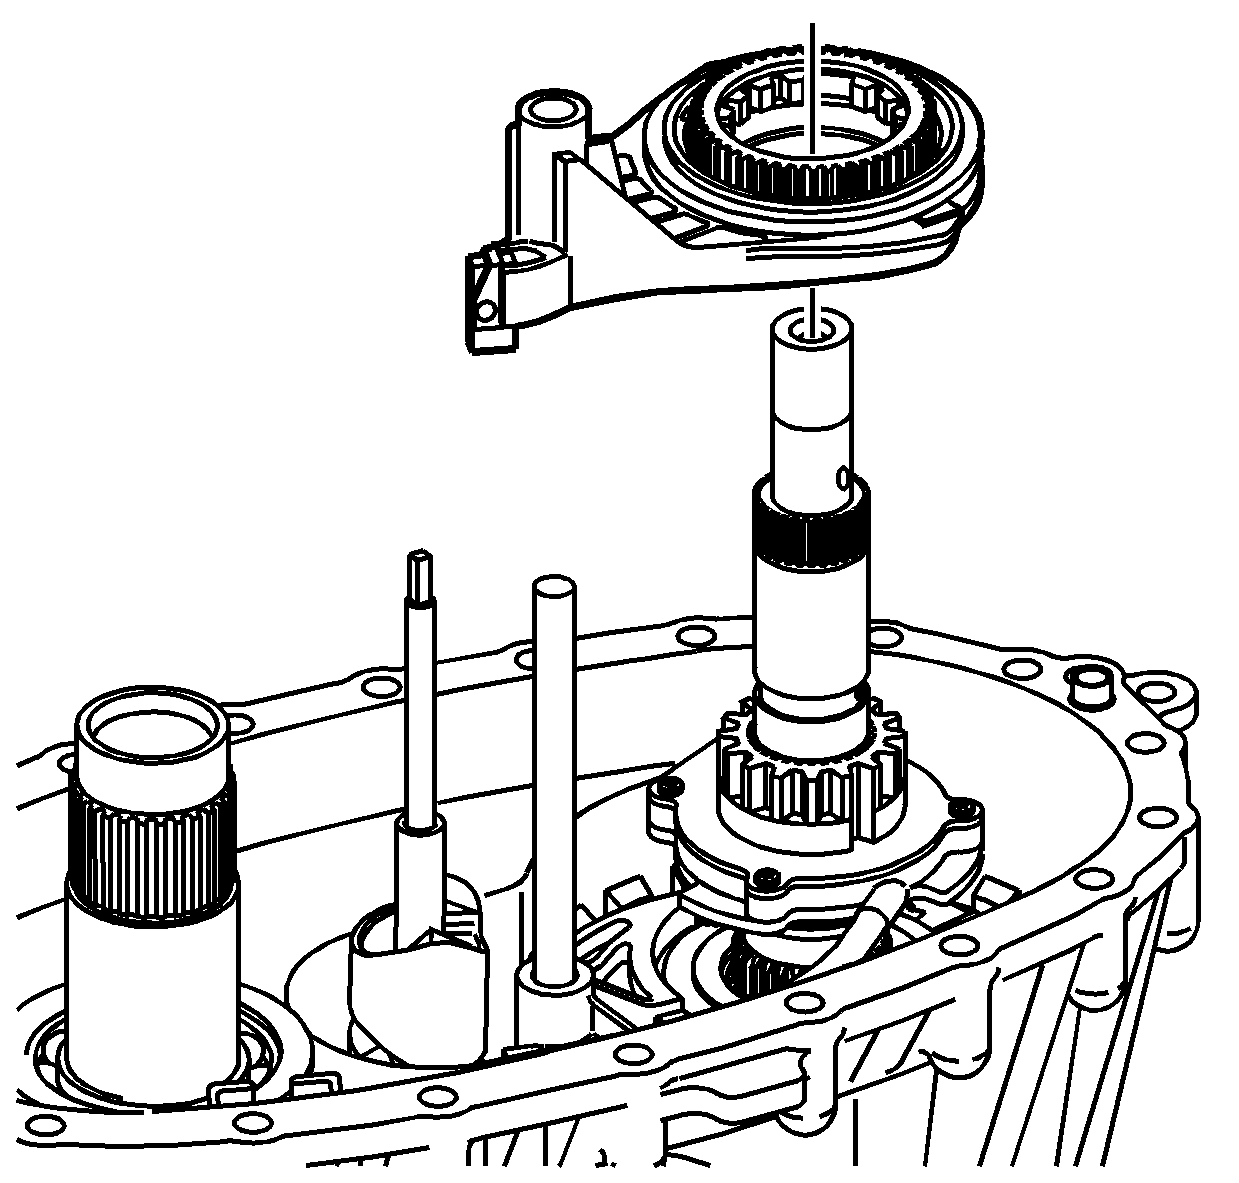
- Remove the lockup shift assembly and
lockup mode shift fork.
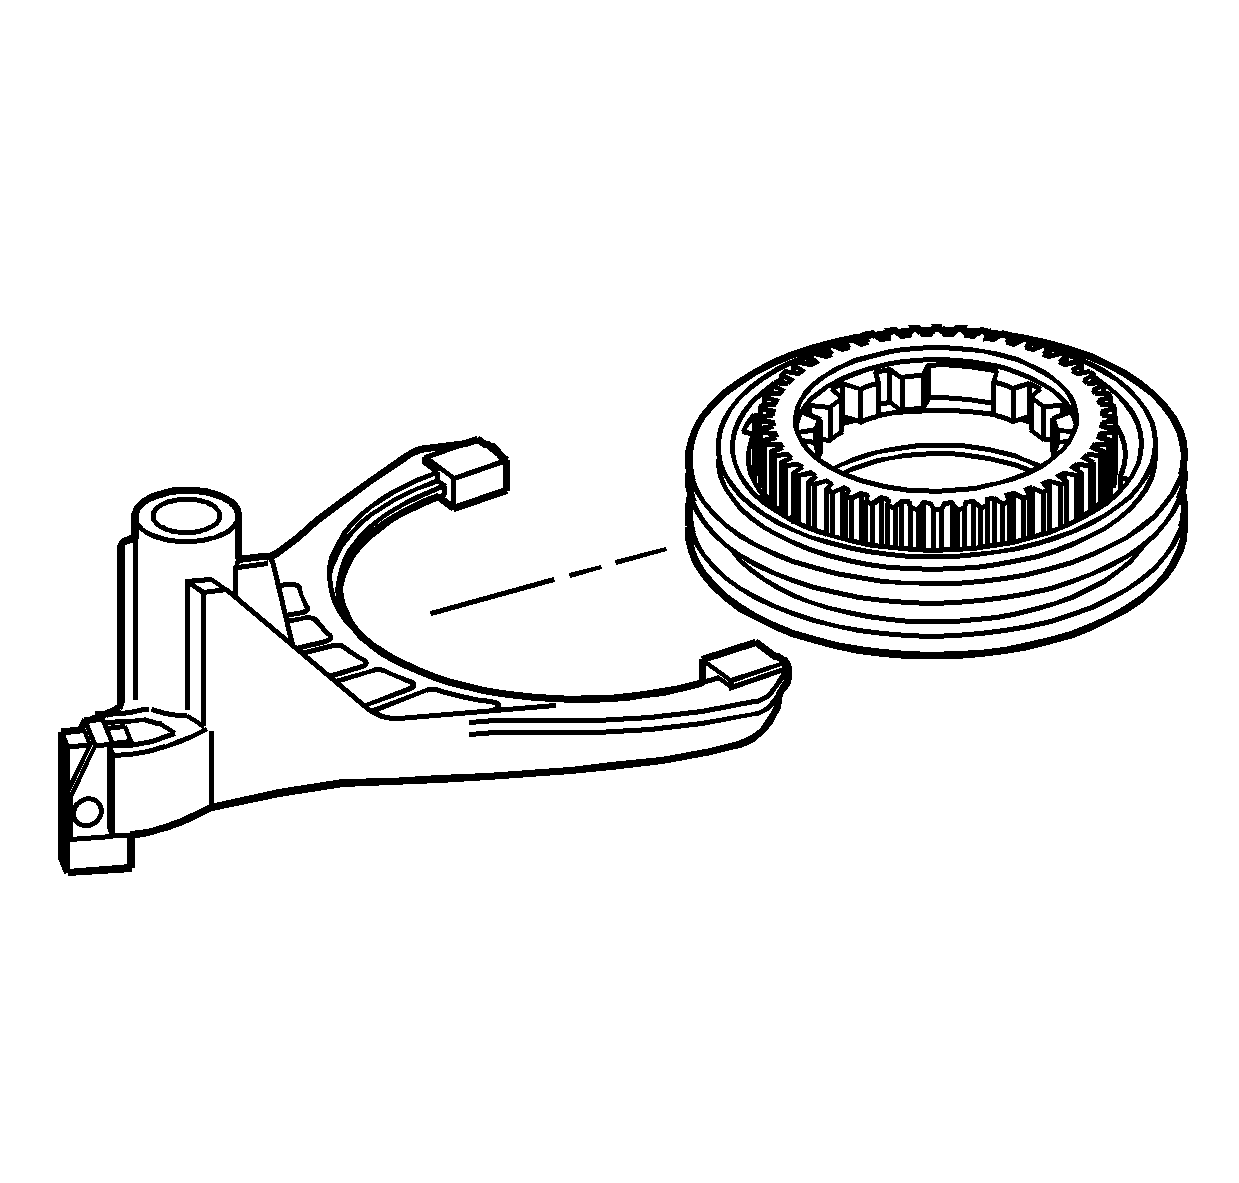
- Remove the lockup mode shift fork from
the lockup shift assembly.
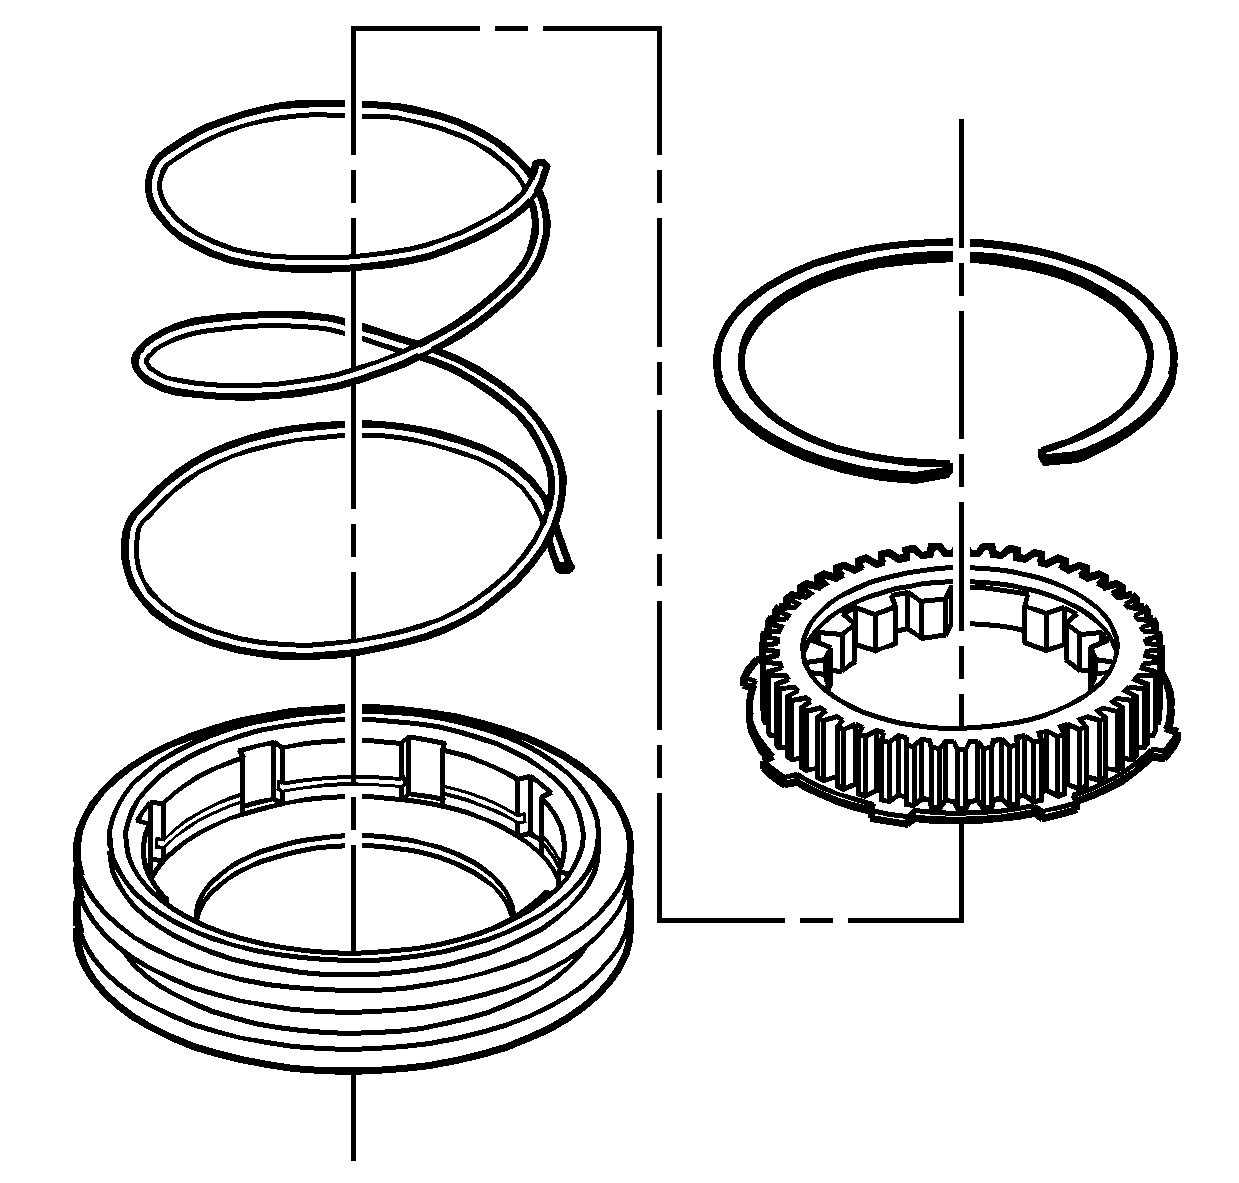
- If necessary, disassemble the lockup
shift assembly.
| 30.1. | Remove the retainer ring from the sleeve. |
- Remove the inner lockup hub.
- Remove the magnet.
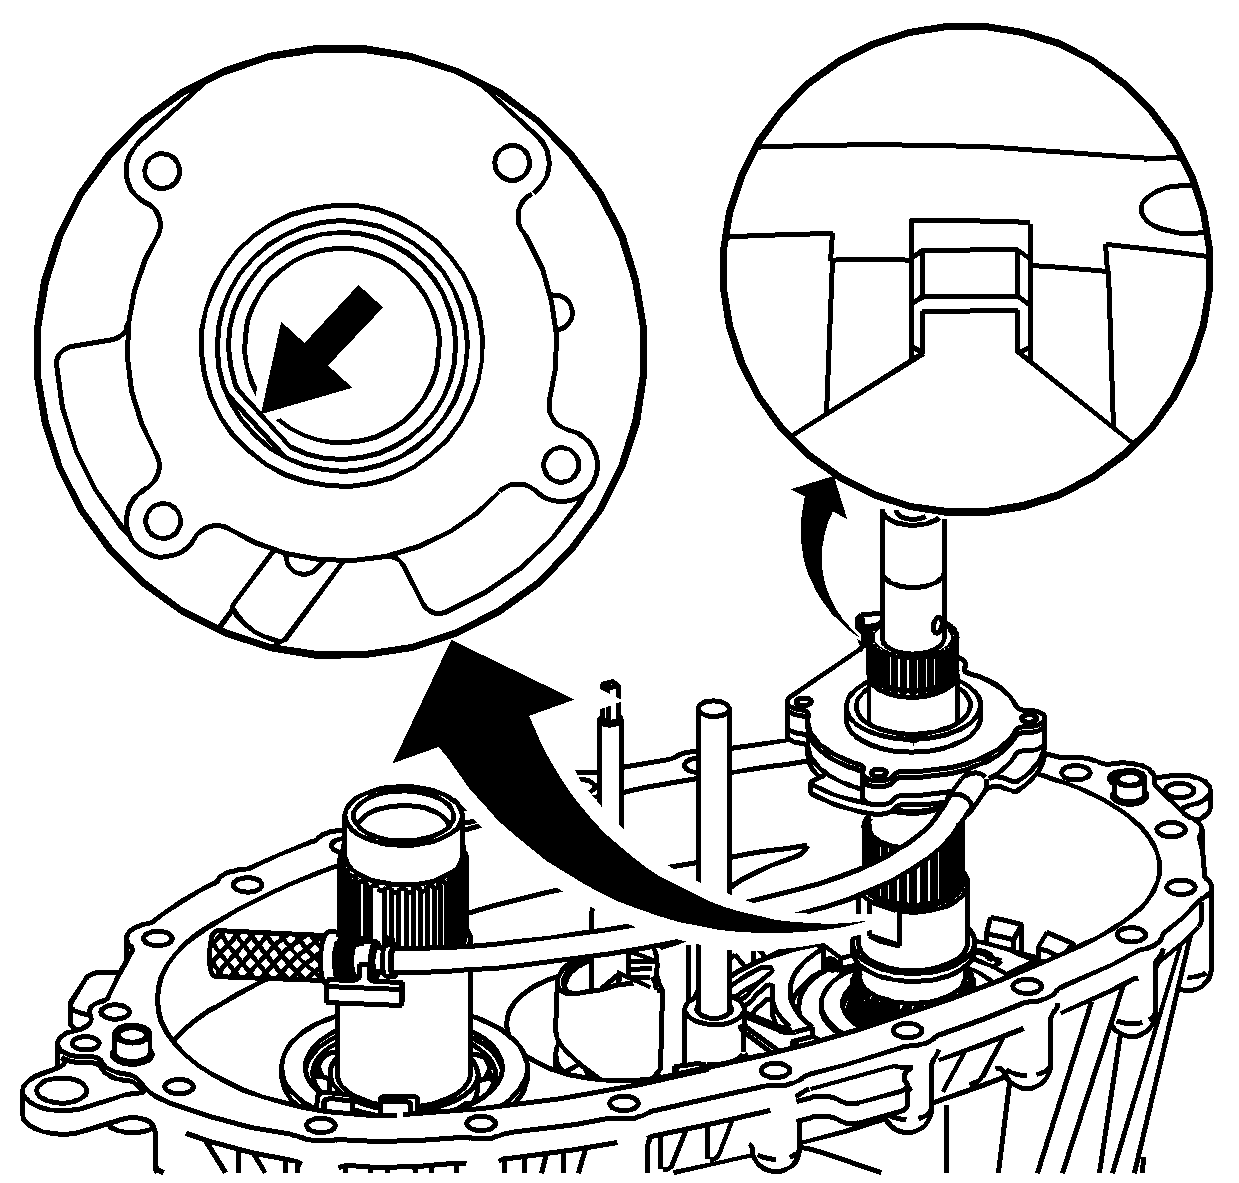
- Remove the oil pump assembly with the hose and screen.
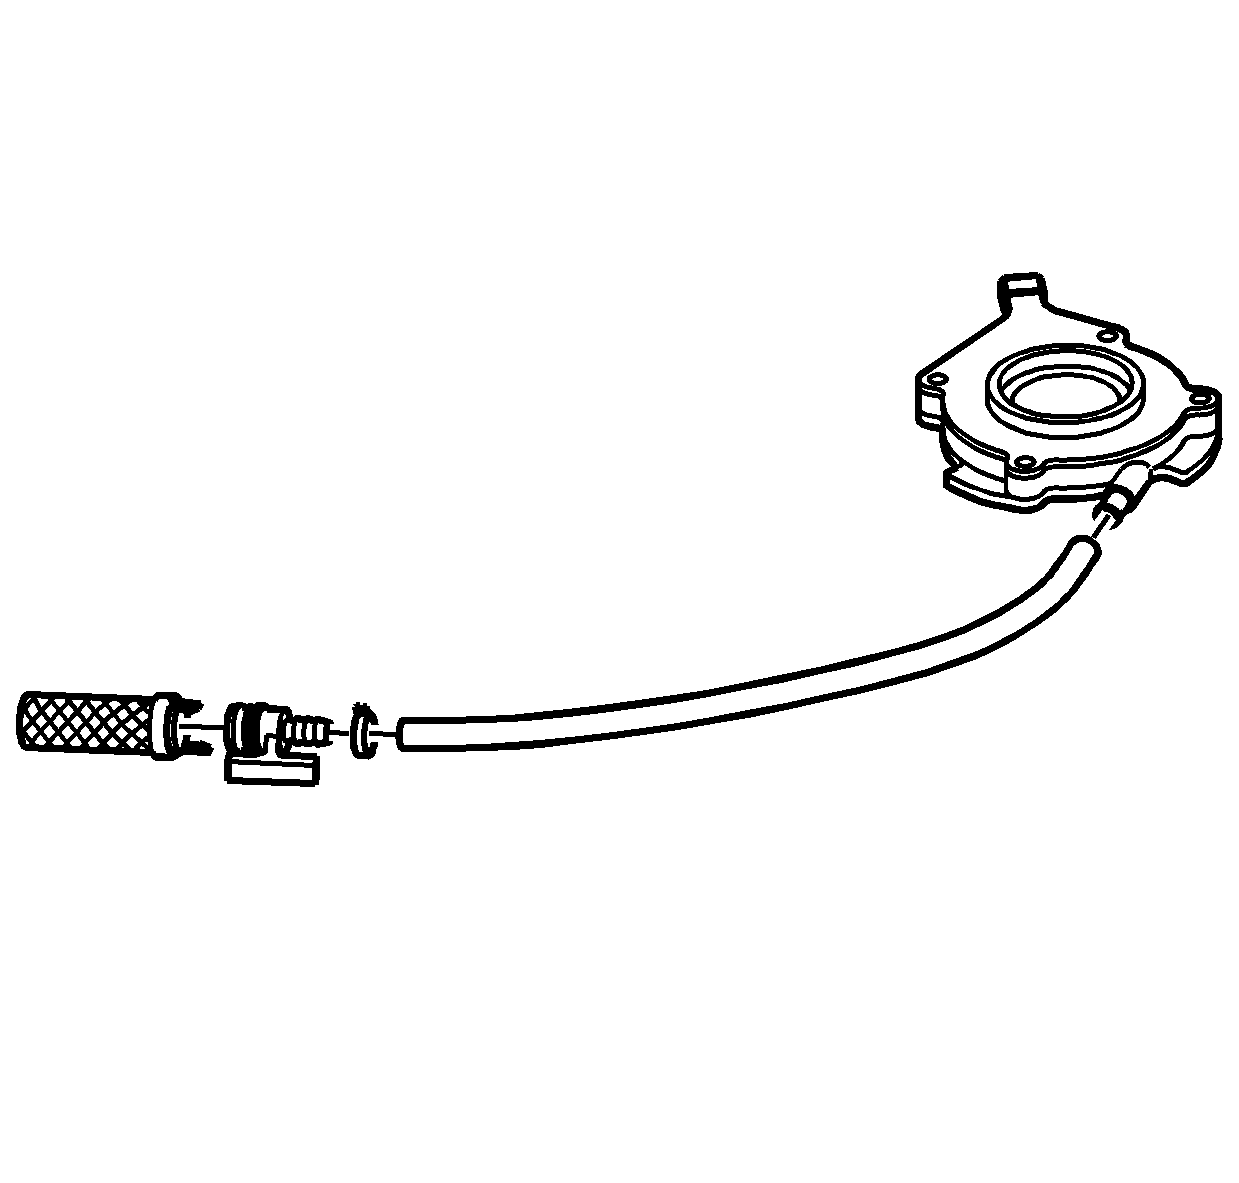
- Disconnect the oil pump hose from the oil pump screen.
- Disconnect the oil pump hose from the oil pump.

- Remove the shift fork shaft.
Notice: In order to prevent component damage, properly remove and
install the shift detent lever shaft assembly. When removing or installing
the shift detent lever shaft assembly, keep the shaft straight and do not
tilt. Tilting the shift detent lever shaft assembly in the transfer case
housing will break the tip on the end of the shaft.
- Remove the shift detent lever assembly.
| • | Rotate the high/low shift fork roller from the shift detent lever assembly. |
| • | Lift straight up on the shift detent lever assembly. |
- If necessary, disassemble the shift
detent lever assembly.
| 38.1. | Hold the shift detent lever assembly by one tab of the spring (3), in a vise. |
| 38.2. | Rotate the other spring tab and slide the detent lever cam (1) off the shaft. |
| 38.3. | Remove the sleeve (2). |
| 38.4. | Push the shaft (4) out of the spring (3). |
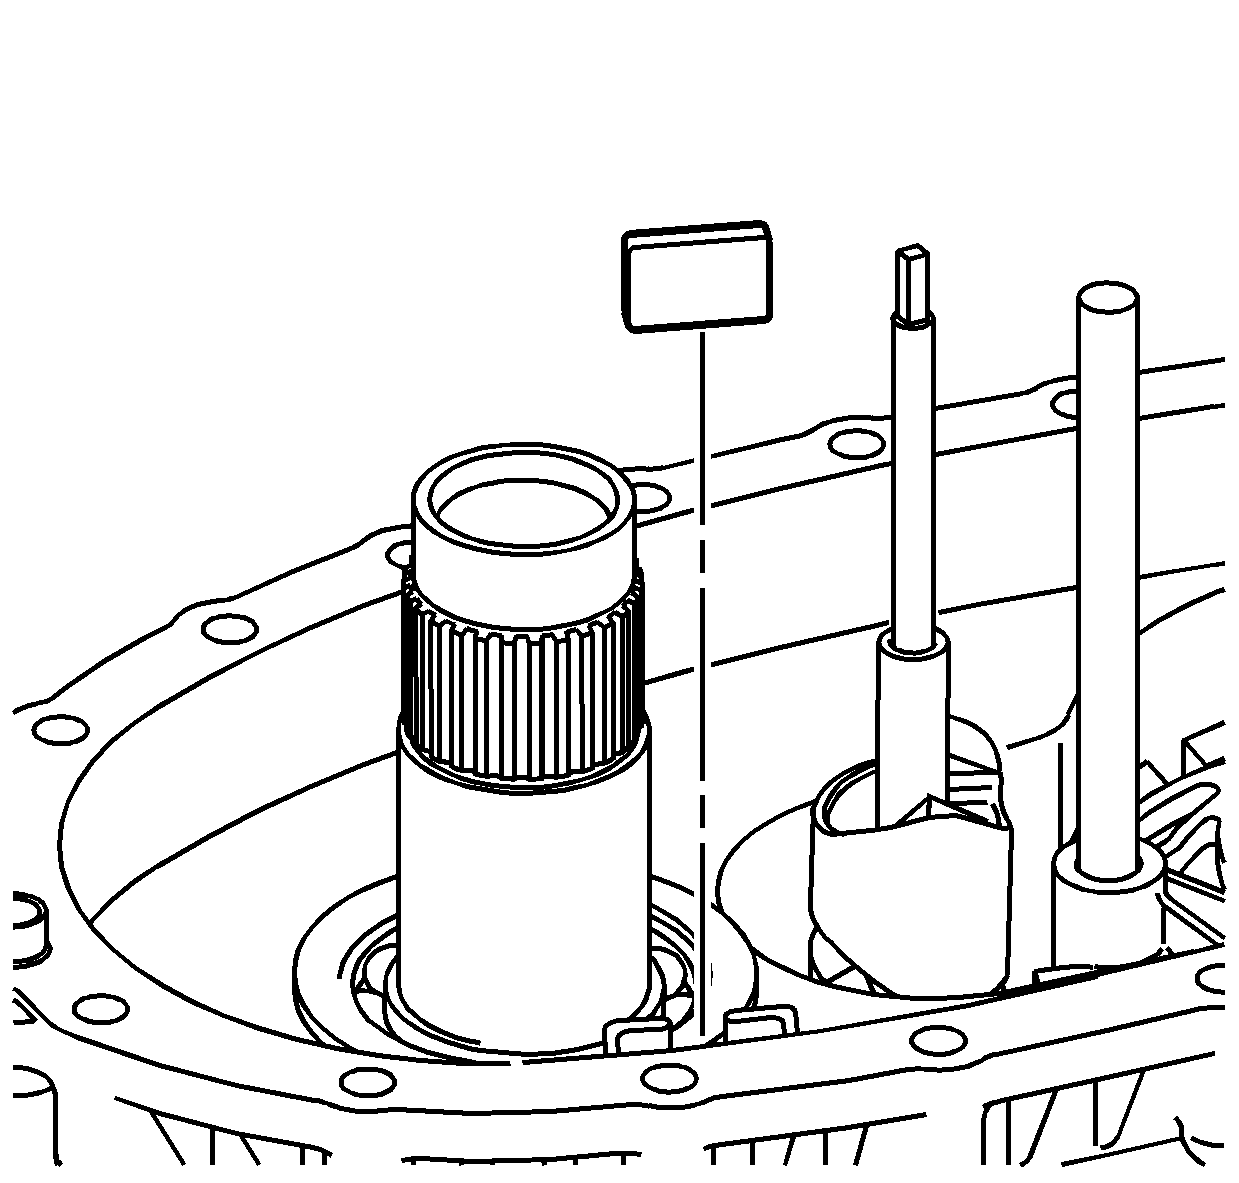
- Remove the mainshaft.
- Remove the high/low range sleeve with
the high/low range shift fork.
- Remove the range shift fork from the
range shift sleeve.
- Remove the input shaft thrust washer.
- Remove the high/low planetary carrier.
- Inspect the mainshaft front support
bearing for being faulty. Refer to
Transfer Case Cleaning and Inspection
.
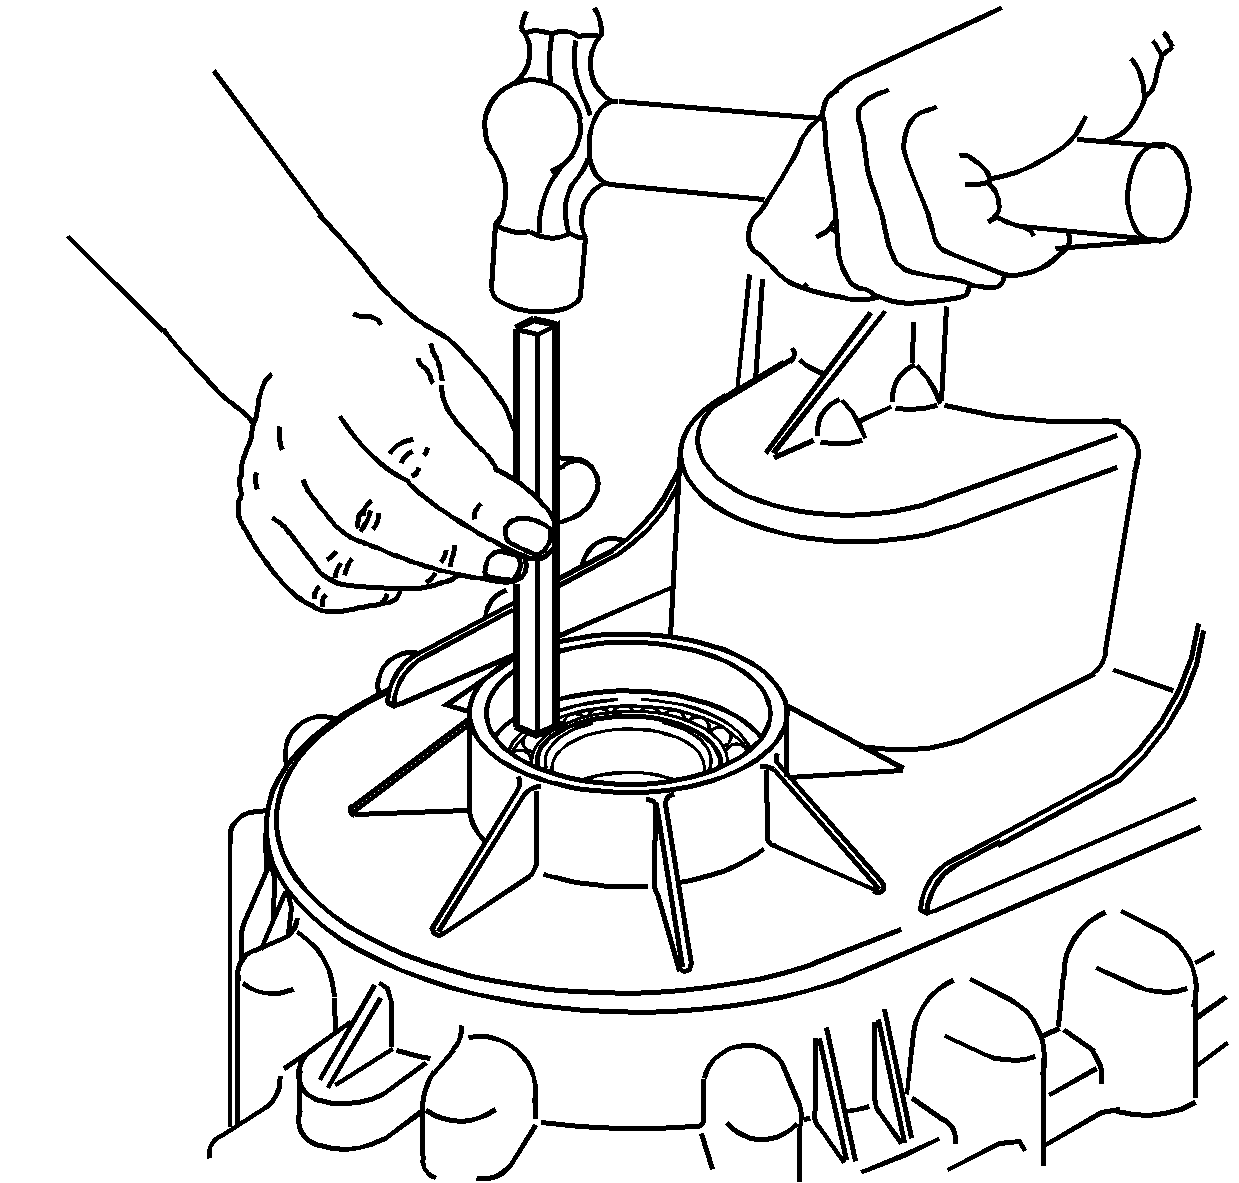
- Using a brass drift and a hammer, remove the mainshaft front support bearing from the planetary carrier assembly.
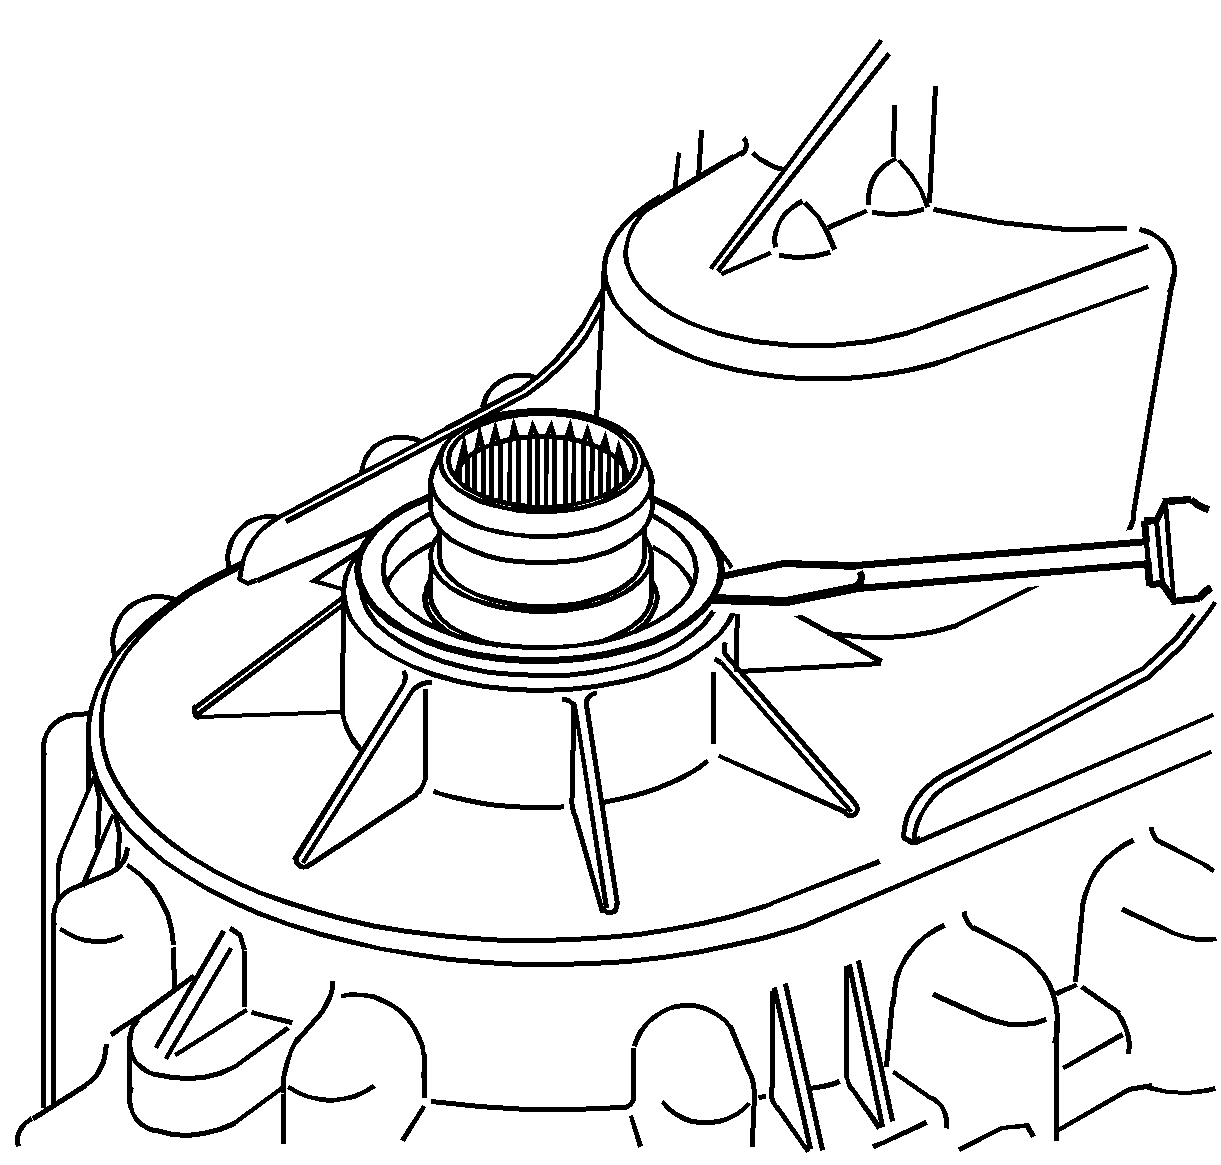
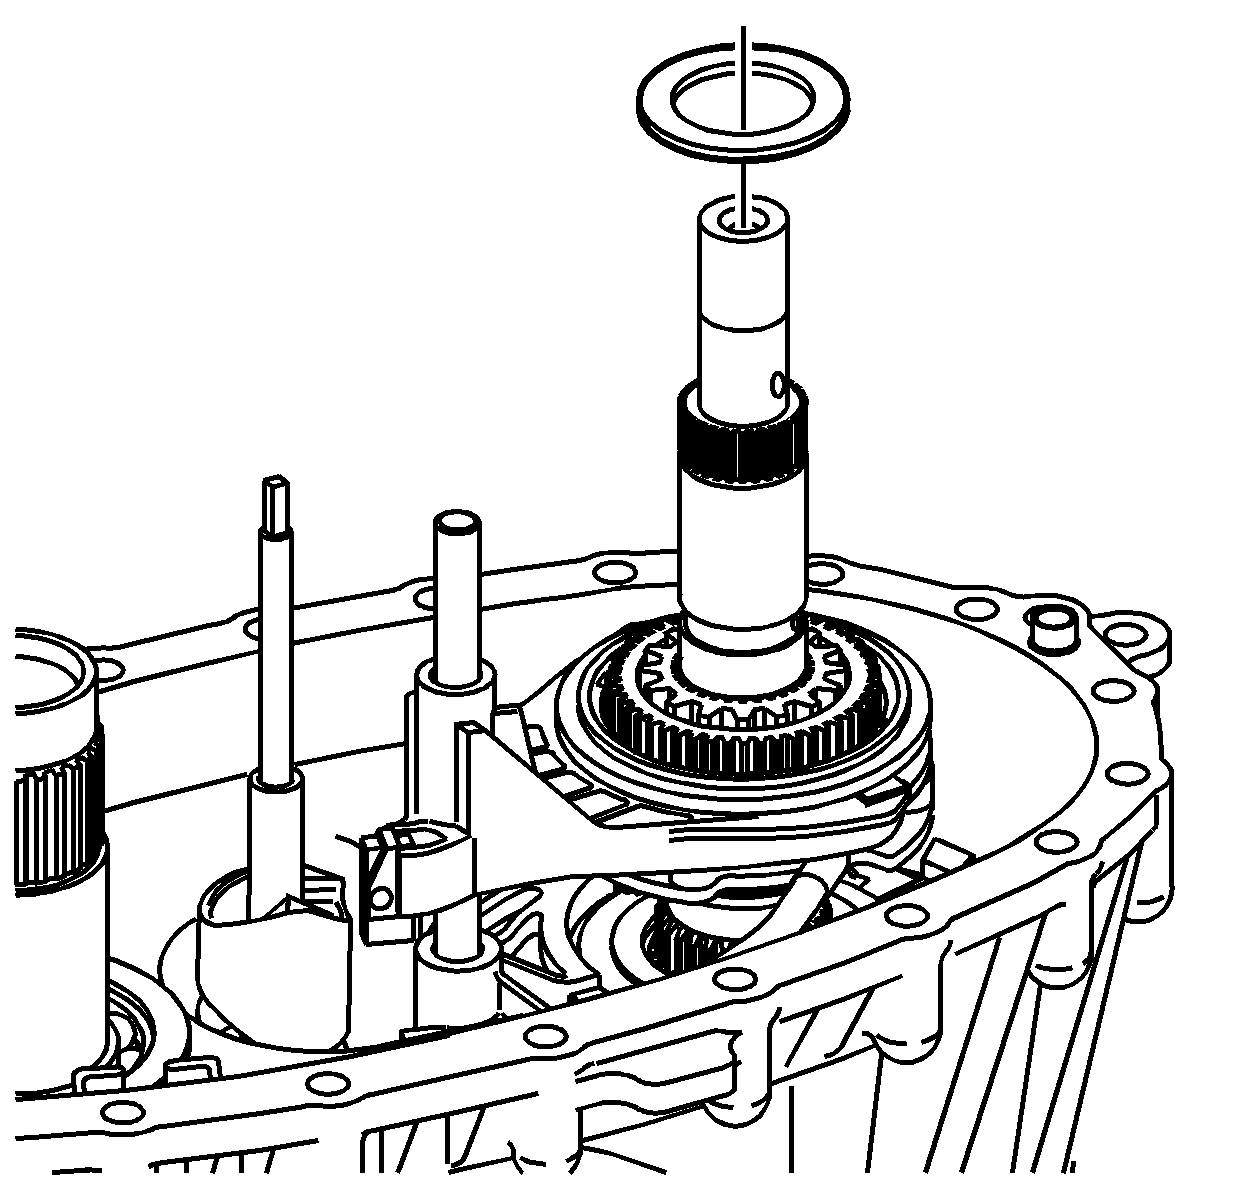
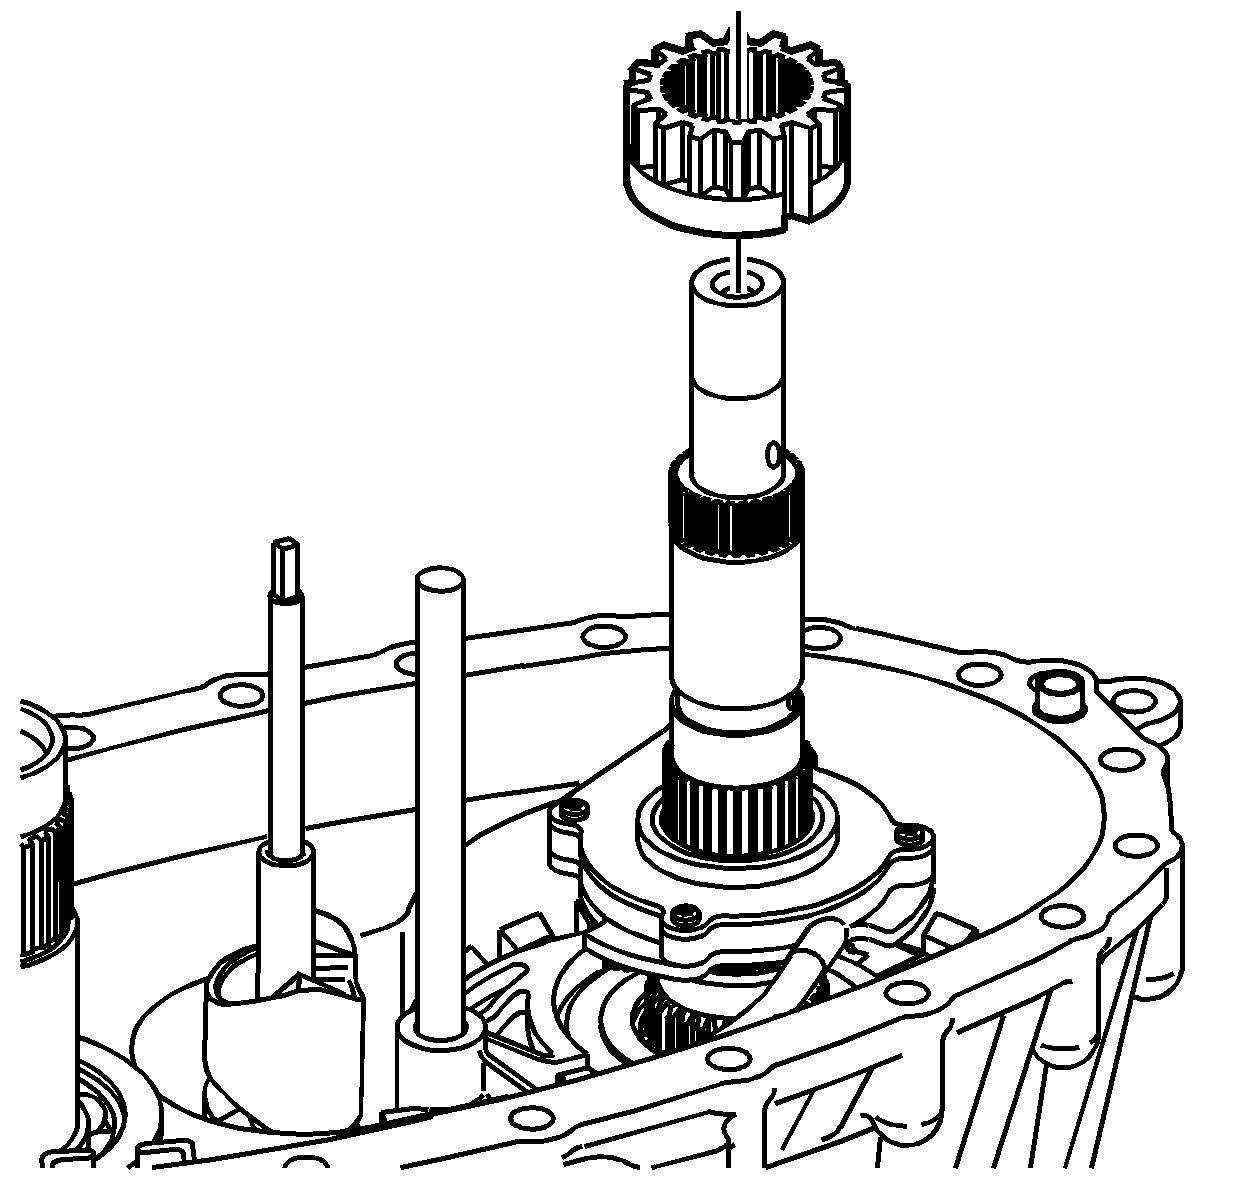
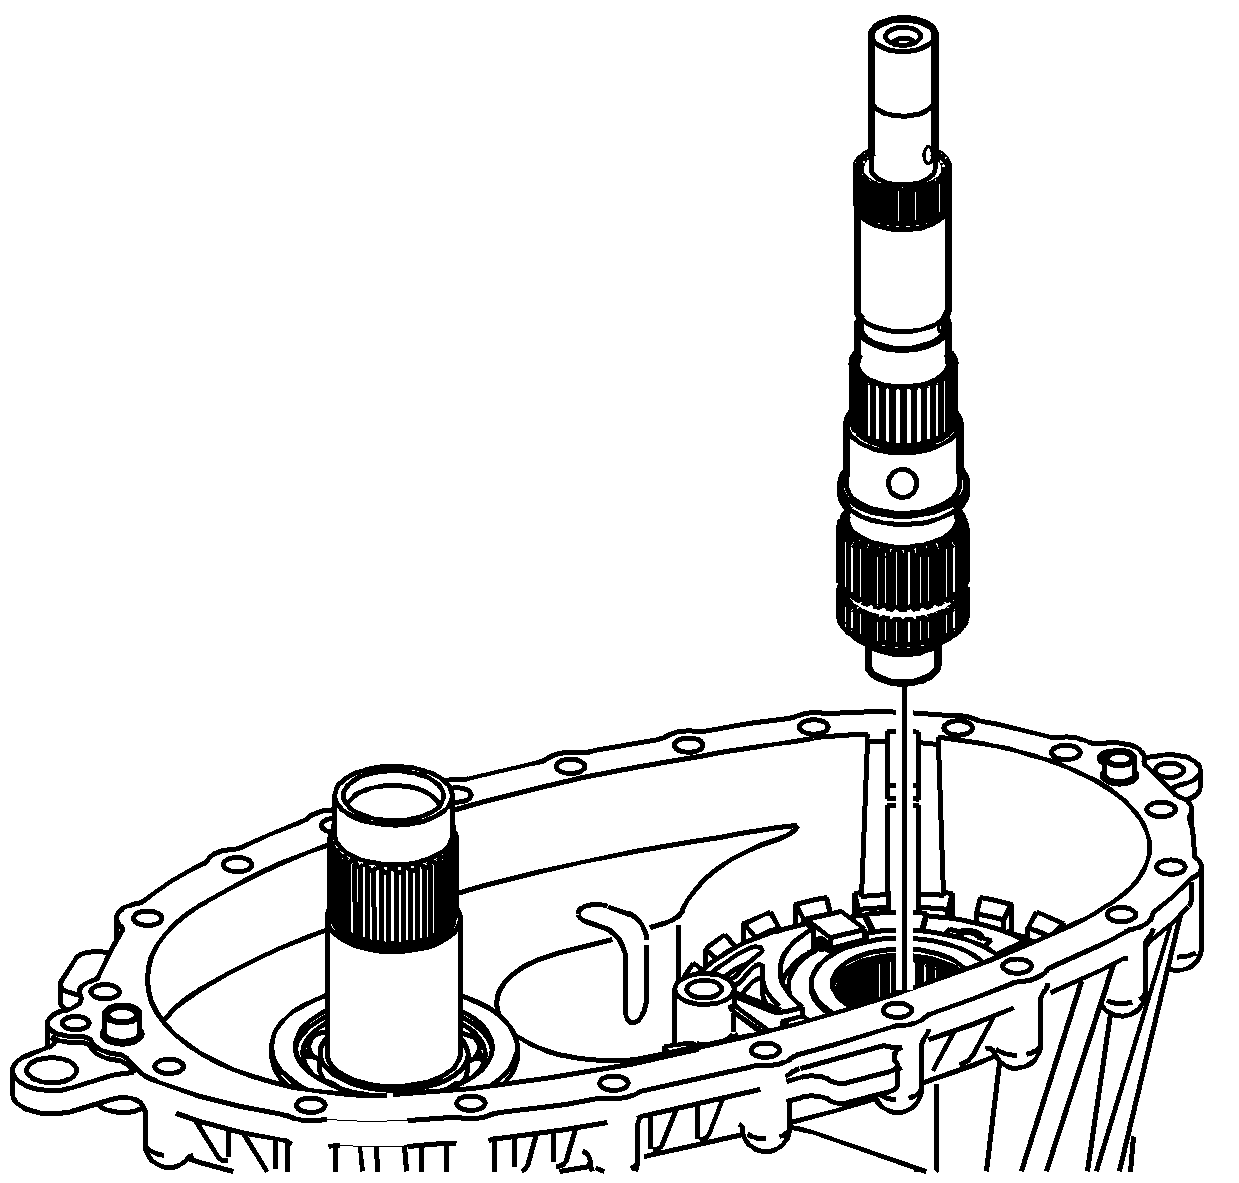
- Remove the front output shaft assembly.
- If the cup plug in the front output shaft is leaking,
remove the plug using a brass drift.
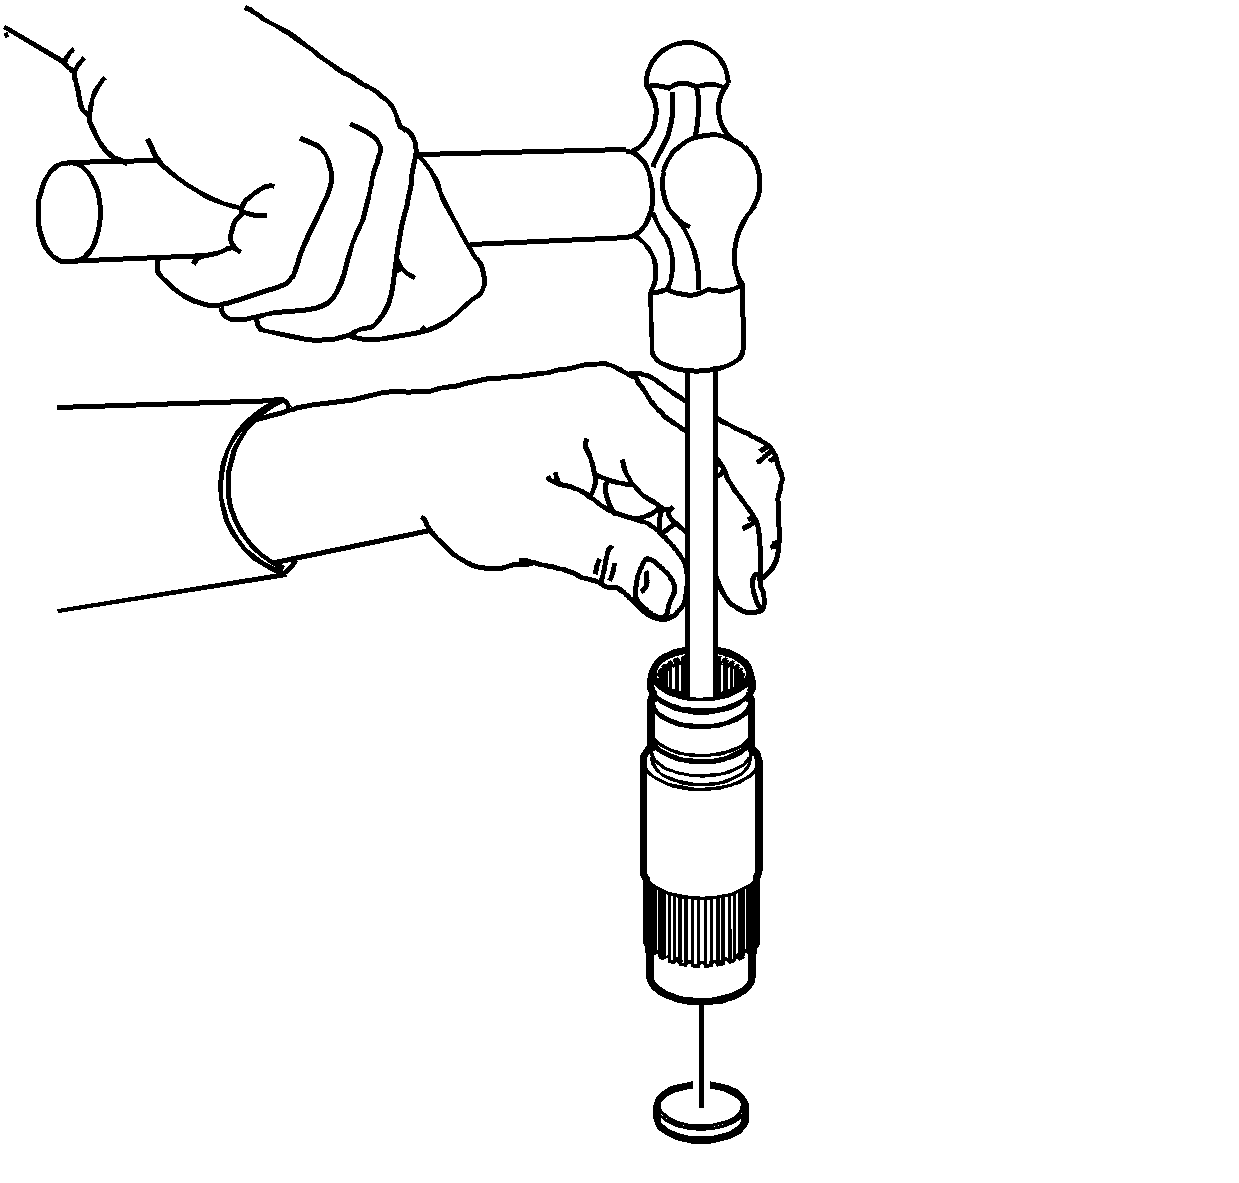
- Using a hammer and a suitable punch, remove the input seal.
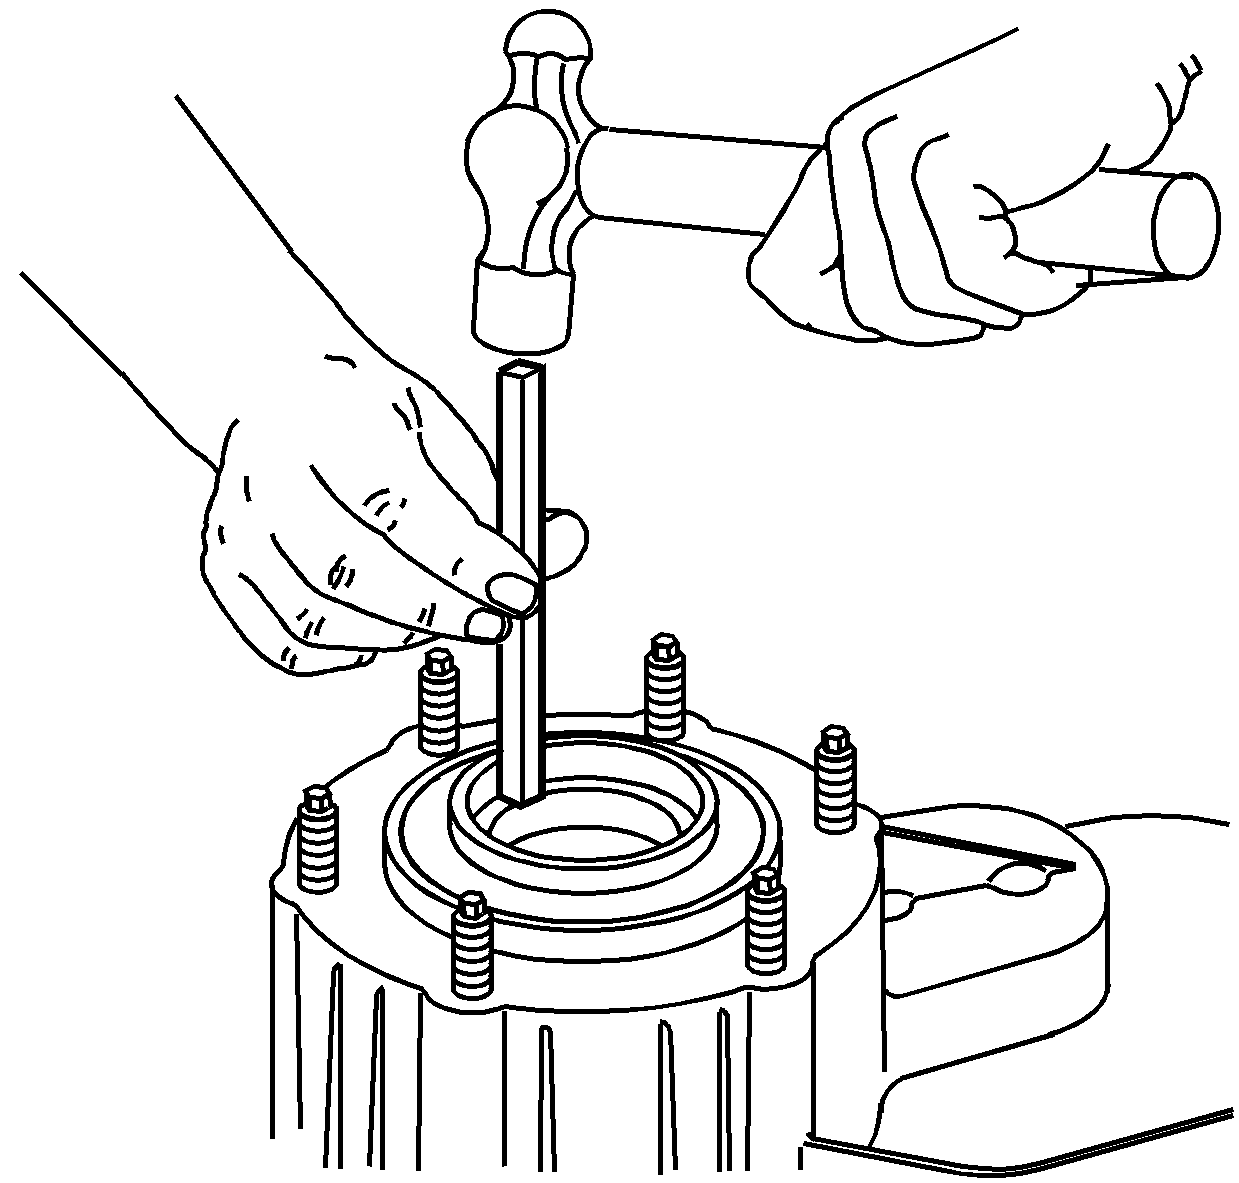
- Using a hammer and a brass drift, remove
the input shaft bearing from the front case half.
- Using a brass drift, remove the front
output shaft bearing from the front case half.

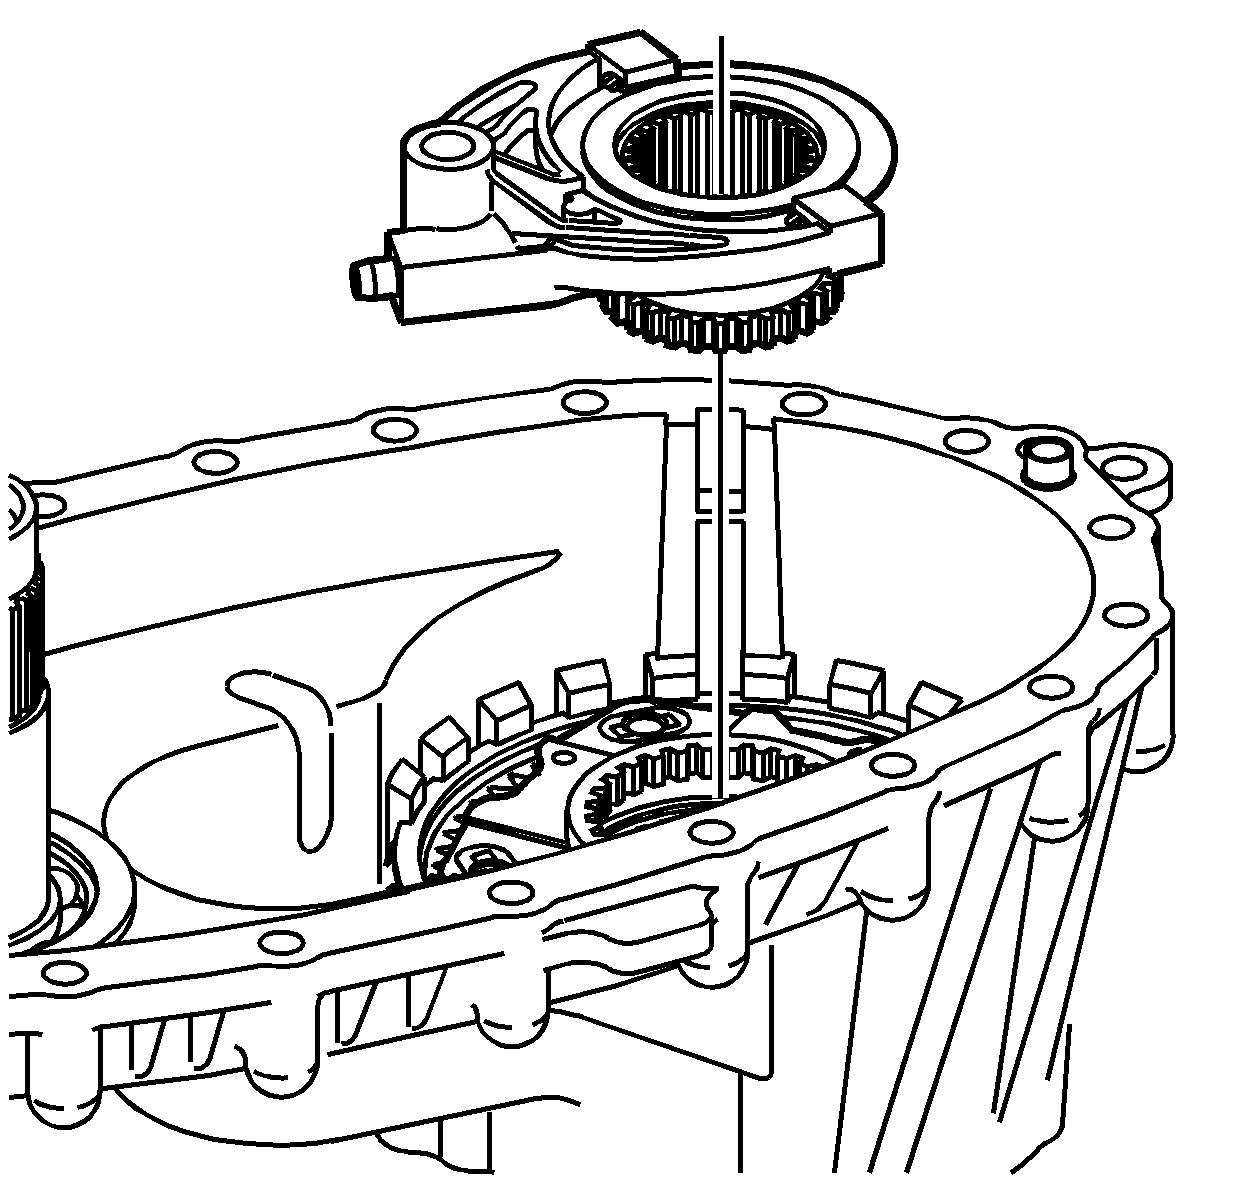
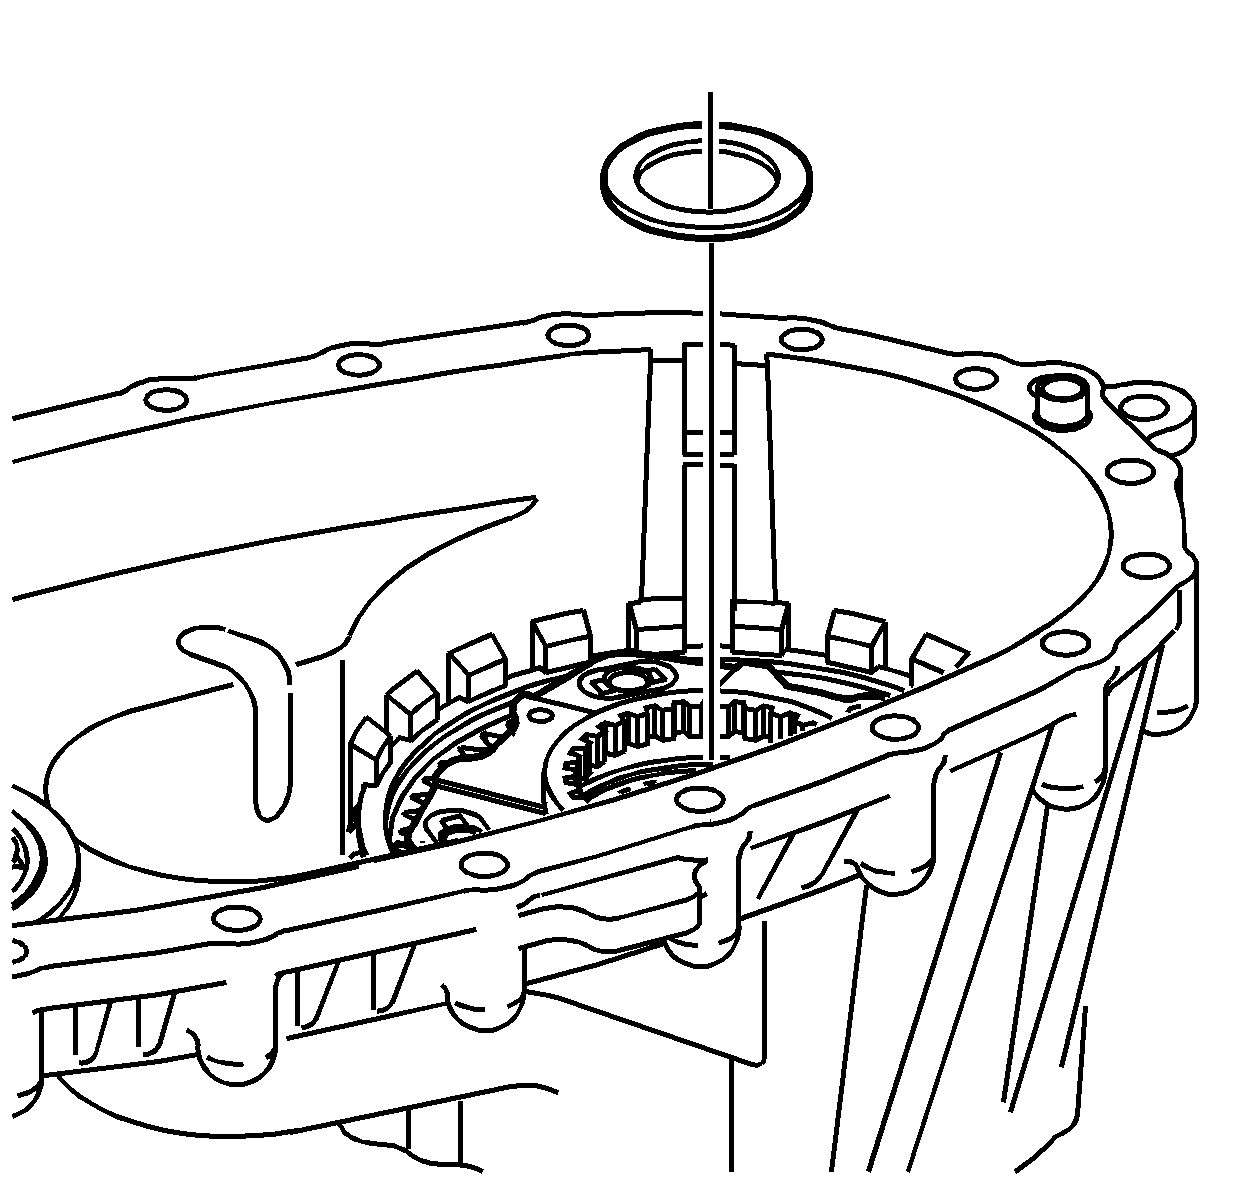
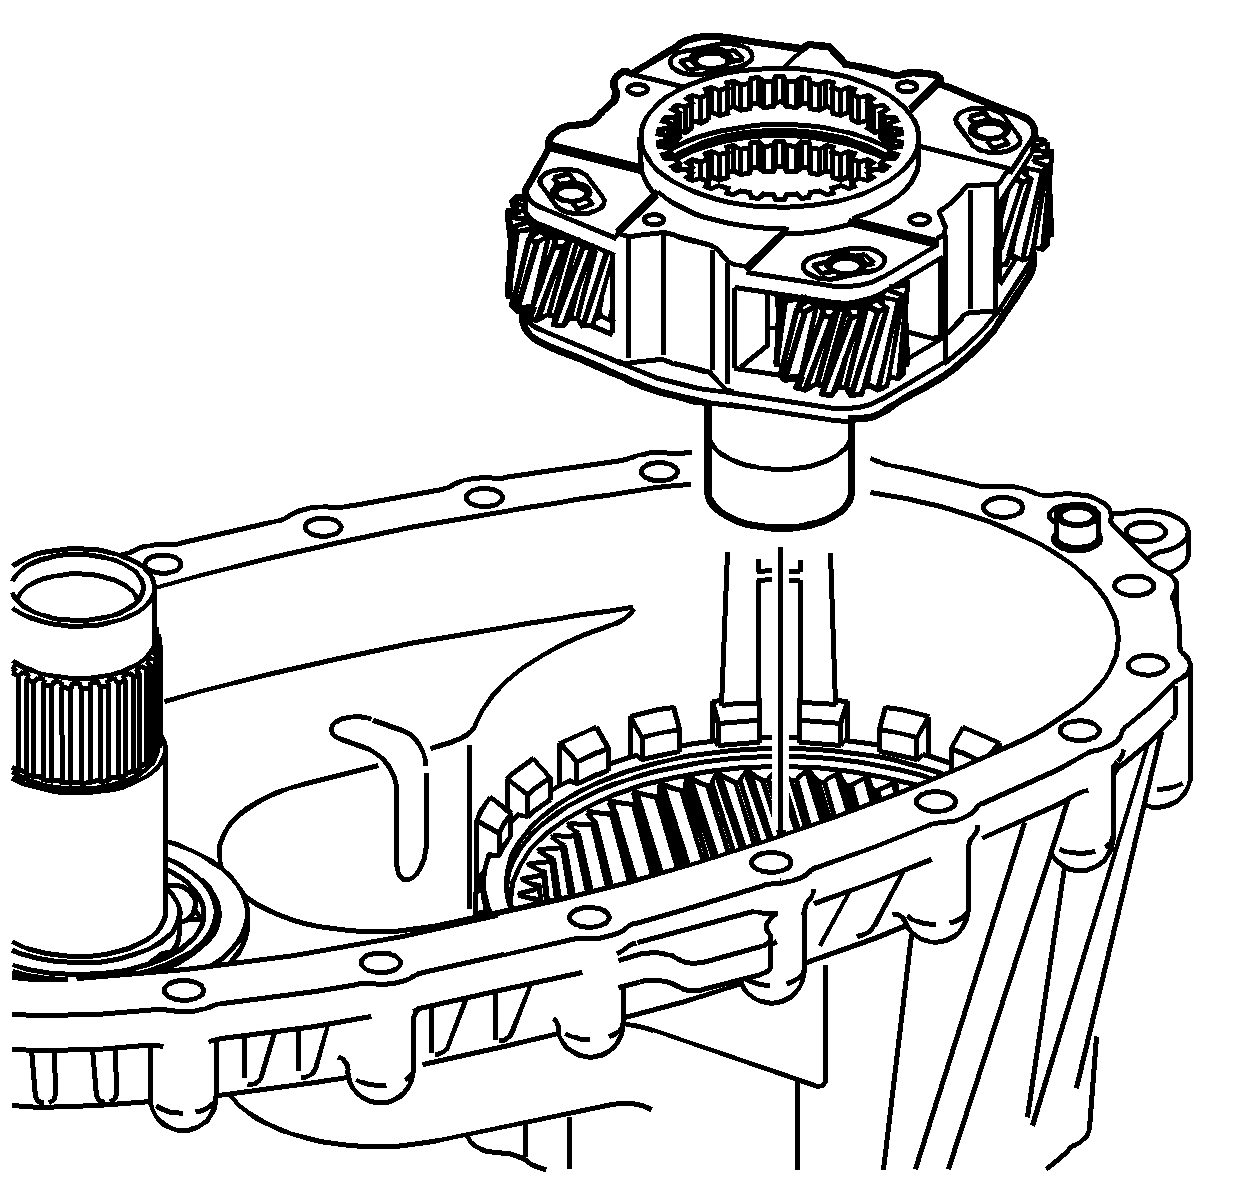
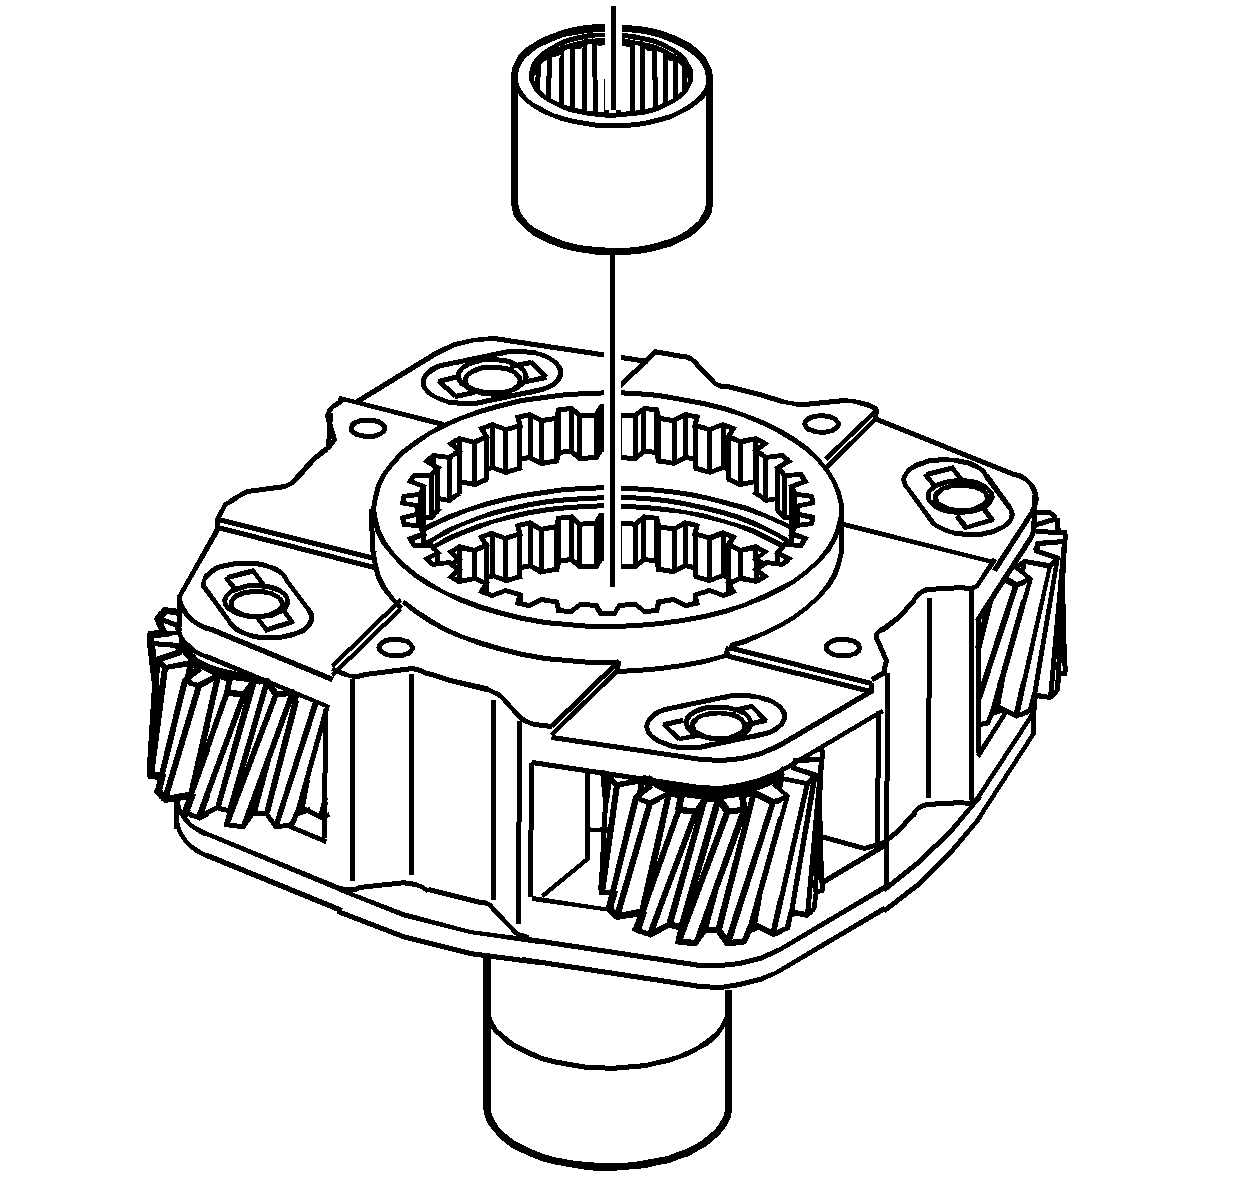
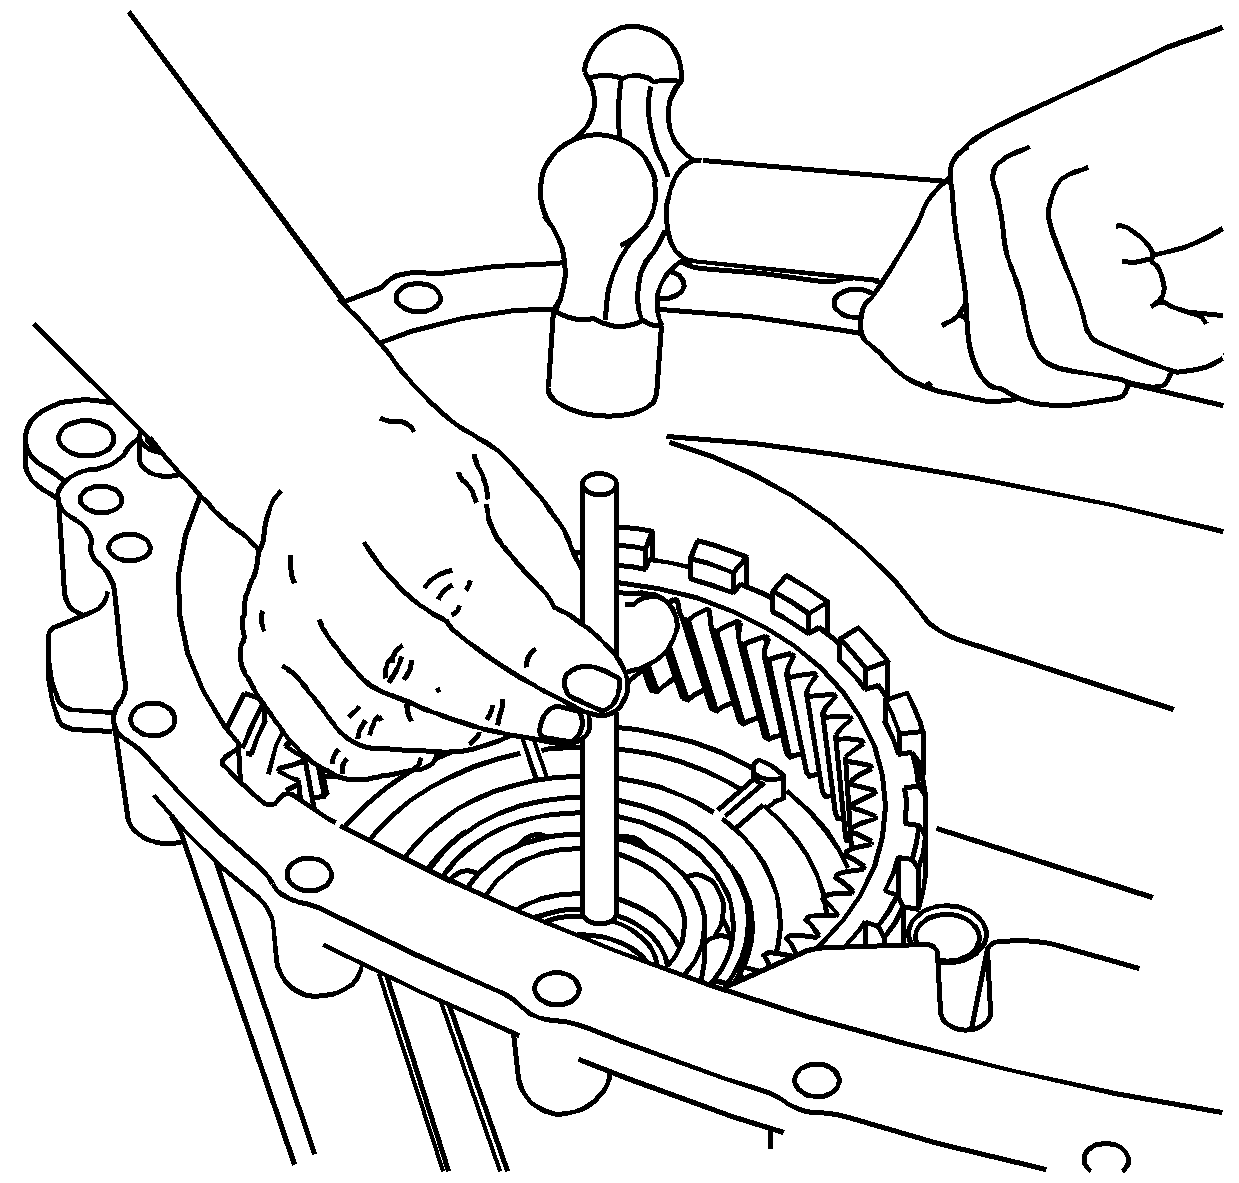
- Remove the retaining ring for the annulus
gear.
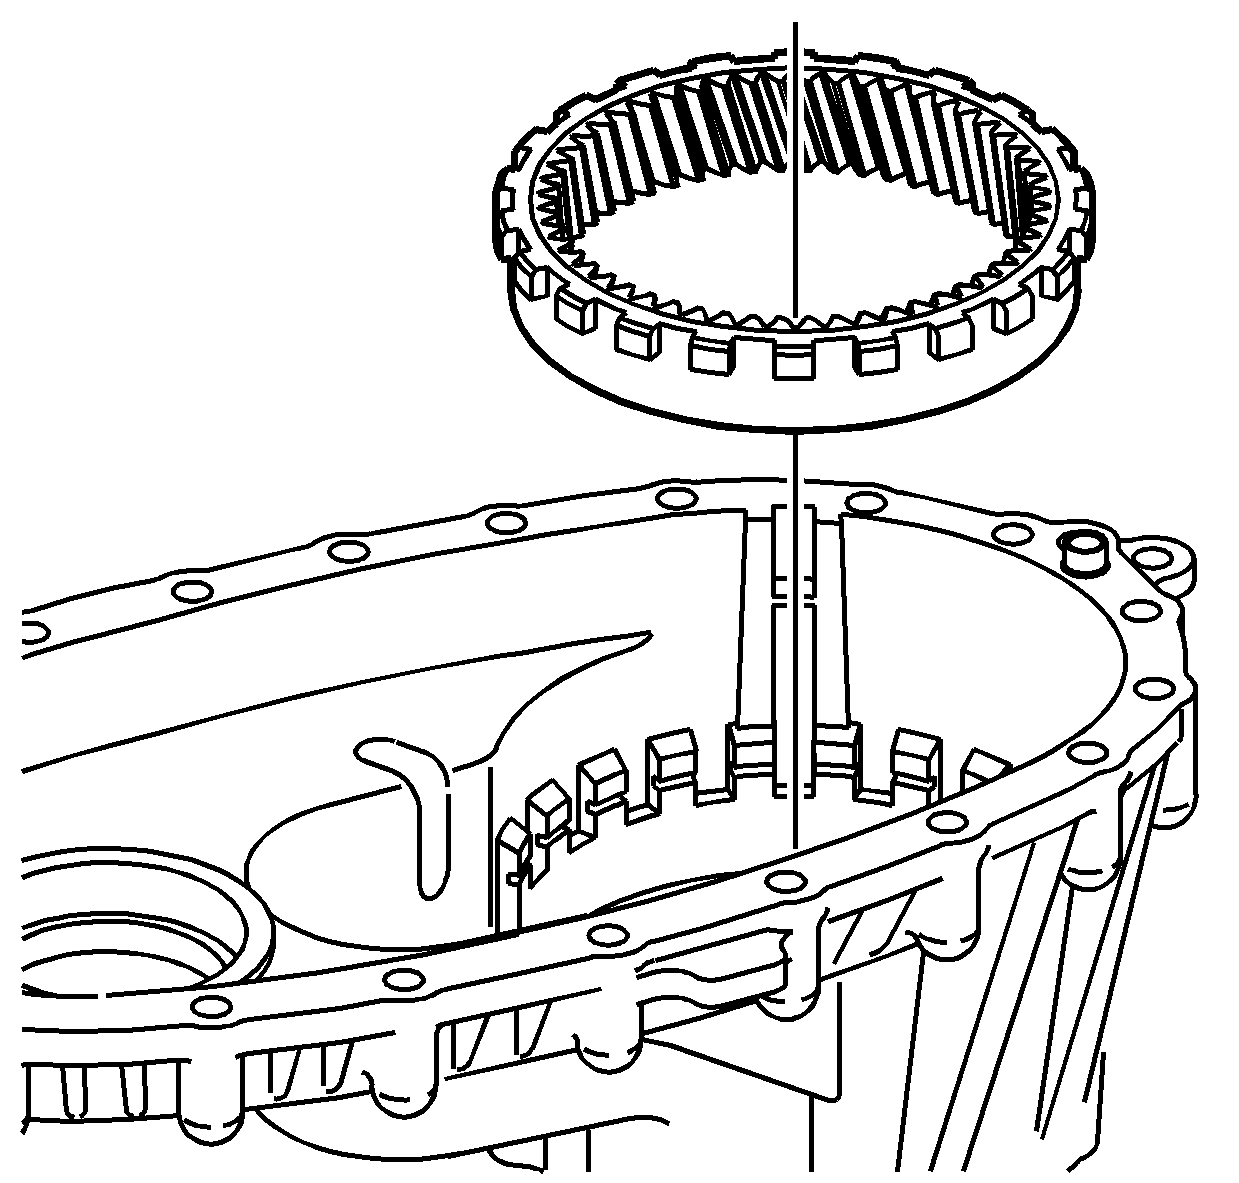
- Remove the annulus gear from the front
case half.
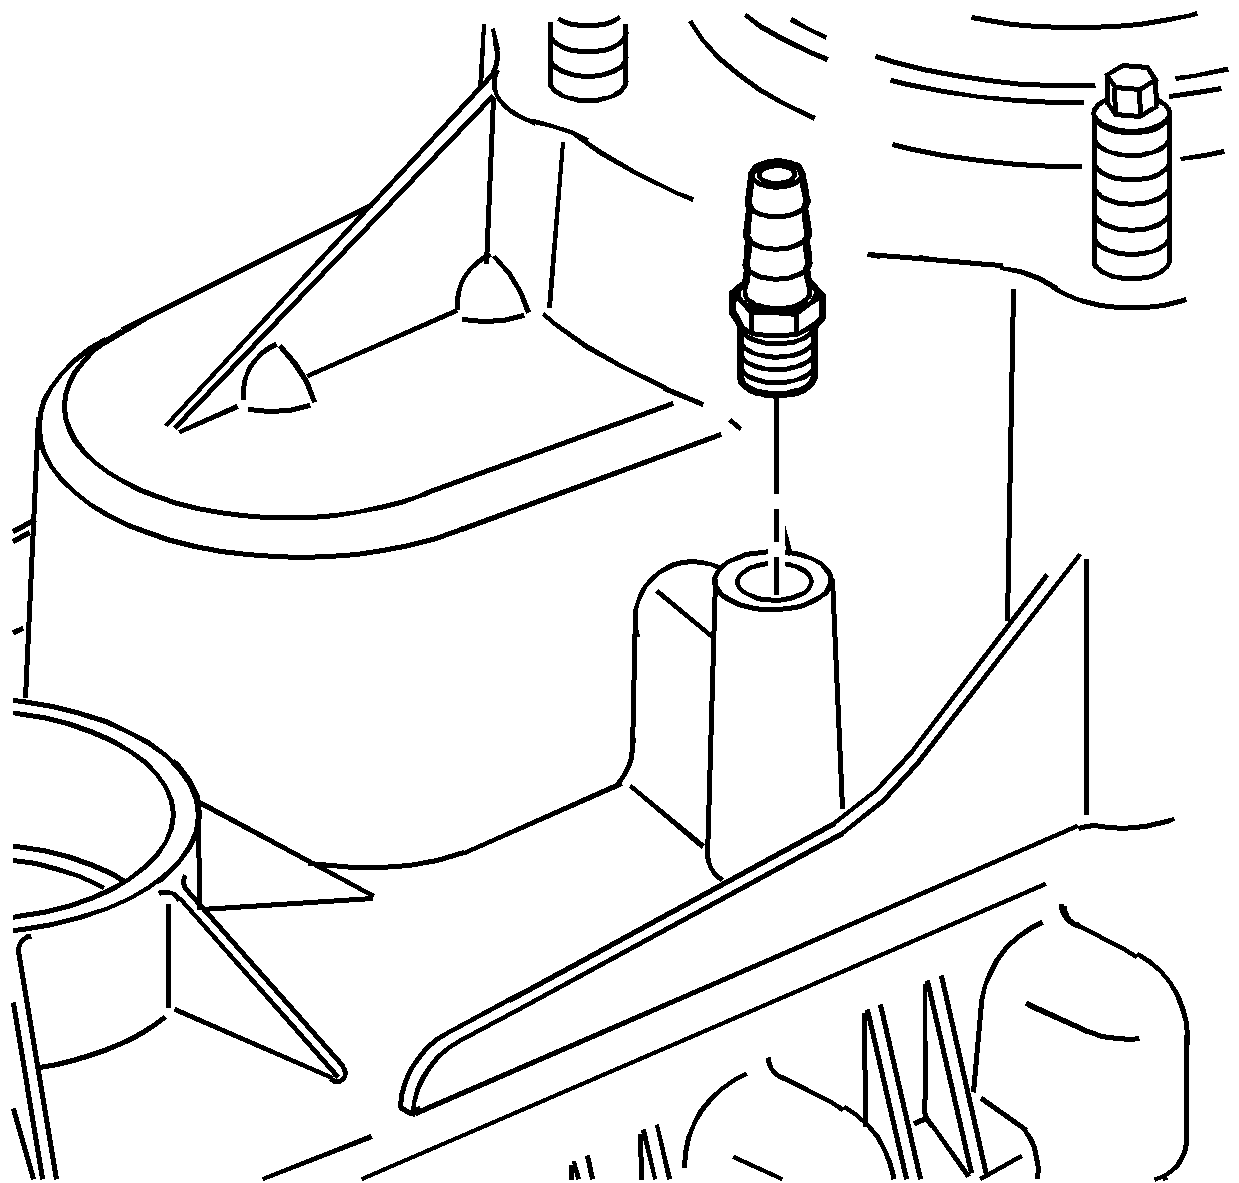
- If necessary, remove the vent from the front case half.
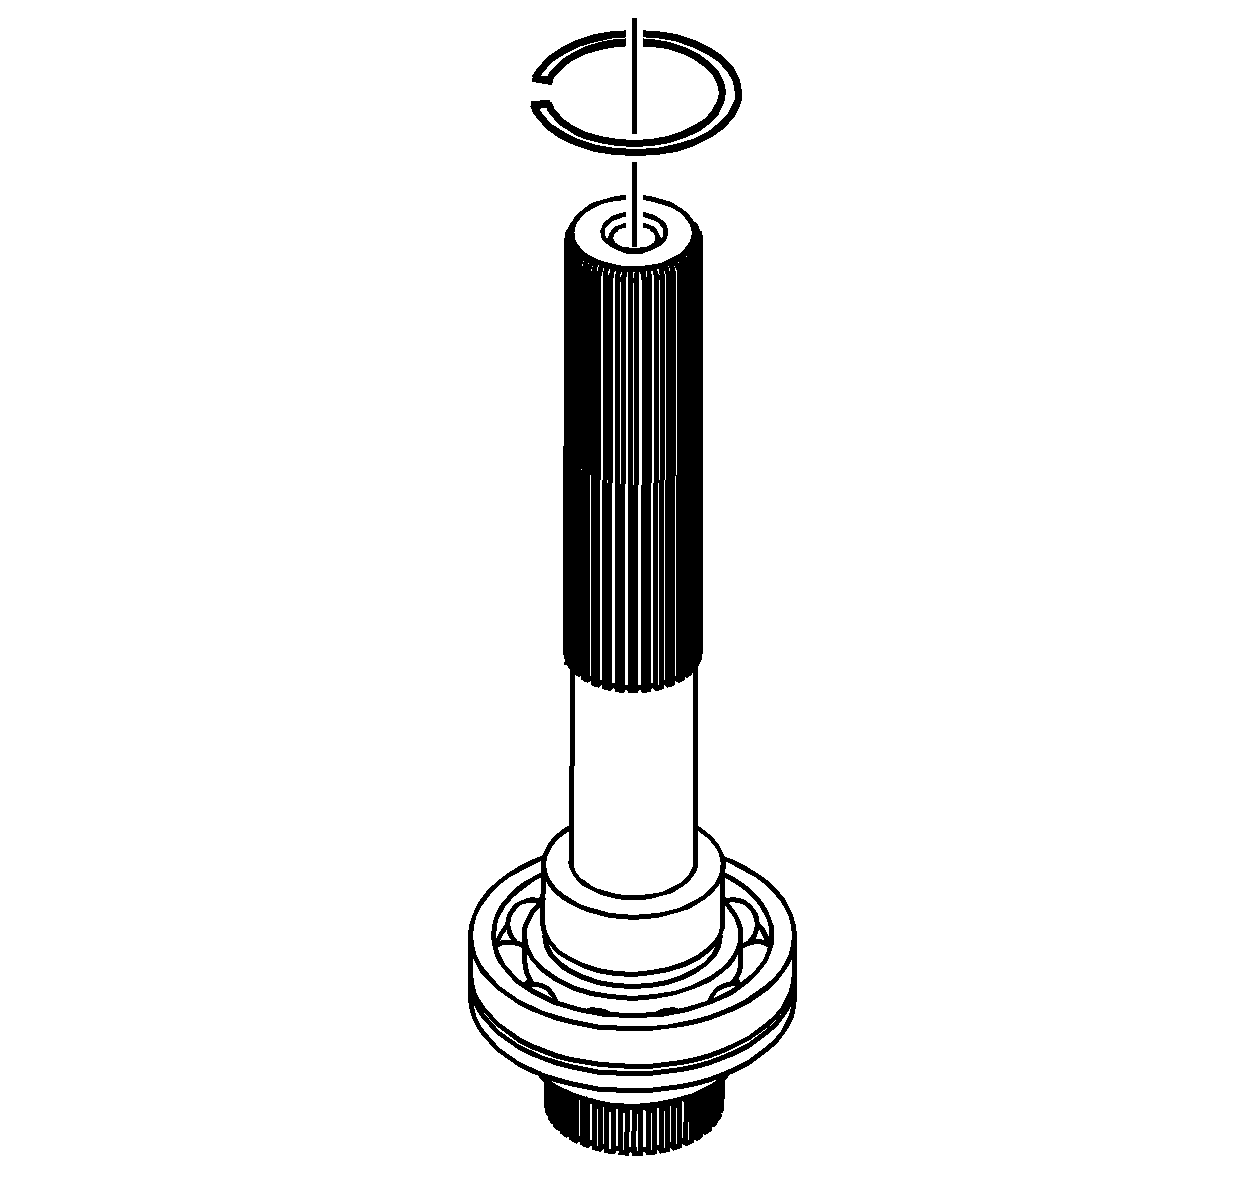
- Remove the rear output shaft from the
rear case half.
| 54.1. | Spread the rear output shaft rear bearing outer retaining ring. |
| 54.2. | Using a soft-face hammer, tap on the end of the rear output shaft. |
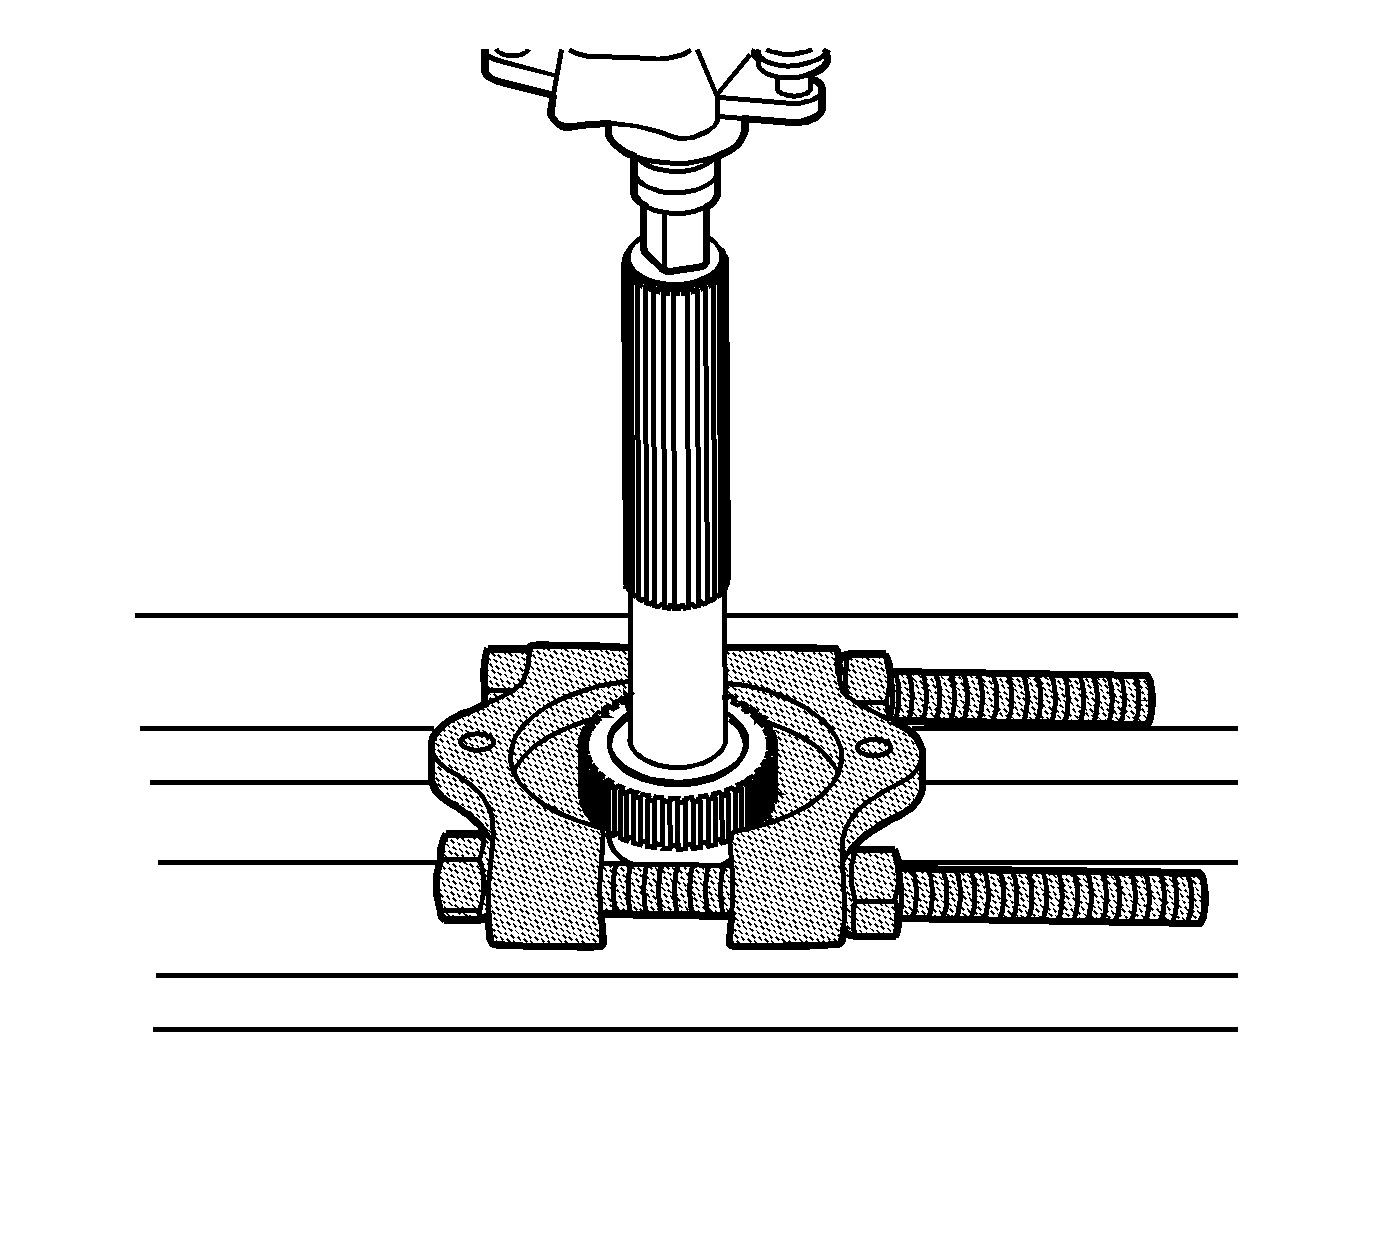
- Using a hydraulic press and the
J 22912-B
, remove the speed reluctor wheel.
Do not use the speed reluctor wheel again.
- Remove the retaining ring for the rear
output shaft bearing.
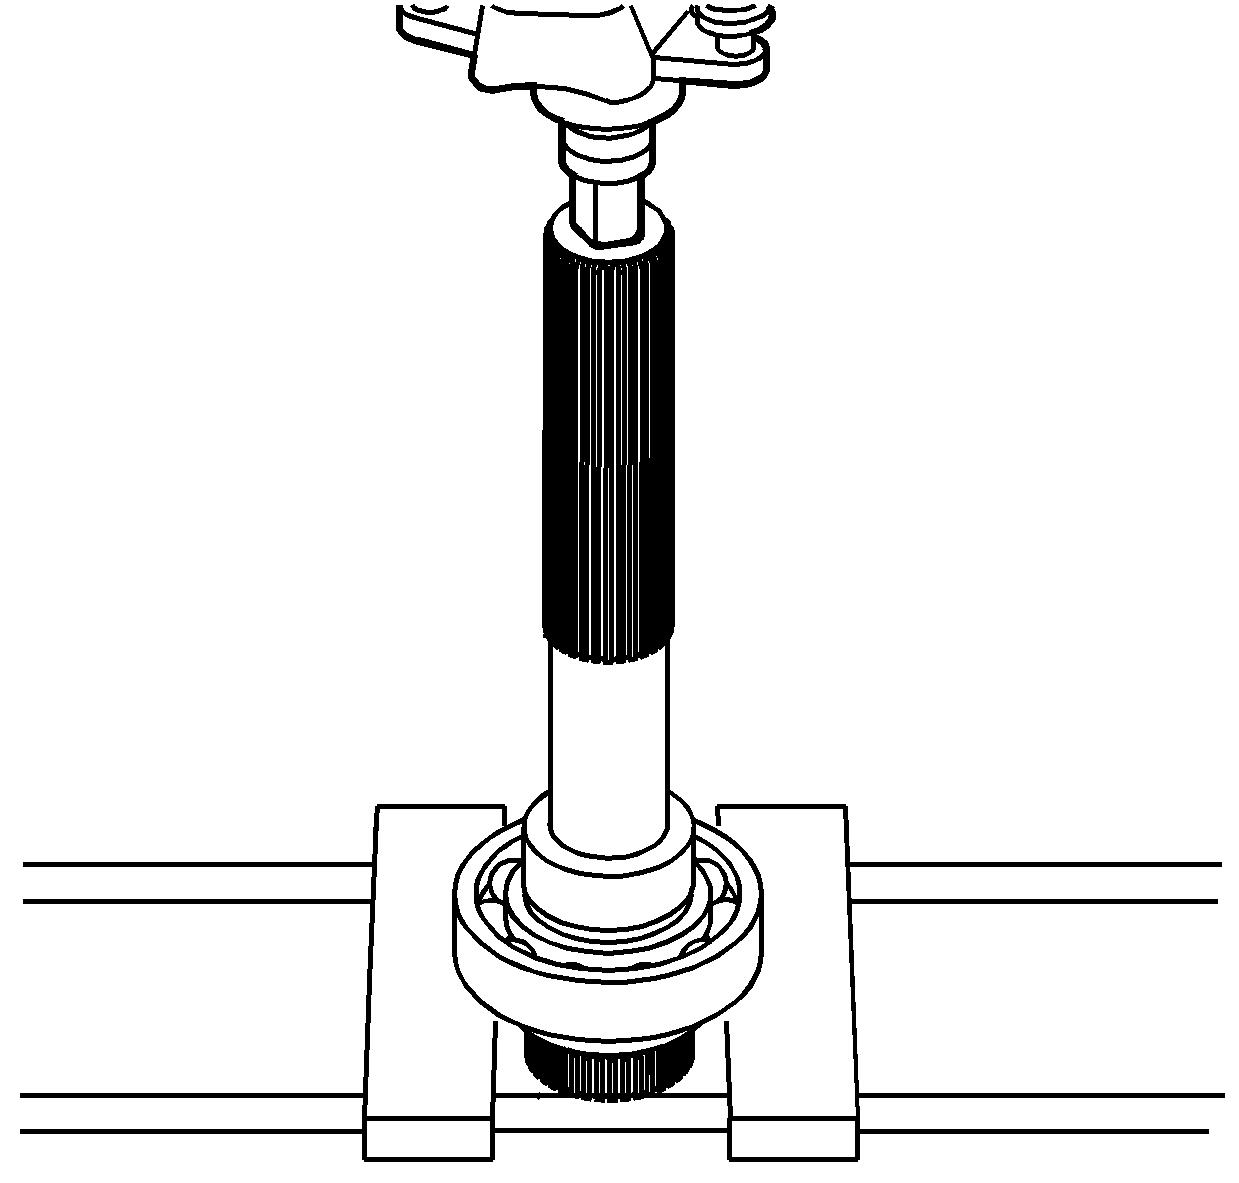
- Using a hydraulic press, remove the rear output shaft bearing.
- Inspect the mainshaft rear support
bushing in the rear output shaft for being faulty. Refer to
Transfer Case Cleaning and Inspection
.
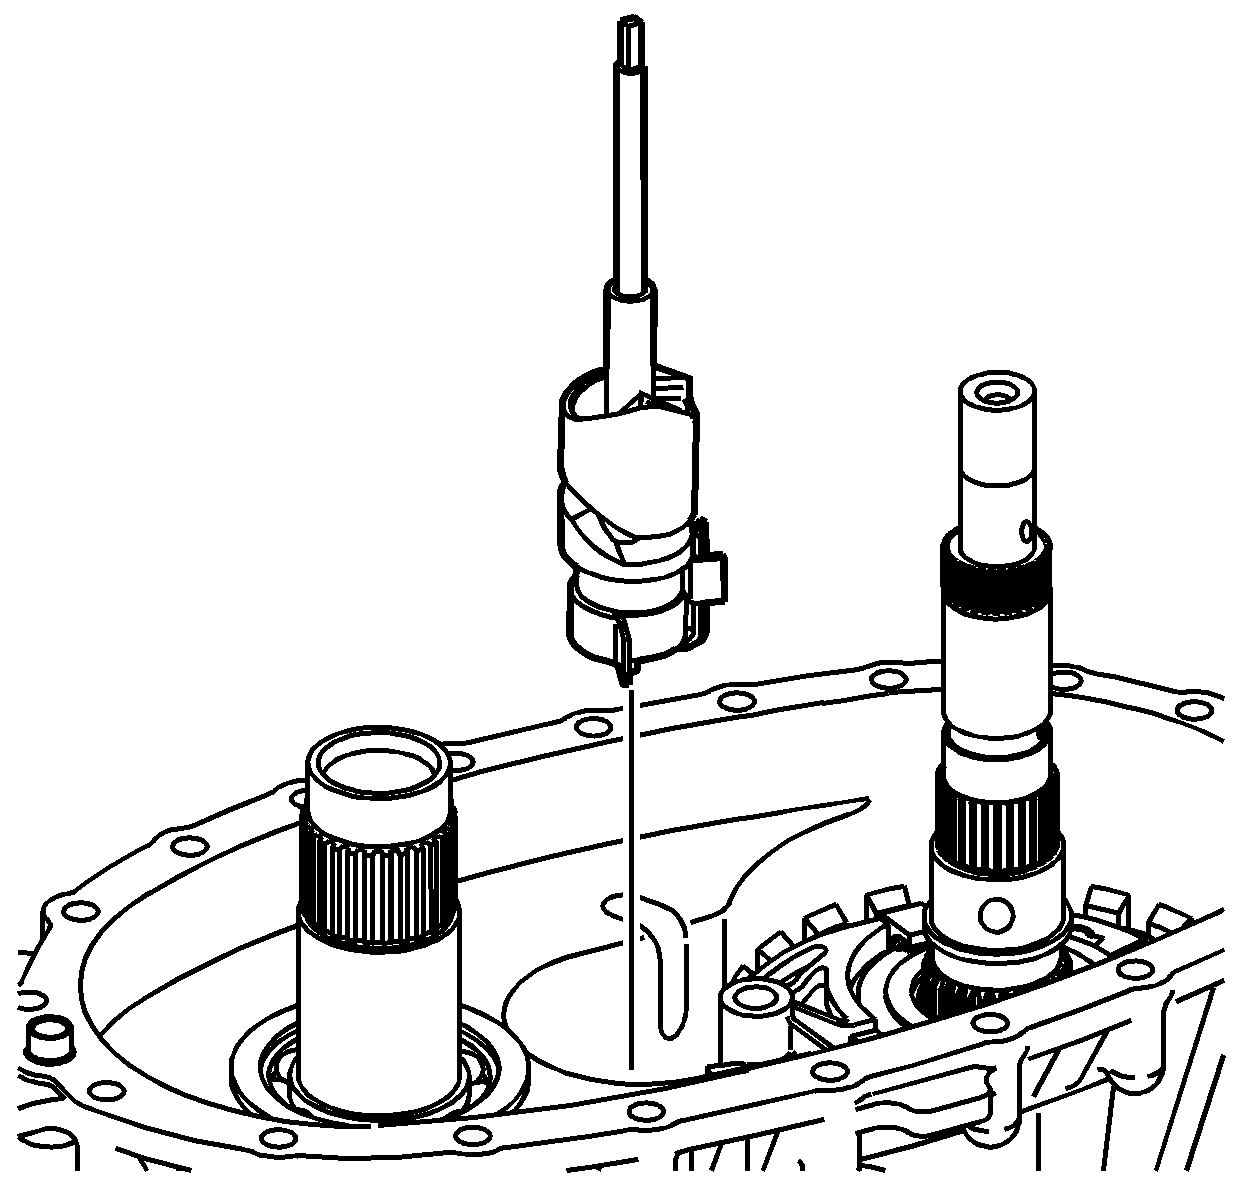
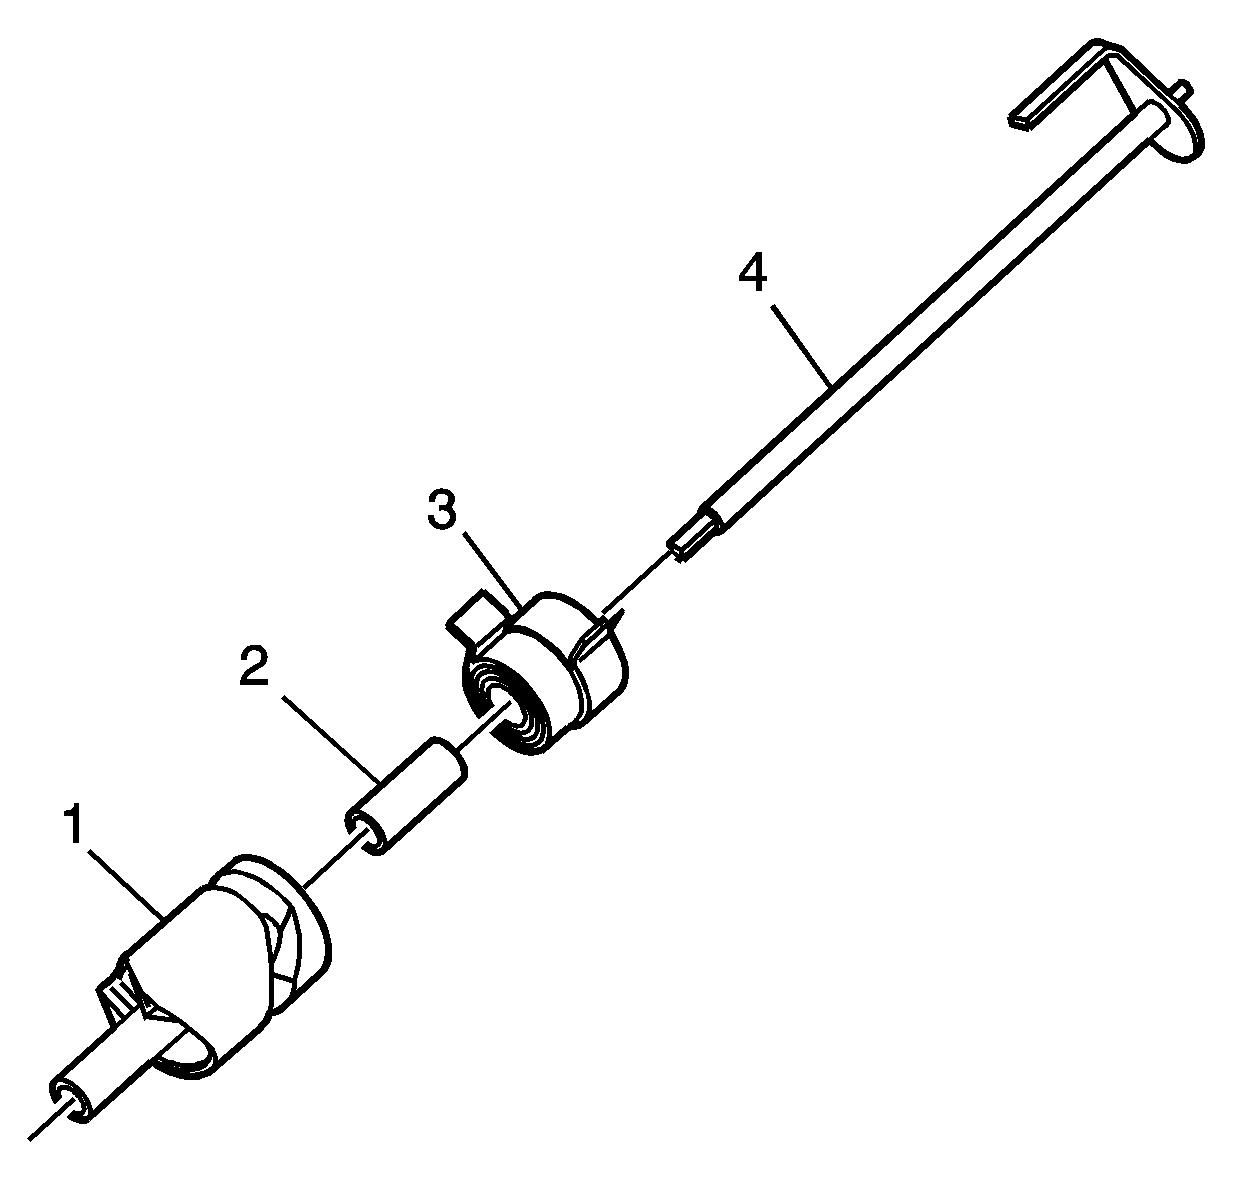
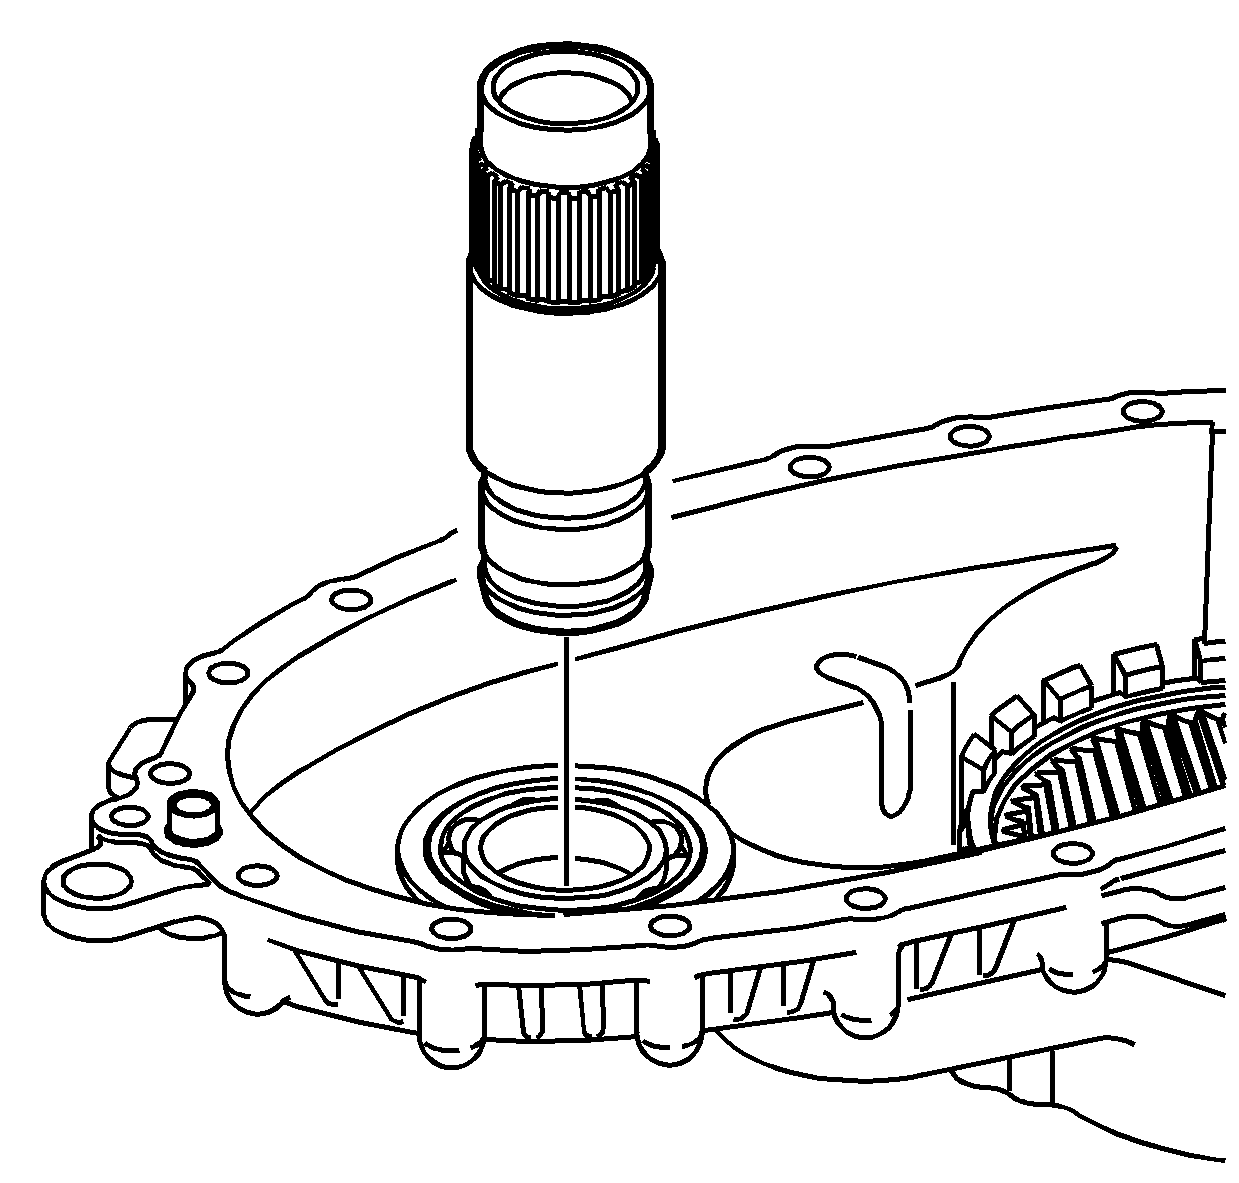
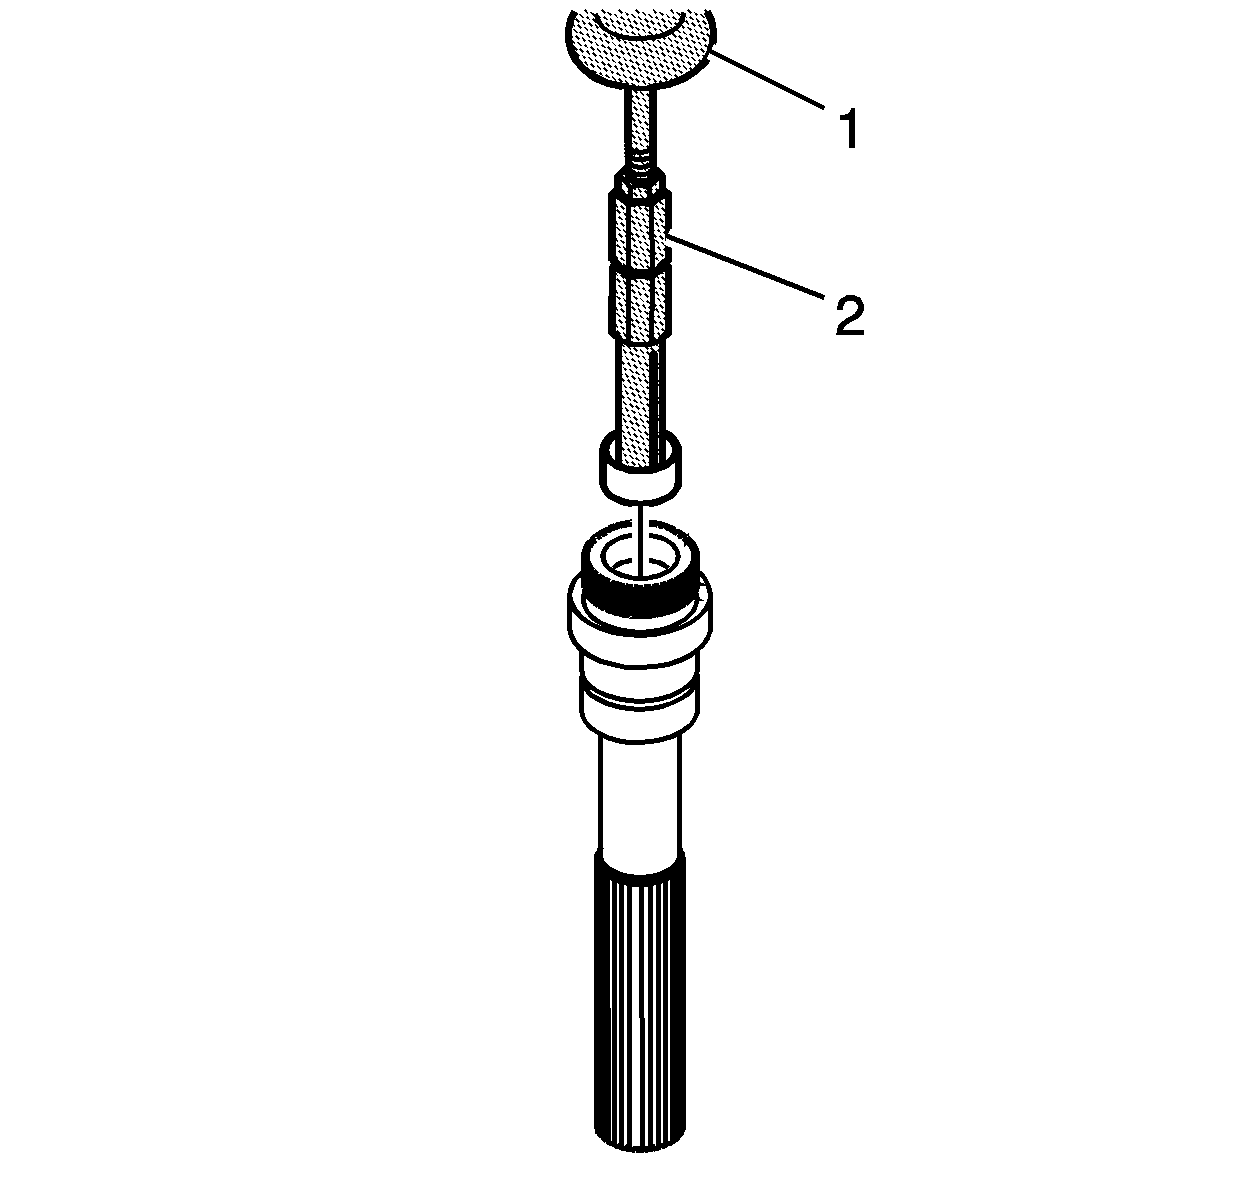
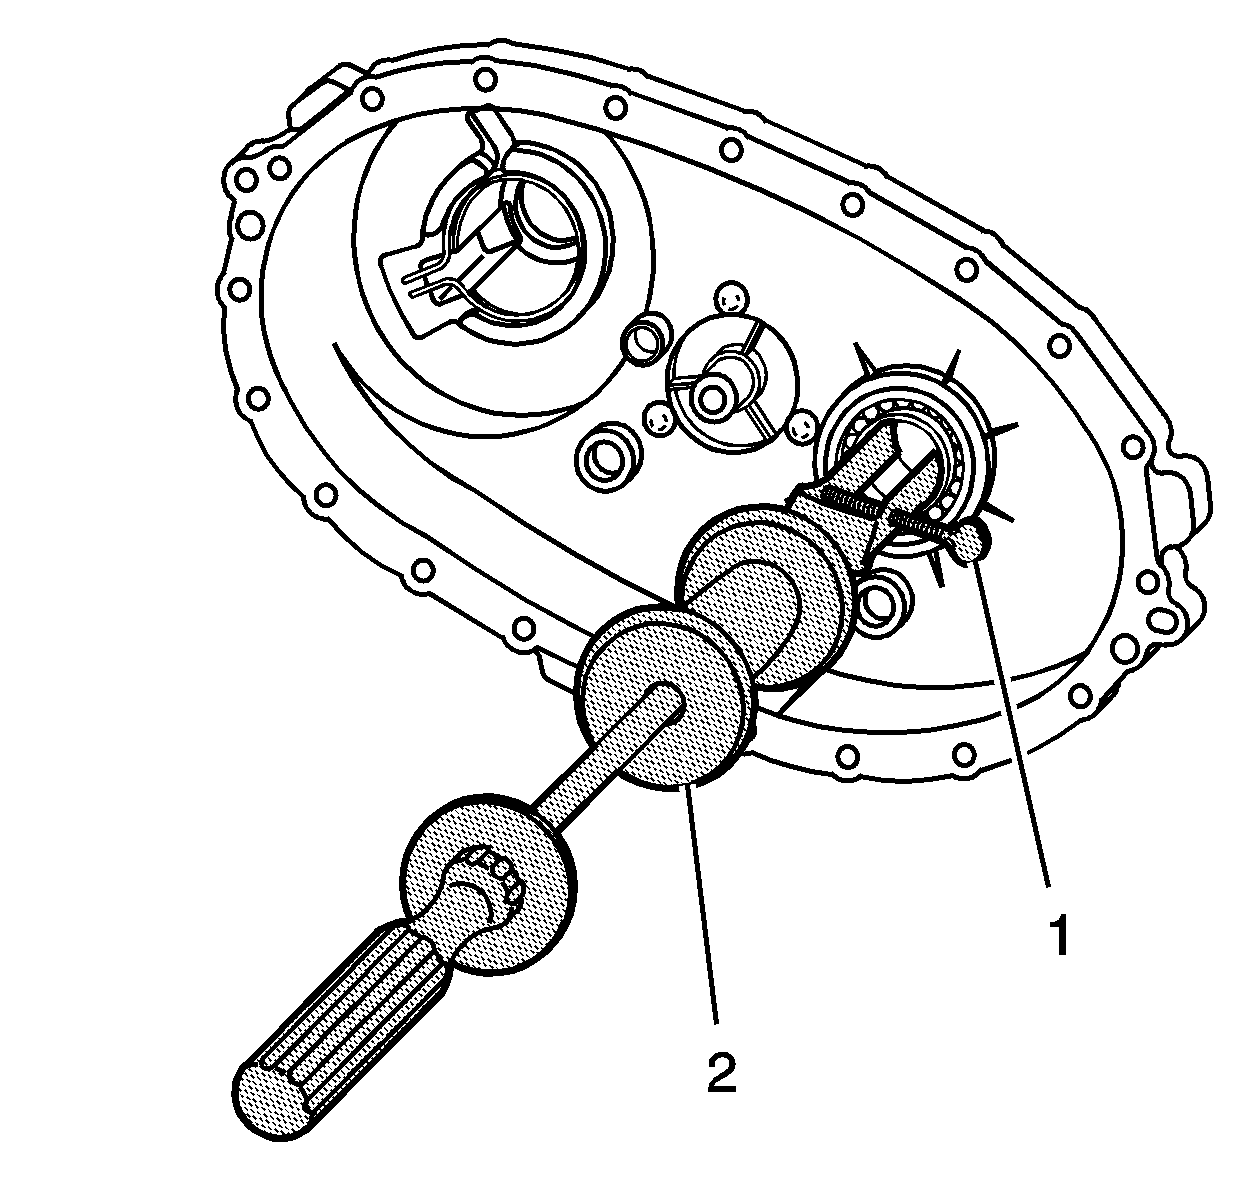
- Using the
J 2619-01
(1) and the
J 45548
(2), remove the mainshaft rear support bushing from the rear output shaft.
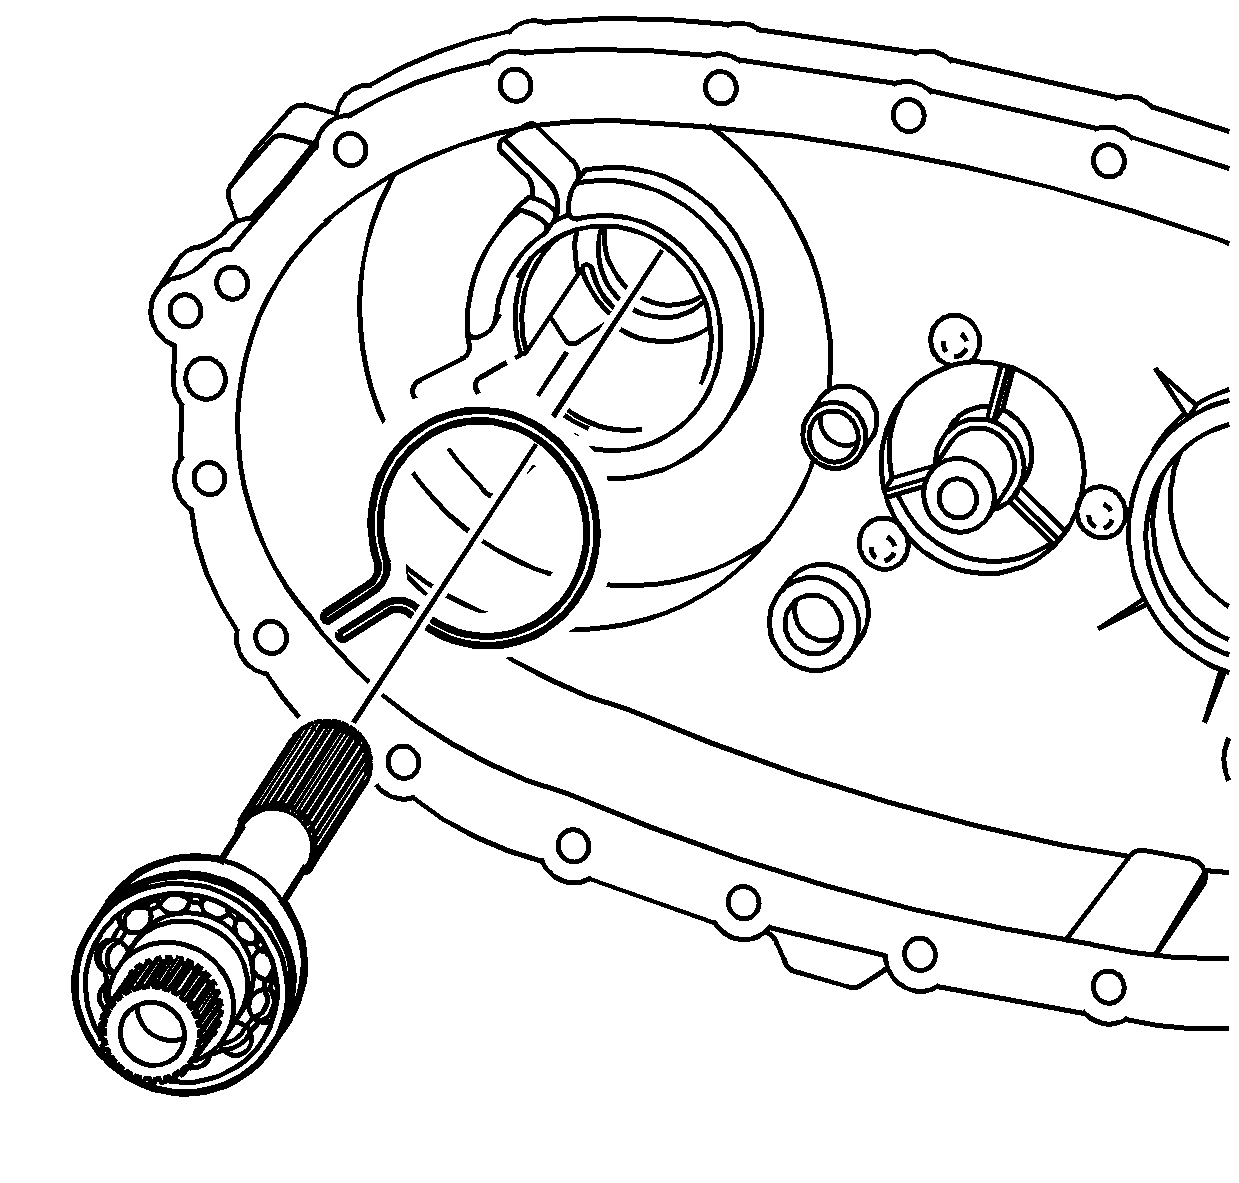
- Using the
J 26941
(1) and the
J 23907
(2), remove the rear bearing for the front output shaft from the rear case.
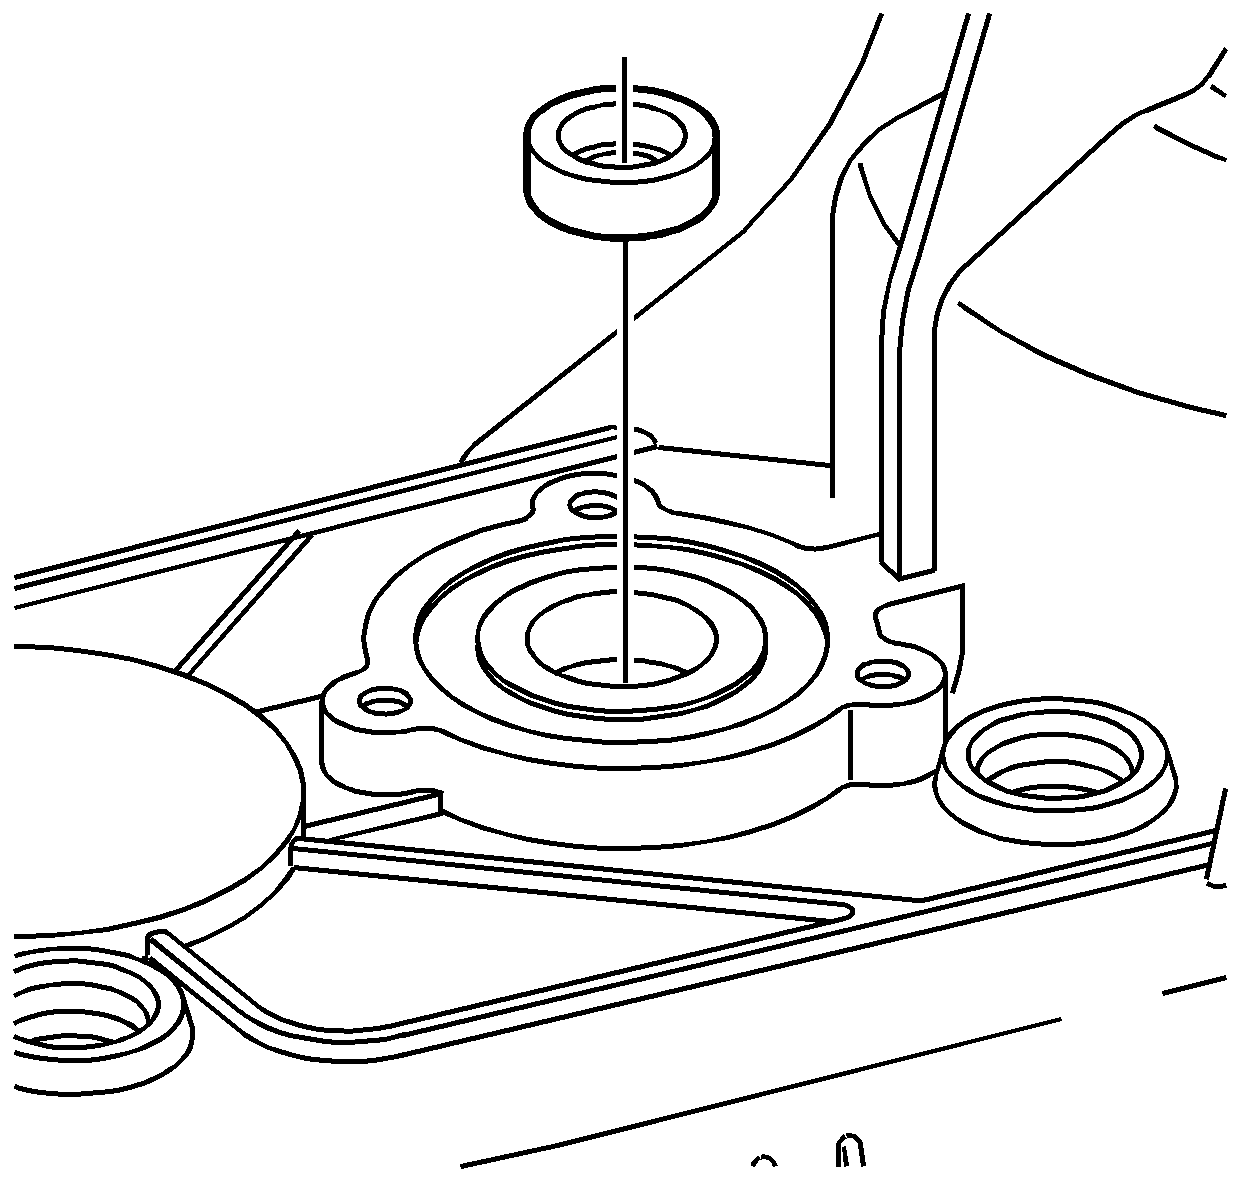
- Remove the seal for the shift detent
lever shaft by prying it out from the case.
