For 1990-2009 cars only
Tools Required
| • | J 38820 Valve Stem Seal Remover and Installer |
| • | J 44222 Camshaft Sprocket Holding Tool |
| • | J-44228-A Valve Spring Compressor |
| • | J 44226 Crankshaft Balancer Remover |
Removal Procedure
- Raise and support the vehicle. Refer to Lifting and Jacking the Vehicle .
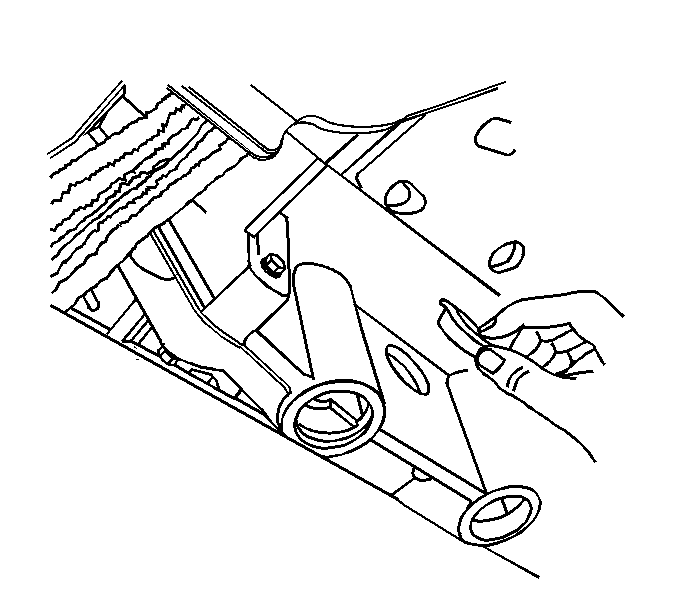
- Remove the torque converter access plug.
- Use the J 44226-3A 15 mm holding bar on a torque converter bolt to prevent the crankshaft from turning.
- Lower the vehicle.
- Remove and discard the timing gear bolts.
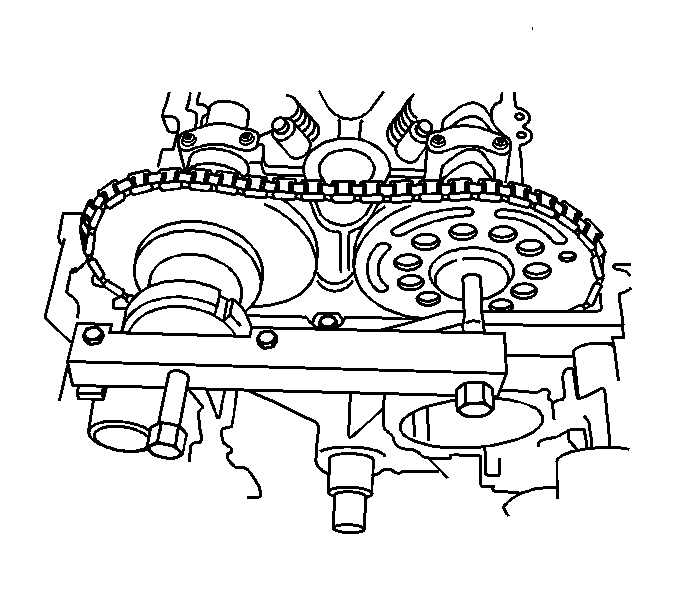
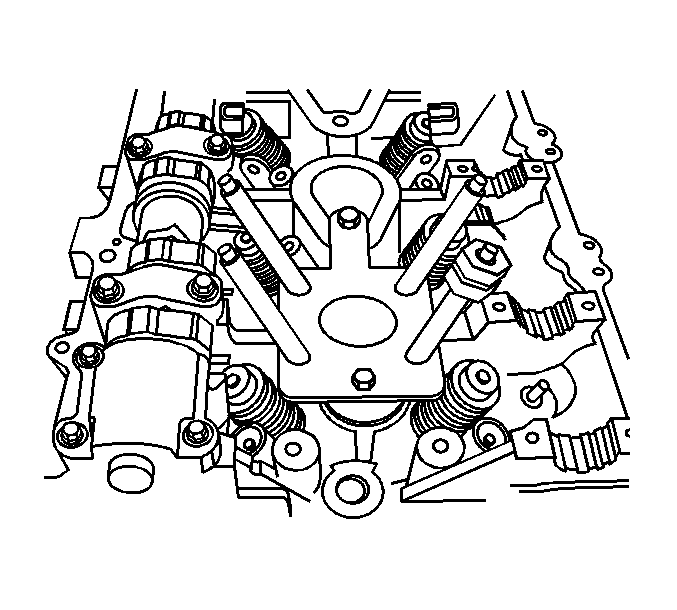
- Install the J 44222 onto the cylinder head in order to keep from disturbing the timing chain components.
- Adjust the 2 horizontal bolts into the camshaft sprockets to maintain chain tension.
- Carefully move the sprockets with the timing chain, off of the camshafts.
- Remove the camshaft cap bolts.
- Remove the camshaft caps.
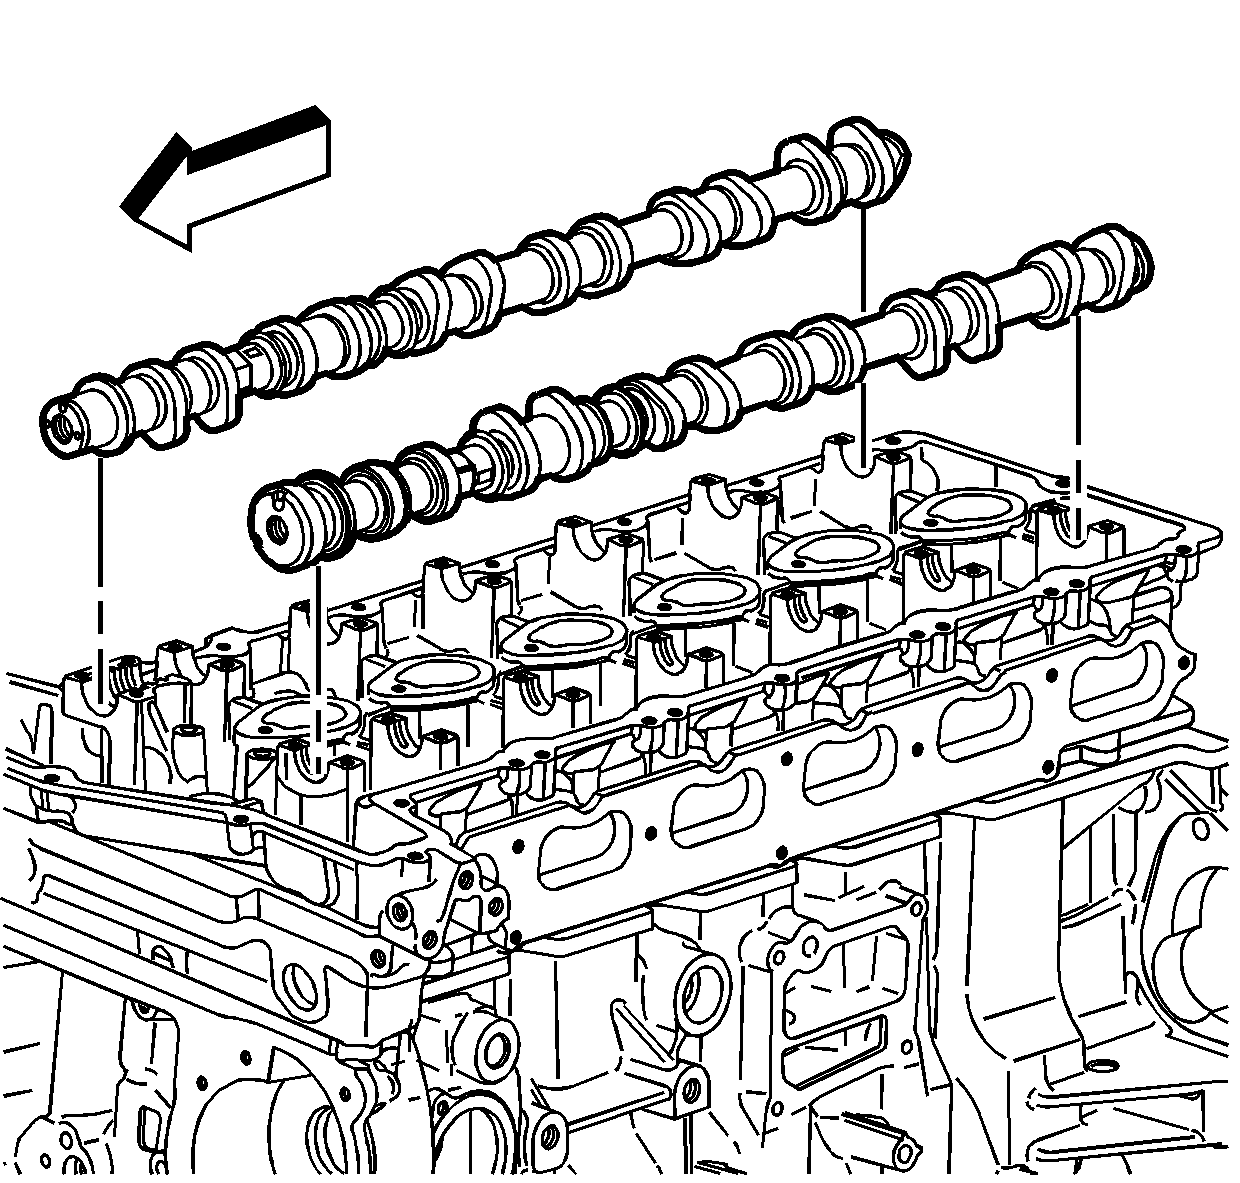
- Remove the camshafts.
- Using a suitable adapter, apply air pressure to the cylinder.
- Install the J-44228-A and compress the valve springs.
- Remove the valve keys.
- Remove the J-44228-A .
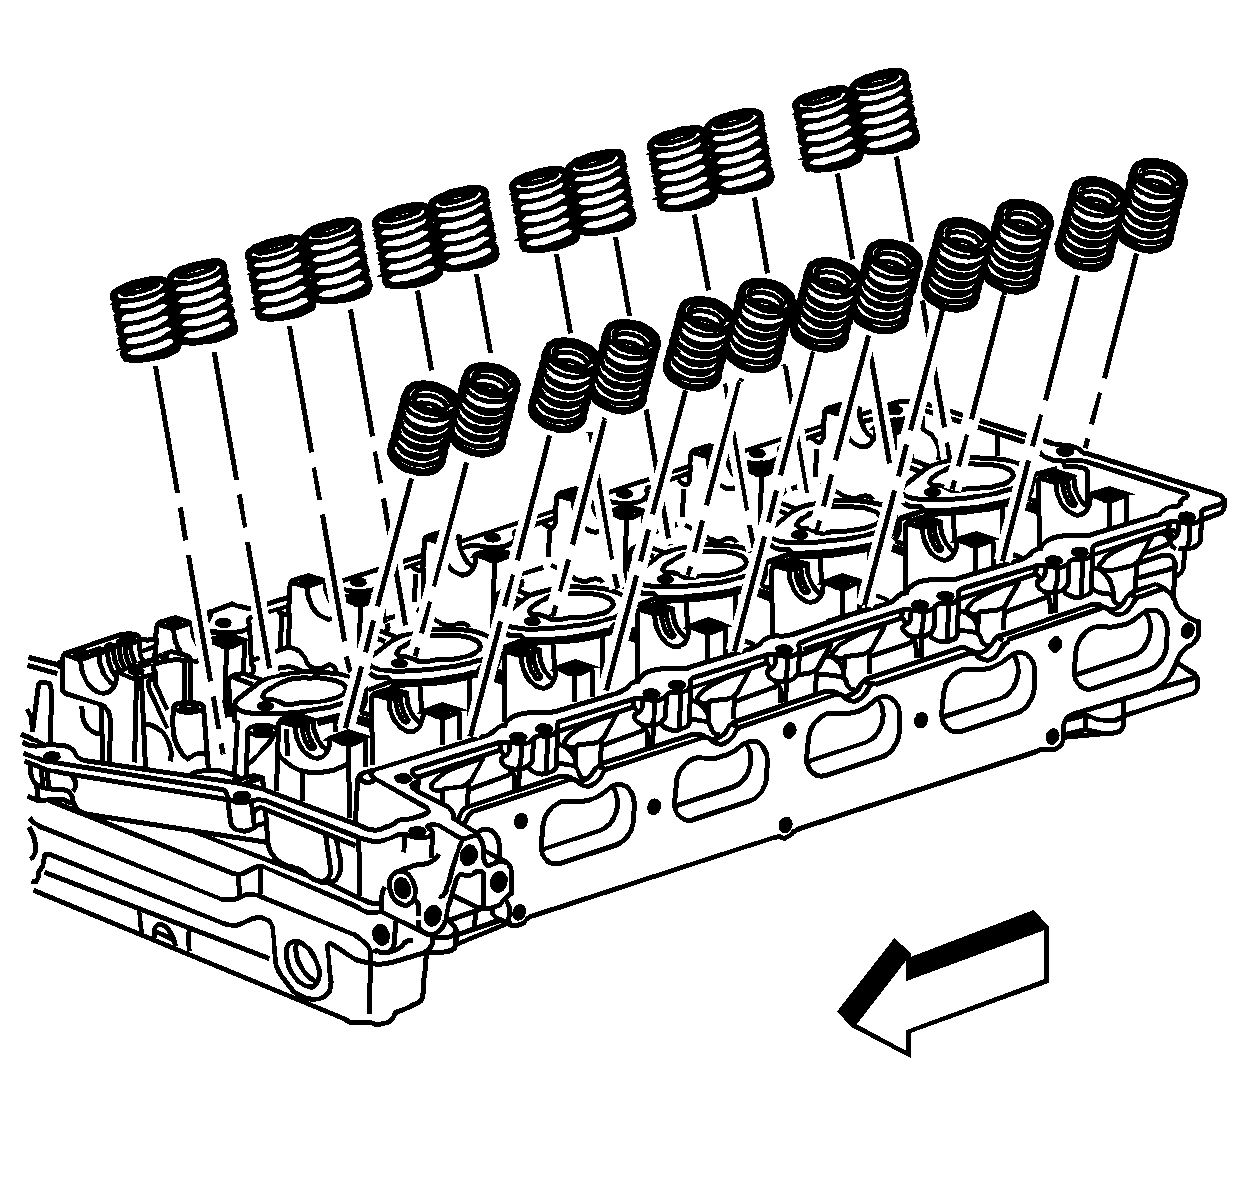
- Remove the valve spring retainer and the valve spring.
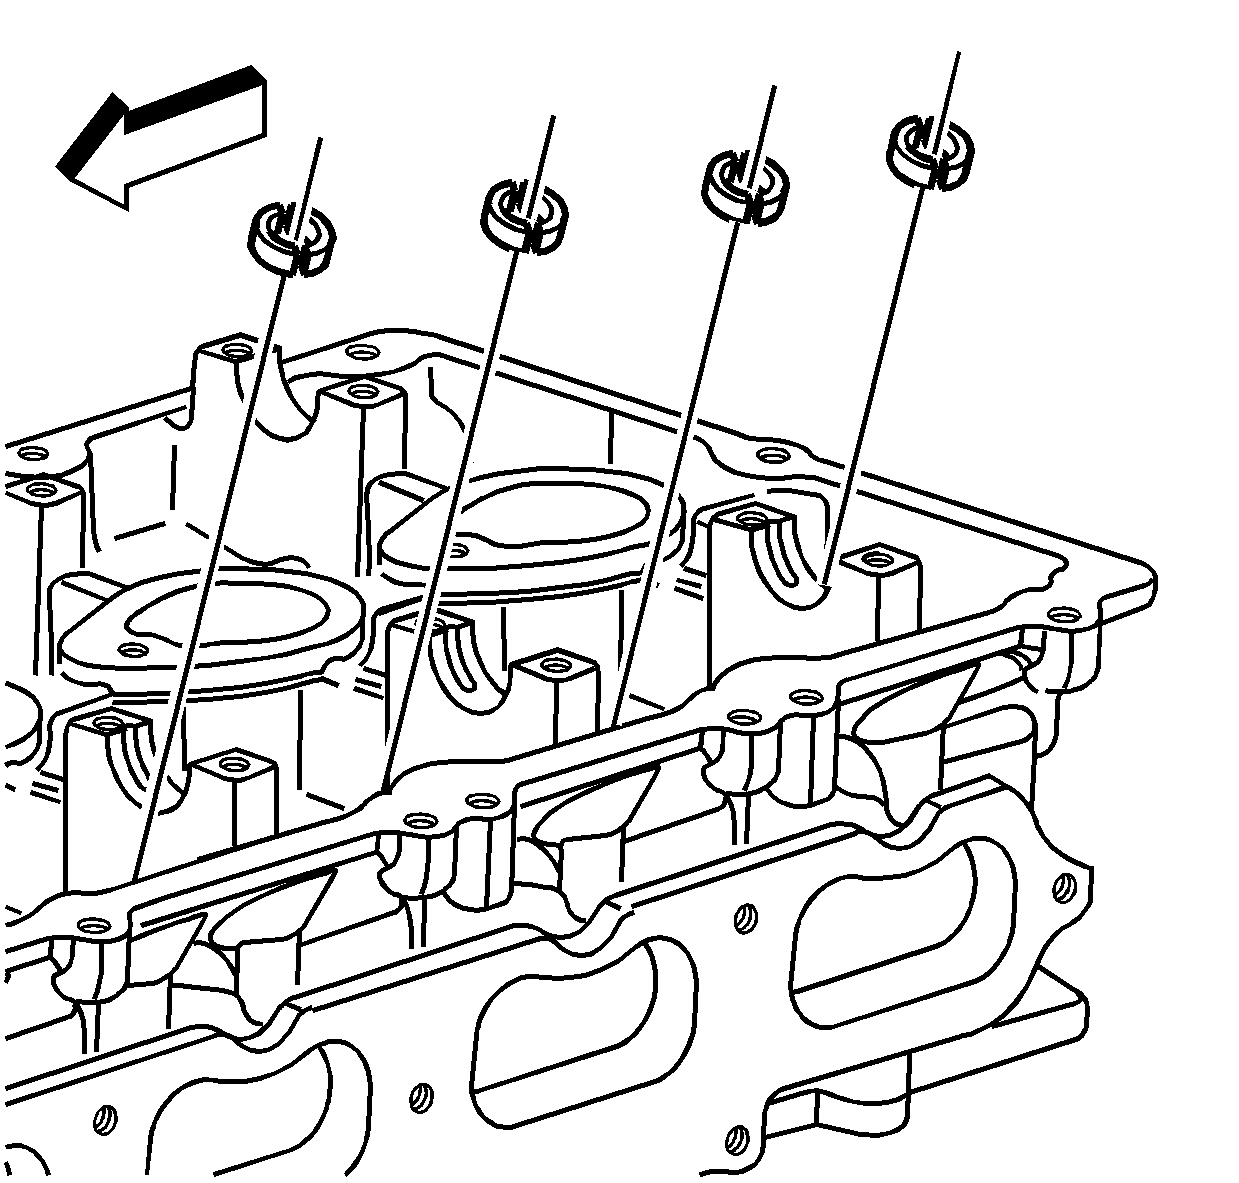
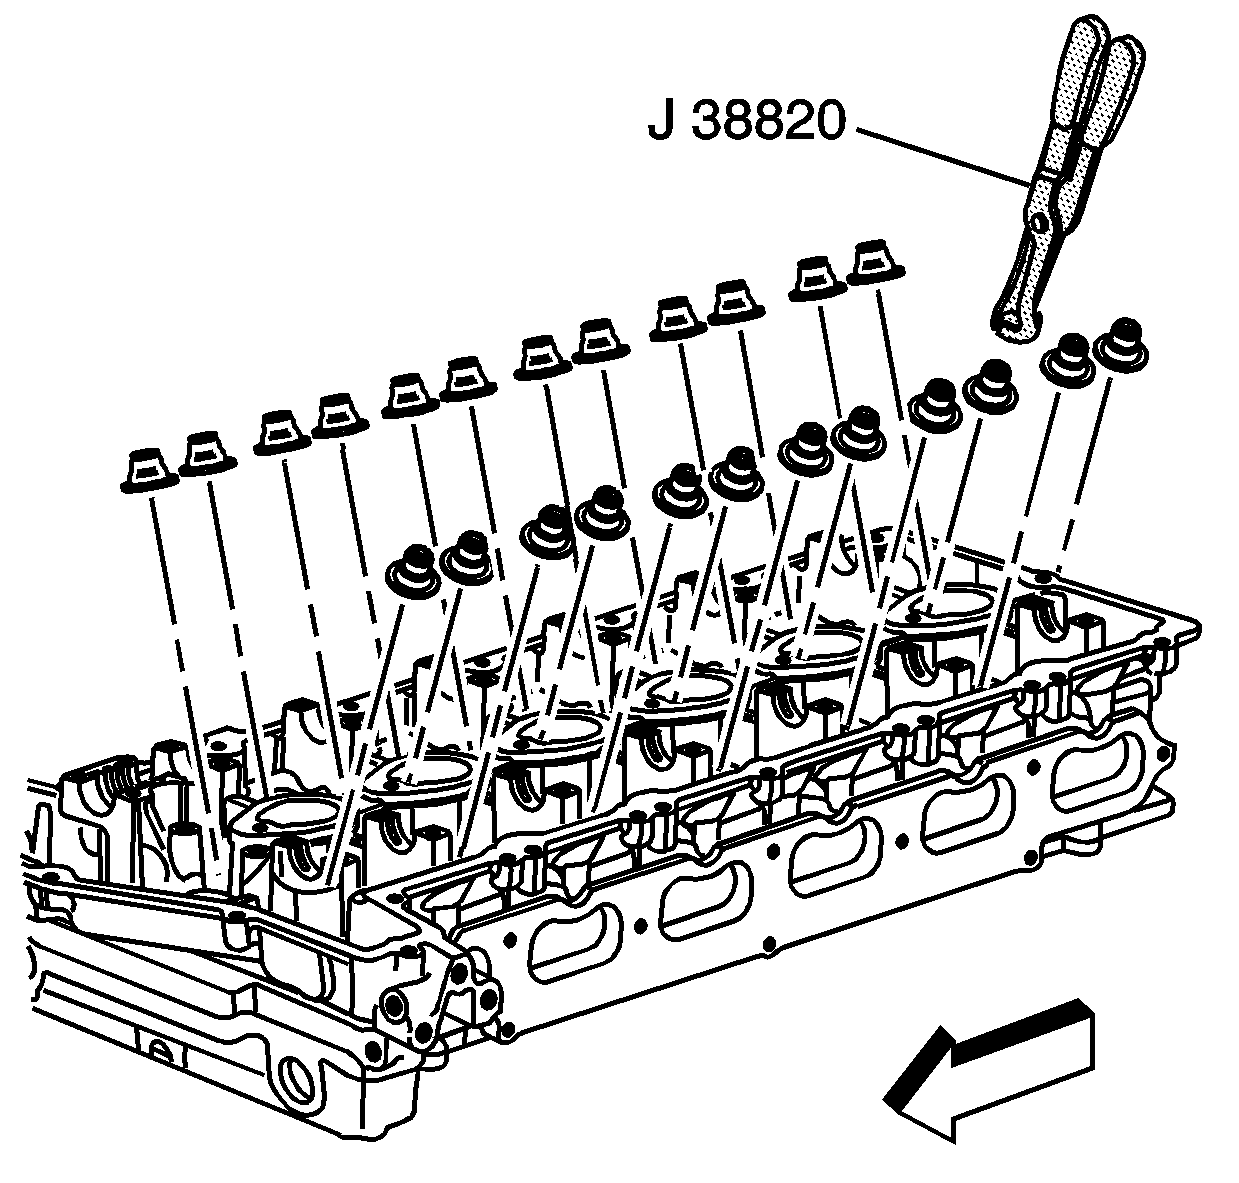
- Use the J 38820 and remove the seals.
- Clean and inspect the cylinder head. Refer to Cylinder Head Cleaning and Inspection .
Important:
• Organize the valve train components when disassembling so they can be reassembled in the same location and matched up with the same components, as previously installed. • Regulate the air pressure to 50 psi before pressurizing the cylinder to help prevent the crankshaft from turning.
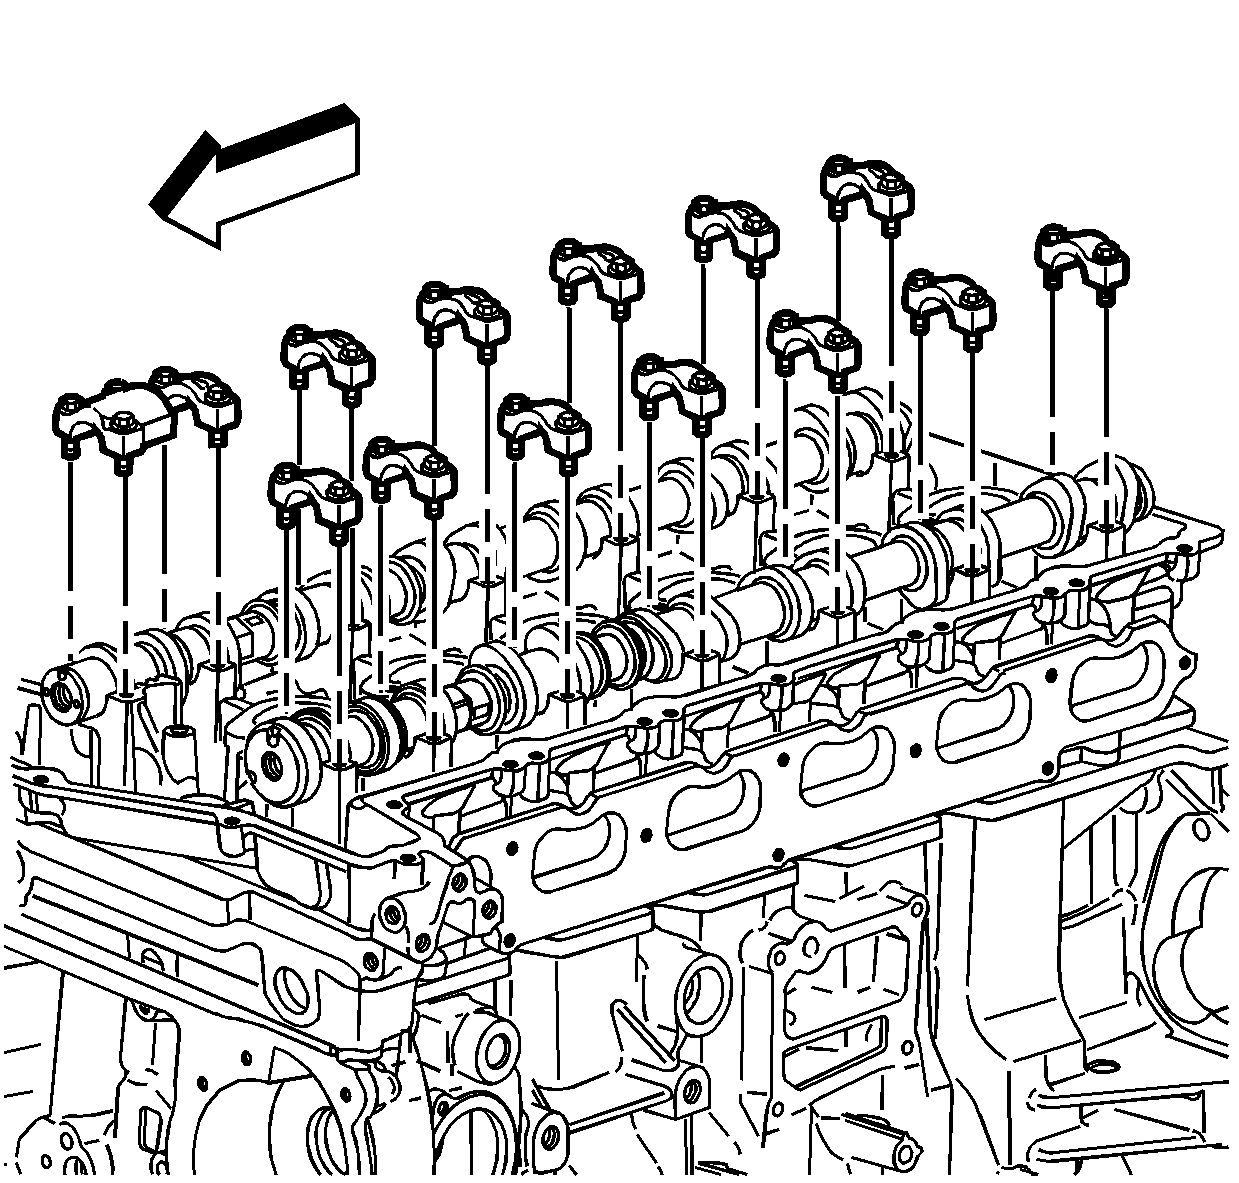
Important: Place the camshaft caps in a rack to ensure the caps are installed in the same location from which they were removed.
Installation Procedure
- Use the J 38820 to install the valve seals. There is only one size seal.
- Install the valve spring and the valve spring retainer.
- Use the J-44228-A and compress the valve springs.
- Install the valve keys.
- Remove the J-44228-A .
- Remove the air pressure to the cylinder.
- Coat the camshaft journals, the camshaft journal thrust face, and the camshaft lobes with clean engine oil.
- Install the camshafts to their original position.
- Install the camshaft caps onto their original journal.
- Carefully move the camshaft sprockets back onto the camshafts and remove the J 44222 .
- Install a NEW intake camshaft sprocket washer and bolt, and a NEW exhaust camshaft actuator bolt.
- Install the spark plugs. Refer to Spark Plug Replacement .
- Install the camshaft cover. Refer to Camshaft Cover Replacement .
- Raise and support the vehicle. Refer to Lifting and Jacking the Vehicle .
- Remove the J 44226-3A from the torque converter bolt.
- Install the torque converter access plug.
- Lower the vehicle.
Important: Lubricate the valve stems with clean engine oil before installing.


Notice: Refer to Fastener Notice in the Preface section.

Tighten
Tighten the camshaft cap bolts to 12 N·m (106 lb in).

Tighten
| • | Tighten the intake camshaft sprocket bolt the first pass to 20 N·m (15 lb ft). |
| • | Use the J 36660-A to tighten the intake camshaft sprocket bolt the final pass and additional 100 degrees. |
| • | Tighten the exhaust camshaft actuator bolt the first pass to 25 N·m (18 lb ft). |
| • | Use the J 36660-A to tighten the exhaust camshaft actuator bolt a final pass an additional 135 degrees. |

