When you splice a replacement panel or a portion of a replacement panel to
an existing panel, use the following procedure:
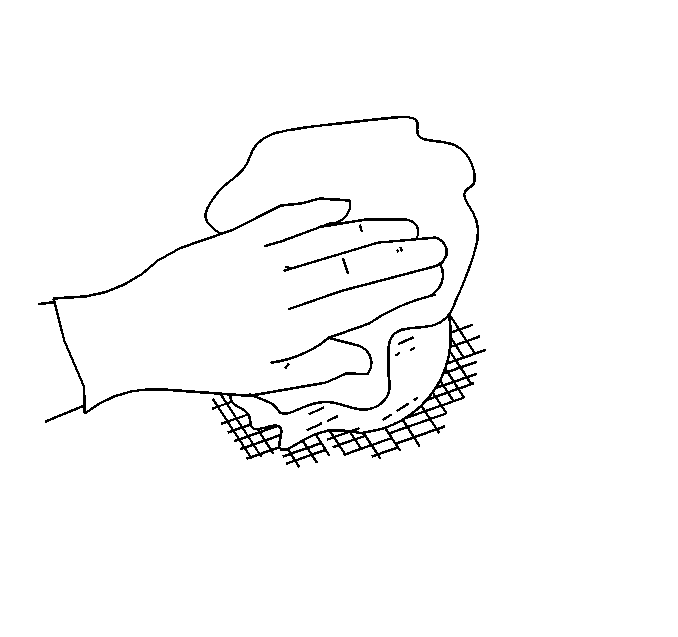
- Clean and inspect the damaged
area. Refer to
General Plastic Repair
.
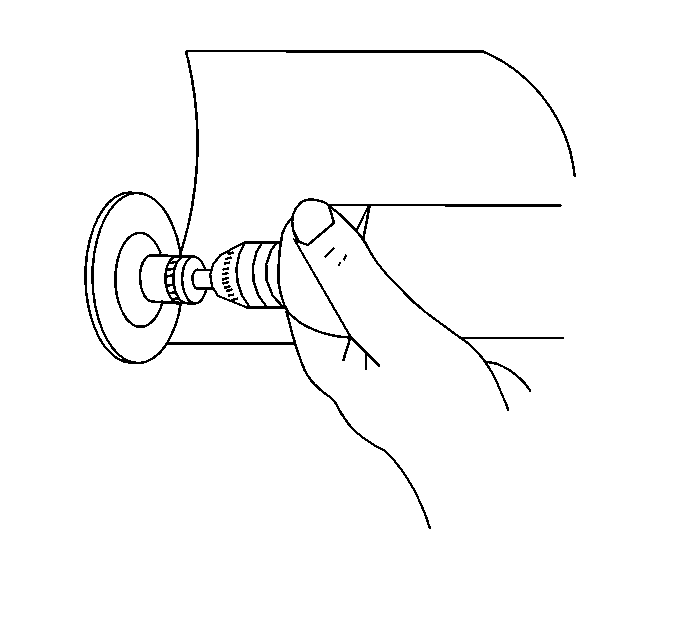
- Cut the damaged area and/or the
replacement panel to the appropriate size so that the panel fills the opening.
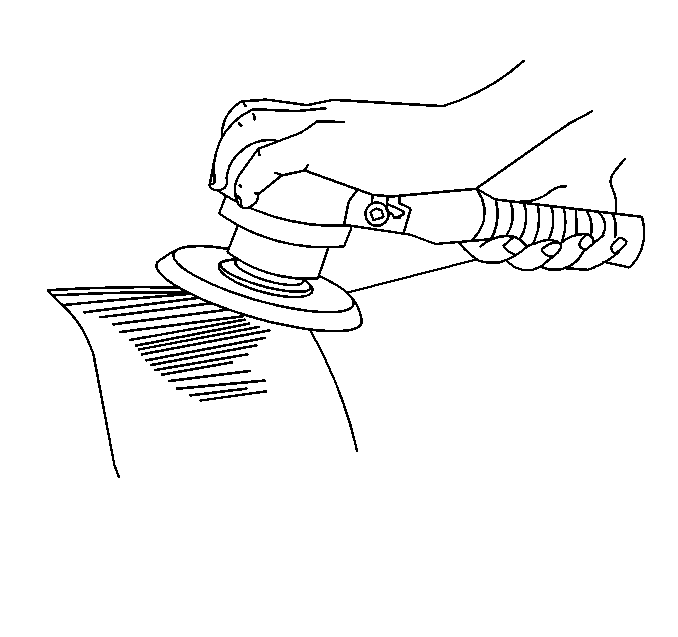
- Scuff sand the damaged area and
the replacement panel's mating surfaces.
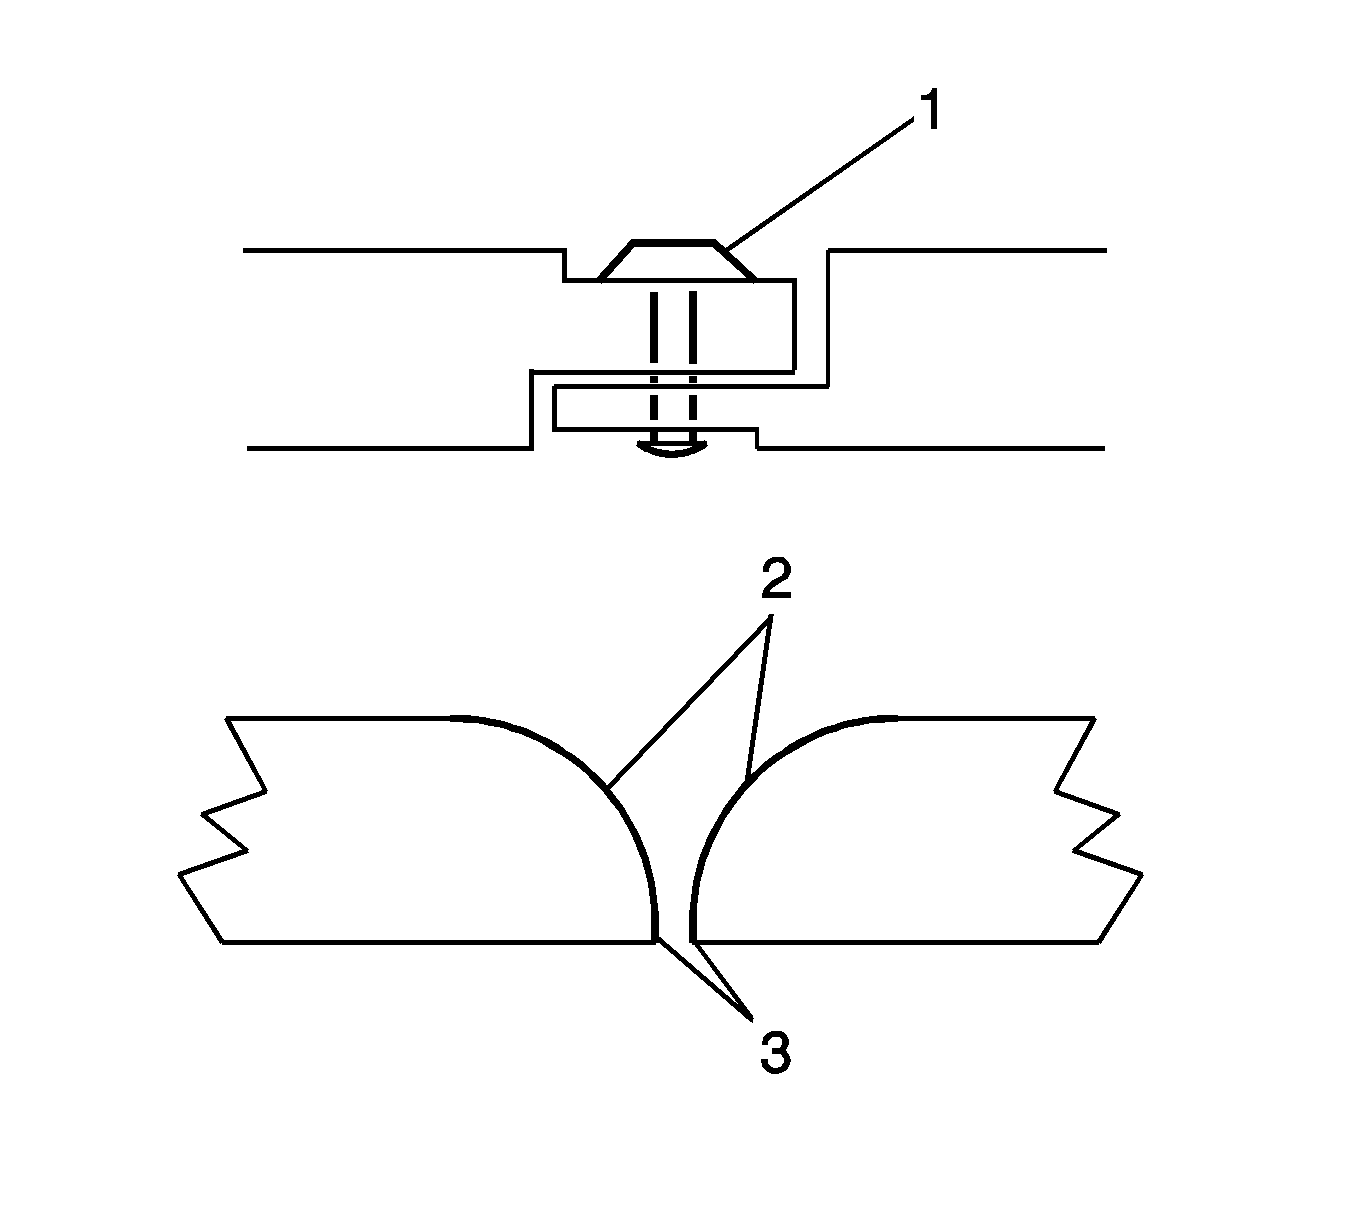
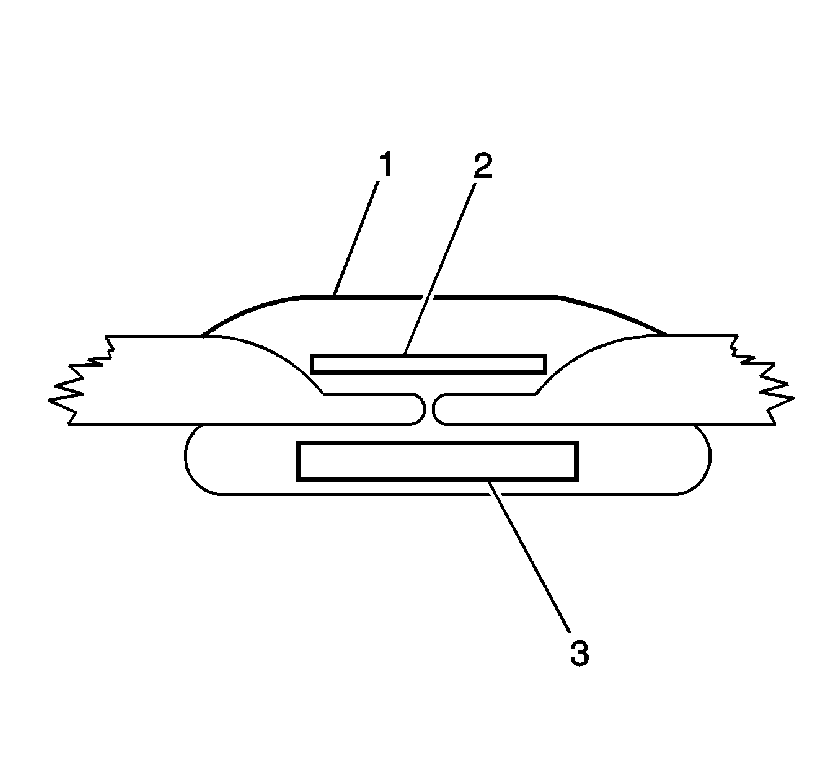
- Fit the panel to the opening:
| • | If the bonding strips are exposed, mechanically attach (1) and bond the
strips together. |
| • | If the bonding strips are not exposed, cut or grind the edge of the panels
in order to form a good butt joint (3). Then bevel the edges (2) to about 30 degrees
in order to form a dished butt joint. |
- Install
a backing patch (3). Refer to
Backing Patch Fabrication
.
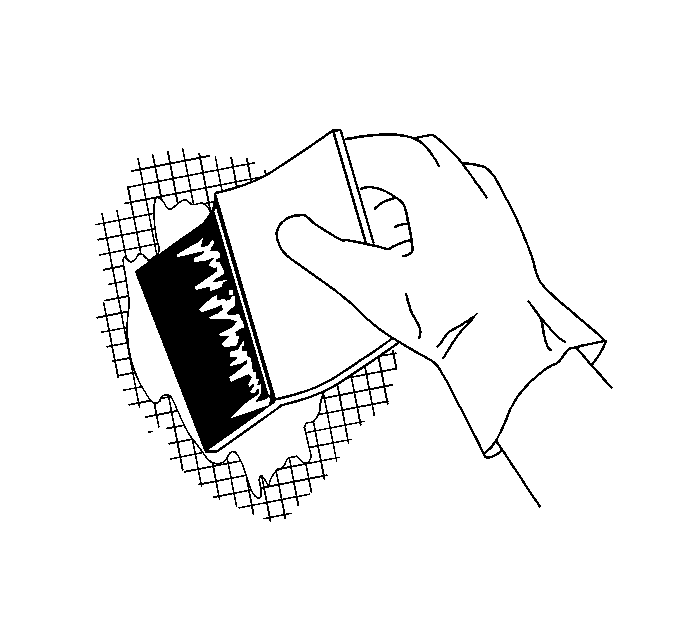
- Following the manufacturers instructions,
mix and apply a light coat of the repair material to the outside of the damaged area.
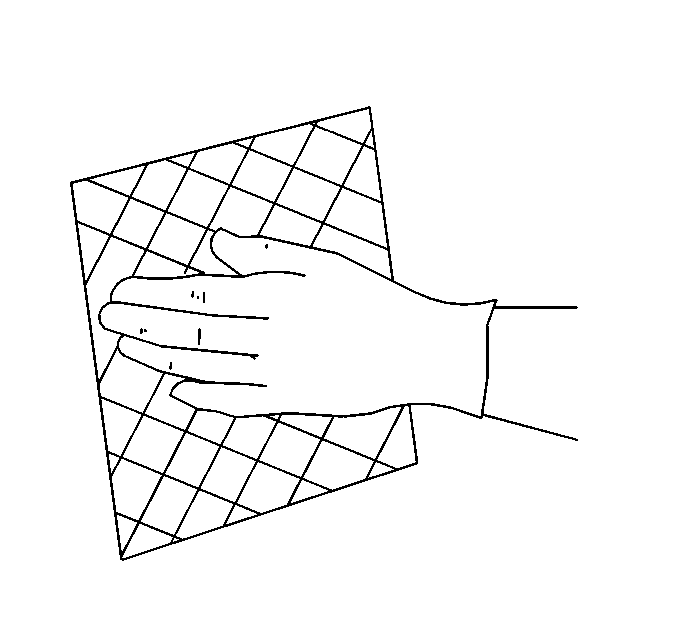
- Lay a piece of reinforcement mat
into the repair material.
| • | The mat should extend 38-51 mm (1.5-2.0 in)
beyond either side of the repair area. |
| • | All of the mat must be at a level below the final finished surface. |
- Using an applicator, saturate and remove any trapped air from the repair
area.

- Apply a second coat of the repair
material in the same manner.

- Lay a second piece of mat into
the repair area in the same manner.

- Apply
the final layer or repair material in the same manner until the repair material
(1) is at a level slightly higher than the surrounding area.
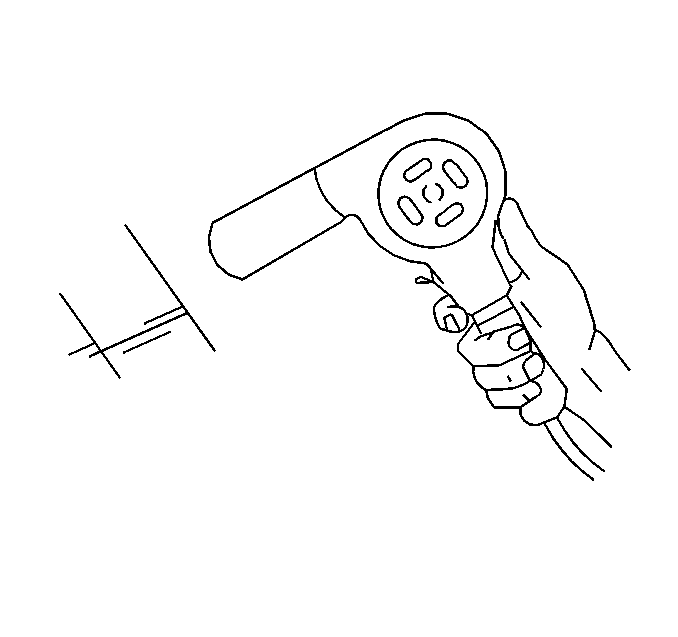
- Cure the material according to the manufacturers instructions.
- Apply and cure additional layers as needed.
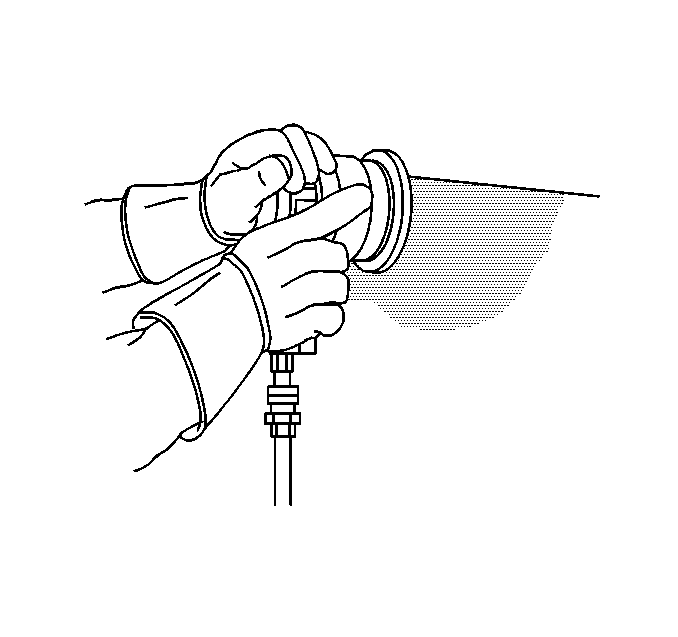
- Rough out the surface using a #80 grit disc on a D A sander.
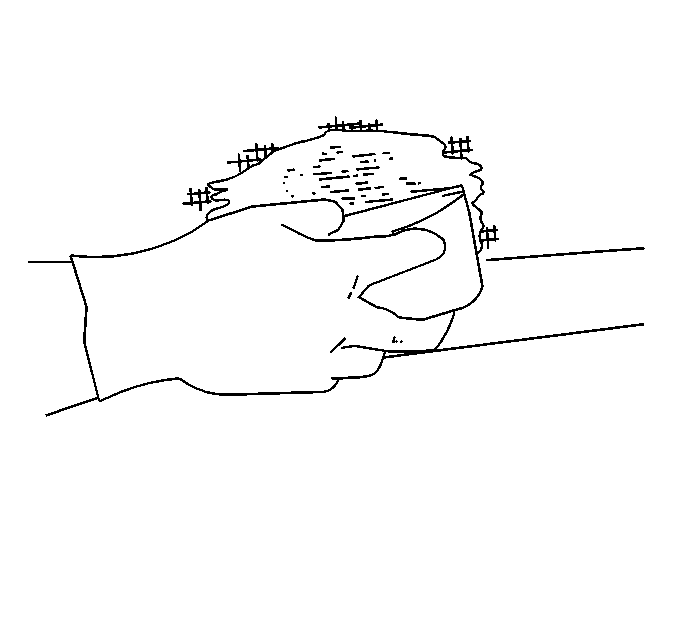
- Apply
a polyester type material to provide a uniform surface for sanding, such as Sikkens®
Polystop LP, or equivalent.
- Prime and refinish as necessary. Refer to the GM Approved Refinish Materials
book GM P/N GM4901M-D which identifies the paint systems you may use.
Always refer to the latest revision of the 4901M-D book. This operation is to be performed
prior to the application of sealers, waxes, deadeners, and antirust compounds. Follow
the procedures recommended by the material manufacturer.


