Removal Procedure
- Raise and support the vehicle. Refer to Lifting and Jacking the Vehicle.
- Place a drain pan under the transaxle oil pan.
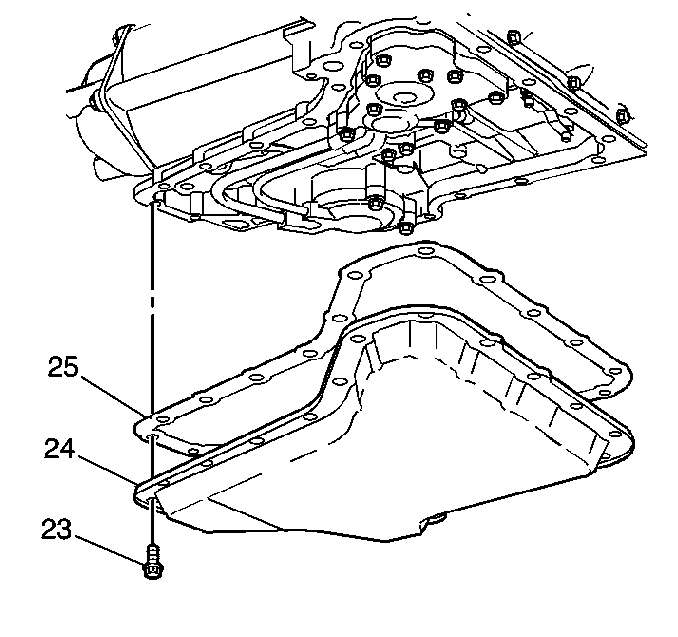
- Remove the transaxle oil pan bolts (23) from the front and the sides of the oil pan.
- Loosen the rear transaxle oil pan bolts.
- Use a rubber mallet to lightly tap the oil pan or use a screwdriver to pry the oil pan loose.
- Allow the fluid to drain.
- Remove the remaining transaxle bolts (23).
- Remove the oil pan (24) from the automatic transmission.
- Remove the oil pan gasket (25).
- Inspect the oil pan and the filter for the following foreign material:
- Determine the source of the contamination.
- Correct the source of the contamination.
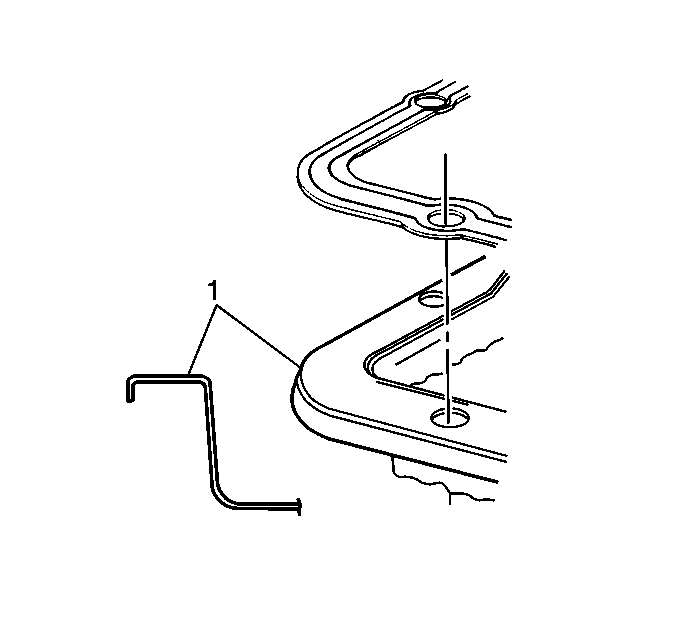
- Inspect the oil pan flange (1) for distortion.
- Replace the oil pan (1) if bent or distorted. Do not attempt to straighten.
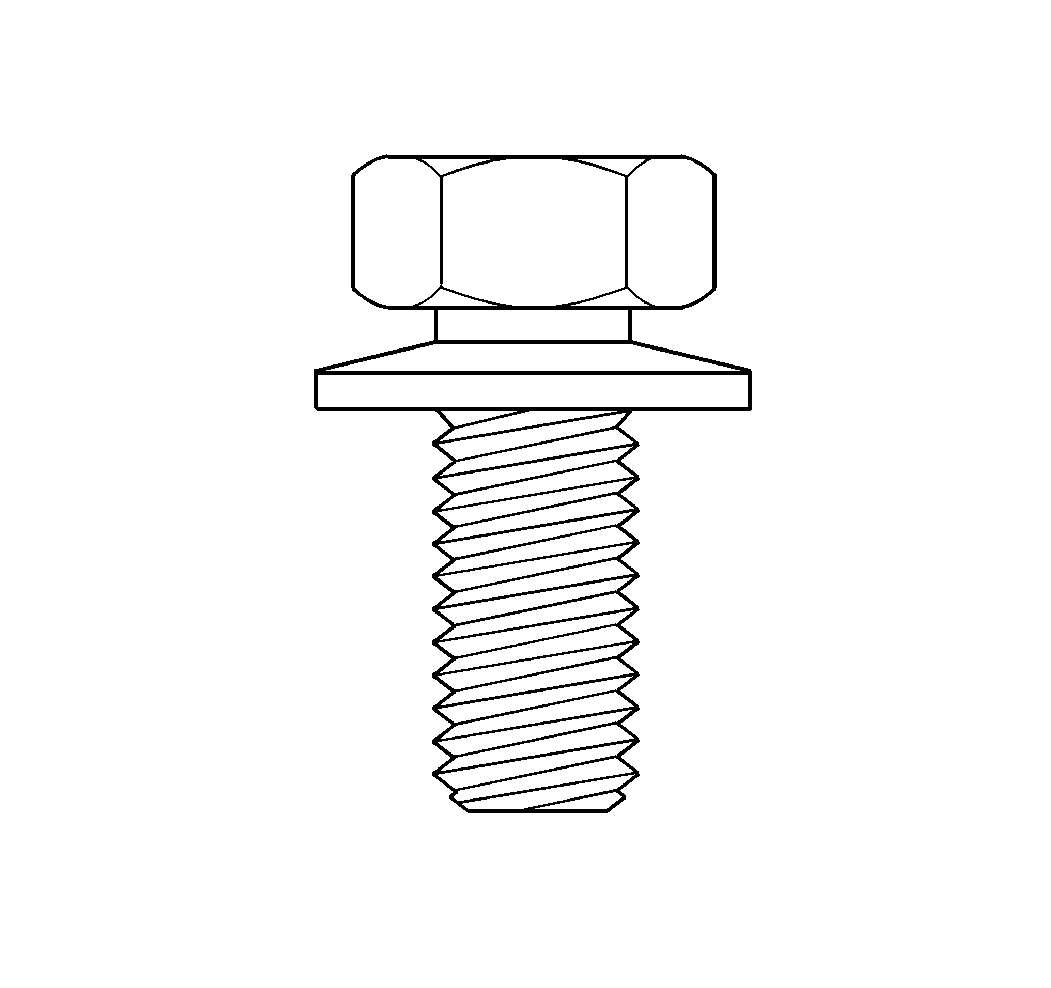
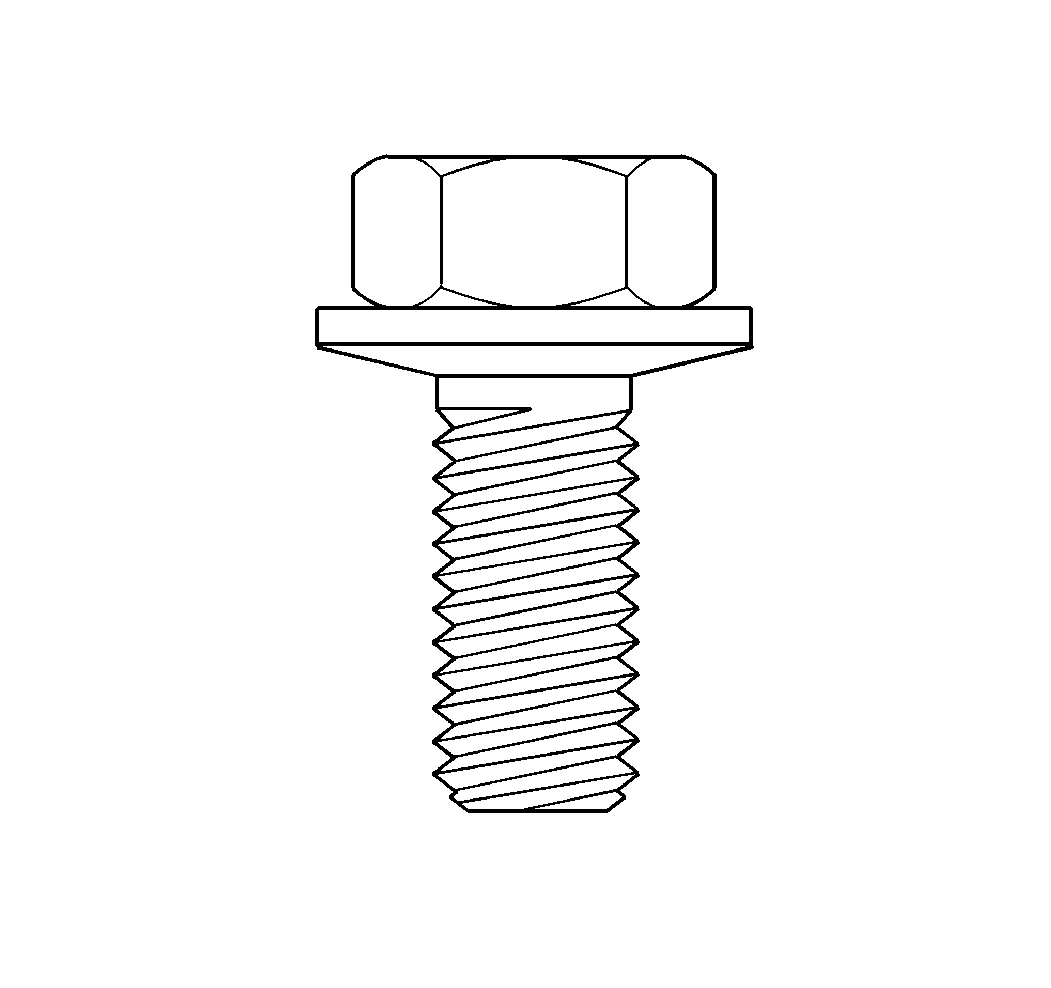
- When service requires the removal of the bottom oil, inspect the washers on the oil pan bolts.
- If the washer is inverted, replace the bolt and the washer.
- Use solvent to clean the case.
- Air dry the case.
- Use solvent to clean the oil pan gasket surfaces.
- Air dry the oil pan gasket surfaces.
- Remove all traces of the old gasket material.
Caution: Do NOT use any type of grease to retain parts during the assembly of this unit. Using greases other than the recommended assembly lube changes the transaxle fluid characteristics. Using greases other than the recommended assembly lube causes undesirable shift conditions and/or filter clogging. Use TRANSJEL™ J 36850 or equivalent during the assembly of this unit.
Caution: Ensure care is taken NOT to damage the mating surfaces of the oil pan and of the case or oil leaks may occur.
| • | Metal particles |
| • | Clutch facing material |
| • | Rubber particles |
| • | Engine coolant |
Caution: Ensure the oil pan and the case flanges are dry and are free of any oil film or leakage may result.
Installation Procedure
- Install the oil pan gasket (25).
- Install the oil pan (24).
- Install the oil pan bolts (23).
- Lower the vehicle.
- Fill the transaxle. Refer to Fluid Capacity Specifications.
- Place the gear selector in the PARK position.
- Start the engine.
- Run the engine at a slow idle. Do NOT race the engine.
- Adjust the fluid level.
- Inspect for leaks.
Caution: Refer to Fastener Caution in the Preface section.
Tighten
Tighten the bolts to 14 N·m (10 lb ft).
Caution: Do NOT overfill the transaxle. The overfilling of the transaxle causes foaming, loss of fluid, shift complaints, and possible damage to the transaxle.
