For 1990-2009 cars only
Removal Procedure
- Disconnect the negative battery cable. Refer to Battery Negative Cable Disconnection and Connection in Engine Electrical.
- Remove the front floor console. Refer to Front Floor Console Replacement in Instrument Panel, Gages and Console.
- Remove the left knee bolster. Refer to Driver Knee Bolster Replacement in Instrument Panel, Gages and Console.
- Place the transaxle shift control lever in the PARK position.
- Turn the ignition key to the RUN position.
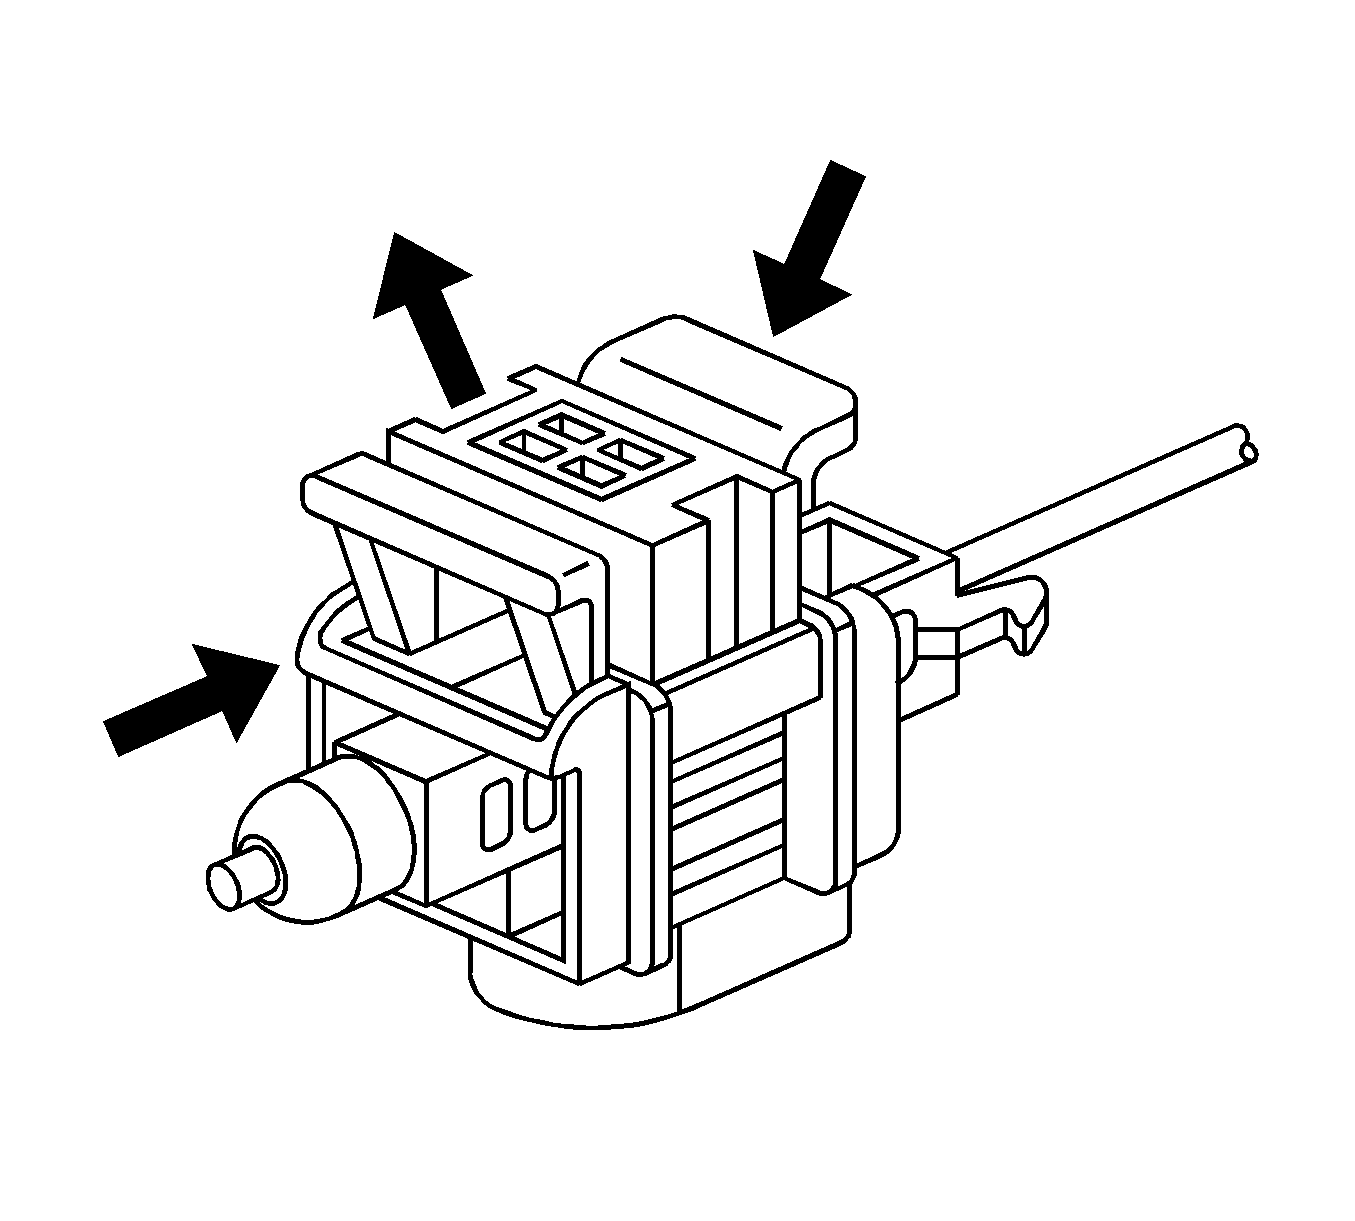
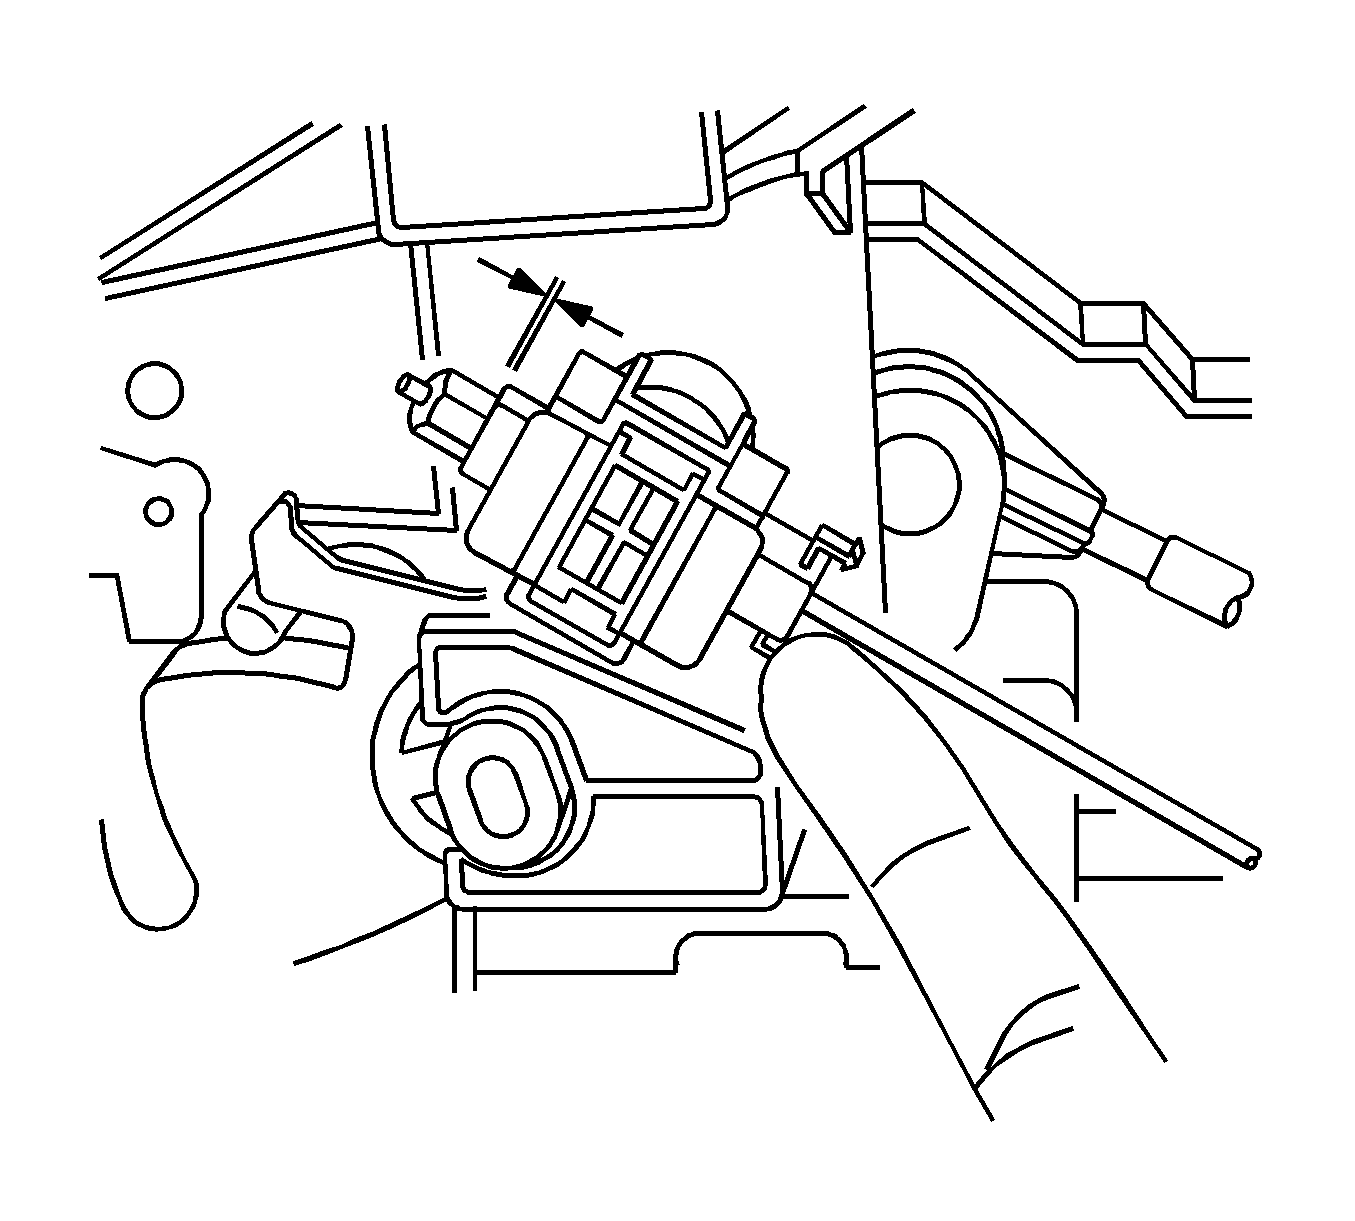
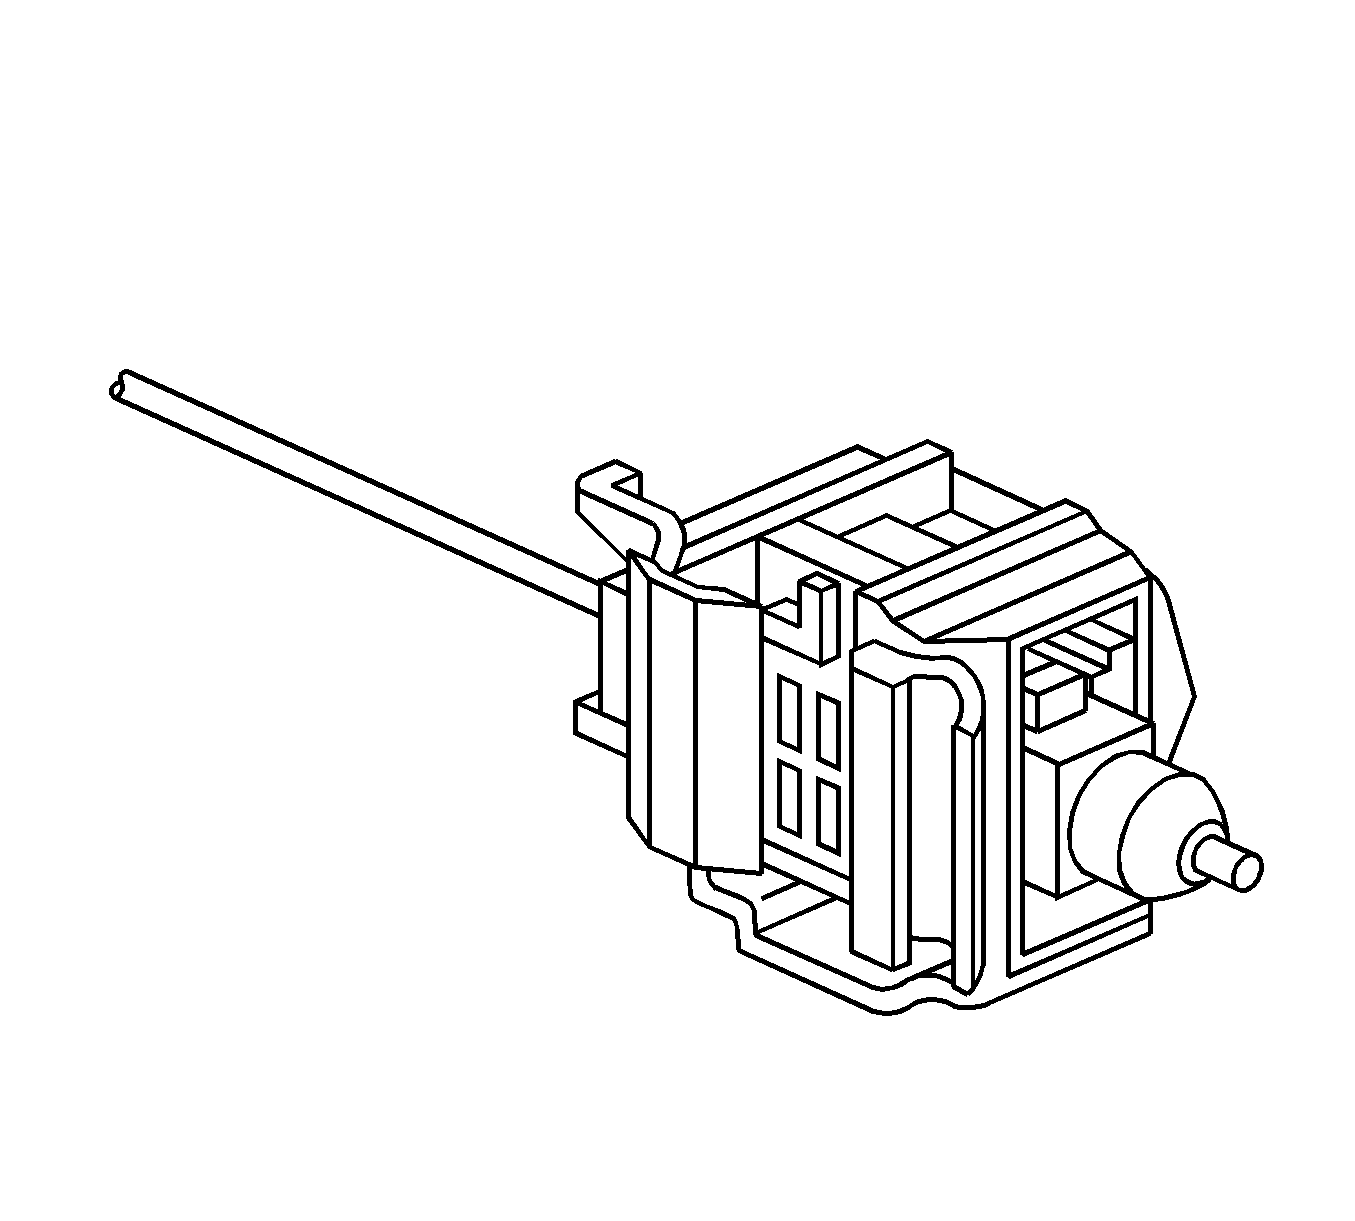
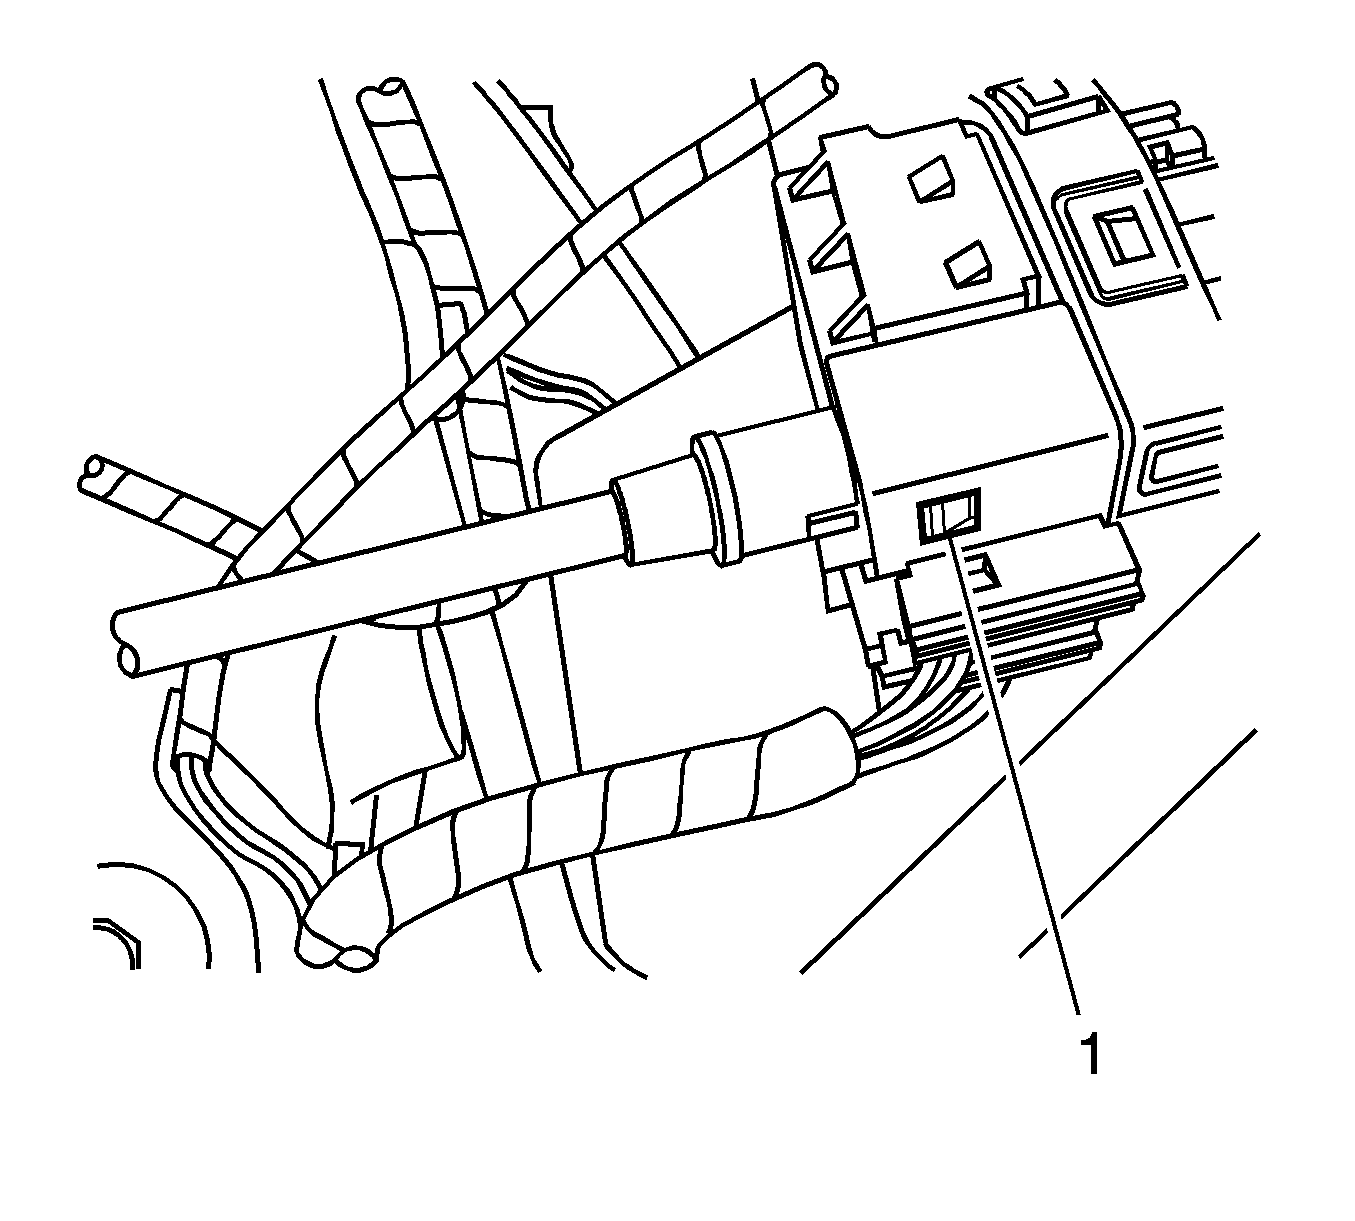
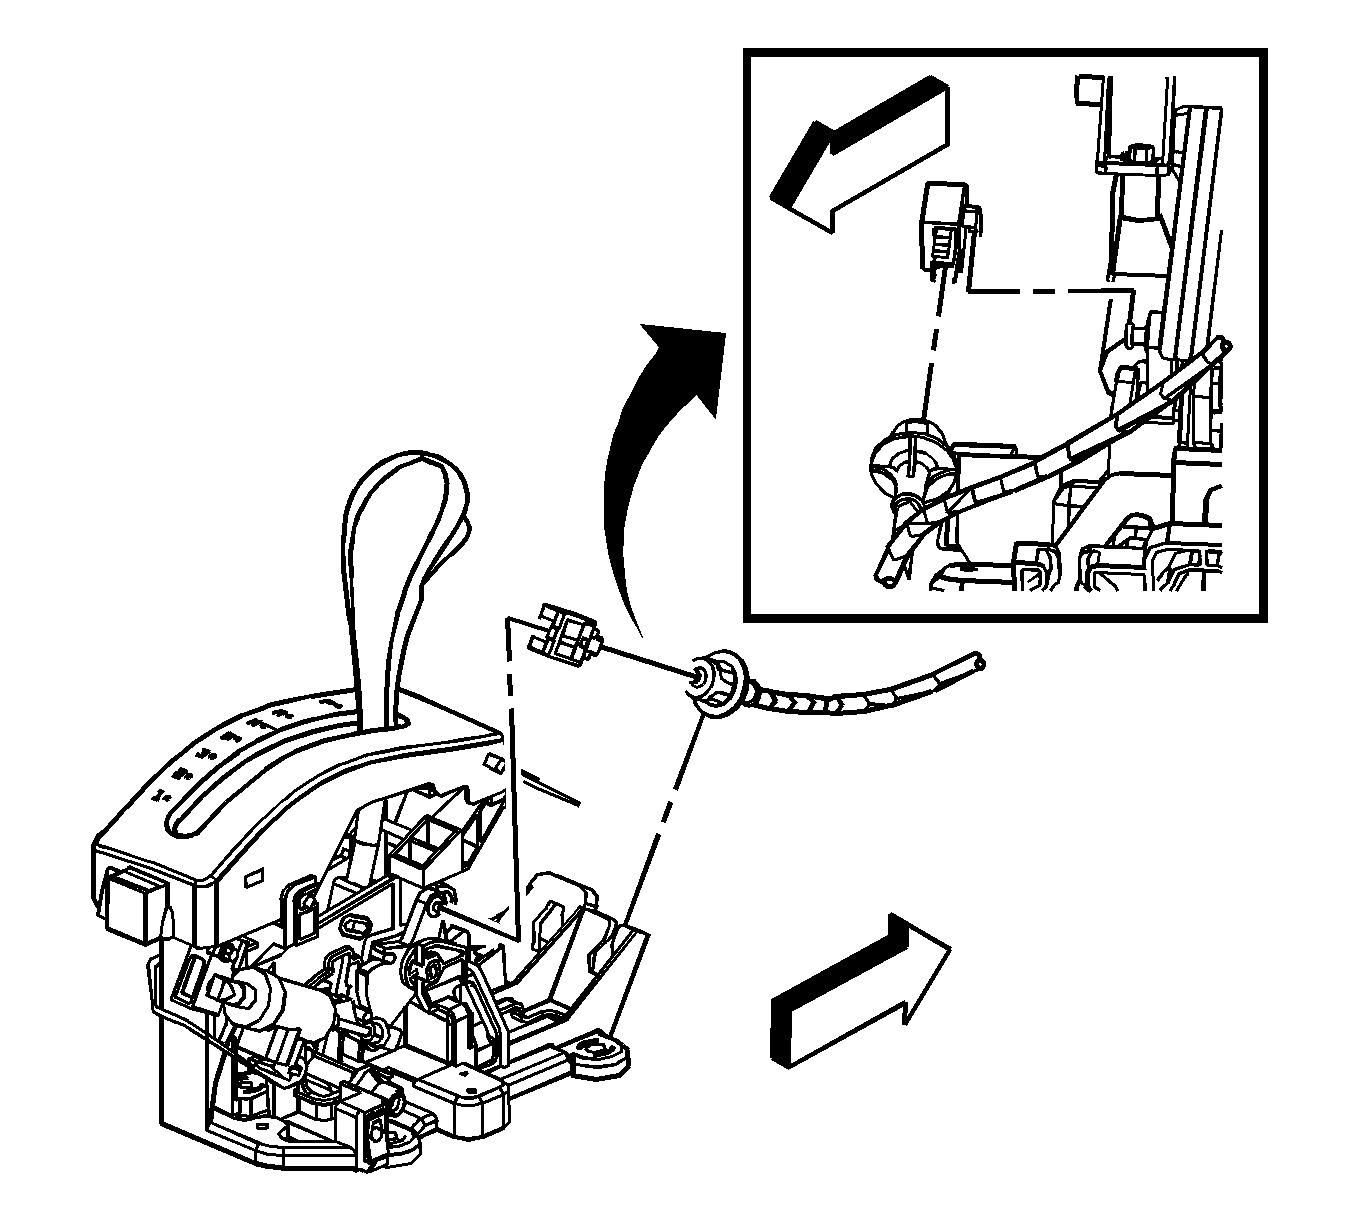
- Using a screwdriver, release the cable from the ignition switch inhibitor by depressing the cable latch (1).
- Remove the cable from the inhibitor housing.
- Remove the cable from the shift control lever by sliding the cable reward off the park lever pin.
- Remove the cable at the shift control-housing base.
- Remove the park/lock cable.
Important: Ensure the ignition key is in the RUN position. Do NOT attempt to proceed to the next step with the key in any other position.
Installation Procedure
- Ensure the shift lever is in the PARK position.
- Install the park/lock cable.
- Snap the cable into the shifter control-housing base.
- Ensure that the ignition key is in the RUN position.
- Install the cable into the inhibitor housing.
- Turn key to LOCK position.
- Install the cable on the shift control lever by sliding the cable over the park lever pin.
- Disengage the lock in the cable adjuster body by squeezing the release tabs and pulling away from the adjuster body. Cable should be freely within the adjuster body.
- Push the cable adjustment feature until all slack is removed from cable and no gap exists between cable end and adjustment feature.
- Depress cable lock.
- Inspect the functional operation of the park/lock cable. Refer to Park Lock Cable Adjustment .
- Install the left knee bolster. Refer to Driver Knee Bolster Replacement in Instrument Panel, Gages and Console.
- Install the front floor console. Refer to Front Floor Console Replacement in Instrument Panel, Gages and Console.
- Connect the negative battery cable. Refer to Battery Negative Cable Disconnection and Connection in Engine Electrical.
Important: Ensure that the ignition key is in the RUN position. Do not attempt to insert cable with the key in any other position.