For 1990-2009 cars only
Removal Procedure
- Raise and support the vehicle. Refer to Lifting and Jacking the Vehicle .
- Position a drain pan under the vehicle.
- Remove the oil cooler hoses from the transaxle oil cooler fittings. Refer to Automatic Transmission Oil Cooler Hose Replacement .
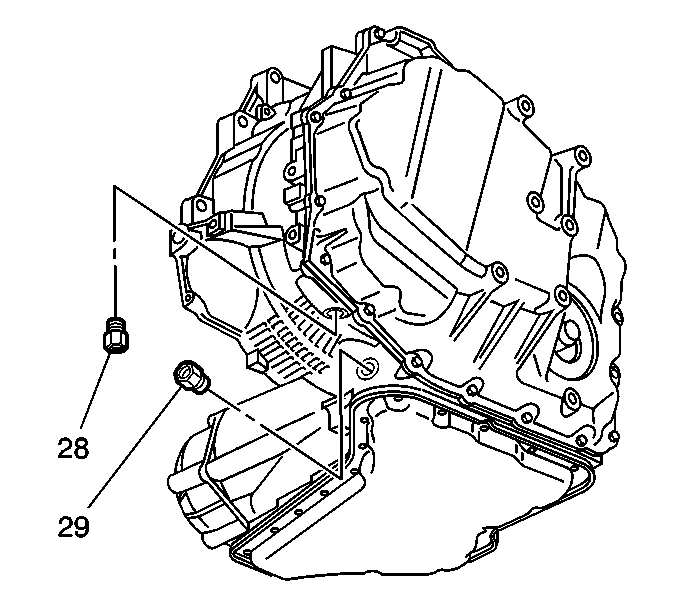
- Remove the oil cooler fittings (28, 29) from the transaxle.
Notice: Allow sufficient clearance around the transaxle oil cooler pipes and around the hoses to prevent damage or wear which may cause fluid loss.
Installation Procedure
- Install the oil cooler fittings (28,29) to the transaxle.
- Install the oil cooler hoses to the transaxle oil cooler fittings. Refer to Automatic Transmission Oil Cooler Hose Replacement .
- Lower the vehicle.
- Adjust the fluid level.
- Inspect for fluid leaks. Refer to Fluid Leak Diagnosis .
- Remove the drain pan from under the vehicle.
Notice: Refer to Fastener Notice in the Preface section.
Important: The correct thread engagement is critical. Cross-threaded fittings can achieve proper tightness and still leak.
Tighten
Tighten the fittings to 38 N·m (28 lb ft).
Notice: Refer to Transmission Overfill Notice in the Preface section.
