For 1990-2009 cars only
Removal Procedure
- Remove the air cleaner element. Refer to Air Cleaner Element Replacement .
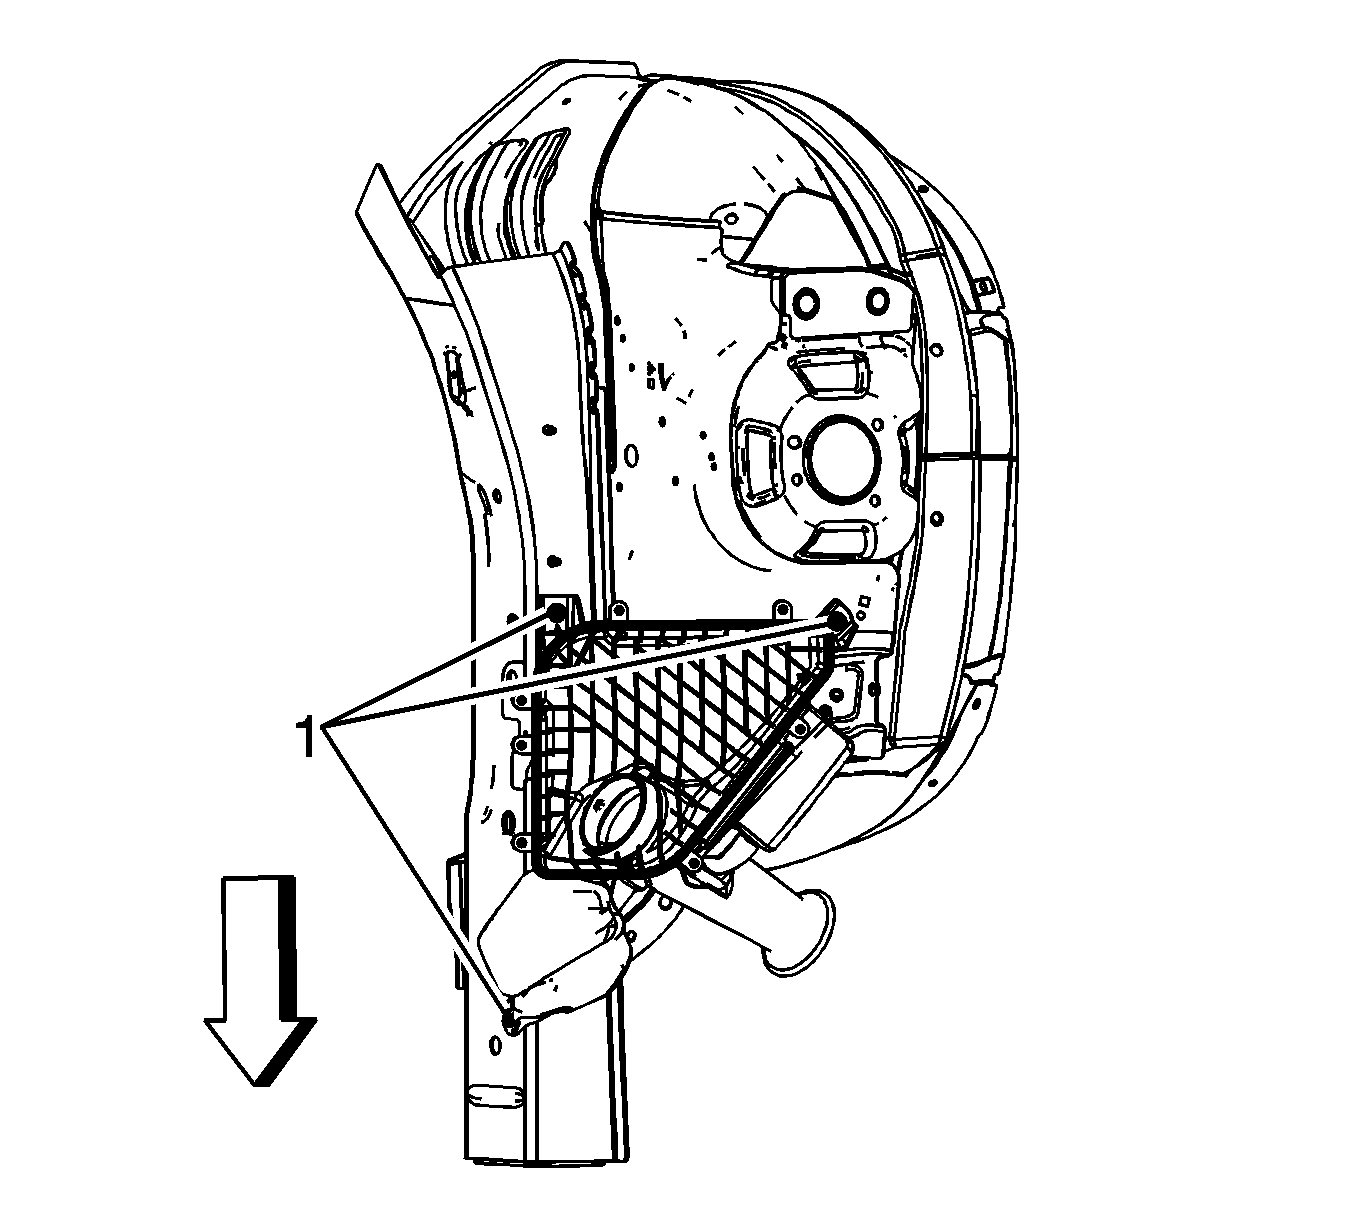
- Remove the air cleaner lower housing screws (1).
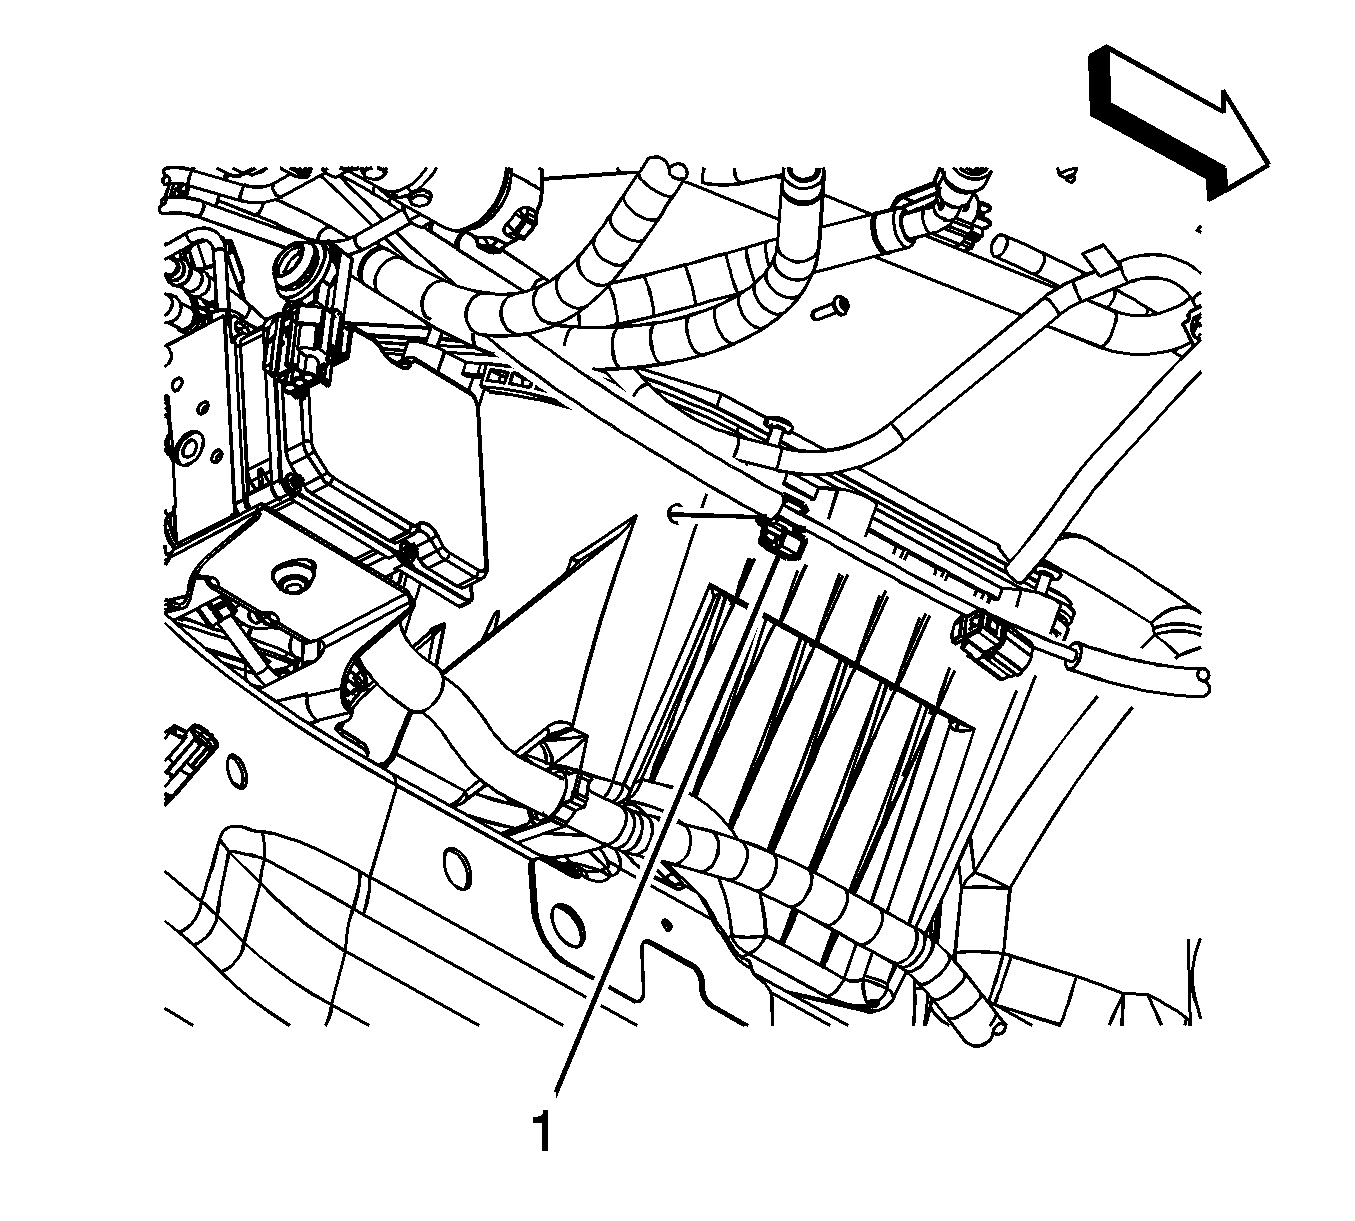
- Remove the hood release cable clip (1) from the air cleaner lower housing.
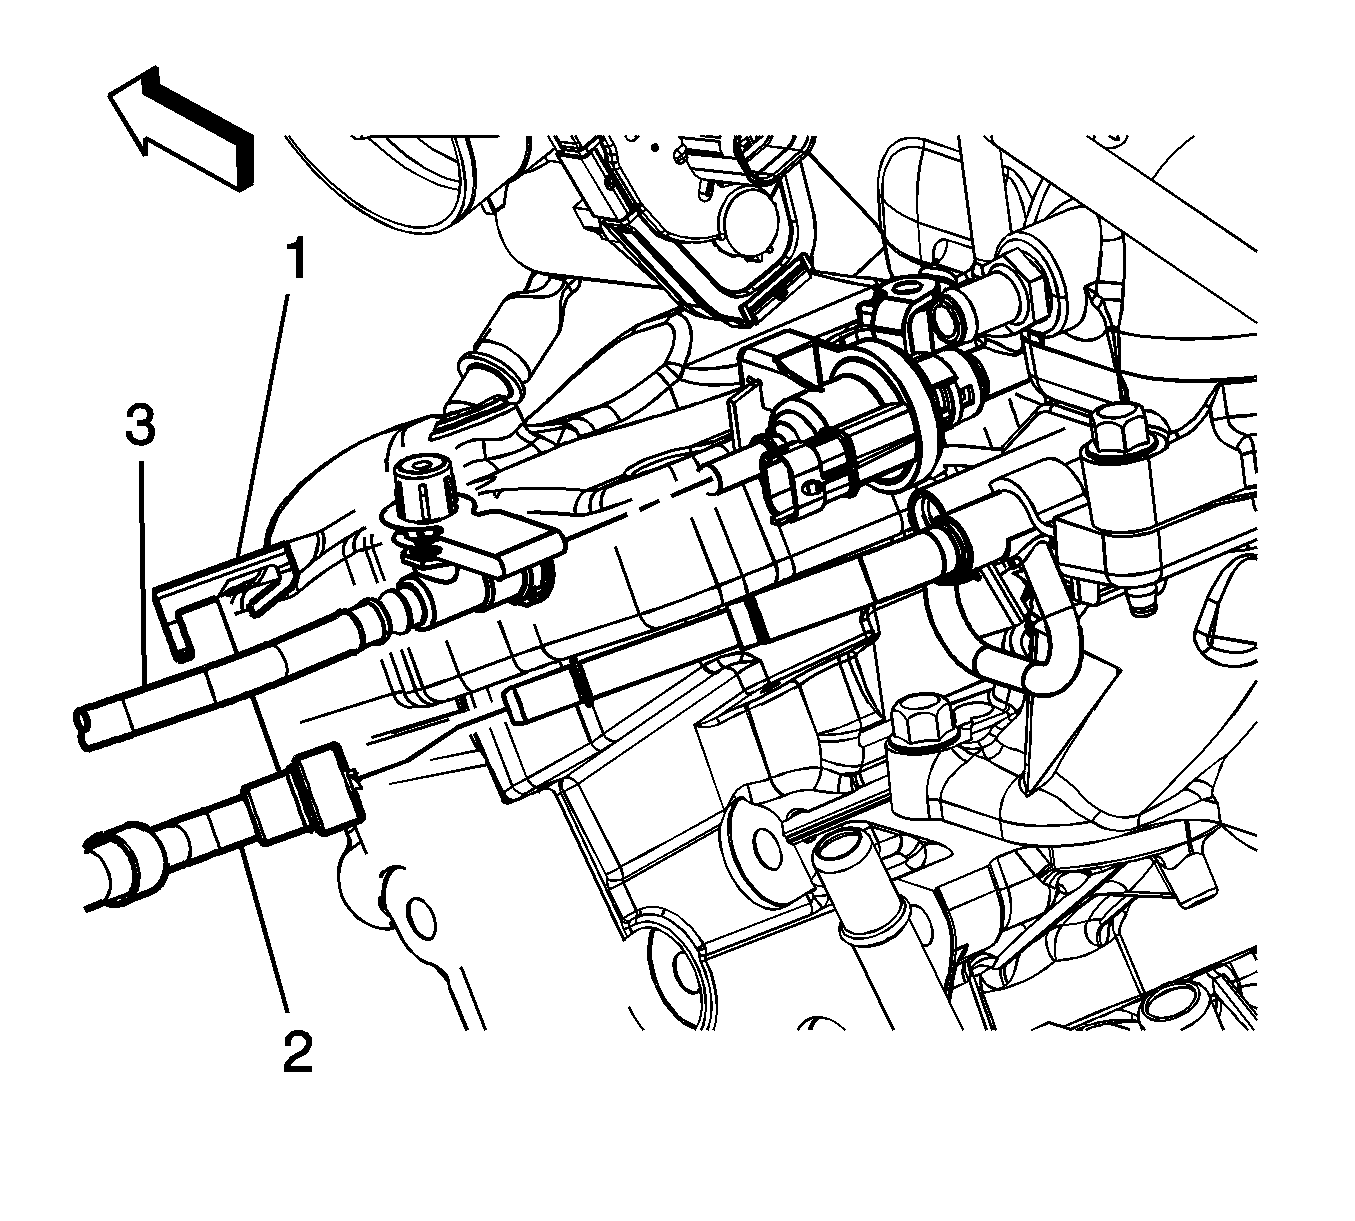
- Disconnect the fuel feed pipe (2) quick connect fitting from the fuel rail. Refer to Metal Collar Quick Connect Fitting Service .
- Disconnect the evaporative emission (EVAP) pipe (3) quick connect fitting from the EVAP purge solenoid. Refer to Plastic Collar Quick Connect Fitting Service .
- Gently lift up the retaining tab (1) and remove the ECM from the bracket, reposition out of the way.
- Remove the air cleaner lower housing.
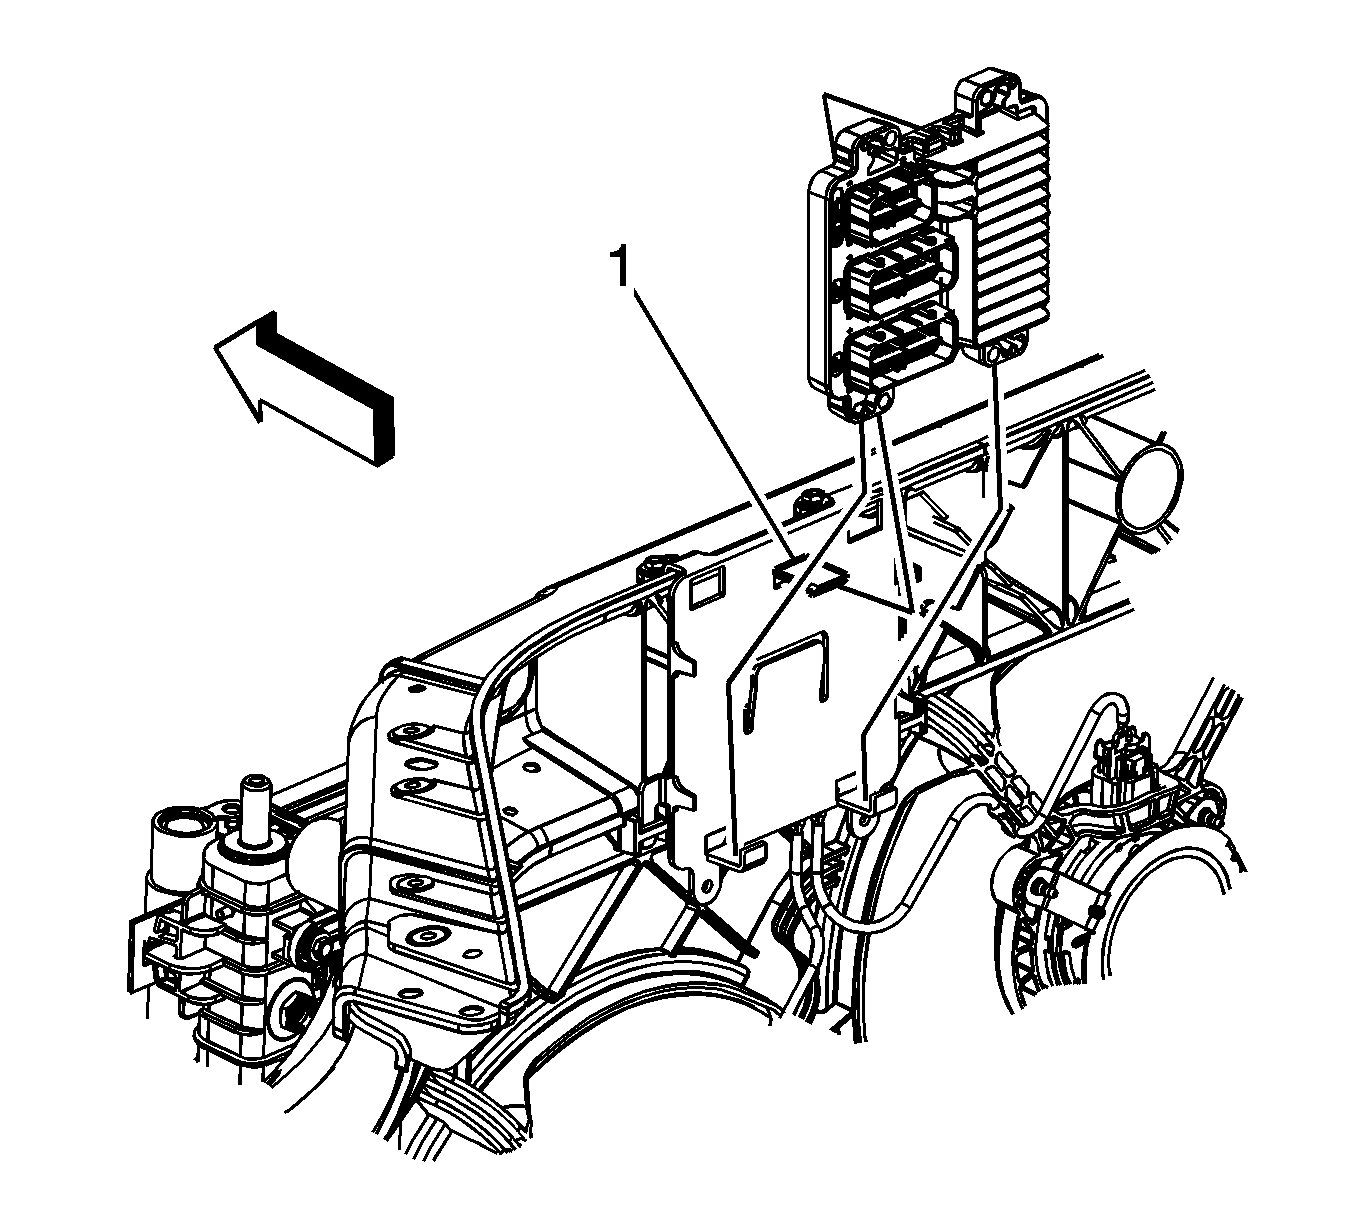
Important: The engine control module (ECM) electrical connector do not need to be disconnected in order to reposition the ECM.
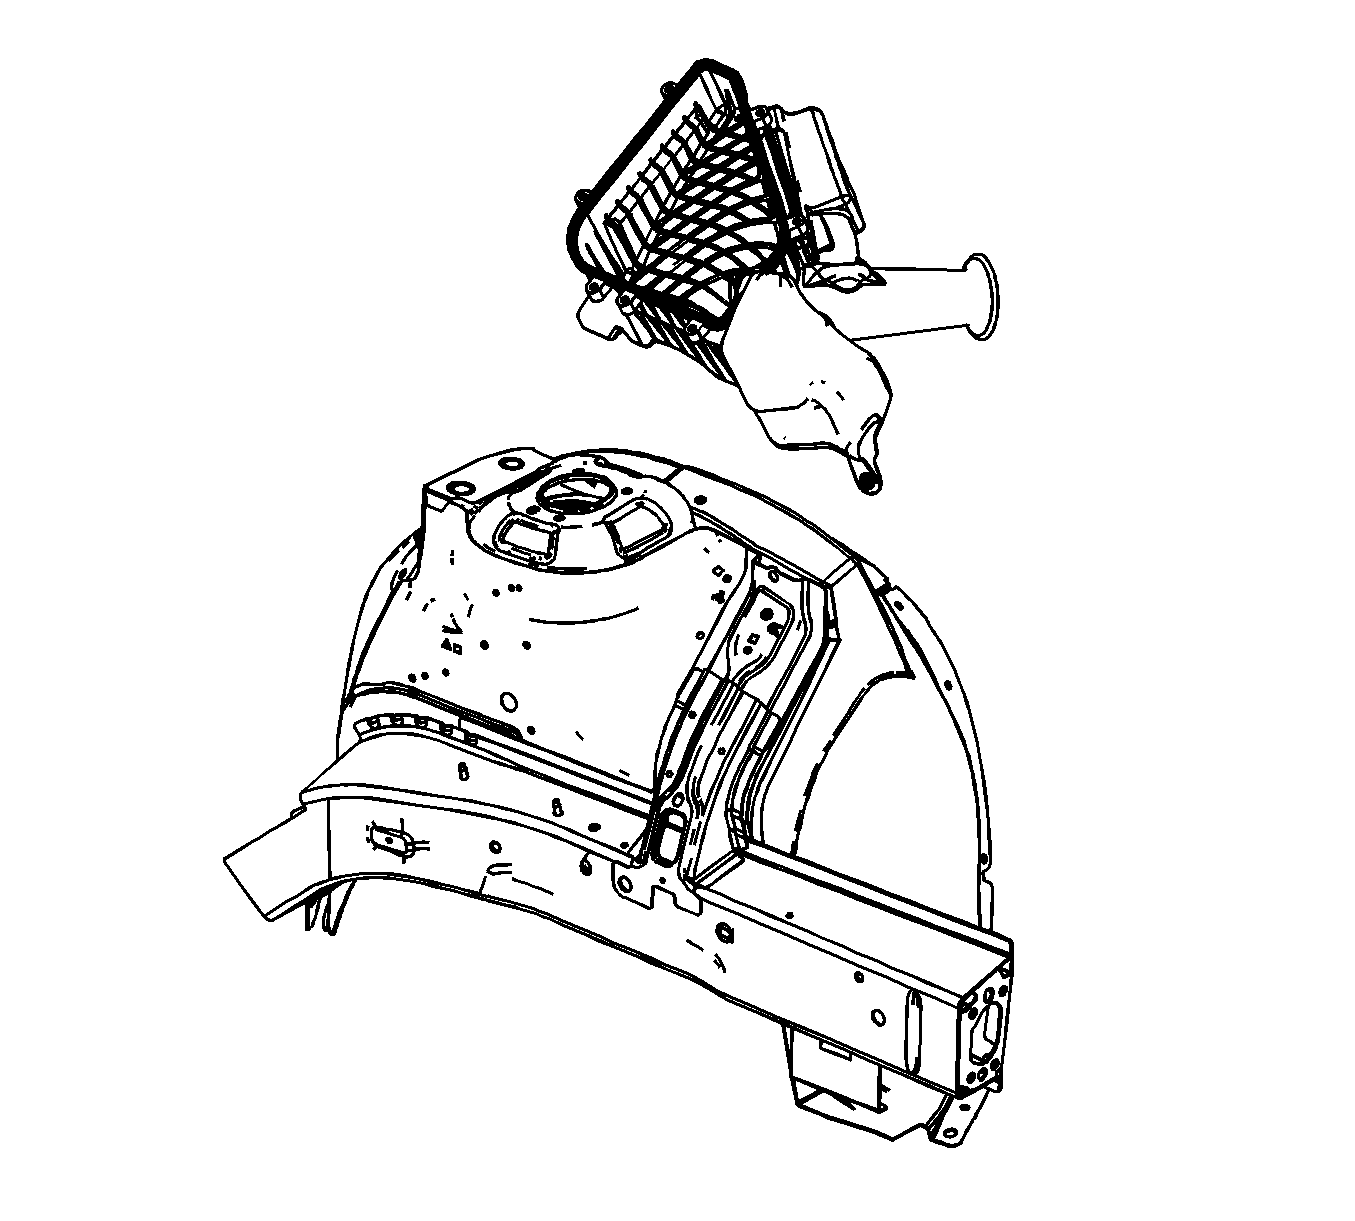
Installation Procedure
- Position the air cleaner lower housing to the side rail.
- Position and install the ECM to the bracket.
- Connect the evaporative emission (EVAP) pipe (3) quick connect fitting to the EVAP purge solenoid. Refer to Plastic Collar Quick Connect Fitting Service .
- Connect the fuel feed pipe (2) quick connect fitting to the fuel rail. Refer to Metal Collar Quick Connect Fitting Service .
- Install the hood release cable clip (1) to the air cleaner lower housing.
- Install the air cleaner lower housing screws (1).
- Install the air cleaner element. Refer to Air Cleaner Element Replacement .


Notice: Refer to Fastener Notice in the Preface section.

Tighten
Tighten the screws to 9 N·m (80 lb in).
