For 1990-2009 cars only
Removal Procedure
- Raise and suitably support the vehicle. Refer to Lifting and Jacking the Vehicle .
- Remove the drive belt. Refer to Drive Belt Replacement .
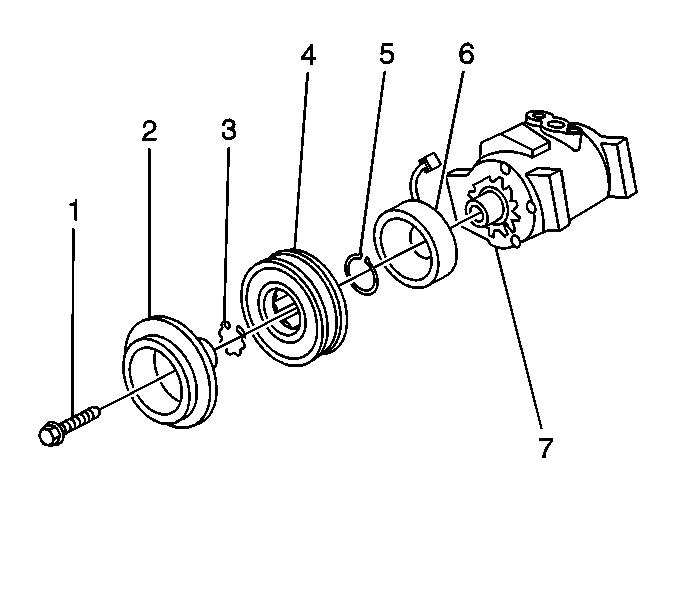
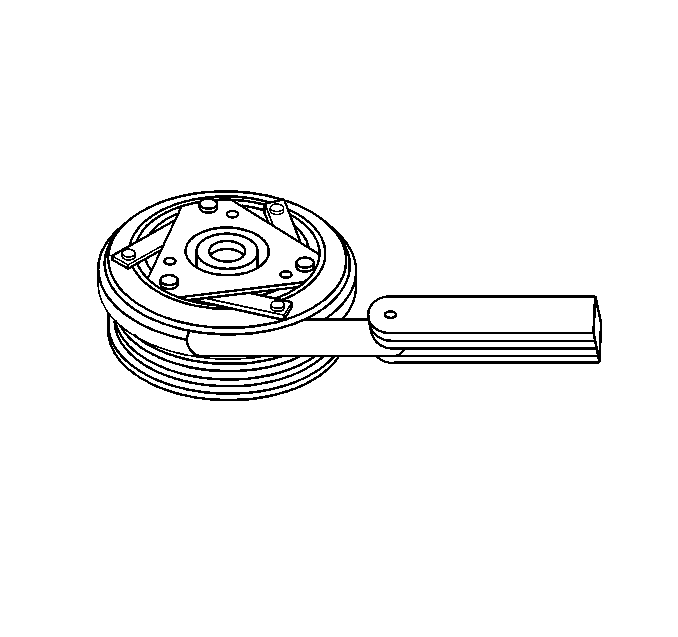
- Remove the clutch plate retaining bolt (1).
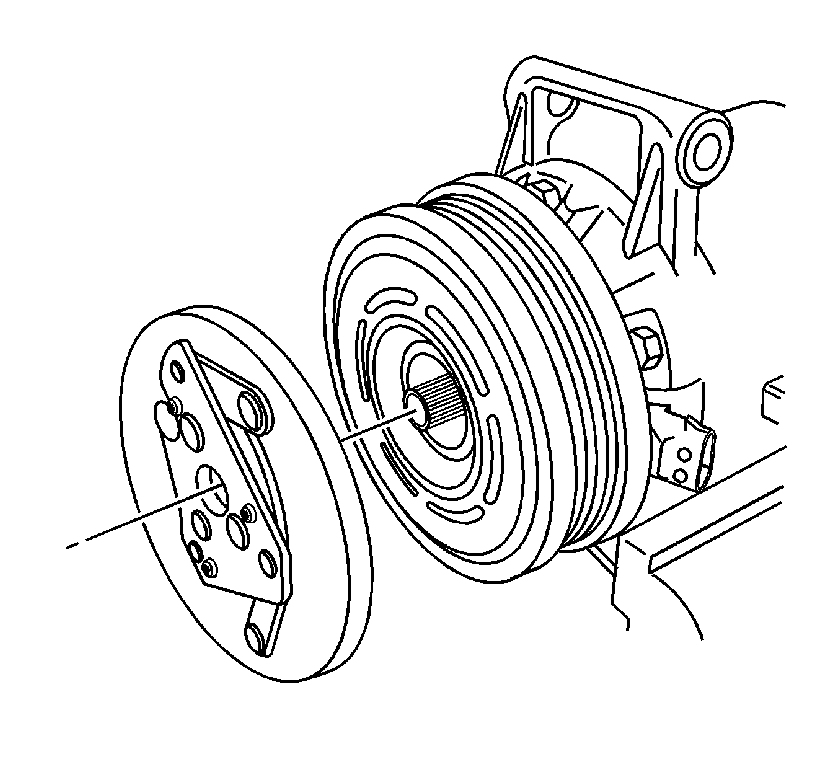
- Remove the clutch plate assembly (2).
- Remove the clutch hub/bearing snap ring (3).
- Remove the clutch hub/bearing assembly (4).
- Remove clutch coil harness retainer.
- Remove the snap ring (5) from the clutch coil (6).
- Remove the clutch coil (6) from the A/C compressor (7).
Installation Procedure
- Install the clutch coil (6) to the A/C compressor (7).
- Install the snap ring (5) to the clutch coil (6).
- Install clutch coil harness retainer.
- Install the clutch hub/bearing assembly (4).
- Install the clutch hub/bearing snap ring (3).
- Place a small amount of oil on the thinnest air gap shim and place it inside the clutch plate.
- Install the clutch plate assembly.
- Measure the air gap between the pulley and the drive plate. Adjust the shims to achieve a 0.35-0.65 mm (0.014-0.026 in) air gap.
- Install the clutch plate retaining bolt.
- Install the drive belt. Refer to Drive Belt Replacement .
- Lower the vehicle.
Important: Ensure the drive plate does not drag against the pulley when the pulley is rotated.
Notice: Refer to Fastener Notice in the Preface section.
Tighten
Tighten the bolt to 18 N·m (13 lb ft).
