For 1990-2009 cars only
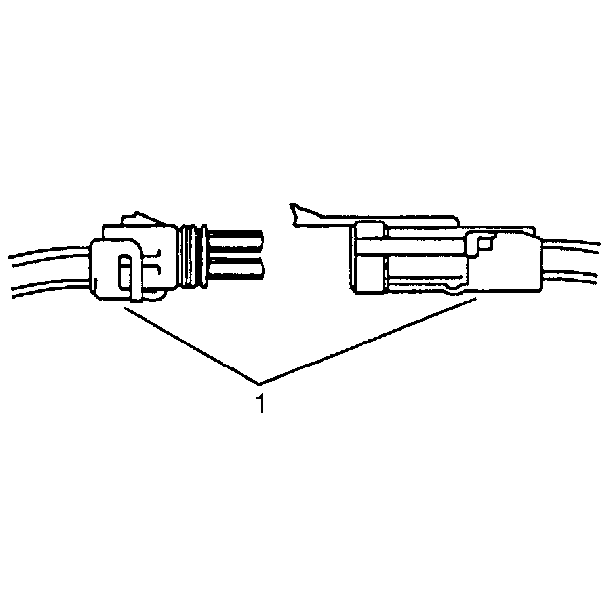
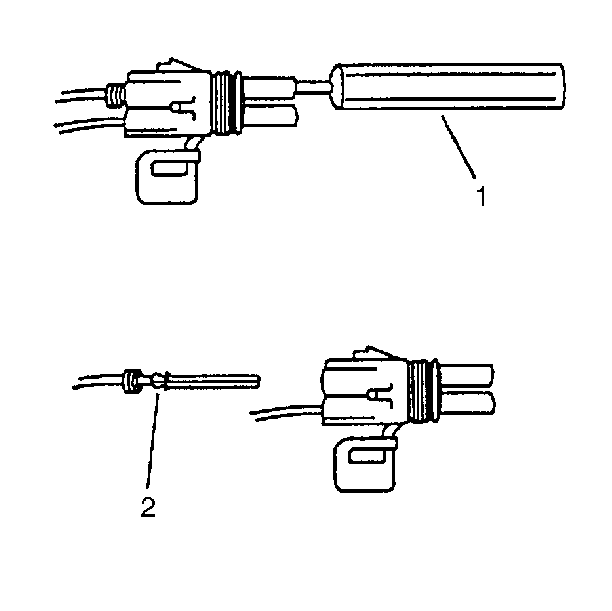
Push-to-Seat Connector
Follow the steps below in order to repair push-to-seat connectors.
- Remove the terminal position assurance (TPA) device, the connector position assurance (CPA) device, and/or the secondary lock.
- Separate the connector halves.
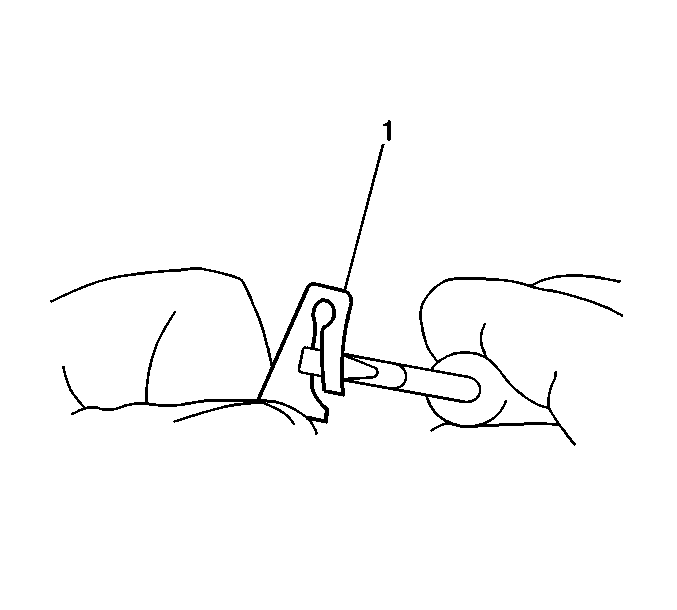
- Use the proper pick or removal tool (1) in order to release the terminal.
- Gently pull the cable and the terminal (2) out of the back of the connector.
- Re-form the locking device if the you are going to reuse the connector.
- Make the repair.
| • | Slip the cable seal away from the terminal. |
| • | Cut the wire as close to the terminal as possible. |
| • | Slip a new cable seal onto the wire. |
| • | Strip 5 mm (3/16 in) of insulation from the wire. |
| • | Crimp a new terminal to the wire. |
| • | Solder the crimp with rosin core solder. |
| • | Slide the cable seal toward the terminal. |
| • | Crimp the cable seal and the insulation. |
| • | If the connector is outside of the passenger compartment, apply grease to the connector. |
| • | In order to reuse a terminal or lead assembly, see the splicing copper wire. Refer to Wiring Repairs Wiring Repairs. |
| • | Ensure that the cable seal is kept on the terminal side of the splice. |
| • | Insert the lead from the back until it catches. |
| • | Install the TPA, CPA and/or the secondary locks. |
Pull-to-Seat Connector
Follow the steps below in order to repair pull-to-seat type connectors.
- Separate the connector halves.
- Use the proper pick or removal tool in order to remove the terminal.
- If the terminal is to be reused, re-form the locking tang.
- Make the repair.

| • | Gently pull the lead. |
| • | Insert the pick from the front of the connector into the canal. |
| • | Pry up on the tab. |
| • | Push on the lead in order to remove the lead. |
| • | Pull the terminal wire out of the connector body. |
| • | Cut the wire as close to the terminal as possible. |
| • | Strip 5 mm (3/26 in) of insulation from the wire. |
| • | Crimp the new terminal to the wire. |
| • | Solder the crimp with rosin core solder. |
| • | Carefully pull on the wire in order to draw the terminal into the connector body until it locks. |
