For 1990-2009 cars only
Tools Required
J 38778 Door Trim Pad Clip Remover
Removal Procedure
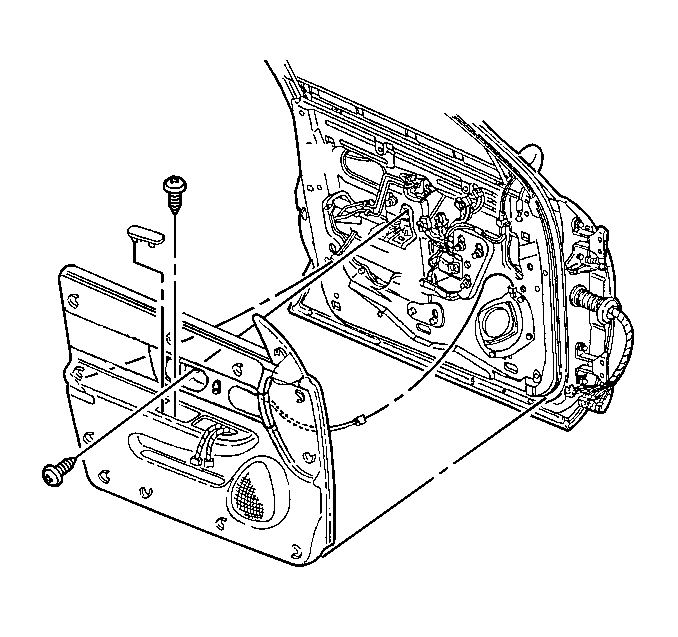
- Remove the cover in the armrest pull cup.
- Remove the armrest pull cup screws.
- Remove the screw cover from the inside door handle. Remove the screw.
- Slide the J 38778 behind the door trim extension panel. Press out to free the retainer.
- Starting at the door bottom, use the J 38778 to disengage the retainers from the door trim panel.
- Lift the trim panel up to release the top edge and move it away from the door to expose the inside door handle lock rod.
- Using needle nose pliers, compress the plastic connector on the cable end to release the cable from the door panel.
- Disconnect the door handle cable end from the door handle.
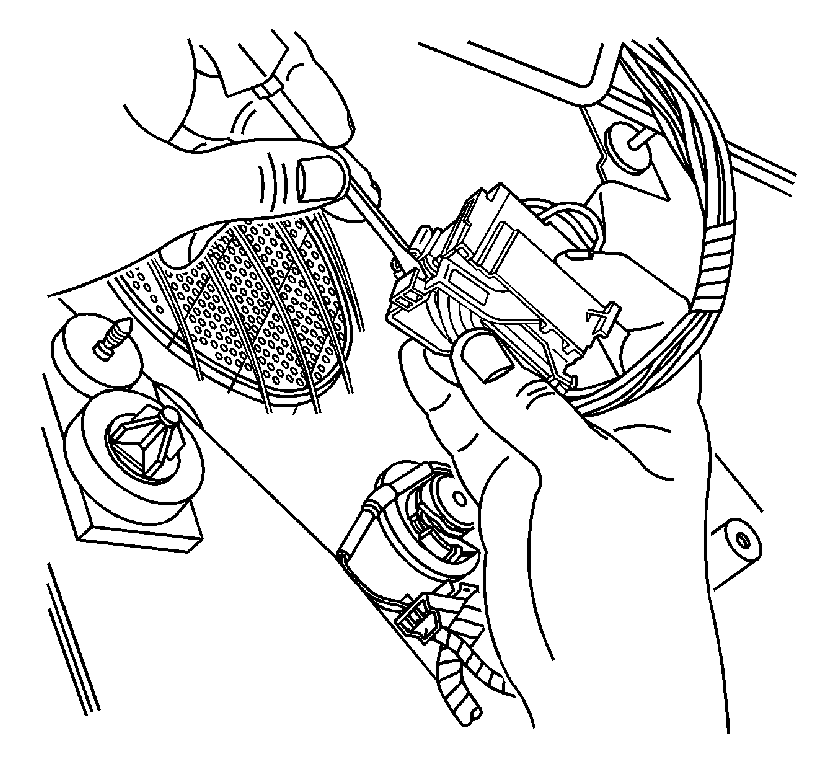
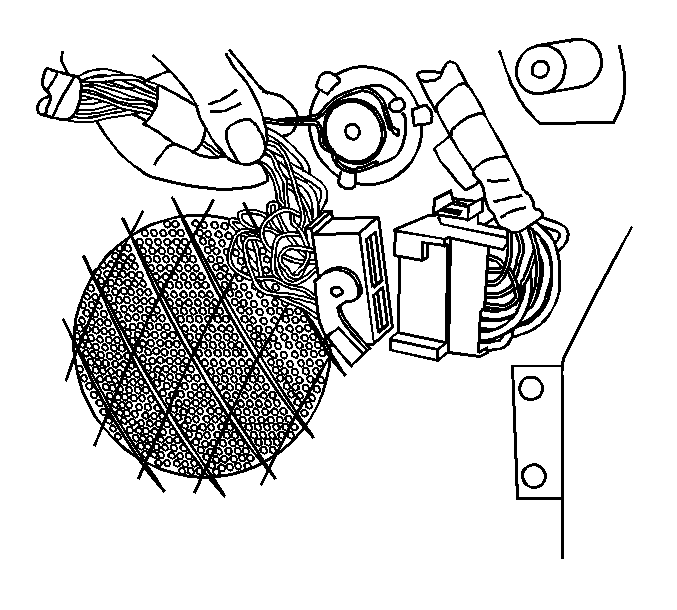
- Disconnect the electrical connector to the door electric harness. Pinch the release tabs and lift the cam lock and separate the connector.
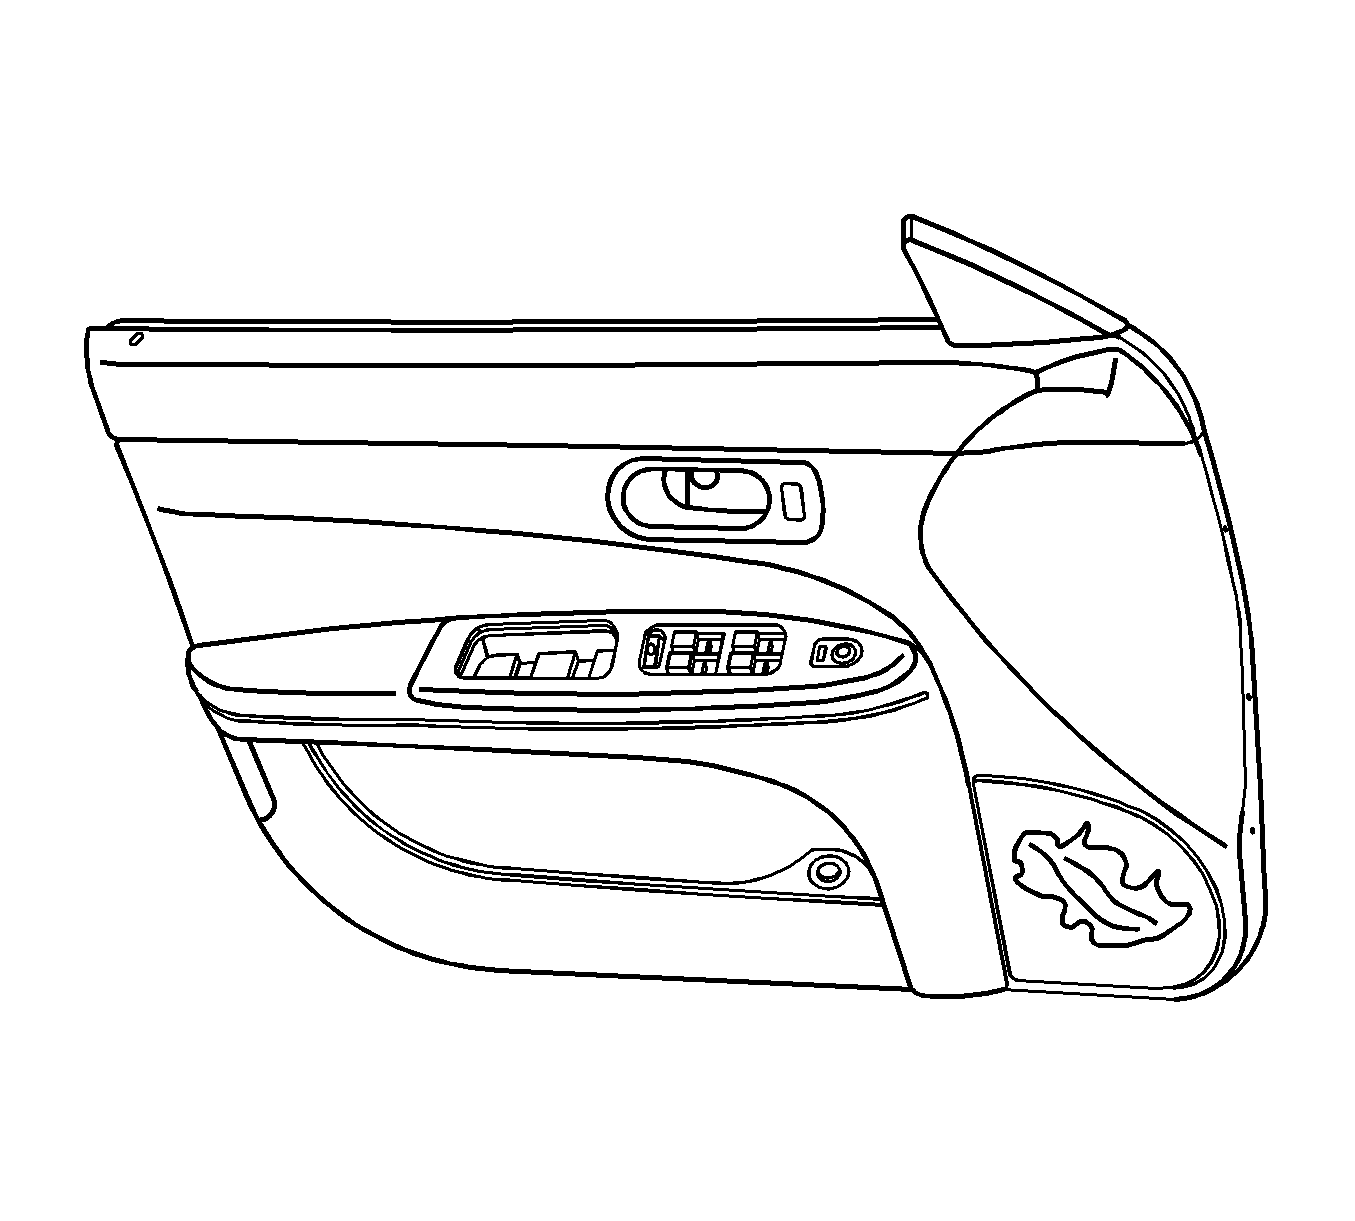
- Remove the front door trim panel from the vehicle.


Installation Procedure
- Connect the electrical connector to the door electric harness. Press the cam lock in to secure the connector.
- Connect the door handle cable to the door handle.
- Position the top of the trim panel at the window opening and press down.
- Align the fasteners into the holes in the door metal.
- Firmly press the door panel to seat the fasteners.
- Install the armrest pull cup screws.
- Install the inside door handle screw.
- Install the screw cover.


Notice: Refer to Fastener Notice in the Preface section.
Tighten
Tighten the screws to 3 N·m (27 lb in).
Tighten
Tighten the screw to 3 N·m (27 lb in).
